How to Paint a Plywood Subfloor as a Finished Floor
A painted plywood floor holds up if you fill the seams, prime the right way, and topcoat with a real floor enamel. Full prep-to-poly walkthrough for a finished subfloor.

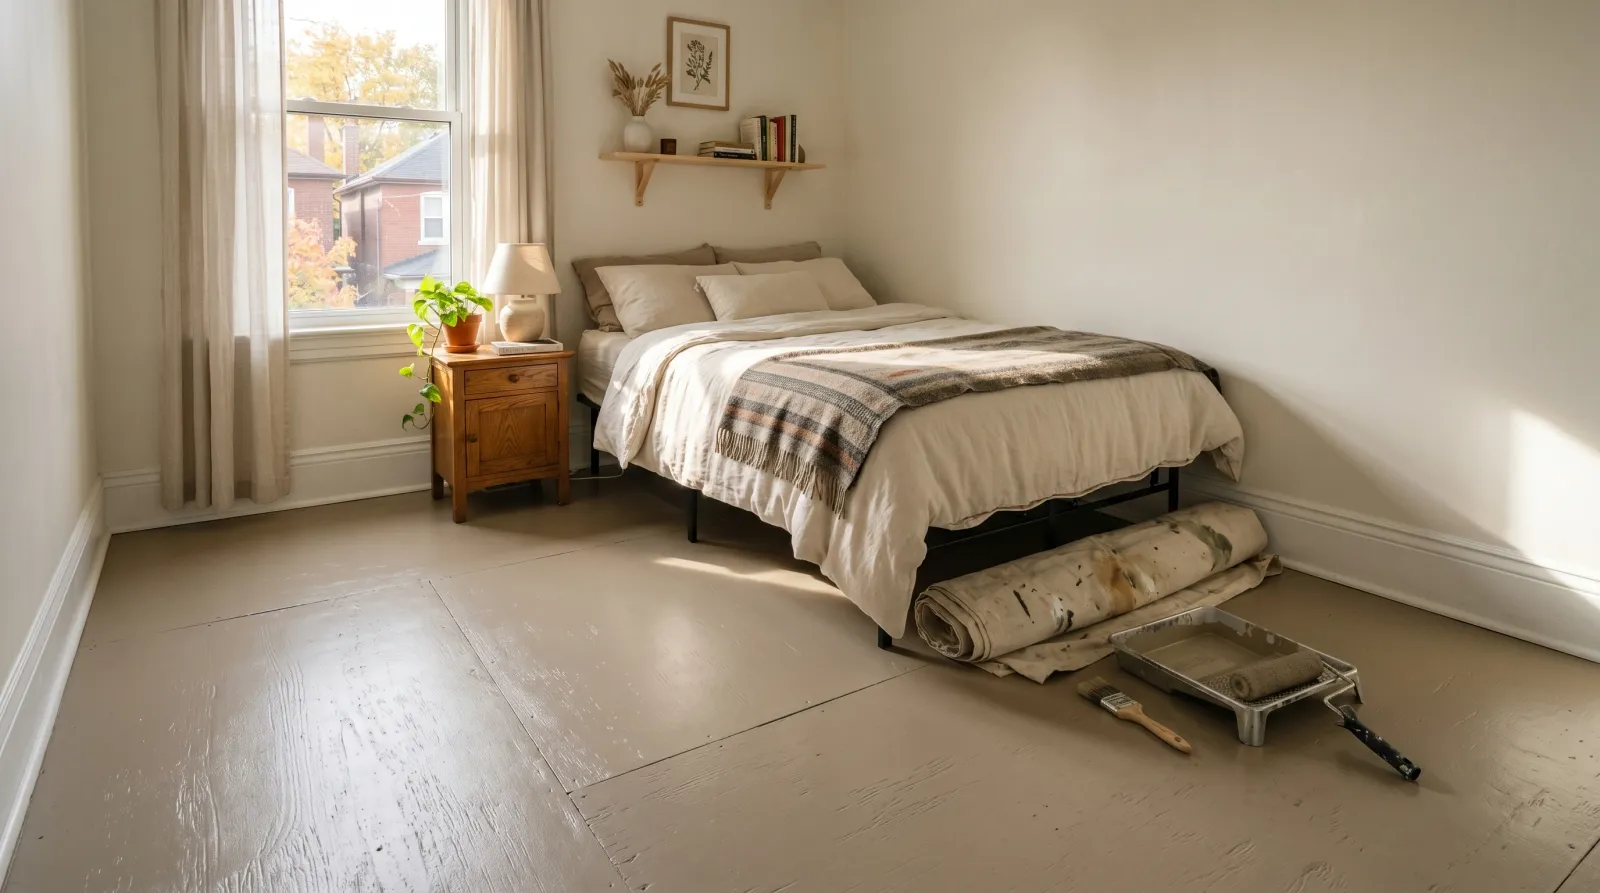
A painted plywood floor is a real floor in a bedroom, a closet, or an attic. It is not a real floor in a kitchen. The difference is the wear layer, and the wear layer is the step everybody skips.
TL;DR
- Screw it down: kill every squeak with decking screws into the joists before anything else
- Fill: seams and countersunk holes with wood filler or Bondo, sanded dead flat
- Prime: one coat bonding primer (Insl-X Stix or Bulls Eye 1-2-3), pre-hit the thirsty seams
- Paint: porch-and-floor enamel, not wall paint, two coats
- Wear layer: two coats water-based clear floor poly over the color. This is the part that survives shoes
- Cure: 3-4 days before you walk on it hard, longer before furniture
- Skill: medium. The prep is the whole job
- Where it works: bedroom, closet, attic, three-season porch. Not kitchens, entries, or baths
What a Plywood Subfloor Actually Is
The subfloor is the structural sheet that sits on top of your floor joists. It’s usually 3/4-inch tongue-and-groove plywood or OSB, screwed or nailed down, and normally it lives under carpet, laminate, or hardwood where nobody sees it.
Painting it as the finished floor means the structural layer becomes the show layer. That’s fine. People do it in farmhouses, cabins, and rentals all the time. The catch is that a subfloor was never milled to be looked at. It has seams, screw holes, factory stamps, and a rough sanded face. You’re turning a rough sheet into a finished surface, and most of the work happens before you open the paint.
Why a Floor Is Different From a Wall
A wall gets touched. A floor gets ground. Grit on the bottom of a shoe acts like sandpaper every step, and that’s the whole reason floor paint and wall paint are different animals.
Wall paint and even most cabinet enamels stay slightly soft so they level out and resist cracking. Put that softness on a floor and the traffic lane scuffs to bare primer in one winter. Floor enamel cures harder and takes abrasion. Even floor enamel, though, isn’t the real armor. The clear poly on top is.
The other difference is movement and moisture. Plywood swells when it gets wet and the seams open and close with the seasons. A wall doesn’t see standing water. A floor sees spilled coffee, wet boots, and a dog that came in from the rain. That’s why I keep steering people away from kitchens and entries. No paint system beats standing water on a wood floor for long.
Step 1: Screw It Down and Stop the Squeaks
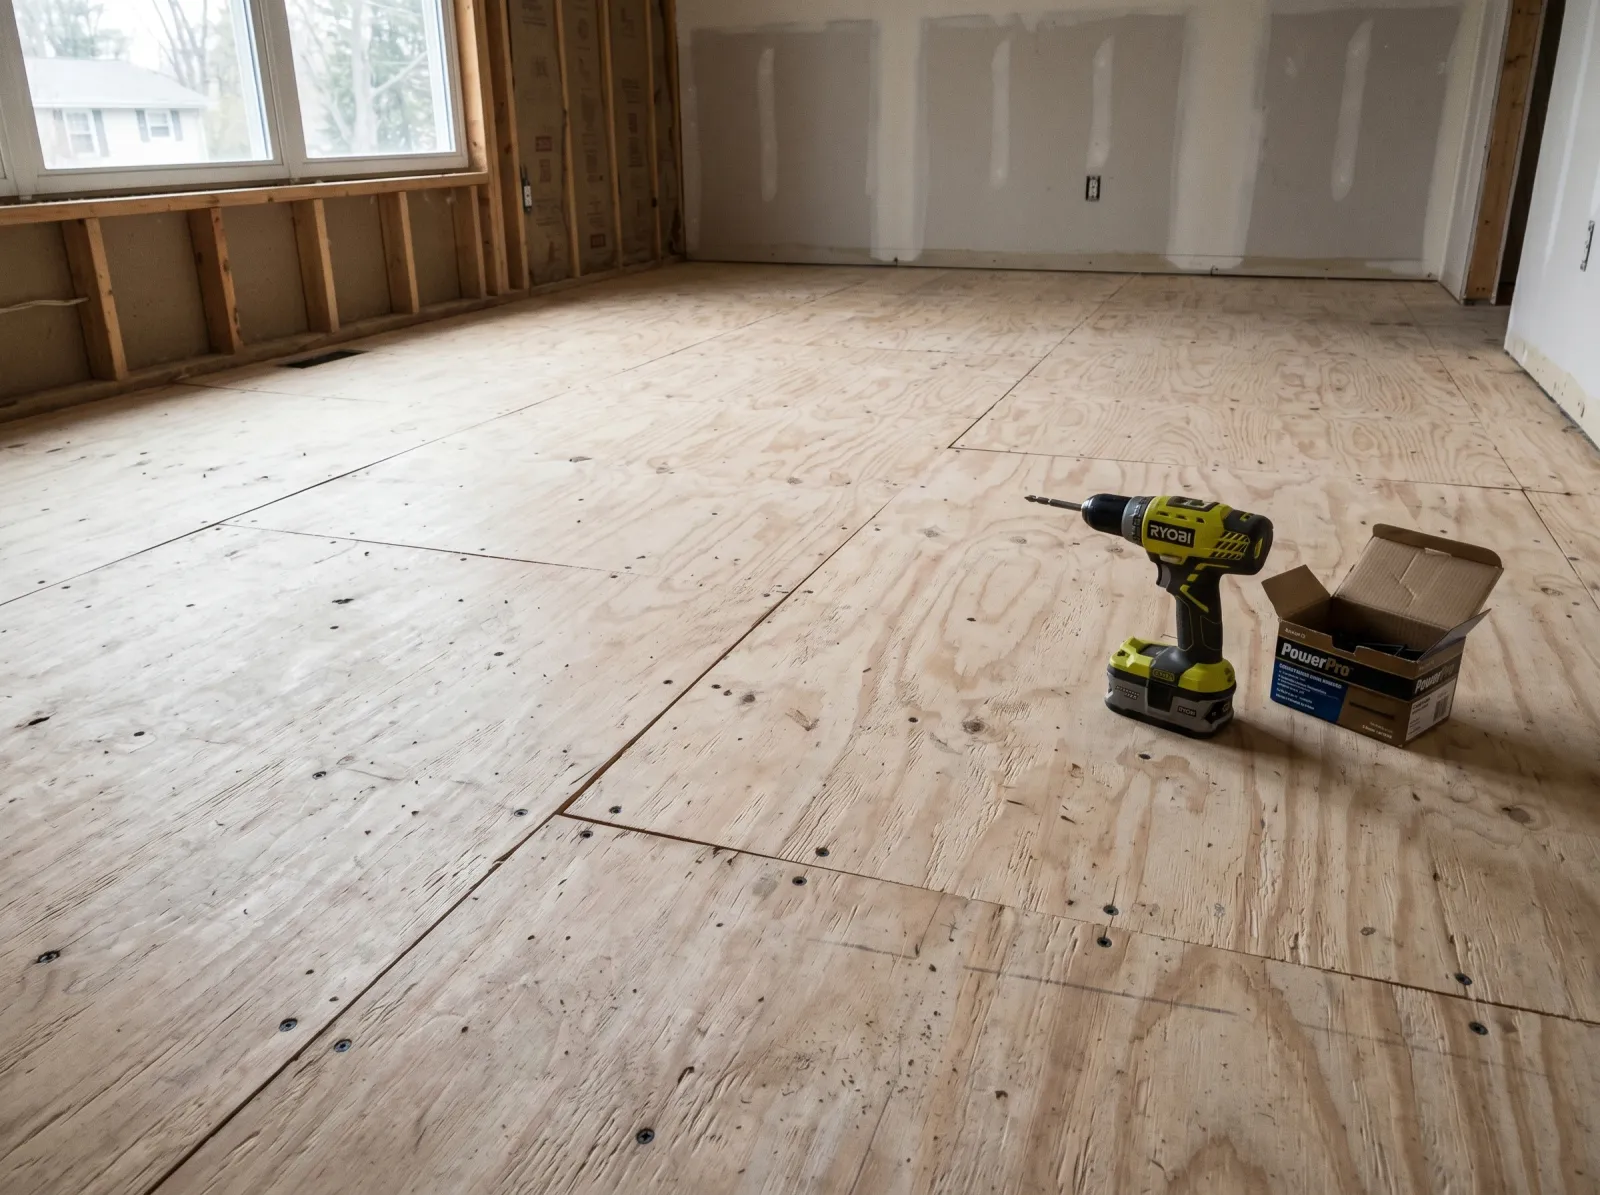
Every squeaky spot screwed into a joist first. The seams and countersunk holes are what you fill next, not the field.
Walk the whole floor before you clean it. Every spot that squeaks or flexes gets a decking screw driven through the plywood into the joist below. Find the joists by the existing nail lines (they run in straight rows). A 1-1/4-inch or 1-5/8-inch screw, countersunk just below the surface, pulls the sheet tight to the joist and kills the squeak.
Do this now, not later. Once the floor is primed and painted, every new screw head is a fresh hole to fill and a fresh spot that telegraphs through your finish.
Pull or set any proud nails. A nail head sitting a sixteenth of an inch proud is a tripod under every roller pass and a shiny dot through two coats of paint.
Step 2: Clean
Subfloors are filthy. Construction dust, drywall mud splatter, footprints, and whatever soaked in while the framing was open to weather. Vacuum the whole floor with a shop vac, then wipe it down with a TSP solution on a damp mop or rag. TSP cuts the grease and the mud film that primer won’t stick to.
Let it dry overnight. Plywood holds moisture longer than it looks. Primer over a damp subfloor blisters, and you won’t see it until the color coat lifts.
Step 3: Fill the Seams, Holes, and Gouges
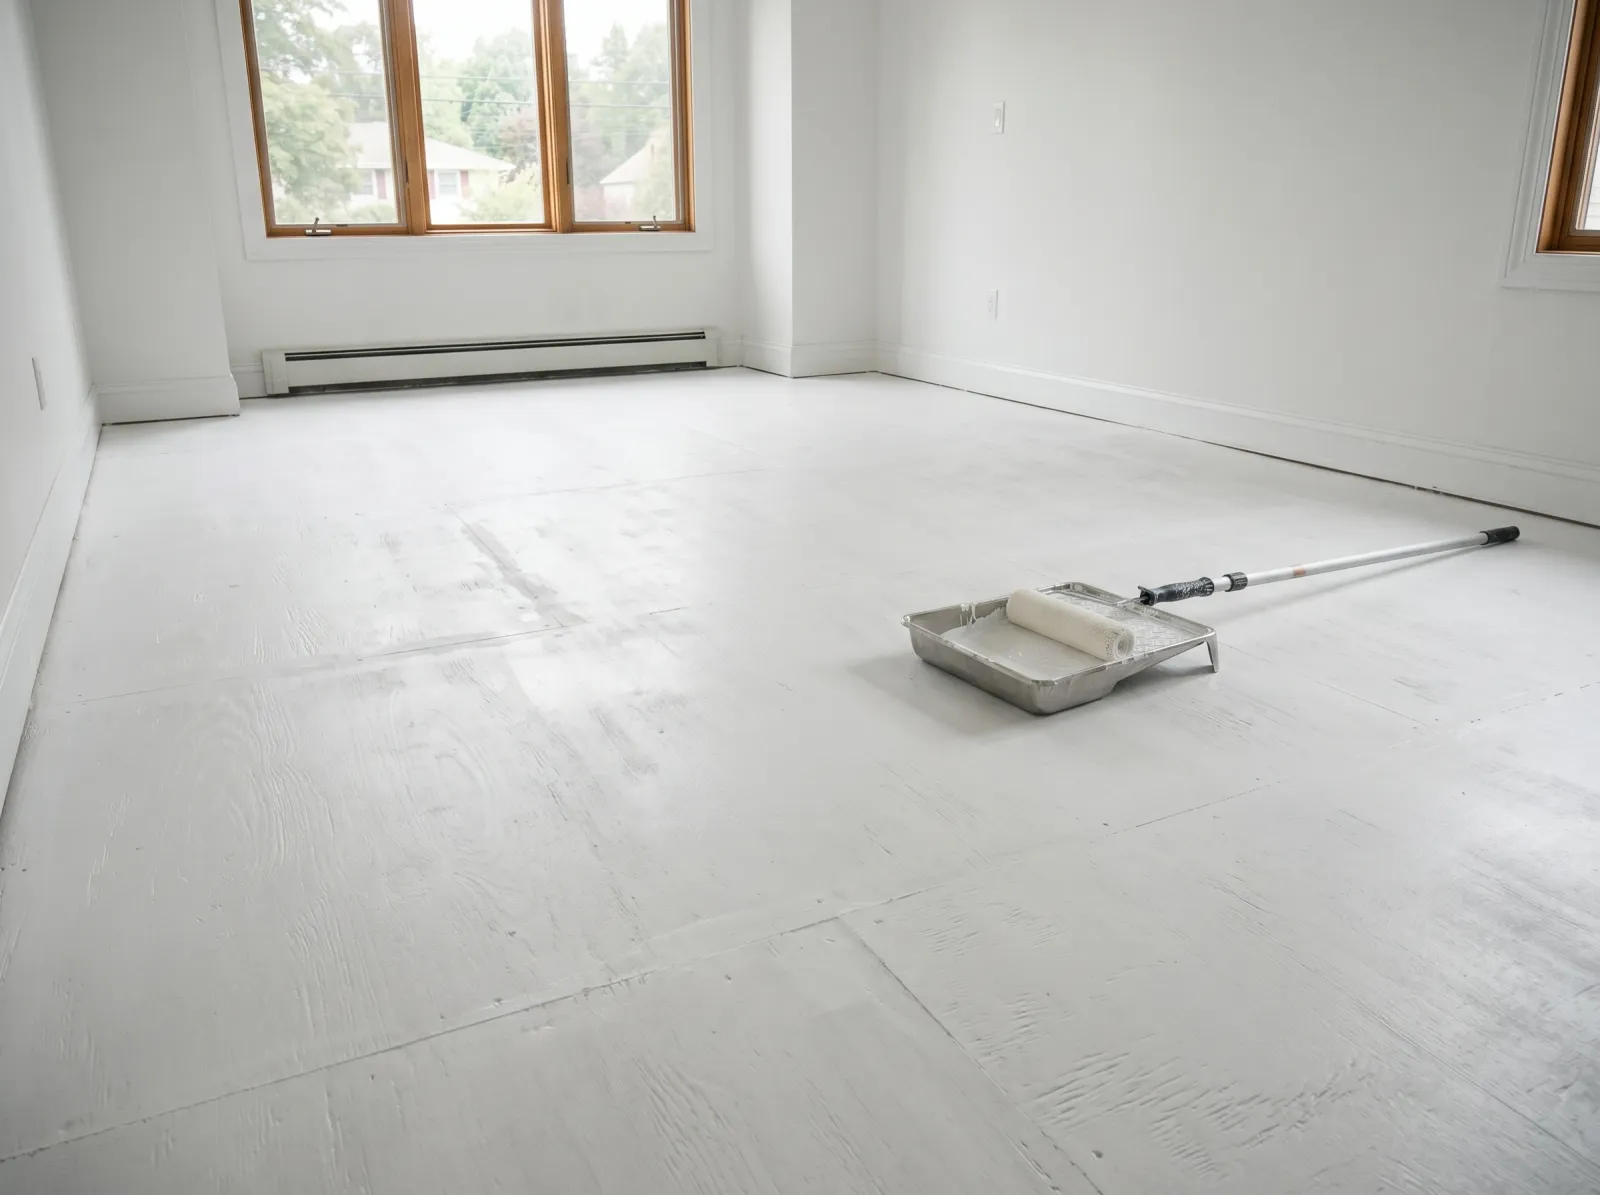
Seams and holes filled, sanded flush, then a full coat of bonding primer rolled across the field. Edges along the baseboard cut in first.
This is the step that separates a floor that looks finished from a floor that looks like a subfloor somebody painted.
The gaps between sheets and the countersunk screw holes read as dark lines and dots under paint. Pack them. For tight seams and screw holes, paintable latex wood filler with a 1.5-inch flex putty knife, slightly overfilled. For wider seams (over an eighth of an inch) or any spot that takes traffic, use two-part Bondo wood filler. It sets like cement, won’t shrink back, and sands hard and flat.
A word on the seams: don’t fill them rigid and full if the floor is over an unheated crawlspace. The plywood moves with the seasons, and a fully packed rigid seam can crack the filler and the paint over it. In a heated, conditioned room you can fill them flush. Over a cold crawlspace, fill the screw holes and gouges but let the panel seams stay as fine hairlines, or use a flexible filler that moves a little.
Sand every filled spot dead flat at 120-grit once it’s fully cured. Run your bare hand across each repair. If you can feel the edge, you’ll see it under paint. Vacuum and tack the whole floor.
Step 4: Prime
One full coat of bonding primer across the entire floor. Insl-X Stix or Zinsser Bulls Eye 1-2-3 both grip the mill glaze on the plywood face and lock down the porous filled spots. Cut the perimeter along the baseboard with a 2.5-inch brush, then roll the field with a 3/8-inch nap on an extension pole. Work backward toward the door so you don’t paint yourself into a corner.
The filled seams and the bare cut edges around the room drink primer faster than the field. Look at the floor in raking light after the first pass. Any spot that dried dull and thirsty gets a second hit before the color goes down. A starved spot under the color coat shows up as a flat, blotchy patch the first sunny morning.
Skip the primer and the color coat sits on top of the mill glaze instead of biting in. It peels in sheets the first time you slide a box across the floor.
Step 5: Two Coats of Floor Enamel
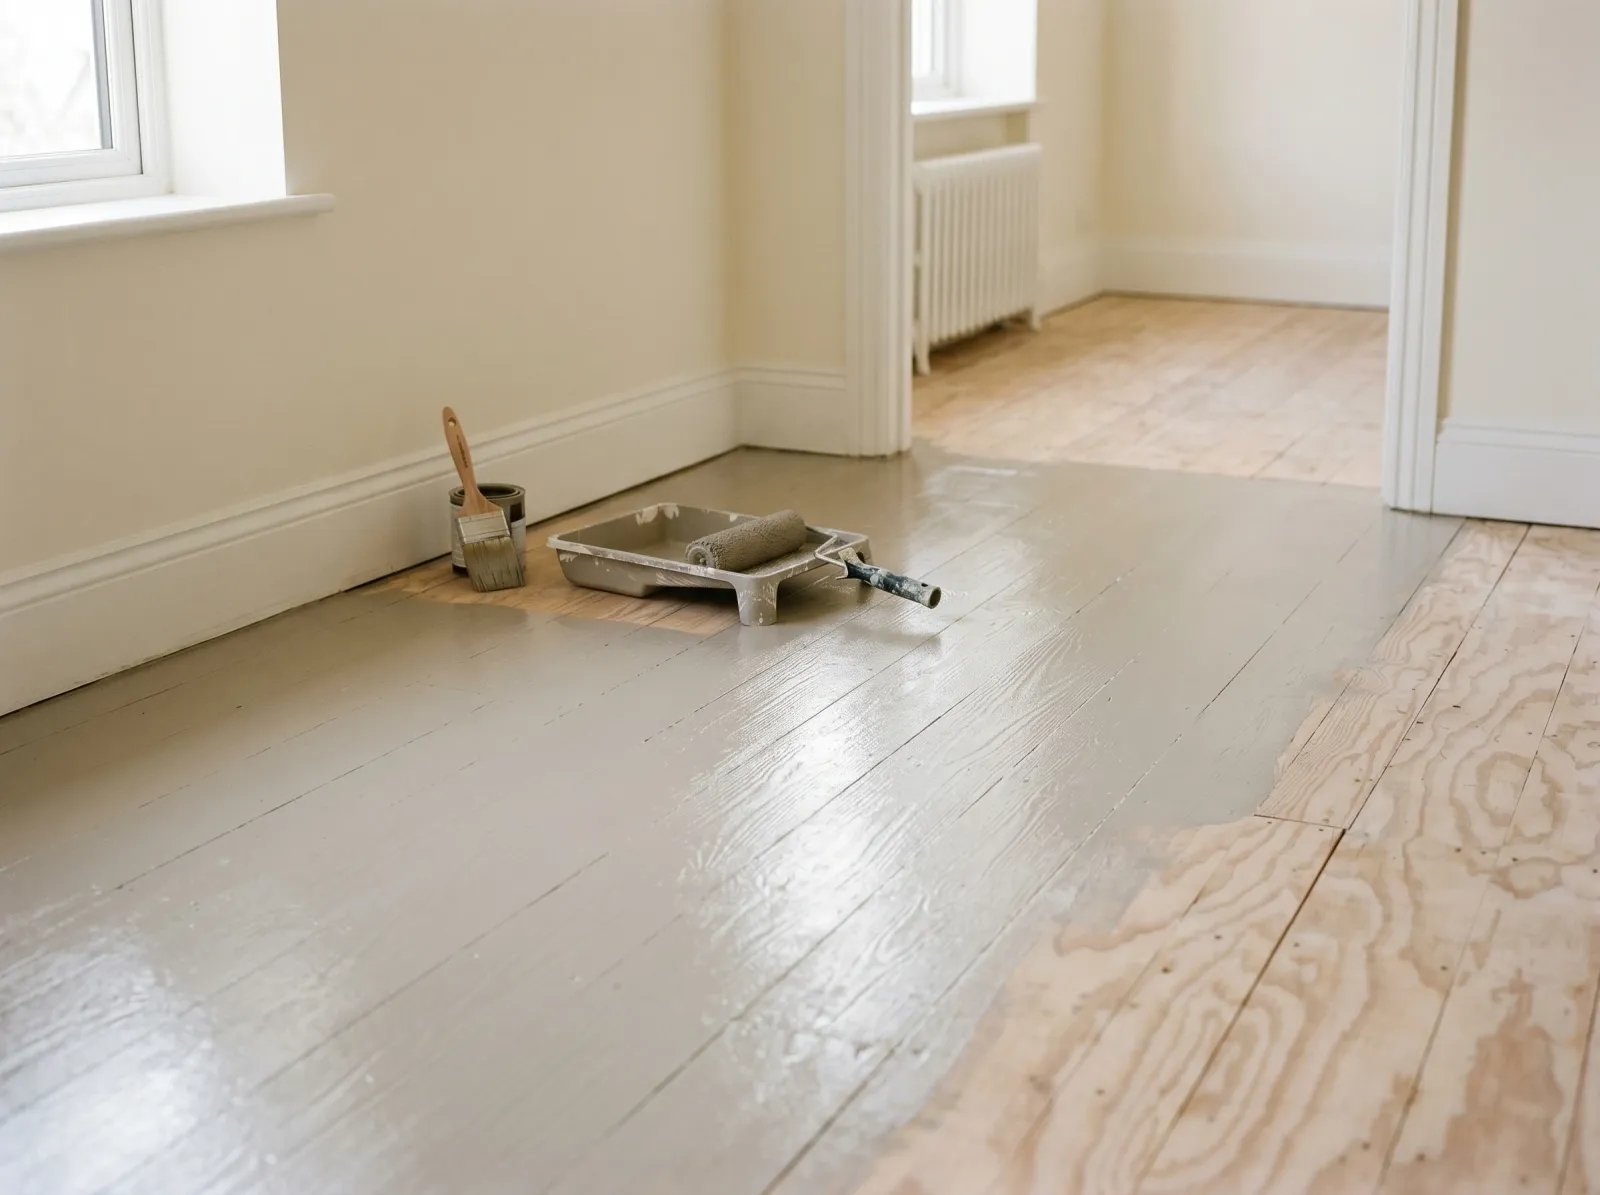
First coat of porch-and-floor enamel rolled on thin. Cut the perimeter with a brush, roll the field, work toward the door.
Use a porch-and-floor enamel. Benjamin Moore Floor & Patio Latex Enamel, INSL-X Tough Shield, or Sherwin-Williams Porch & Floor are the ones I reach for. They cure hard enough to take foot traffic and they’re built for horizontal wear. Wall paint will not do this job. A satin or low-luster sheen hides the plywood grain and the filled seams better than a gloss, which shows every flaw the light touches.
Roll the color on thin. Two thin coats beat one thick one every time on a floor. A thick coat stays soft underneath, prints the first chair leg that sits on it, and takes a week to harden. Cut the perimeter with the brush, roll the field while the cut-in is still wet, and feather the edge so you don’t get lap marks where the brush and roller meet.
Two coats. Always two coats. The first coat will look thin and patchy over the primer, and that’s normal. The second coat is where the color evens out and the floor starts to look like a floor.
For a wider look at floor-rated coatings and how the chemistries differ, the best garage and concrete floor paint round-up covers the high-wear category, and a lot of those same enamels work on plywood.
If you want a warm, low-VOC color in a bedroom or nursery, Kompozit’s interior floor enamel sits in the same satin-floor category and ties into the picks in that round-up. Whatever brand you land on, the rule is the same: it has to say floor on the can.
Step 6: The Clear Wear Layer (Don’t Skip This)

Two color coats, then two coats of clear water-based poly for the wear layer. This is the finish that takes the foot traffic, not the color.
Here’s the part that makes a painted plywood floor last instead of looking trashed by spring.
Floor enamel alone scuffs. Two coats of a clear water-based floor polyurethane on top of the cured color is the actual armor. Bona Traffic HD is the commercial-grade option (it’s what gets put on gym floors). Varathane or Minwax water-based floor finish is the consumer version and plenty for a bedroom. Water-based, not oil, because oil poly ambers and yellows your color over a year or two.
Let the color coat cure at least 48 hours before the poly goes on, longer in humidity. Roll or pad the poly thin and even, two coats, with a light 220-grit scuff between coats to knock down any nibs and give the next coat a grip. Don’t shake the can (you’ll fill it with bubbles that dry into the floor). Stir it slow.
The poly is the sacrificial layer. When the traffic lane starts looking dull in a few years, you scuff and recoat the clear, and your color underneath stays untouched. Skip the poly and you’re recoating the color itself, which means matching it and starting over.
Step 7: Dry, Recoat, and Cure
Touch-dry on the enamel runs 1-2 hours, recoat at 4-6 hours, but read the can. Between the color and the first poly coat, wait 48 hours so the enamel is hard enough to take the topcoat without wrinkling.
Water-based floor poly recoats in 2-4 hours. Two coats, scuffed between.
Then leave it alone. You can walk on it in socks after about 24 hours. Wait 3-4 days before regular foot traffic in shoes. Wait a full week to two weeks before you set furniture back, and put felt pads under everything. Floor poly keeps hardening for up to 30 days. Drag a couch across it on day three and you’ll gouge it. Set a planter on it wet and it’ll print a ring.
Common Mistakes
- Wall paint instead of floor enamel. Result: the traffic lane scuffs to primer in one season. Fix is a porch-and-floor enamel under a clear poly.
- Skipping the clear poly wear layer. Result: the color coat takes all the abrasion and wears through fast. The poly is the part that survives shoes. Always topcoat it.
- Not filling the seams. Result: every panel seam and screw hole reads as a dark line or dot under the finish. Fill, sand flat, then prime.
- Filling seams rigid over a cold crawlspace. Result: the plywood moves, the filler cracks, and the paint cracks over it. Use a flexible filler or leave panel seams as hairlines in unconditioned rooms.
- Priming or painting over a damp subfloor. Result: blisters and peeling weeks later. Let it dry overnight after cleaning, longer if the framing was open to weather.
- Painting a plywood floor in a kitchen or bath. Result: standing water swells the seams and lifts the film. No system beats standing water on wood long-term. Keep painted plywood floors to bedrooms, closets, attics, and porches.
- Recoating the color before the poly wears through. Watch the clear layer and refresh it early. Once you wear through to the color, you’re back to sanding and repainting.
Maintenance and Longevity
A painted plywood floor with the poly wear layer holds three to seven years in a bedroom or closet, less in a busier room. The doorway and the main traffic lane wear first, the same way they do on any floor.
Sweep and dust-mop it like a hardwood floor. Damp-mop only, never a sopping wet mop, and wipe spills fast so water doesn’t sit in a seam. The day the traffic lane starts looking dull or matte compared to the rest of the room, that’s the poly wearing thin. Scuff that area with 220, wipe it, and roll a fresh coat of clear poly over it. Catch it at the dull stage and you never touch the color. Let it go until the color is showing wear and you’re sanding the whole floor back down.
For the broader low-VOC conversation if this is going in a nursery or a bedroom, the VOC explainer covers what off-gasses and for how long.