How to Paint Masonry: The Complete Guide
Painting masonry the right way: how to kill efflorescence, why fresh mortar needs 28 days, the alkali-resistant primer, and the breathable topcoat that lasts.

Masonry doesn’t fail because of bad paint. It fails because of what’s behind the paint. Salt, alkalinity, and trapped water do the damage, and they do it from underneath where you can’t see it until the film starts flaking off in your hand.
TL;DR
- Wait: 28 days on fresh concrete, block, mortar, or stucco before any paint
- Kill efflorescence: wire-brush dry, then wash; heavy bloom needs diluted muriatic acid
- Primer: alkali-resistant masonry primer or conditioner (Zinsser Watertite, Loxon Conditioner). Never skip on bare masonry
- Paint: breathable 100% acrylic masonry paint, or elastomeric on cracked stucco. Two coats
- Method: thick nap roller, back-rolled into the texture, brush the joints first
- Cure: 30 days before pressure-washing
- Skill: medium. The prep is the whole job
What Masonry Actually Is
Masonry is anything built from stone, brick, concrete block, or poured concrete, held together with mortar. Stucco is masonry too: a cement plaster troweled over a wall in coats. They share three traits that matter for paint. They’re porous, so they drink the first coat. They’re alkaline, especially when young. And they move water through themselves, in and out, with the weather.
Those three traits are the entire reason this guide isn’t just “wash it and roll paint on it.”
Why Masonry Fights Paint
Three enemies, all of them invisible at first.
Alkalinity. Fresh concrete, block, and mortar carry a pH up around 12 or 13. That high alkalinity chemically attacks the binder in a standard latex paint, a reaction called saponification. The paint turns chalky, soft, or gummy and lets go. An alkali-resistant primer is built to take the hit so your topcoat doesn’t.
Moisture. Masonry is a sponge with a memory. It pulls water in through the back and the base, holds it, and pushes it back out through the face. A non-breathable paint traps that water behind the film. In a freeze it expands and blisters the coating off. This is why a glossy oil enamel that looks great on day one peels in sheets by the second winter.
Salt. The white powder, efflorescence, is mineral salt riding water to the surface. Paint over it and the salt keeps crystallizing under your film, prying it loose. You can scrub a wall clean today and watch fresh bloom appear after the next rain if the moisture source is still feeding it.
Get past those three and masonry paints up clean and holds for years.
Step 1: Clean the Wall
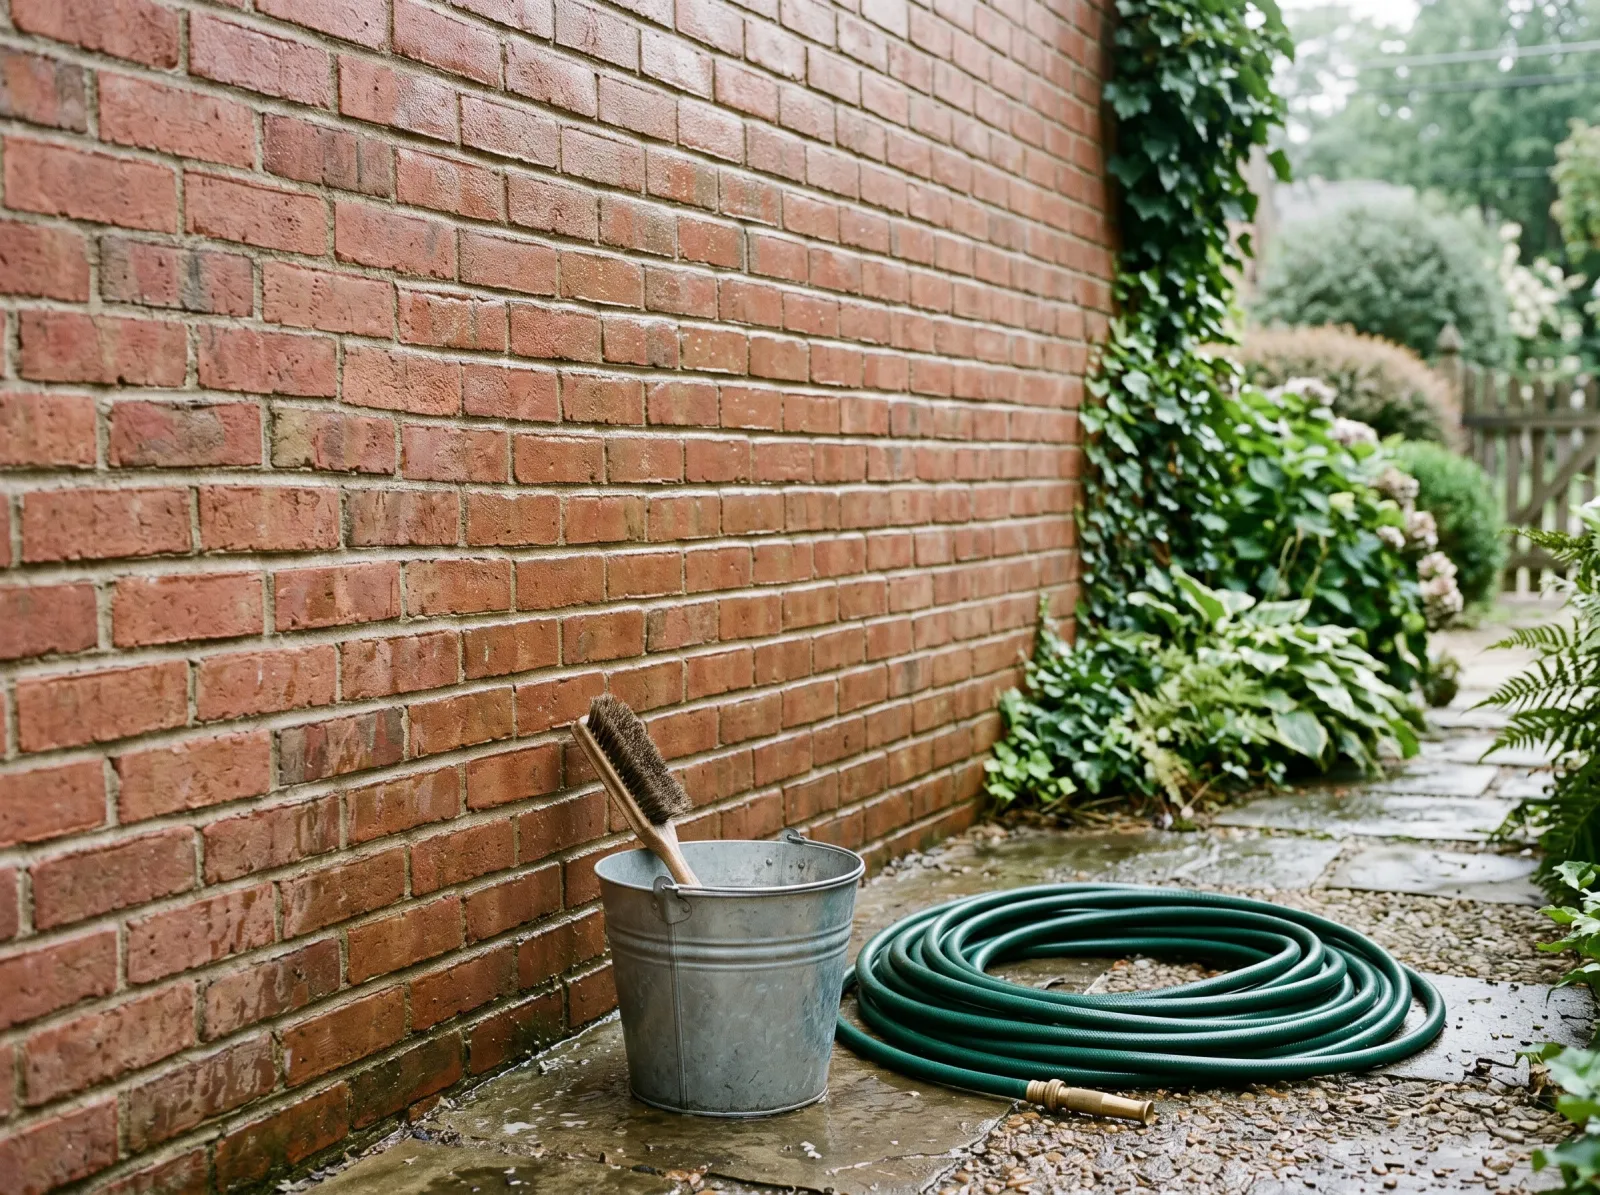
White bloom wire-brushed off dry, then the whole wall washed and rinsed. No paint touches a chalky surface.
Start with the efflorescence, because it has to come off dry first. Wetting it before you brush just drives the salt back into the wall. Hit every chalky patch with a stiff wire brush, then a wide scraper for the thick crust.
Heavy, recurring efflorescence needs acid. Diluted muriatic acid, 10 parts water to 1 part acid, brushed on, left two or three minutes, then flushed hard with clean water. Acid into water, never water into acid, and wear a P100 and acid-rated gloves. A dedicated efflorescence remover does the same job with less drama if you’d rather skip the muriatic. For the full method on stubborn bloom, see the efflorescence fix guide.
Once the salt is gone, wash the whole wall. Masonry cleaner or a TSP substitute, then a pressure wash at 1,500 to 2,000 PSI with a 25-degree tip. Mortar joints hide dirt and old coating; flush them out. Then let the wall dry. Masonry holds water deep, so give it 48 to 72 hours of dry weather and check it with a moisture meter. Under 12% before you prime. Prime a wet wall and you’ve sealed the moisture in.
Step 2: Repair Cracks and Repoint Joints
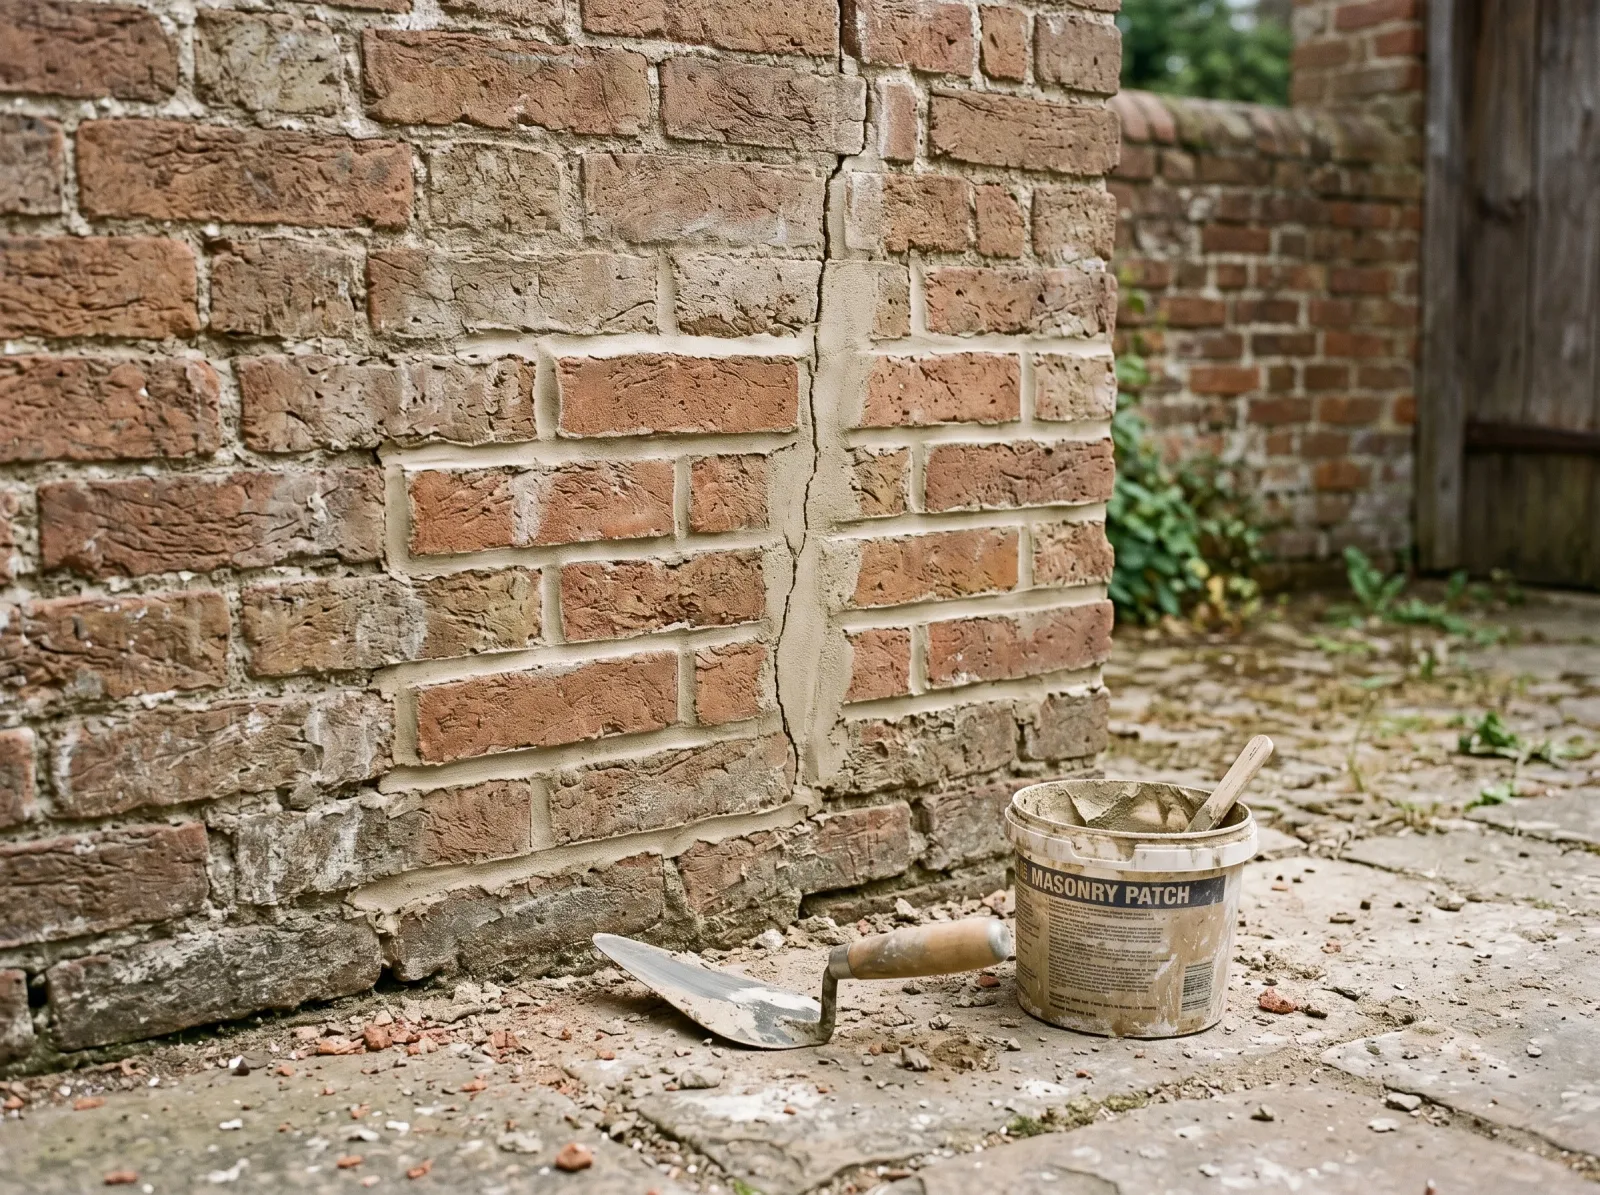
Hairline cracks filled with elastomeric patch, failed mortar joints repointed. Everything flush before primer.
Mortar joints are the weak point on every masonry wall. They crack, crumble, and pull back from the brick long before the brick itself fails. Rake out any loose or powdery mortar with a tuck pointer and repoint it with fresh mortar mix. Let repointed joints cure 28 days before paint, same rule as fresh masonry, because new mortar is new alkalinity.
Hairline cracks in the face or in stucco get an elastomeric patching compound, pressed in with a margin trowel and tooled flush. Don’t use a rigid filler. Masonry moves, and a hard patch cracks right back open along the same line by spring.
Control joints and the seams where masonry meets a different material (window frames, door casings, where stucco meets trim) get a stretchy elastomeric caulk, not standard acrylic. These joints are designed to move, and the caulk has to move with them.
This is the step people skip on interior brick because it looks solid. Tap the mortar with a screwdriver handle. If it crumbles, it’s coming out behind your paint a year from now.
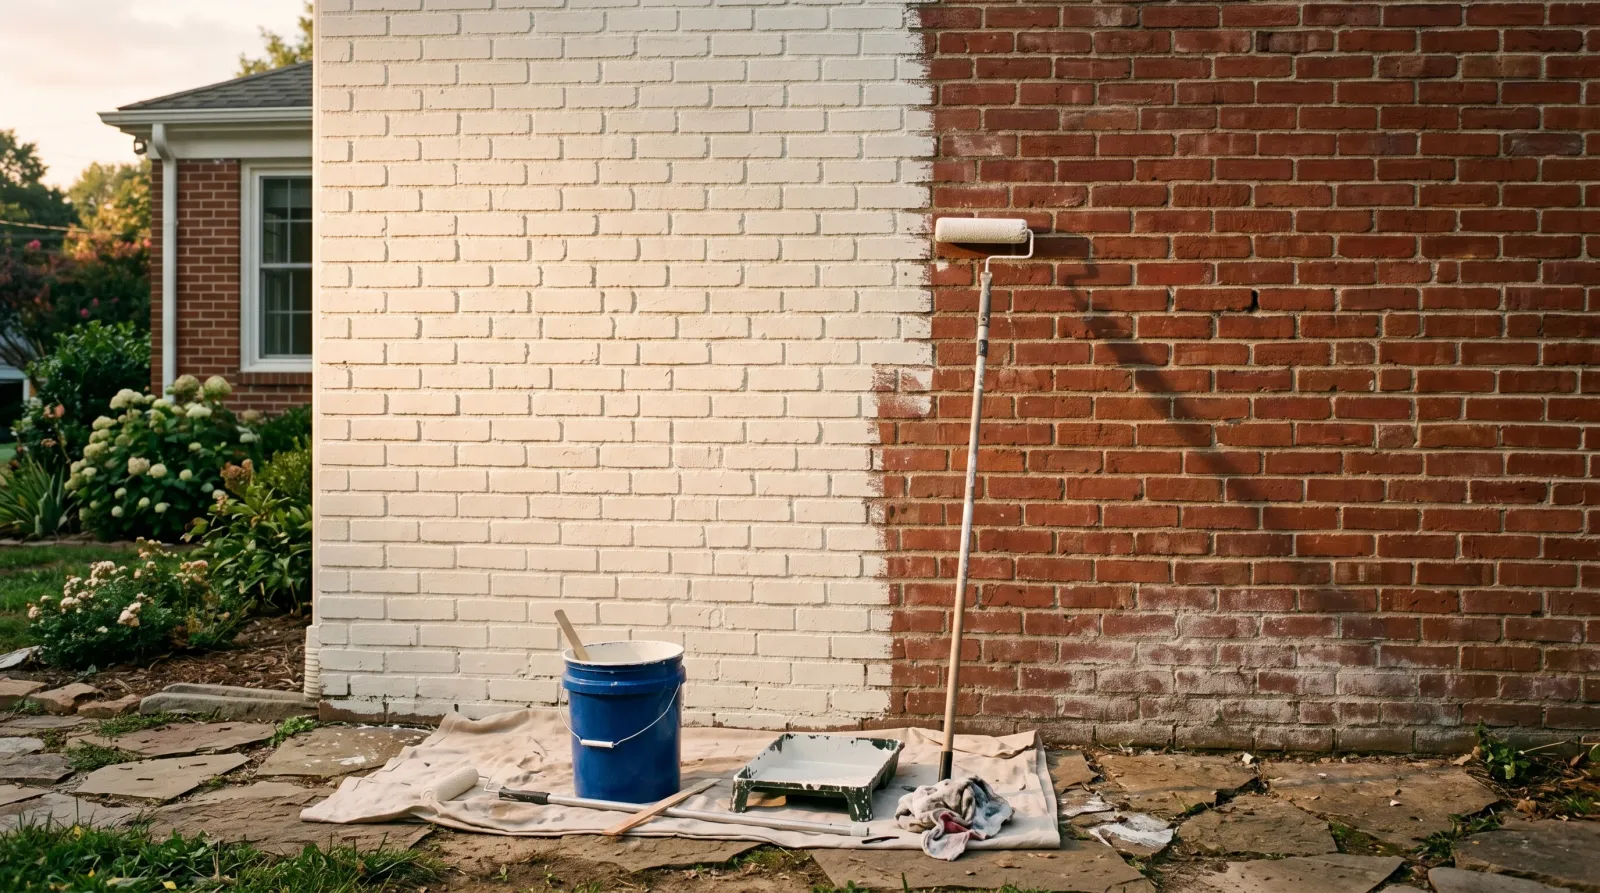
Step 3: Prime With an Alkali-Resistant Masonry Primer

One full coat of alkali-resistant masonry primer, brushed into the joints first, then rolled across the faces.
This is the call that decides whether the job holds. Bare masonry gets an alkali-resistant primer, no exceptions.
For most exterior brick and block, Sherwin-Williams Loxon Conditioner or Loxon Masonry Primer. For interior brick or a basement wall fighting damp, Zinsser Watertite is a masonry primer and waterproofer in one. On a wall you painted before that’s still sound and not chalking, you can switch to a regular acrylic bonding primer over the old film, but any bare patch where coating flaked off still needs the alkali-resistant primer underneath. If you’re not sure which category fits your wall, the primer that paint-and-primer-in-one can’t replace explainer walks through when a dedicated primer earns its keep.
Brush the primer into every mortar joint first. Joints are recessed and a roller skips over them, leaving bare valleys that telegraph through the topcoat. Then roll the faces with a thick nap. Bare masonry drinks the first coat, so expect it to look thin and blotchy. Normal. The primer is sealing the pores, not building color.
Self-priming masonry paint is a marketing line on bare brick. The alkalinity doesn’t care what the can promises. Use the real primer.
Step 4: Choose a Breathable Topcoat
Exterior masonry wants a breathable paint that sheds rain but lets interior vapor escape. A 100% acrylic masonry paint does this. So does mineral paint, which bonds chemically into the masonry and breathes better than almost anything; the mineral paint explainer covers where it earns the premium. For stucco that’s already showing hairline cracks, an elastomeric coating bridges the cracks and stays flexible across freeze-thaw.
Skip the things that trap moisture. Oil and solvent enamels, hard floor coatings, anything glossy and impermeable. They look sharp on day one and blister off the face by the second winter. Sheen matters too: flat and low-sheen breathe better and hide the surface irregularity, where a high gloss flags every trowel mark and chip. The sheen guide lays out the trade-offs if you’re torn.
For interior brick, you have more room. It sees no UV, no rain, no freeze. A standard 100% acrylic wall paint over a masonry primer works fine. For SKU picks across exterior and interior, see the best masonry paint round-up.
Step 5: Apply Two Coats
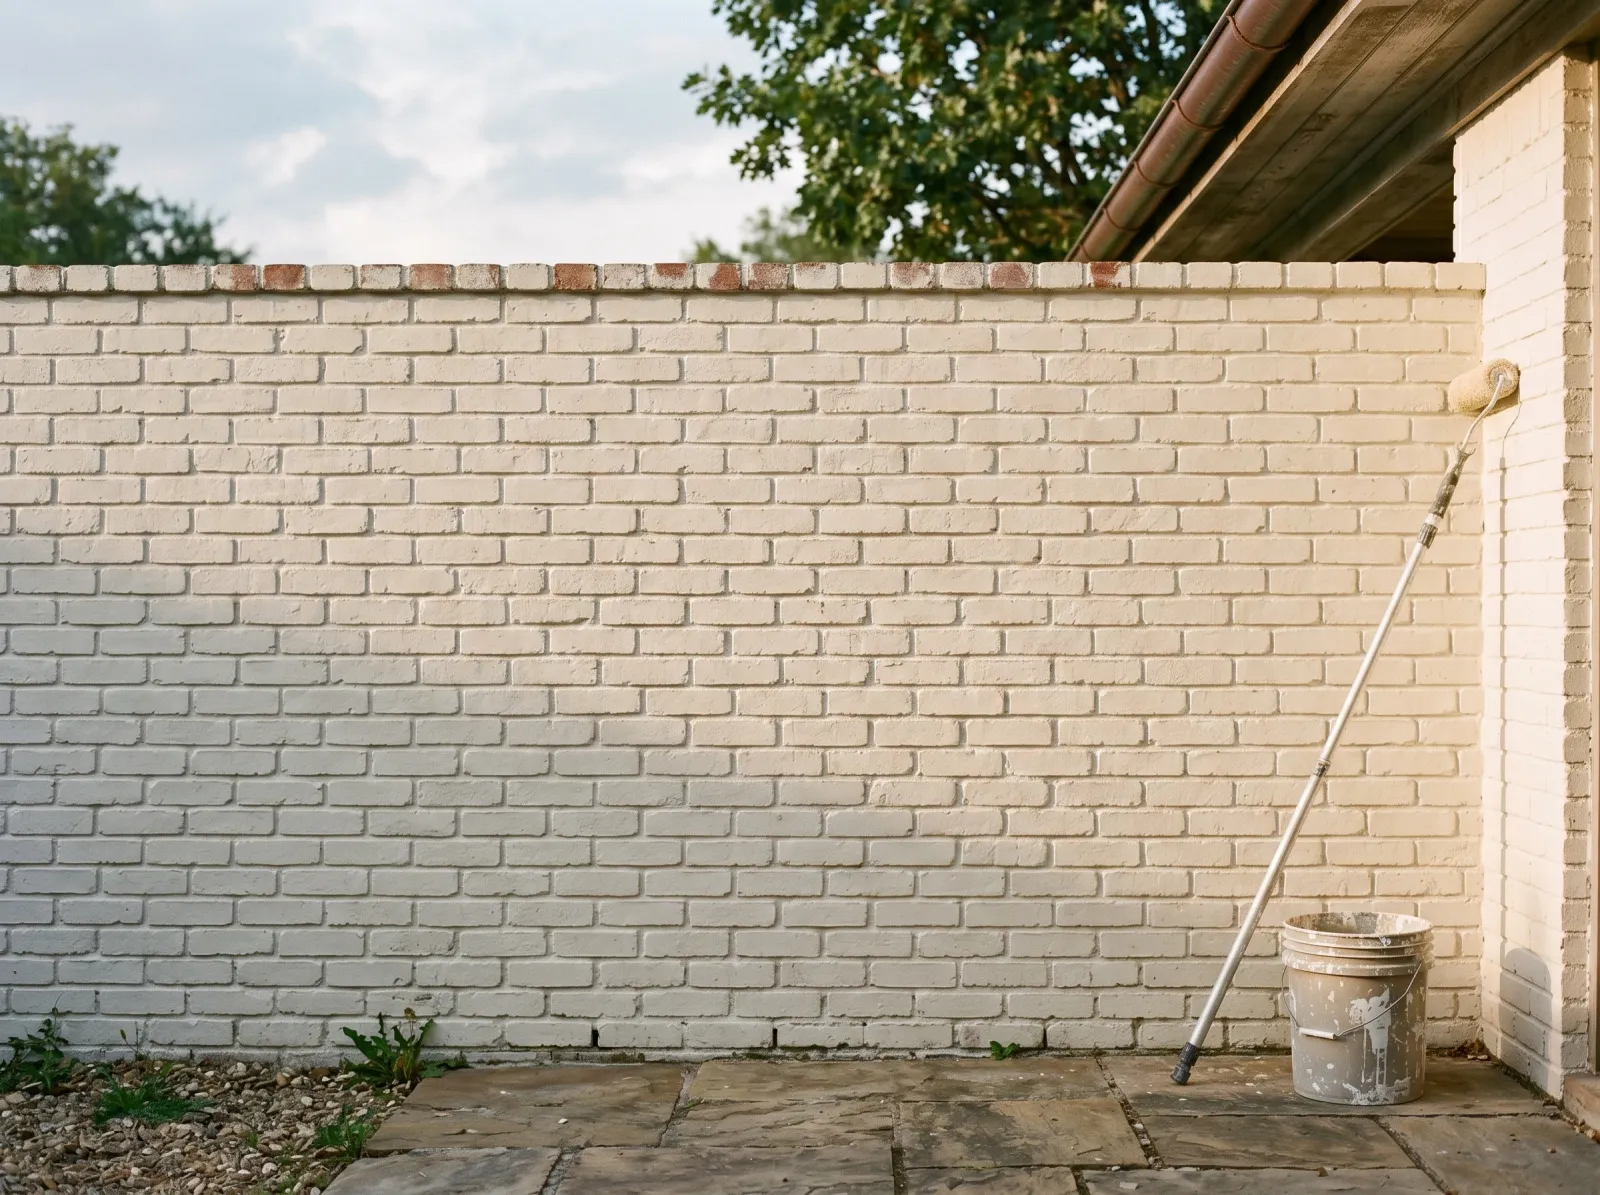
Two coats of breathable masonry paint, back-rolled into the texture. Stop at a corner, never mid-wall.
Masonry texture eats paint and hides holidays in its valleys, so the application is about getting paint into the texture, not just over it.
Brush the cut-in and the mortar joints first with a stiff 2.5-inch masonry brush. Then roll the field with a 3/4-inch nap on smooth block, a 1-1/4-inch nap on rough brick or stucco. Back-roll every pass: roll it on, then roll back over the same area with light pressure to push paint into the pores and pull it out of the joints. A sprayer alone leaves the texture bottoms bare and the finish dies in three years. If you spray, back-roll behind every pass.
Keep a wet edge and work to a natural stop, a corner or a control joint. Stop in the middle of a wall and you get lap marks that flash the second the morning sun rakes across the texture. Two coats. The first seals and colors, the second builds the mil thickness that handles weather. One-coat coverage on masonry is a marketing claim, not a job spec.
Step 6: Dry, Recoat, and Cure
Touch-dry on a 100% acrylic masonry paint runs 1 to 2 hours in good weather. Recoat at 4 hours minimum, longer in humidity or cold. Read the can, then add a margin, because masonry stays cooler and damper than the air around it and slows the cure.
Full cure is 30 days. During that window, don’t pressure-wash the wall, don’t scrub it, and keep sprinklers off it. A soft film picks up dirt and damage that locks in permanently. Watch the dew point on exterior work too: most acrylics want 50°F minimum and at least 5°F above dew point, or the film won’t coalesce and you end up with a dull, weak coat.
Common Mistakes
- Painting fresh masonry before 28 days. Alkalinity saponifies the binder and trapped moisture pushes the film off. The fix is patience, or a primer rated for green concrete if you truly can’t wait.
- Painting over efflorescence. The salt keeps growing under the film and lifts it off in flakes. Wire-brush dry, wash, and find the moisture source feeding it before you paint.
- Skipping the alkali-resistant primer. A standard topcoat on bare masonry goes chalky and lets go. Loxon or Watertite first, always.
- Using a non-breathable paint outside. Oil enamels and hard coatings trap moisture; it freezes and blisters them off by the second winter. Breathable acrylic or mineral paint only on exterior walls.
- Rolling over recessed mortar joints. The roller skips the valleys and leaves bare lines that telegraph through. Brush the joints first.
- Spraying without back-rolling. Paint sits on the high spots and never reaches the texture bottoms. Back-roll every pass.
- Not fixing the water source. Painting the wall doesn’t stop water wicking in from the ground or a bad gutter. Fix the leak, or you’re repainting next year.
Maintenance and Longevity
A properly primed and painted acrylic masonry wall holds 8 to 12 years on a sheltered face, 6 to 8 on a south or west wall that takes sun and driving rain. Elastomeric on stucco runs 10 to 15. Mineral paint can outlast all of them because it’s bonded into the substrate rather than sitting on top.
Wash the wall once a year with a soft brush and a soap injector, no pressure washing in the first year of cure. After that, 1,200 PSI on a wide tip is the ceiling. Watch the base of the wall and around downspouts for new efflorescence; it’s the early warning that water is getting in. Re-caulk any control joint the season it splits. If the topcoat starts chalking on the south face ahead of the rest of the wall, clean it and lay one fresh coat. The primer underneath is still doing its job.
Will it bite you in two years? Only if you painted it green, left the salt on, or skipped the alkali-resistant primer. Those three are the whole game on masonry. Everything else is just rolling paint.