How to Paint Paintable Wallpaper
How to paint paintable wallpaper without flattening the texture: when to prime, why flat or matte beats gloss, and the seam step that stops every lift.

Paintable wallpaper is the easiest wall you’ll ever paint. The trap isn’t the prep. It’s the sheen. Reach for satin to make it wipeable and every seam on the wall lights up the first sunny afternoon.
TL;DR
- Seal first: thin coat of drywall or PVA primer (Bulls Eye 1-2-3 or Kilz 2) over raw paper
- Stain block: Zinsser BIN only where water marks or marker bleed through
- Re-glue seams: any lifted edge gets seam adhesive and a seam roller before paint
- Paint: 100% acrylic flat or matte, never satin or higher
- Coats: two finish coats over the sealer
- Roll thin: don’t flood the relief or you soften the texture
- Skill: easy. The sheen call is the whole job
What Paintable Wallpaper Actually Is
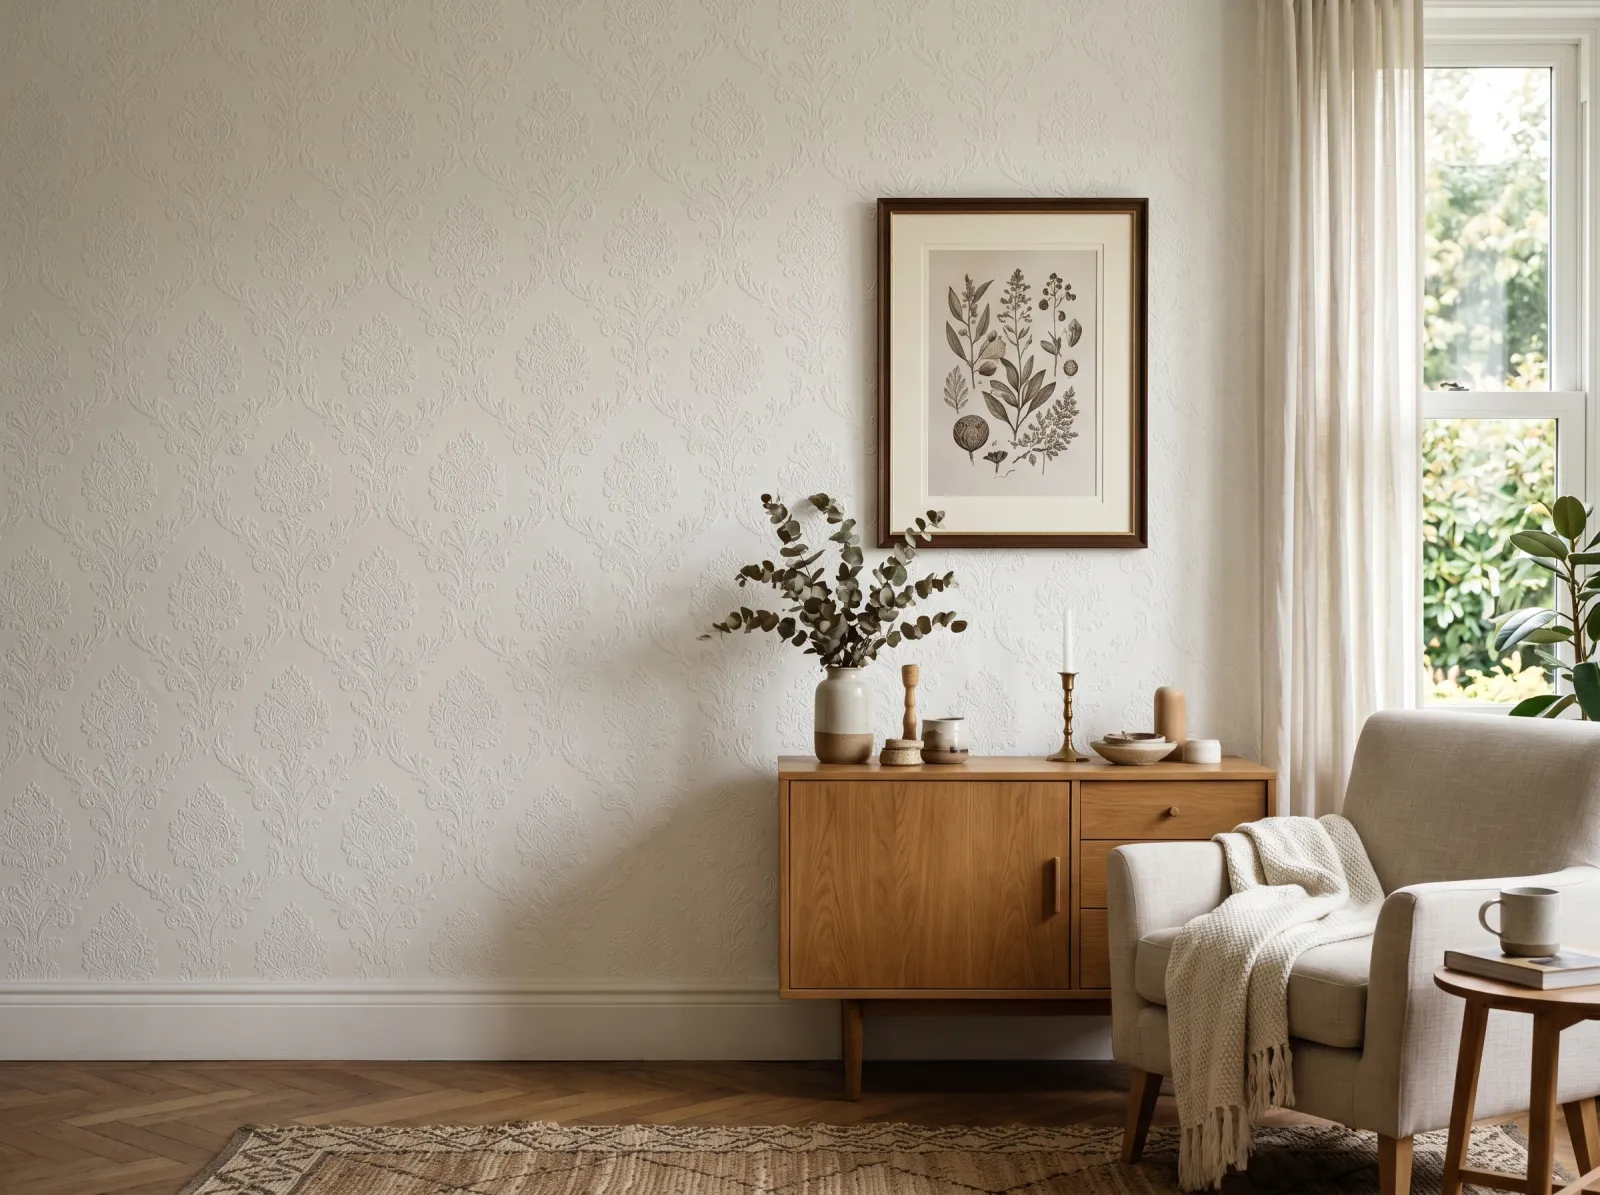
Paintable wallpaper is hung blank, meant to be painted on the wall instead of coming pre-colored. The common types are Anaglypta and other embossed papers with a raised pattern, woodchip (a pulp paper with wood flakes pressed in), and plain lining paper that smooths over rough walls. Most of it is paper or a paper-vinyl blend. The whole point is texture and coverage: it hides cracks, bad drywall seams, and old plaster, then takes a coat of color.
It’s a finish surface that wants paint. That makes it the friendliest substrate on this site. You’re not fighting tannin, rust, or alkalinity. You’re managing paper and seams.
Why Paintable Wallpaper Is Different From Bare Drywall
Two things set it apart from a fresh sheet of drywall.
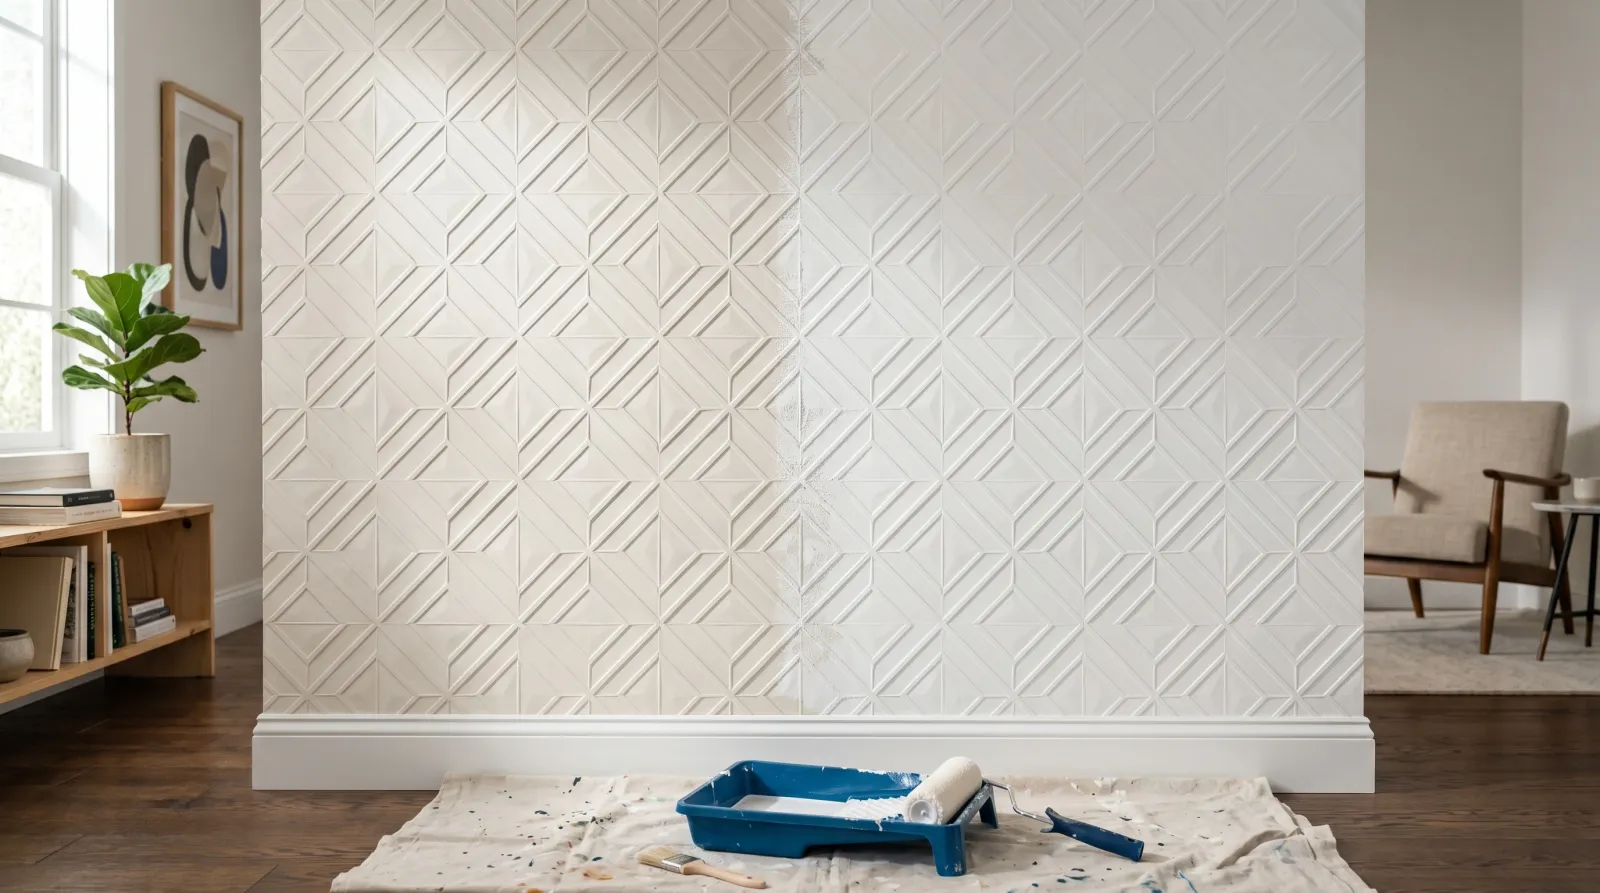
First, it’s already textured, sometimes deeply. An embossed or woodchip pattern has high spots and low spots, and paint pools in the lows. Roll too heavy and the relief goes soft and mushy. The texture you paid for disappears under the paint.
Second, it’s paper glued to a wall, and paper moves. Seams lift. Edges curl at the top by the ceiling line and at outlets. Water gets behind a seam and the whole strip bubbles. None of that happens on solid drywall.
So the job isn’t really about paint chemistry. It’s about not flattening the texture and not painting over a seam that’s already letting go.
Step 1: Check Every Seam and Wash the Wall
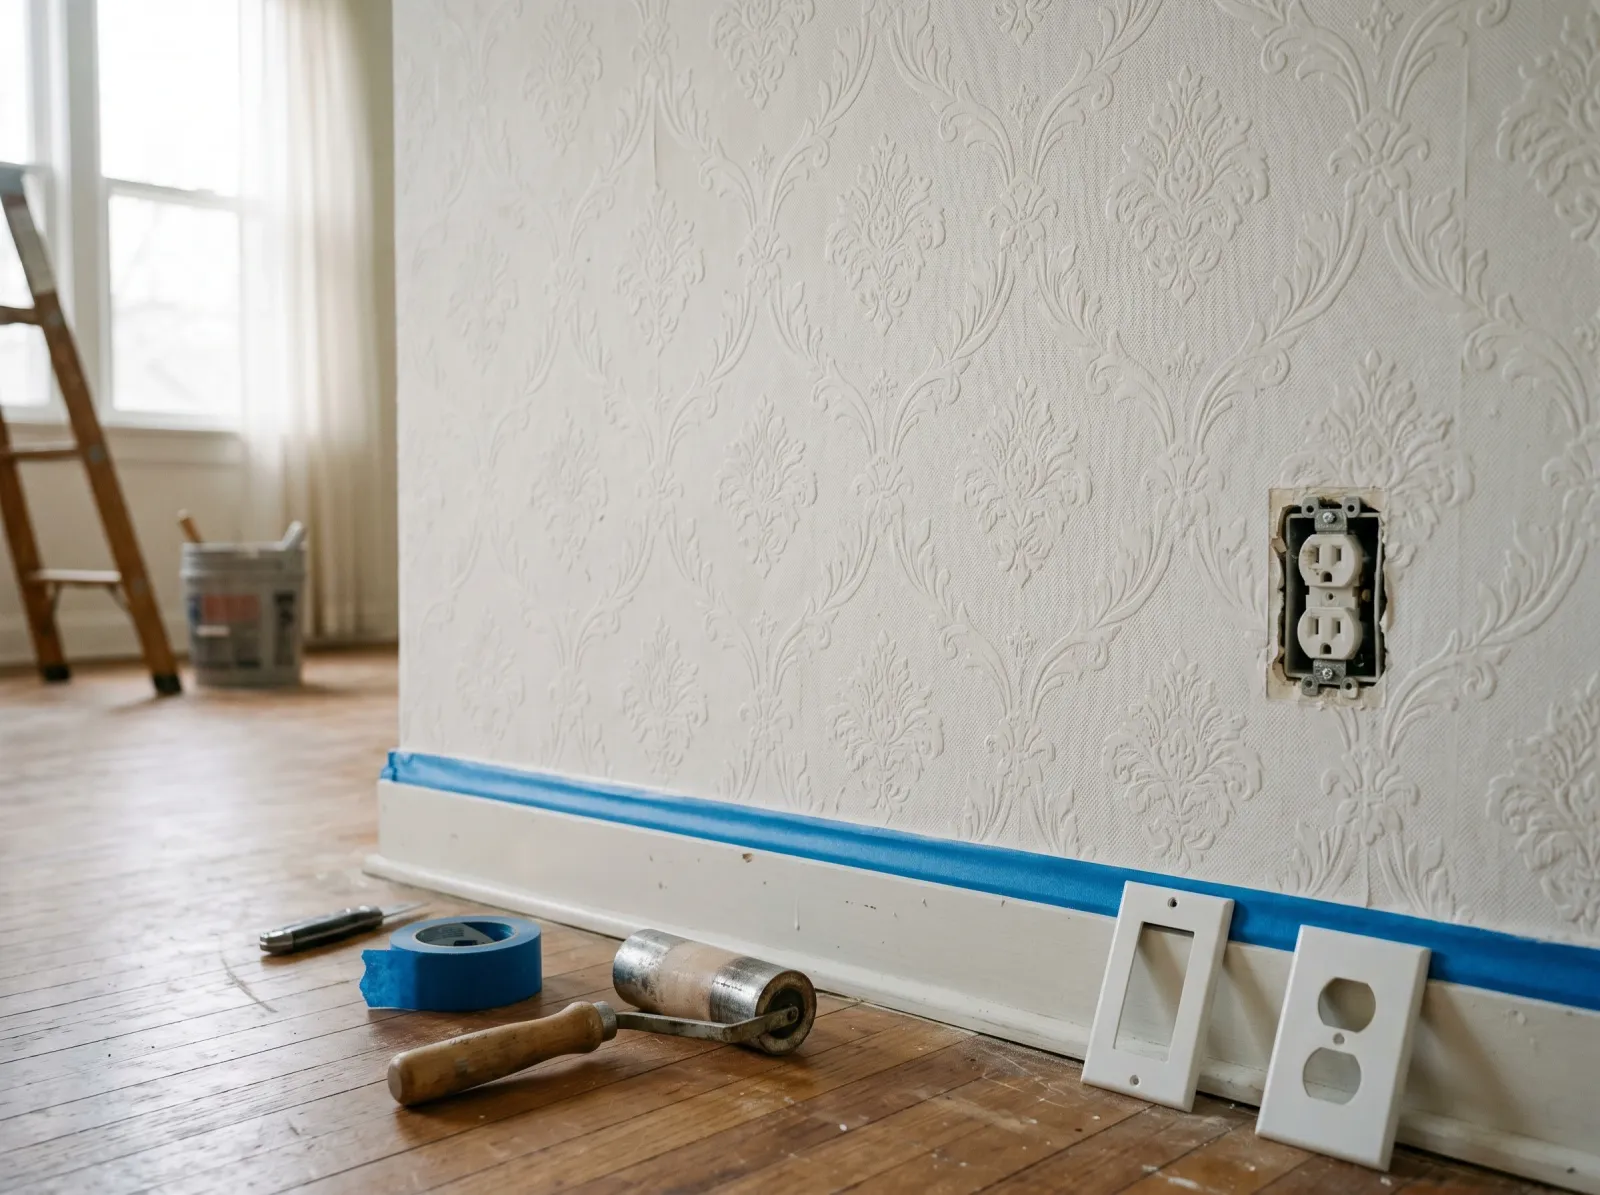
Press every seam and edge back down before paint. A lifted seam under paint stays lifted forever.
Walk the wall. Push on every seam with your thumb, run a hand along the top edge by the ceiling, check around every outlet and switch. Anywhere it lifts, slide wallpaper seam adhesive behind the edge with a small brush or the nozzle, press it down, and run a seam roller along it. Wipe the squeeze-out with a damp rag before it skins over.
A lifted seam you paint over stays lifted. The paint dries, the edge curls back up, and now you’ve got a hard painted ridge that catches light and won’t lie down. Fix it now while the glue can still grab.
Then wash. Kitchens and living rooms collect grease and smoke film that paint won’t stick to. Wipe the wall with a TSP substitute on a damp sponge, rinse with clean water, let it dry an hour. Pull the outlet and switch cover plates off so you can paint the full edge instead of cutting a ragged line around them.
Step 2: Repair Gouges and Caulk the Top Edge
Torn spots, dents, and gouges in the paper get lightweight spackle pressed in with a 1.5-inch putty knife, feathered flat, sanded at 220 once dry. On embossed paper you won’t perfectly match the pattern in a repair, but a flat-filled spot reads better than a torn one once it’s painted flat.
Where the paper meets the ceiling or trim and the gap is uneven, run a thin bead of paintable acrylic caulk and tool it flat with a wet finger. This is what gives you the crisp line at the top. Skip it and you’ll fight a wavy paper edge with a brush forever.
If there’s a water stain, an old marker line, or a grease ghost that washing didn’t kill, spot-prime it with Zinsser BIN. Water-soluble stains walk right up through latex paint. Block them now or they bleed through both finish coats and you’re repainting.
Step 3: Seal the Paper
A thinned coat of primer or matte sealer locks the paper. Roll light. Don’t flood the relief.
Raw paintable paper is thirsty. Hit it straight with finish paint and the first coat soaks in unevenly, blotchy in the deep parts of the pattern and shiny on the flats. A sealer coat fixes that.
Roll a thin coat of drywall or PVA primer across the wall. Zinsser Bulls Eye 1-2-3 or Kilz 2 both work. Use a 3/8-inch nap on smooth lining paper, 3/4-inch on deep embossing or woodchip so the nap reaches into the lows. Cut in the corners and edges first with a 2.5-inch angled sash brush, then roll the field while the cut is still wet.
Keep the coat thin. You’re sealing the paper, not building film. Flood it and the primer pools in the relief and rounds off the pattern edges. One light, even coat is the target.
Pre-pasted vinyl-faced paper that’s slick to the touch sometimes skips this step, since vinyl doesn’t drink paint the way pulp does. When in doubt, seal. Primer on a wall that didn’t strictly need it costs you nothing. Skipping it on a wall that did costs you a blotchy finish coat.
Step 4: First Finish Coat
Cut in the corners, roll the field while the cut is wet. Don’t stop mid-wall.
Here’s the part people get wrong, so I’ll say it plainly. Use flat or matte. 100% acrylic interior wall paint, flat or matte sheen, full stop.
Eggshell is the absolute ceiling, and only on a smooth lining paper. The reason is light. Any sheen above matte throws light sideways across the wall, and a textured paper with seams every 20 inches is the worst possible surface to do that to. Satin lights up every seam, every roller lap, every dimple in the paper. Flat scatters the light and the whole wall reads as one even surface. For the full breakdown of why sheen does this, see the sheen guide.
Cut in the corners and the top edge with the brush. Roll the field while the cut-in is still wet so the two blend without a lap line. Roll in a loose W or zig-zag, then lay it off in one direction. Don’t stop in the middle of a wall. Stopping mid-wall is how you get lap marks, and lap marks show up the second the morning sun hits them.
On deep embossing, let the roller carry the paint into the lows but don’t back-roll the same spot over and over. Two passes, move on. Over-working pulls paint out of the relief and dumps it in the valleys.
Step 5: Second Coat and Cure
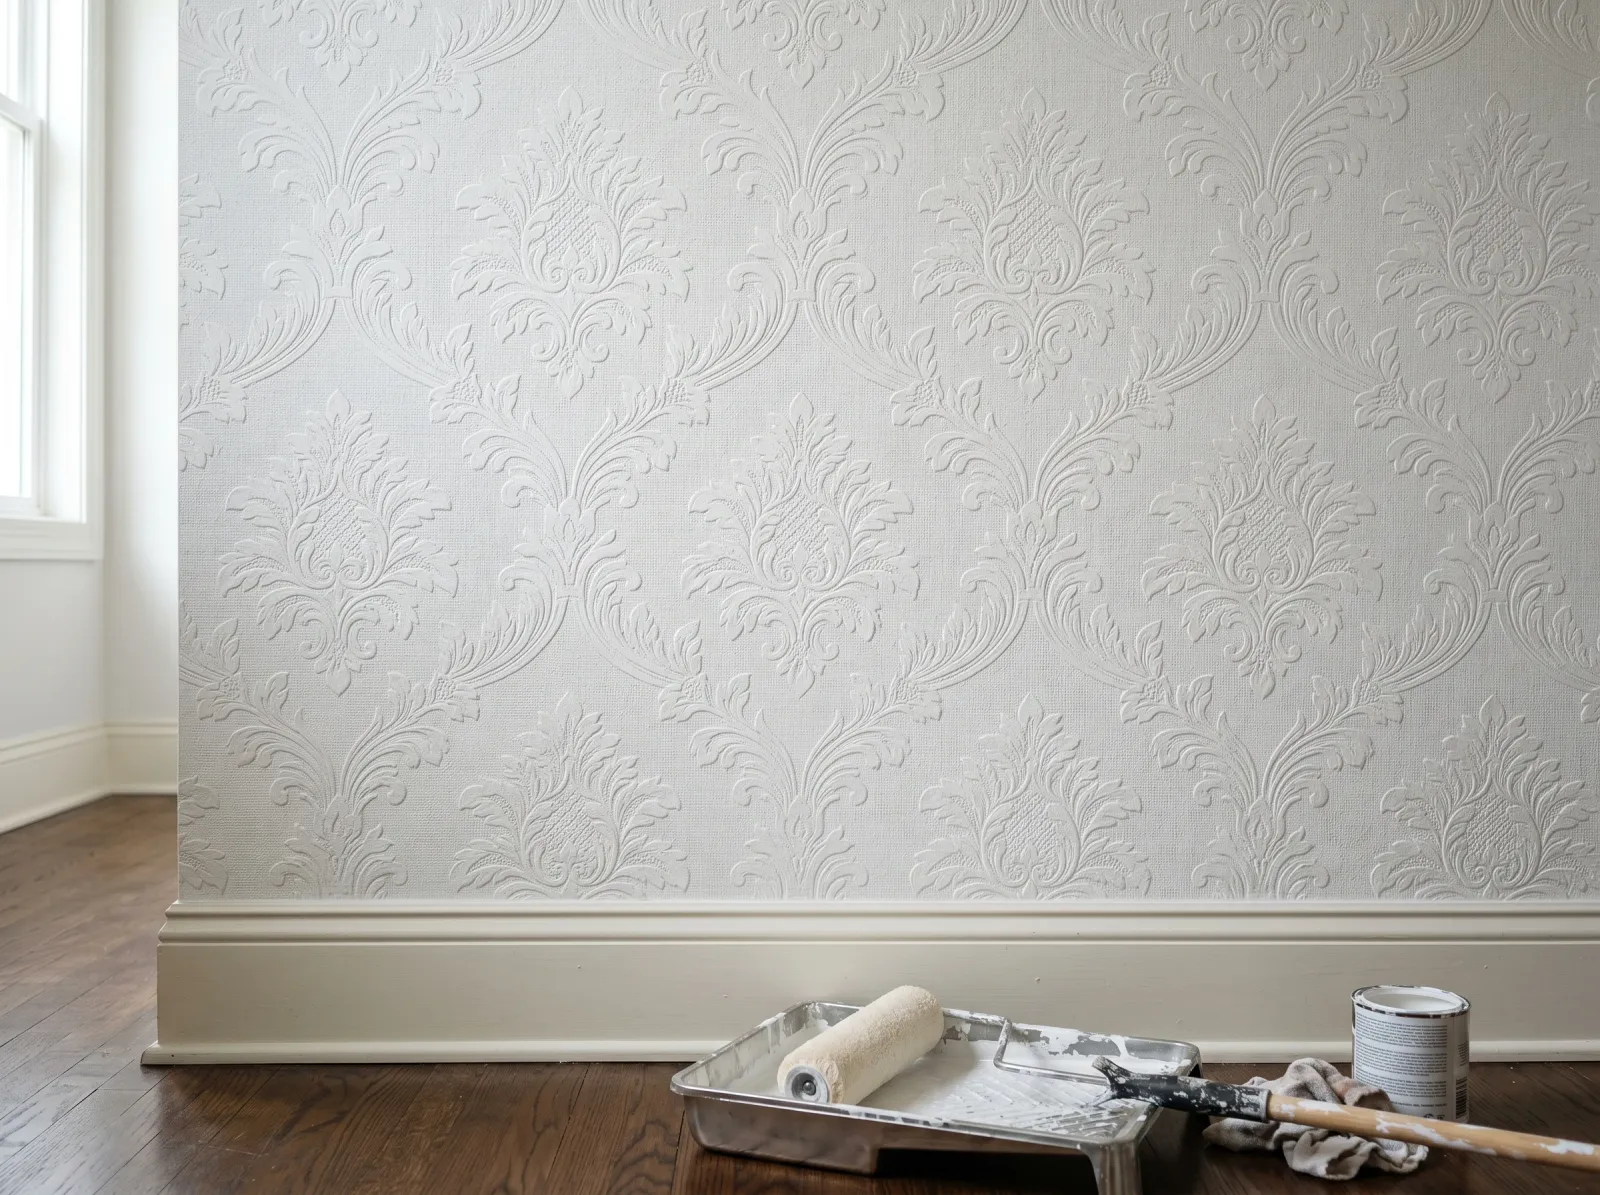
Two coats. The relief reads sharp, the seams have vanished, the wall is one surface.
Two coats. Always two coats. The first finish coat over textured paper always looks a little patchy in raking light, especially across seams and in the deep pattern. The second coat is what evens the color and the texture into one surface.
Most interior flats recoat in 2 to 4 hours at room temperature. Read the can. Don’t rush the second coat onto a first coat that’s still soft, or the roller drags and lifts the underneath.
Touch-dry runs an hour or two. Full cure on an interior acrylic flat is 14 to 30 days. That’s the window before the film reaches full hardness. During cure, don’t scrub the wall, don’t lean furniture hard against it, and put the cover plates back on gently. A soft film marks easy.
Common Mistakes
- Satin or semi-gloss on textured paper. Result: every seam and lap line lights up in side light. Fix is to repaint in flat or matte. There’s no shortcut once the gloss is on the wall.
- Painting over a lifted seam. Result: a hard painted ridge that curls and catches light. Re-glue and roll seams flat before any paint touches them.
- Skipping the sealer on raw paper. Result: blotchy, uneven first coat that soaks in differently across the pattern. A thin primer coat fixes the absorption before color goes on.
- Flooding the relief with paint. Result: pooled paint in the low spots, softened pattern edges, lost texture. Roll thin coats and stop back-rolling the same area.
- One coat to save time. Result: patchy color and visible seams in raking light. Two finish coats, every time.
- Not blocking a water stain first. Result: amber or brown ghost bleeds through both coats. BIN the stain before you prime the wall.
Maintenance and Longevity
Painted paintable wallpaper holds 10 to 15 years on a wall that doesn’t take abuse, which is most walls above the chair rail. Flat paint isn’t as scrubbable as satin, so clean it with a soft damp sponge and a touch of dish soap, not an abrasive pad. Spot-touch with leftover paint from the same can when a scuff won’t wipe off.
The thing that ends a paintable-wallpaper finish early isn’t the paint. It’s a seam or a corner letting go behind it, usually from moisture or a knock. Catch a lifting seam early, re-glue it, dab a little flat paint over the repair, and the wall keeps going. If a whole strip bubbles or the paper tears, you’re into a repair-or-strip decision, and stripping old paper can pull the drywall face off with it. At that point the wall under it becomes a drywall or plaster prep job, not a wallpaper job.
For a feature wall done this way, the accent wall walkthrough covers color and layout. If you ever do find paint peeling off the paper in sheets, that’s a bond failure, and the peeling paint fix walks through the cause.
FAQ
Do I need to prime paintable wallpaper before painting? Usually yes. A thin coat of drywall or PVA primer seals the raw paper so the topcoat goes on even and doesn’t soak in blotchy. Some pre-pasted vinyl-faced papers don’t need it, but bare pulp and woodchip do. Any wall with a water stain or marker bleed always needs a stain blocker first.
What kind of paint do you use on paintable wallpaper? Flat or matte 100% acrylic wall paint. Lower sheen hides the seams and the slight unevenness in the paper. Eggshell is the highest you should go. Satin and semi-gloss throw light sideways across the relief and light up every seam and roller lap.
Will painting flatten the texture on embossed wallpaper? Only if you overload it. Anaglypta and other embossed papers hold their relief through normal painting. The risk is too much paint at once, pooling in the low spots and softening the pattern edges. Roll thin coats, don’t over-work the same spot, and let each coat dry.
Can you paint over old painted wallpaper that’s already on the wall? Yes, and it’s often smarter than stripping it. If the paper is stuck tight with no lifting seams, paint right over it. Wash off grease and smoke film, re-glue any lifted seams, spot-prime repairs, then two finish coats. Stripping can tear the drywall face underneath.
Why are my seams showing through the paint? Either a seam lifted and you painted over the gap, or you used too much sheen. Lifted seams need re-gluing and rolling flat first. If the seams are flat but still catching light, you’ve got eggshell or higher on the wall. Drop to flat or matte.