How to Paint Formica or Laminate Counters
Painting laminate countertops is a bonding problem with a kitchen-grade topcoat on top. Stix primer, BM Advance plus epoxy or a Giani kit, 30-day cure.


Laminate counters take paint the same way laminate furniture takes paint, with one extra problem on top. The bonding problem is the same. Stix or nothing. The kitchen problem is new. A counter sees knives, hot pans, citrus juice, and a damp rag every day. Most paint can’t sit on a horizontal kitchen surface and stay there. Two of the three products below are engineered for it. The third is engineered around it. Either way, the rule is the same: bond first, topcoat for the kitchen, cure thirty days before you cook on it.
TL;DR
- Clean: Krud Kutter, two passes, rinsed
- Scuff: 220-grit by hand, light
- Prime: INSL-X Stix bonding primer, one thin coat
- Paint: BM Advance plus a clear two-part epoxy, OR a Giani Countertop Paint kit, OR Rust-Oleum Countertop Coating
- Cure: 30 days before normal kitchen use
What Formica Actually Is
“Formica” is the brand name everybody uses for high-pressure laminate (HPL) countertops. Phenolic-resin-saturated kraft paper layers fused under heat and pressure to a melamine print layer on top, bonded to a particleboard substrate. Wilsonart, Pionite, and the import brands make the same product class. If your counter is a hard glossy sheet with a seam at the inside corner, it’s HPL.
The face is engineered to be a finished surface. Sealed, dense, low-energy. That’s why “all-surface” spray primers fail on it inside a season. The fix is one bonding primer and a topcoat that knows it’s living in a kitchen.
Tools and Materials
Materials
- Krud Kutter Original, 32 oz spray bottle
- 220-grit sanding sponges, two
- Painter’s tape, drop cloth, brown kraft paper to mask the backsplash
- INSL-X Stix Waterborne Bonding Primer, 1 quart
- One of: BM Advance plus a clear two-part epoxy (System Three MirrorCoat or EnviroTex Lite), Giani Countertop Paint kit, Rust-Oleum Countertop Coating
- Wood filler for any chipped front edge
- Caulk for the sink-rim reseal at the end
Tools
- 4-inch foam roller frame plus four covers
- 2-inch Wooster Silver Tip angled sash brush
- Putty knife, tack cloth, microfiber rags
- Mixing cups and stir sticks if you’re going the epoxy route
- A respirator with organic-vapor cartridges if you’re pouring epoxy
No sprayer needed. Foam roller and a sash brush carry the whole job on a counter this size.
Why Counters Are Harder Than Furniture
A laminate dresser sees fingerprints. A laminate counter sees knives, citrus juice, a damp rag twice a day, and a hot cast-iron skillet once a week. The bonding problem from the laminate furniture guide is identical here. Same primer call. What’s different is the topcoat. A satin furniture enamel that’s bombproof on a dresser will gouge under a chef’s knife and ghost under a hot pan. Pick the topcoat for the abuse case, not the look.
Step 1 — Clear, Mask, Degrease
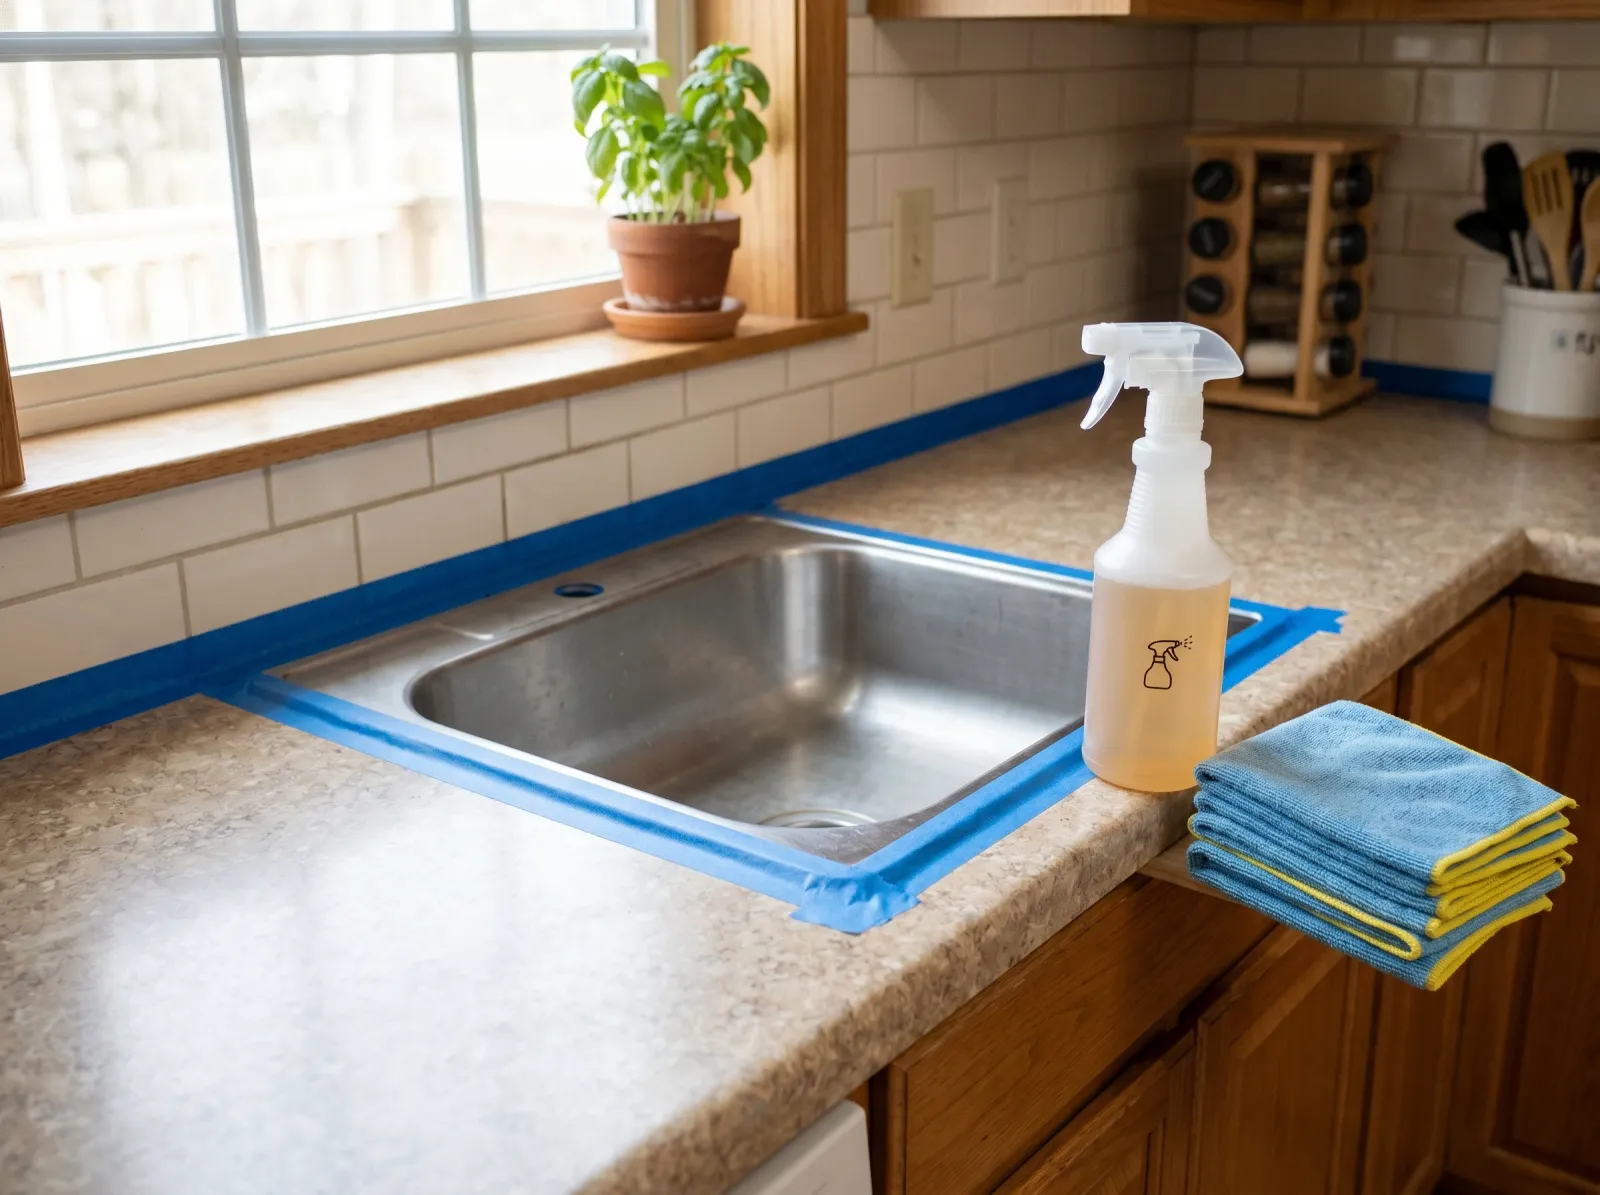
Krud Kutter, two passes, rinsed. The shine should look slightly less greasy when you’re done.
Pull everything off. Tape painter’s plastic over the upper cabinets, mask the backsplash with kraft paper, tape the sink rim, the faucet base, and the side of the cooktop. Drop cloth at the toe-kick.
Spray Krud Kutter on the whole counter, let it sit two minutes, wipe with a microfiber. Repeat. Wipe again with a clean water-damp rag and dry. Hit the strip behind the cooktop and the rim around the sink twice. Cured grease under primer is how you get fisheyes in the topcoat at hour two. Stix is good; it is not magic.
Step 2 — Scuff the Gloss
220-grit sanding sponge, dry, light hand, three or four passes per square foot. Dull the gloss for a microscopic tooth. Stop when the whole counter reads as a uniform haze instead of a mirror.
The mistake is leaning too hard. The melamine face on most HPL is a few thousandths thick. Cut through and the kraft paper under it picks up water and swells. Brown dust on your sponge means stop. Lighter pressure, slower passes.
Vacuum the dust. Tack-cloth twice. A final wipe with a microfiber dampened in denatured alcohol pulls residual fines off so they don’t end up cured into your primer.
Step 3 — Repair the Front Edge
Run a fingernail along the front edge. Most kitchen counters have a separate strip of laminate glued to the front lip, and it takes the most abuse from leaning in while you cook. If you feel a chip or a section pulling away, fix it before you prime.
Small chip: fill with two-part auto-body filler (Bondo) wiped thin, sand flush at 220 once cured. Lifted section: peel back to a point where it’s still tight, trim the loose edge with a fresh razor, bead with cyanoacrylate, press thirty seconds, fill the seam, sand. A soft spot under the topcoat shows up at month two and never goes away. If your front edge is a mess, plan the look around the repair. The Giani kit’s mineral speckle hides edge work better than a solid color from Advance does.
Step 4 — Prime with Stix
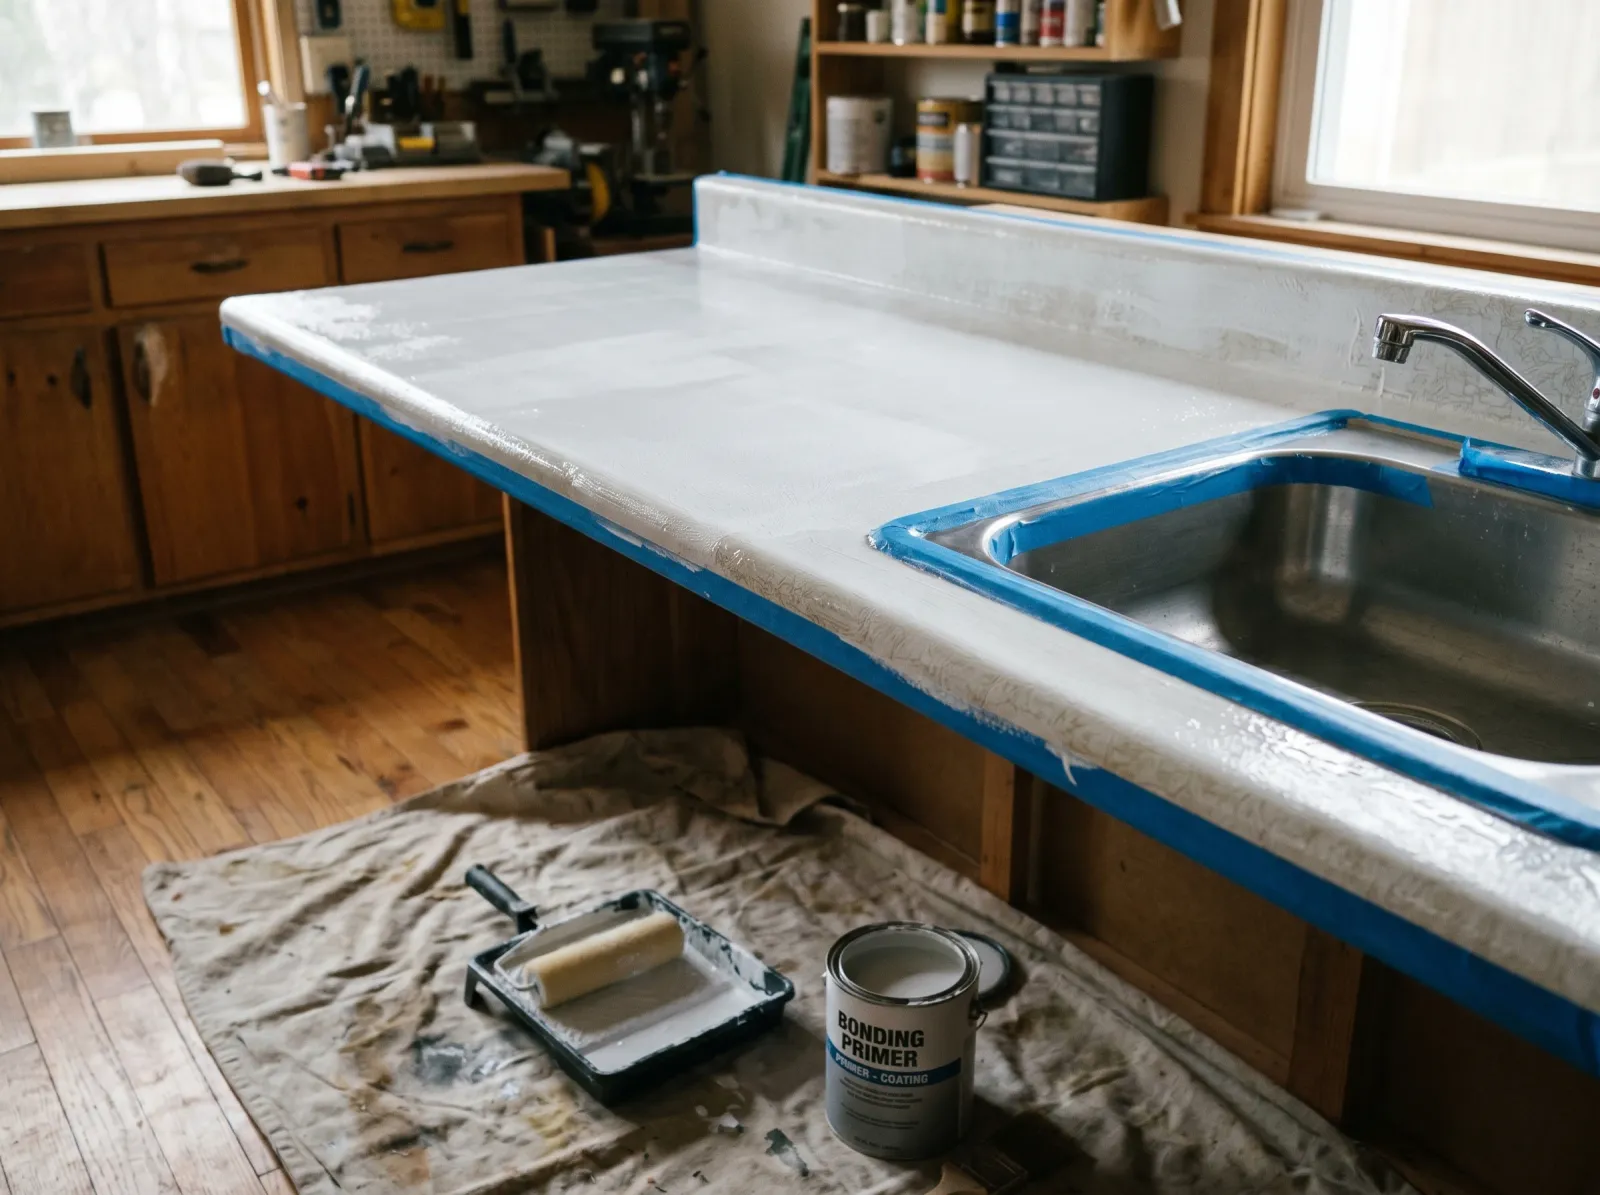
One thin coat, rolled with a 4-inch foam roller. Stix grabs the Formica where nothing else will.
Stir Stix slowly. Don’t shake it; you trap air. Pour into a small tray. Cut in with the 2-inch Wooster along the backsplash, the sink rim, and the front edge. Roll the field with the 4-inch foam roller in thin even passes. Lay it on thin. Stix covers in one coat and a thick coat takes forever to cure.
Touch-dry at 30 minutes, recoat-ready at 4 hours under good drying conditions (70°F, 50% RH, fan on). You’ll see streaks. You’ll see a ghost of the original Formica pattern through the primer. That’s fine. The topcoat buries both. Don’t double-coat the primer trying to hide them. Thick Stix is soft Stix.
There’s exactly one bonding primer for this substrate and you’ve found it. Use it. Don’t substitute.
Step 5 — Topcoat: Pick One of Three
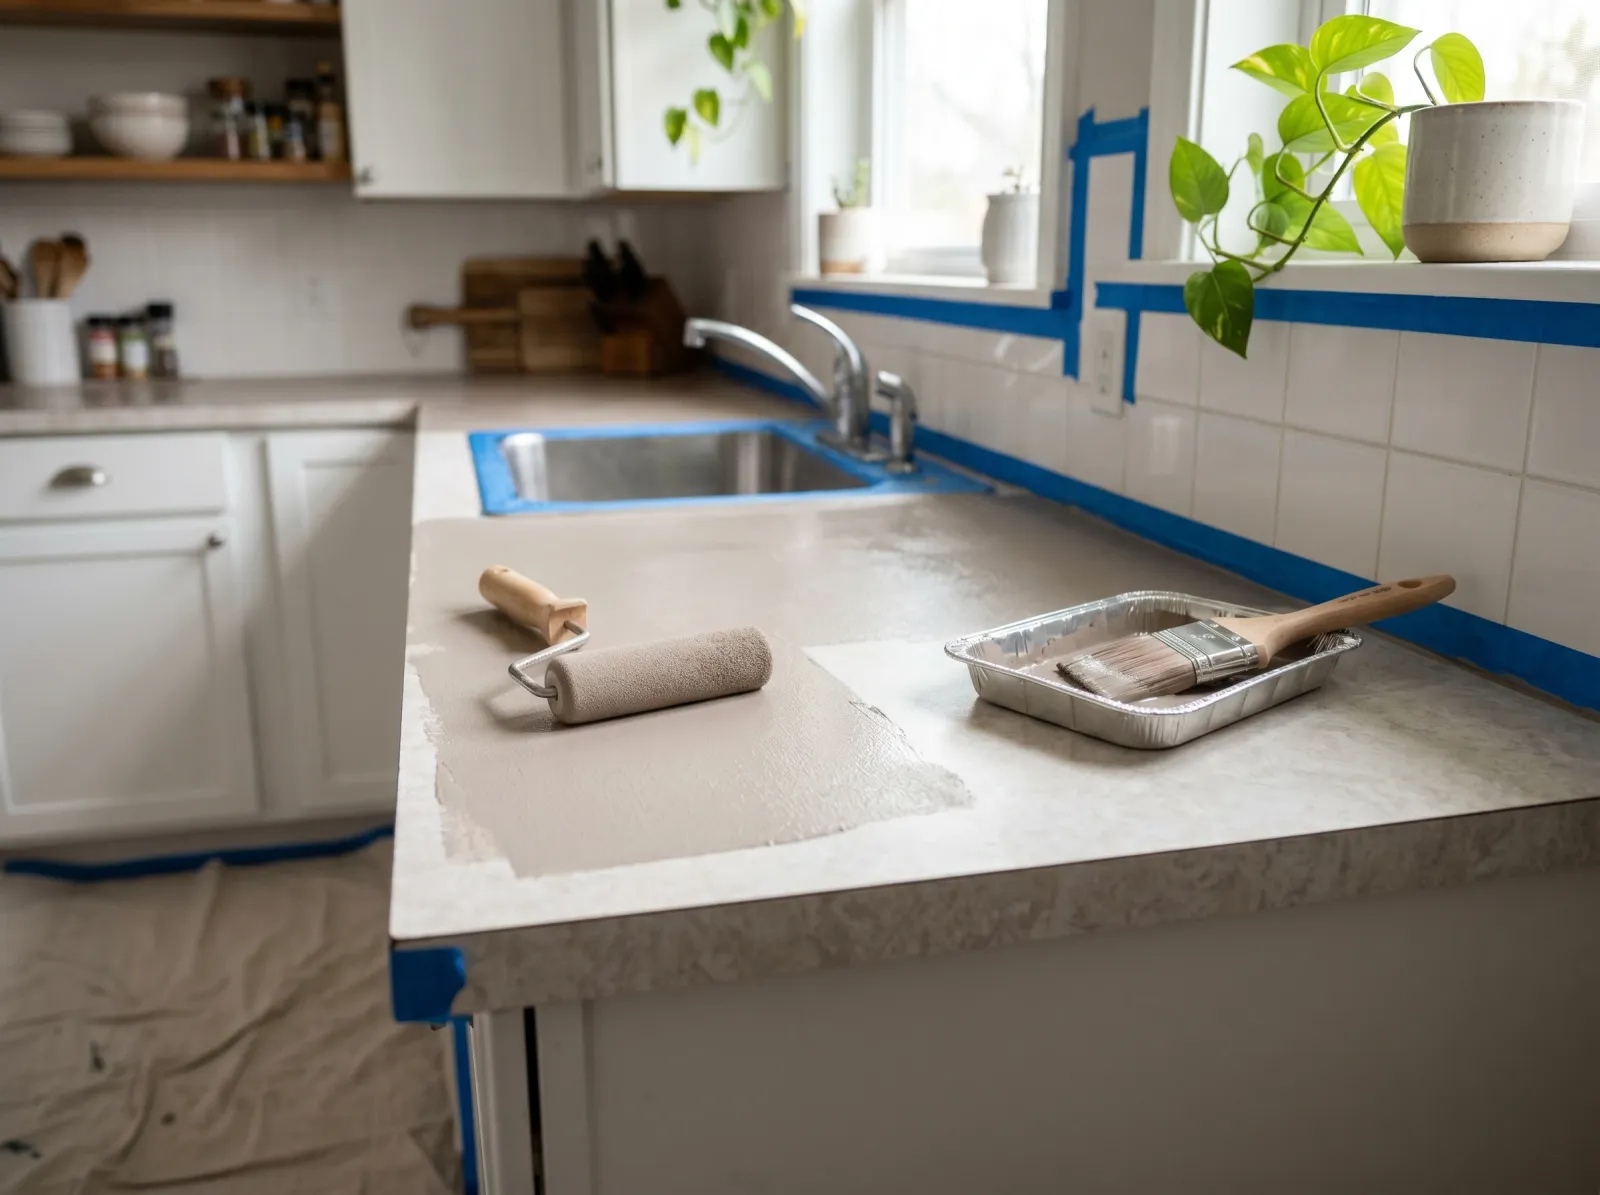
BM Advance in a custom color, two coats, foam roller for the field, brush for cut-ins. Or one of the kits below.
Three real options. Pick on color preference and tolerance for kit-versus-mix.
BM Advance plus clear two-part epoxy is the contractor stack. Advance is a waterborne alkyd, hardest cured film of any furniture-grade paint on the consumer shelf, color-matchable to anything in the BM deck. Roll two coats, sixteen hours between, on top of the cured Stix. Once Advance has dried seven days, pour a two-part epoxy clear (System Three MirrorCoat or EnviroTex Lite) at 1/8-inch thickness across the whole counter, edges dammed with tape. That epoxy layer carries the knife and the hot pan. Advance carries the color. Best finish, widest color choice, most steps. Budget: $150–220 in product plus a respirator for the pour.
Giani Countertop Paint kit is the all-in-one. Ships with a primer, a base coat, three mineral-accent sponges, and a kit-grade topcoat resin. Engineered around the bonding-primer problem this article exists to solve and the kitchen-topcoat problem this whole guide is about. The look is granite or stone, not solid color. If you want to mimic a slab, this is the simplest path. Use the included primer over Stix as belt-and-suspenders; Giani’s primer is good but Stix is better on factory HPL. Budget: $80–100 for the full kit, covers about 35 sq ft.
Rust-Oleum Countertop Coating is the budget call. Tintable single-can resin topcoat, semi-gloss, two coats on top of Stix. No epoxy step, no kit accents. Solid color only, smaller deck than Advance. Fast project: prime Saturday, two coats Sunday with four hours between, light use the next weekend, full kitchen use at day thirty. Budget: $35–45 a quart.
| Topcoat | Finish toughness | Color flexibility | Project time |
|---|---|---|---|
| BM Advance + epoxy | 🟢 Highest | 🟢 Any BM color | 🔴 4 days active + cure |
| Giani Countertop kit | ⚪ High (kit-grade) | 🟡 Stone-look only | ⚪ 2 days active + cure |
| Rust-Oleum Countertop Coating | 🟡 Moderate | 🟡 Small deck | 🟢 1 weekend + cure |
The deeper comparison and the SKU calls live in the countertop paint kit round-up. For full color matching off a Pantone or BM chip, go Advance.
Step 6 — Cure
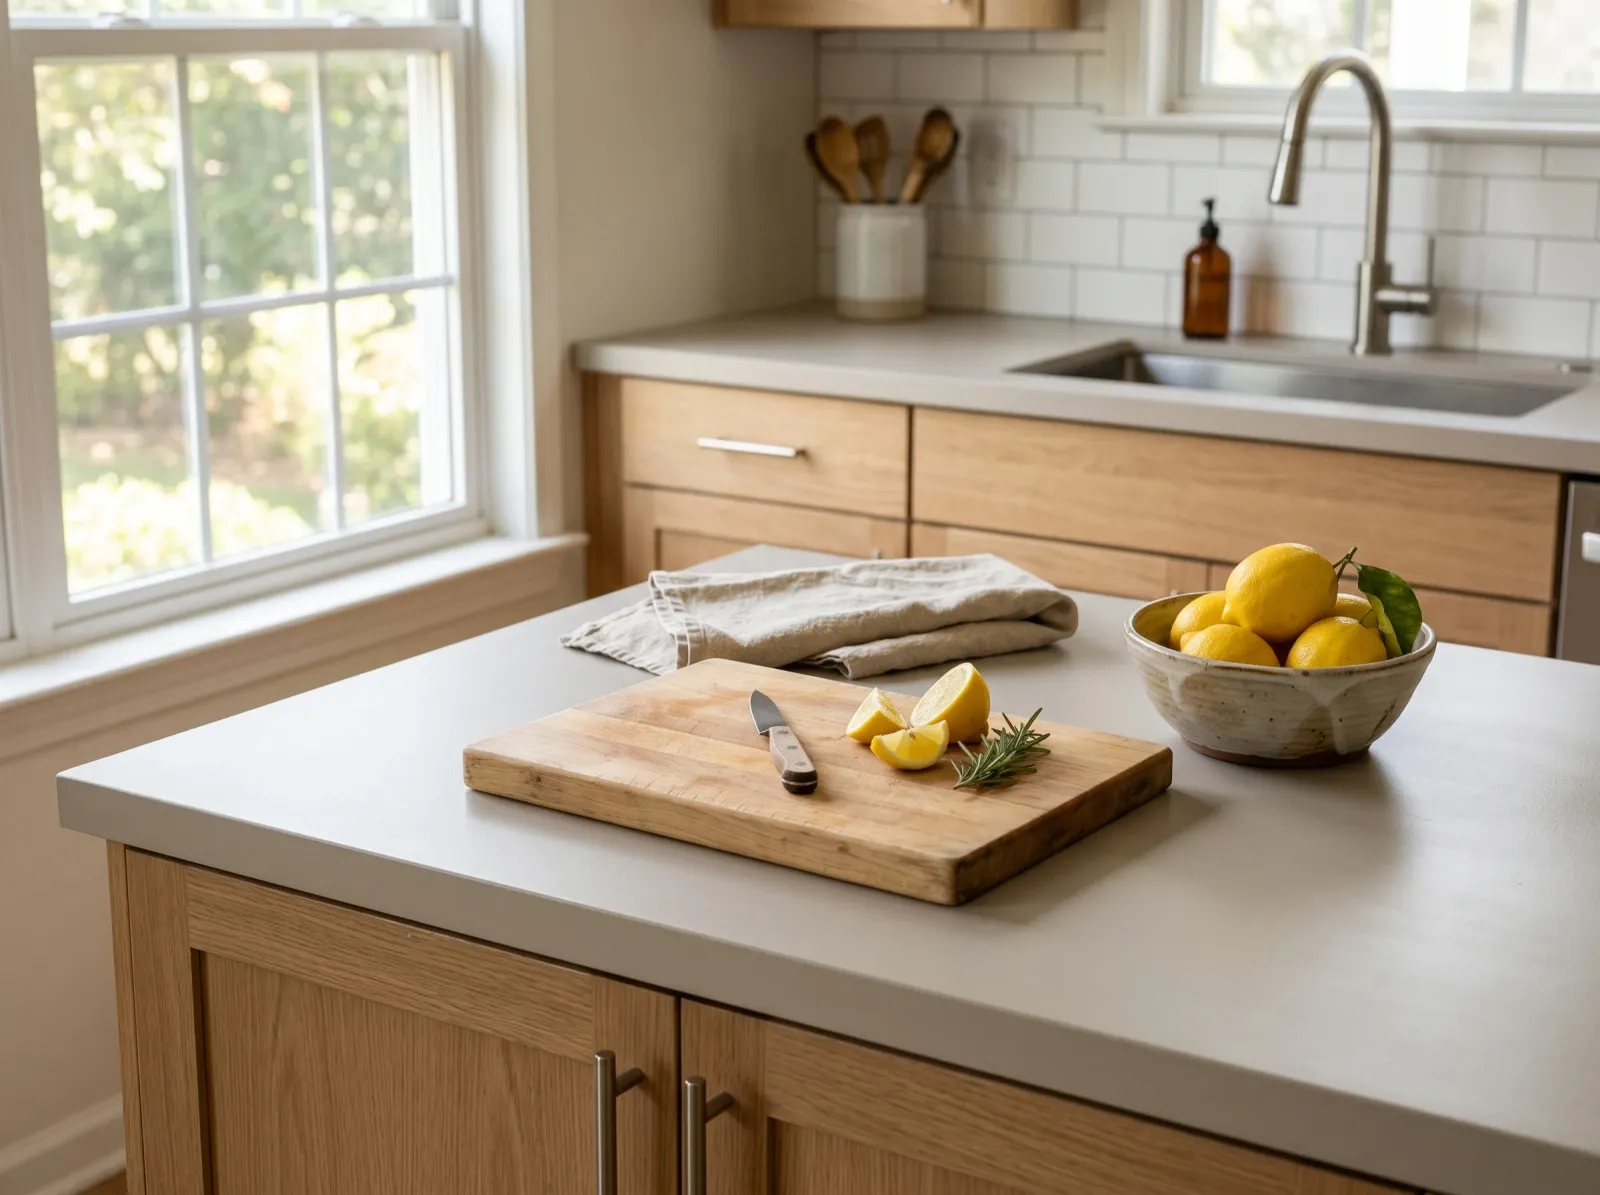
Day thirty. The counter is ready to act like a counter again.
This is the step that decides whether the project lasts.
Touch-dry doesn’t matter. Recoat-ready doesn’t matter. What matters is the day you put a knife on it and the day you set a hot pan on it. The film cures by oxidation from the surface inward, and any abuse during cure leaves a mark for the life of the finish.
- Days 1–3: nothing on the counter. No coffee maker, no mail.
- Days 4–14: appliances back on, no cutting on the surface, no hot pans.
- Days 15–29: cutting on a board only, hot pans on a trivet, wipe with damp cloth, no degreaser.
- Day 30: back to normal use.
If you went the epoxy route, the epoxy has its own clock. Pour seven days after the last coat of Advance, then count thirty from the pour. Total: about 45 days. Eat takeout, set up a board on sawhorses, plan accordingly.
I lost a Formica counter to this in 2019. Painted the Memorial Day weekend, set a coffee maker on it Friday, ran a damp rag across the sink edge the next Monday. The coffee maker ring is still visible at the original homeowner’s place.
Common Mistakes
- Skipping Stix. Zinsser 1-2-3, KILZ Original, generic latex primers, even the primer that ships with some kits used alone. None of them reliably bond to factory HPL long-term. Topcoat lifts at the sink rim by month three.
- Over-sanding through the laminate. 220-grit, light hand. Cut through to the kraft paper and the next damp sponge swells the substrate forever.
- Skipping the cure. Cooking on a day-five counter is how you build the gouges and halos that define the rest of the finish. Eat takeout for a month. The math works out.
- Rolling on a tacky topcoat. Two thin coats of Advance with sixteen hours between, not one heavy coat trying to save a day. Thick coats trap solvent, soften the film, and you pay for it at month four.
- Pouring epoxy without taping the edges. Self-leveling epoxy levels itself off the front edge of the counter and onto your cabinet face if you don’t dam every edge with painter’s tape and kraft paper first. There is no fix for cured epoxy on a cabinet door except sanding and refinishing.
- Forgetting to re-caulk the sink rim. The original silicone bead gets scraped out when you mask. Re-bead with kitchen-grade silicone at day thirty, after the cure, never before.
Maintenance and Longevity
A correctly painted laminate counter lasts five to seven years in a normal household kitchen, three to five if you cook hot and acidic every day. Wear shows first at the sink rim and around the cooktop. Touch up annually with a small artist’s brush from the same can. Wipe with a damp microfiber and a drop of dish soap. Skip abrasive cleaners (Comet, Bar Keepers Friend, Magic Eraser); they cut through the topcoat the same way they cut through factory laminate gloss.
If you went the kit or coating route, scuff lightly at year four and recoat from the same product; the Stix bond underneath is still good and you buy another three or four years. If you went epoxy, a scratch in the clear can be patched locally with a heat gun and a thin top-up. That’s the upside of the harder build.
What’ll Bite You in Two Years
Two failures show up around month eighteen if you cut corners. The sink rim peels, caused by not re-caulking after cure, or by using a degreaser inside the thirty-day window. Scrape back to sound paint, scuff at 220, re-prime that strip with Stix, recoat, re-caulk after the new cure.
The other is a halo around where the toaster used to live, caused by setting it on the counter inside the cure window. Even cold, the weight plus a warm base compresses the soft film and leaves a permanent dull spot. A Polycrylic top-up softens the halo but won’t fully erase it.
A painted Formica counter is real work and a real finish. Skip the cure or skip the bond and you’ll be back here next year reading the fix peeling paint guide.