How to Paint Bare Exterior Wood
Painting exterior bare wood right: which primer blocks tannin, why end grain needs sealing first, and the prep steps that decide whether it lasts two years or ten.

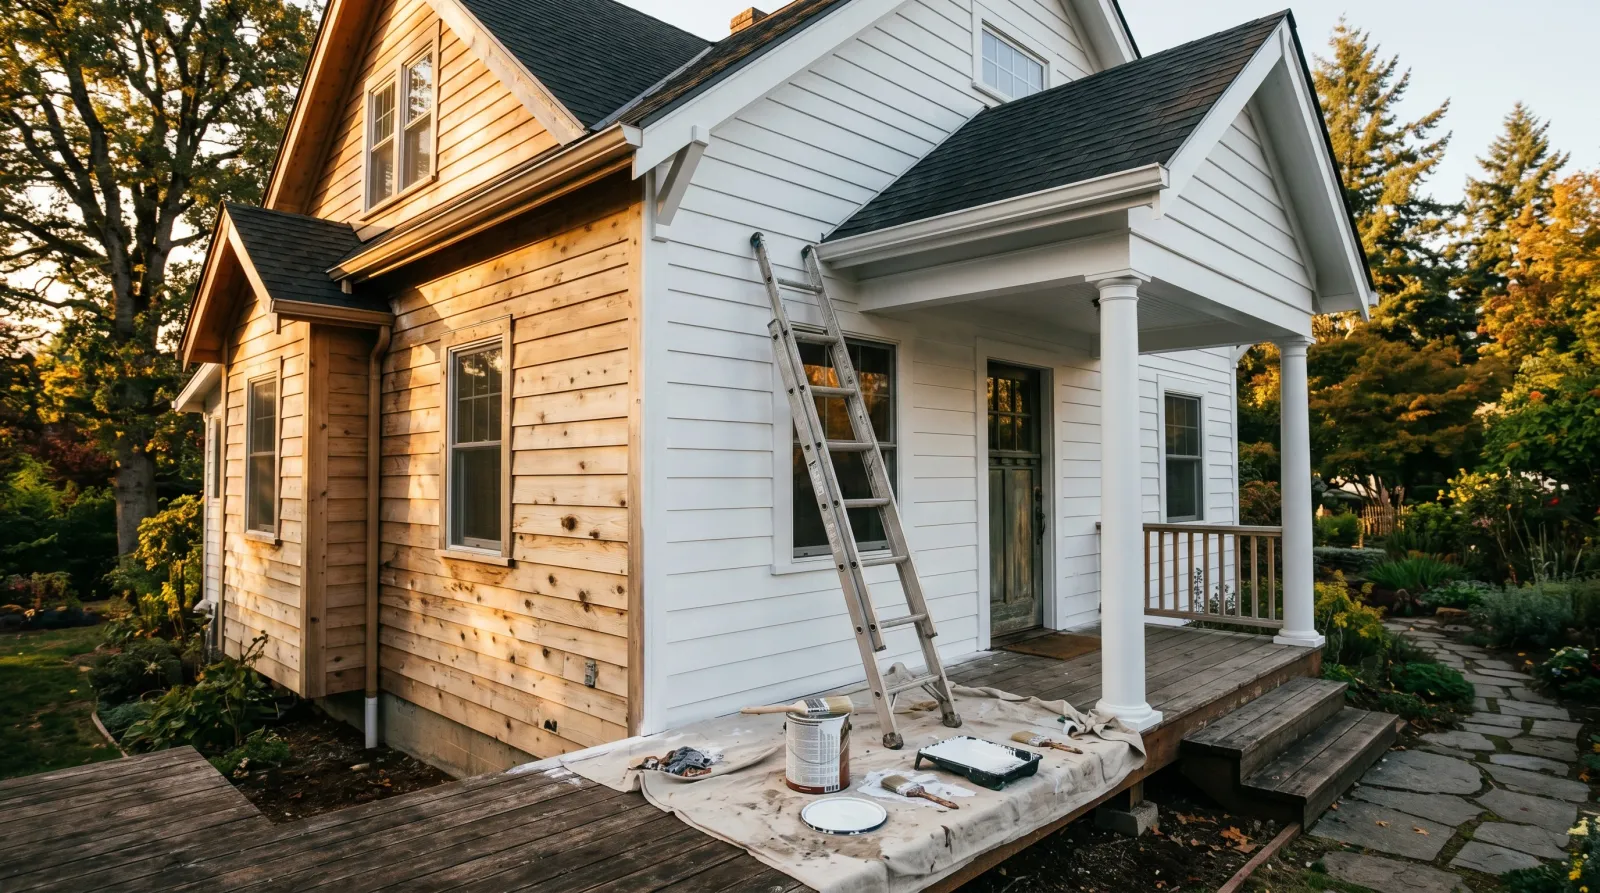
Bare exterior wood doesn’t forgive a rushed prep. The topcoat isn’t what fails first. It’s the primer underneath, the knots nobody sealed, and the cut ends left raw to drink water all winter.
TL;DR
- Dry first: moisture meter under 15% before any primer goes on
- Prime: Zinsser Cover Stain (oil) across the field, never latex primer alone
- Spot-block: BIN shellac on every knot and resin pocket
- Seal the ends: every cut end gets a brushed coat of primer before it sees rain
- Paint: 100% acrylic exterior, two coats, brush-and-back-roll
- Cure: 30 days before pressure-washing
- Skill: medium. The primer call decides everything
What “Bare Exterior Wood” Actually Covers
Bare exterior wood is any raw, unpainted, unsealed wood on the outside of a house: new pine or fir trim, fresh spruce siding, a raw fascia board, replacement clapboards, a porch column, window casing that’s never seen a brush. The wood has no factory finish and no old paint film on it. That changes the rules.
Raw wood is open, porous, and full of stuff that wants to bleed. This guide is for that raw surface. If you’re going over old paint, the exterior wood guide handles that case.
Why Bare Wood Fights Paint
Raw wood is a sponge with a chemistry problem. Three things work against you at once.
Porosity comes first. Bare wood pulls the binder and water out of the first coat fast, and the end grain pulls it faster than the face. Pour a drop of water on the face of a fresh board and it sits for a second. Pour it on the cut end and it’s gone before you can wipe it.
Then there’s what’s inside the wood. Softwoods like cedar, redwood, and some pine carry water-soluble extractives (tannins) that dissolve into a water-based primer and walk right up to the surface as amber or pink halos. Knots are a separate war: resin keeps moving with temperature and pushes any weak primer off in a heat wave.
Last is movement. Wood swells and shrinks with the seasons more than fiber-cement or masonry. A brittle film cracks at the joints and water gets behind it. Exterior wood wants a flexible system, not a hard one.
Step 1: Let It Dry, Then Wash
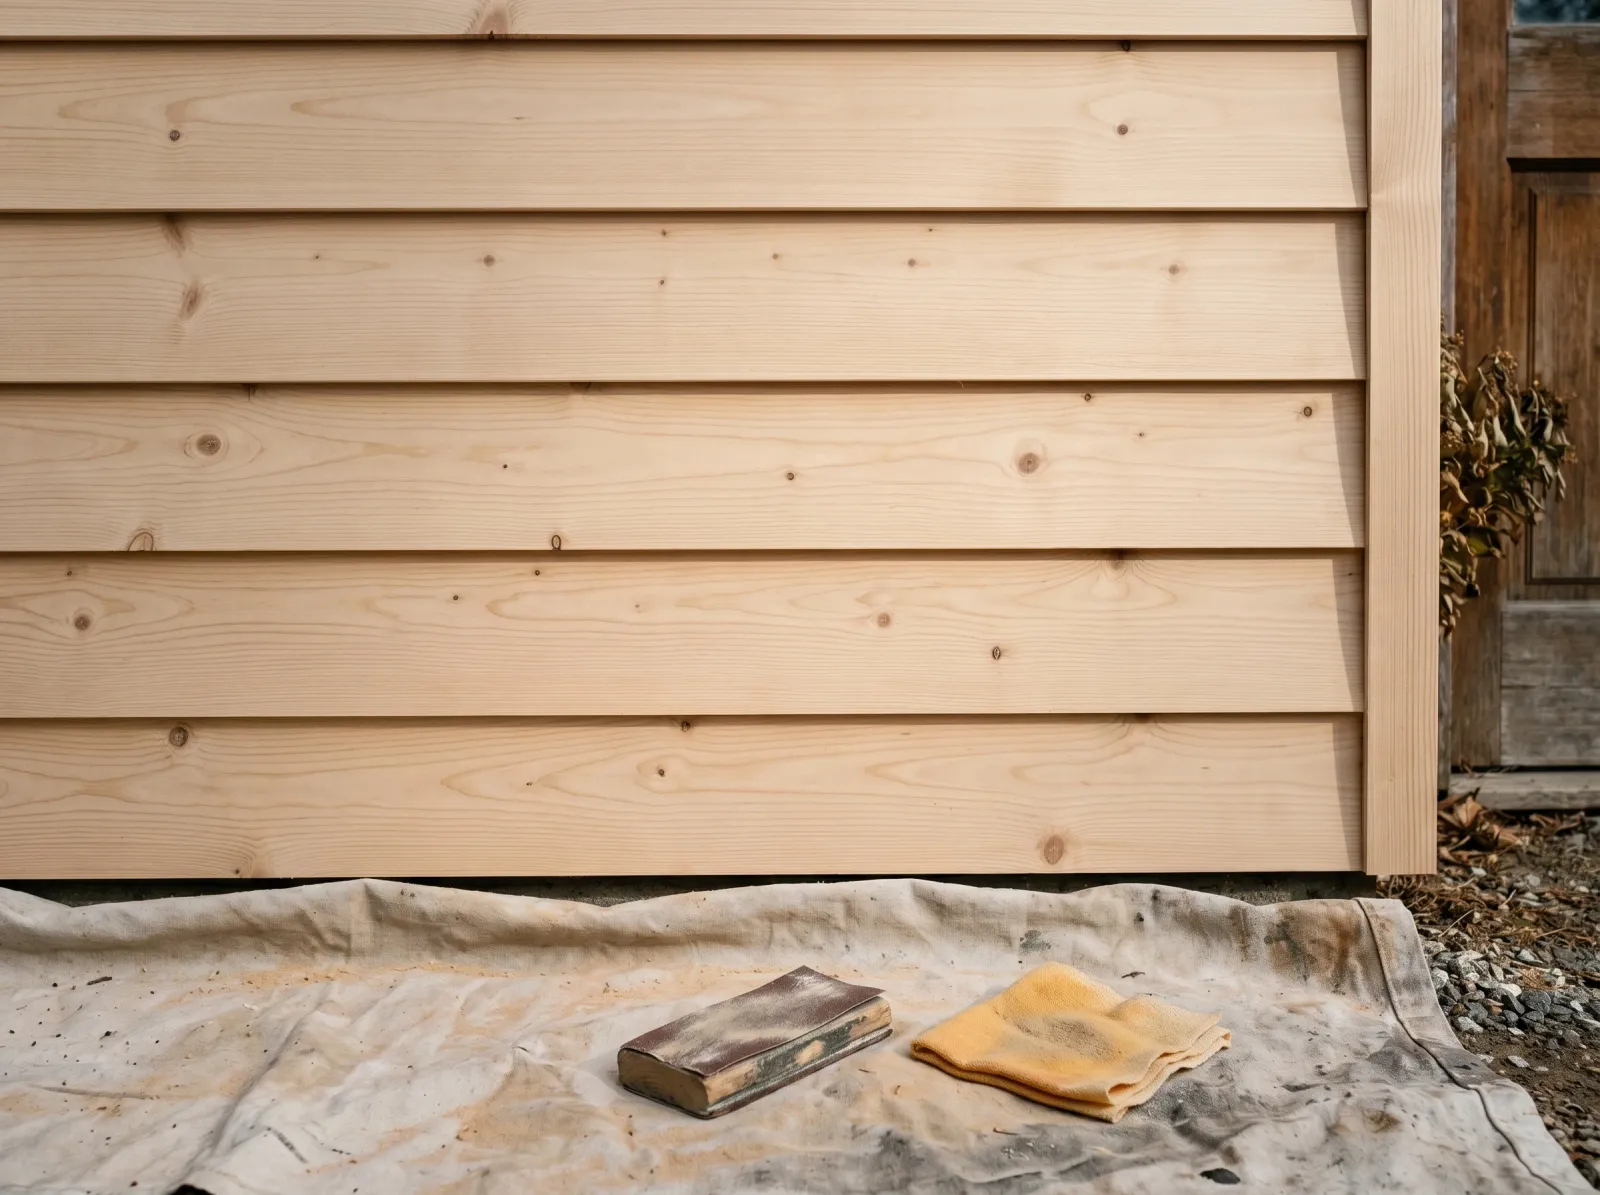
TSP wash, 72 hours of dry weather, then a light 120-grit pass to cut the mill glaze. Dust pulled before anything else.
New lumber comes wet from the yard. Primer over wet wood blisters off in a month. Get a moisture meter on it and wait for a reading under 15%. On fresh-milled wood that can mean a few weeks of dry weather.
Don’t let it sit too long either. Past about a month outside, bare wood starts to gray and grow a thin layer of dead fiber that no primer bites into. Two to four weeks of dry weather is the sweet spot for new wood.
When it’s dry, wash it. Mix TSP at half a cup per gallon and scrub to pull dirt, sap, and mill residue. For any mildew, brush on 3:1 water-to-bleach with a splash of dish soap, dwell 15 minutes, rinse. If the wood’s been up a while and it’s dirty, pressure wash at 1,500 PSI max with a 25-degree tip, top down, angling across seams, never into them.
Then wait again. 72 hours of warm dry weather after washing. Wood holds water inside the board longer than the surface lets on.
Step 2: Sand and Repair
Fresh-milled wood has a slick polished layer called mill glaze, left by the planer blades. Latex doesn’t bite into it and even oil primer grips better with it knocked down. Hit the whole surface with a light 120-grit pass. You’re not removing material, just cutting the sheen so the primer grabs. Tack-cloth the dust or vacuum it.
Splits, cracks, and gouges get exterior wood filler (Minwax or Bondo), pressed in slightly proud and sanded flat once it sets. Knot holes and nail holes the same. Don’t fill the wood grain itself; fill the defects.
If the house was built before 1978, test any existing painted trim nearby for lead before you sand. Lead-Safe RRP rules apply if it’s positive: wet methods, contained drop cloths, HEPA cleanup, P100 respirator. Bare new wood is fine, but the dust off the old painted surfaces next to it is the hazard.
Step 3: Spot-Block the Knots
BIN on the worst knots, then a full coat of oil-based stain-blocking primer brushed and rolled across the field. End grain hit first.
Every visible knot in pine, fir, or spruce gets Zinsser BIN shellac primer before the field primer goes on. Two thin coats with a small brush, 45 minutes apart. BIN is the only thing that reliably holds back knot resin. Skip it and you get a yellow-brown halo around every knot by the second summer, telegraphing straight through your white topcoat.
Resin pockets and any sappy streaks get the same BIN treatment. Don’t trust the field primer to handle knots on its own. It can’t, and the knot is exactly where people get lazy.
Birch and most hardwood trim skip this step. Softwood siding and trim almost never do.
Step 4: Caulk the Seams
Caulk after the knots are spot-blocked, before the full primer coat. Caulk grips a primed or spot-sealed joint better than raw wood, and sealing the joint first stops tannin from bleeding out of it later.
Run a bead in every seam where two pieces meet: corner trim joints, window and door casings, the gap where trim lands on siding. Use a stretchy elastomeric caulk rated for high movement, like Sashco Big Stretch or OSI Quad Max. Standard acrylic caulk is rated for about 25% movement and tears apart on wood that moves more than that. Tool the bead flat with a wet finger and wipe the excess while it’s wet.
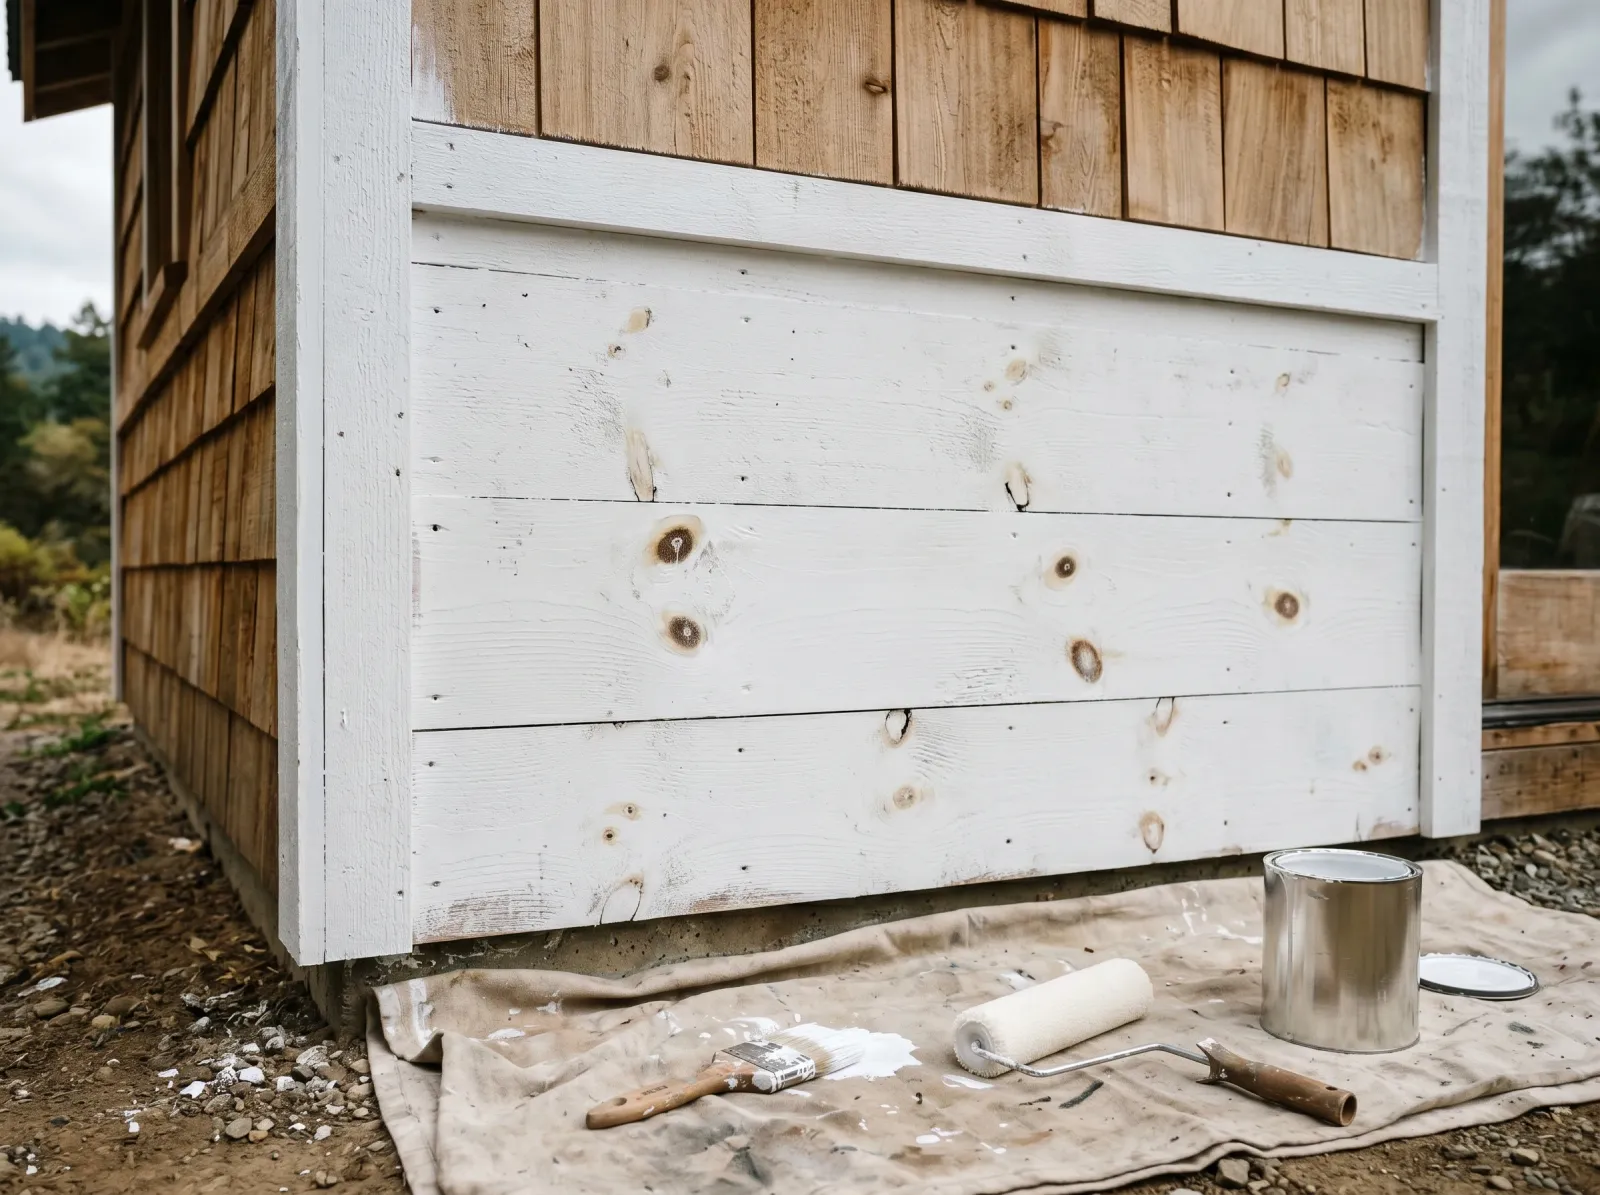
Step 5: Prime the Field and the End Grain
The full primer is the call that decides whether this job lasts ten years or two.
Use an oil-based stain-blocking primer. Zinsser Cover Stain is the default. It blocks tannin, penetrates raw wood, stays flexible enough for seasonal movement, and recoats in about two hours. Not latex bonding primer on bare wood. Not the new water-based stain-blockers, which still let some species bleed. Not “self-priming” exterior paint. Self-priming is a marketing claim that assumes a surface already primed once. Your bare wood needs the real stain-blocker.
Brush the cut-in with a 2.5-inch angled sash. Roll the field with a 1/2-inch nap on smooth wood, 3/4-inch on rough-sawn. Bare wood drinks the first coat and it’ll look blotchy. Normal. Look at the wall in raking sun and hit any thin spots before the topcoat.
End grain comes first, always. Water wicks into end grain faster than into any other part of a board, freezes inside, splits the wood, and pushes the topcoat off from underneath. Every cut end, ripped edge, and mitered corner gets a brushed coat of Cover Stain. Installing new boards? Prime all six faces on the ground before they go up. Back-priming is the single most-skipped step on new exterior wood, and it’s the one that bites in five years.
For the broader primer category and current picks, see the stain-blocking primer round-up.
Step 6: First Finish Coat
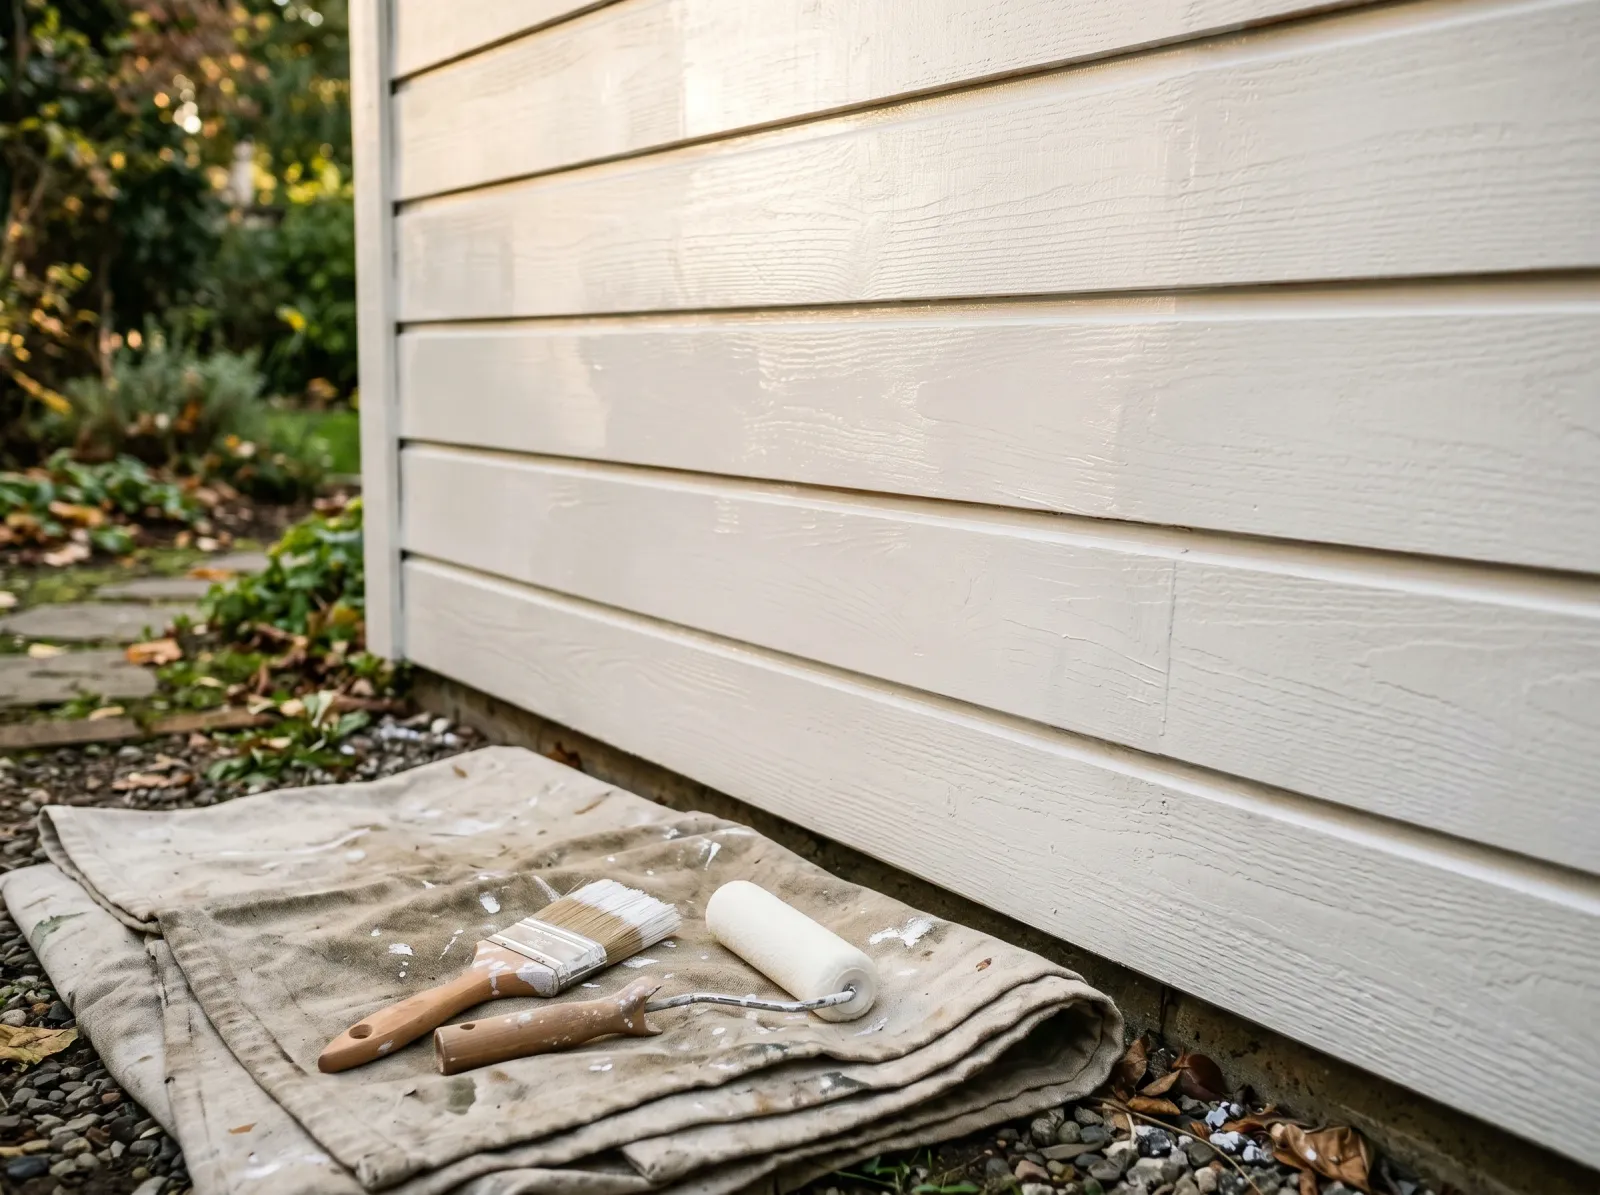
Brush the cut-in, roll the field while the cut is still wet. Stop at the end of a board run, never mid-wall.
Topcoat is 100% acrylic exterior. Benjamin Moore Aura Exterior, Sherwin-Williams Emerald Exterior, or Behr Marquee Exterior. All three carry the binder load to handle UV and the swelling and shrinking that comes with the seasons. Contractor-grade exterior chalks fast on a south-facing wall.
Brush the cut-in first, then roll the field while the cut is still wet. Keep a wet edge and don’t stop in the middle of a wall. Stopping mid-wall is how you get lap marks, and lap marks show up the second the morning sun hits them. If you spray, back-roll or back-brush every pass. Spray-only on wood leaves the paint sitting on top of the grain instead of worked into it.
Watch the weather. Most 100% acrylics want 50°F minimum, 90°F maximum, and at least 5°F above the dew point. A south wall in direct sun runs 30°F hotter than the air, so the paint flashes before it levels and dries dull. Paint the sunny faces early morning or late afternoon, never at noon. For SKU picks on the topcoat, see the best exterior paint round-up.
Step 7: Second Coat and Cure
Two coats. Always two. The second coat builds the mil thickness the can specs and fills the holidays you missed.
Two coats. Always two coats. The second fills the holidays you missed on the first and builds the film to the mil thickness the manufacturer specs (around 4 mils wet, 1.5 dry, per coat). One coat over bare wood never evens out and never reaches full thickness.
Wait 16 hours between coats on exterior acrylic. Some cans say four. Don’t believe them on bare exterior wood, where the primer underneath is still outgassing solvent.
Touch-dry runs 2 to 4 hours, recoat at 16, full cure at 30 days. During cure, don’t pressure-wash it, don’t lean ladders against it, and keep the sprinklers off it. A soft film picks up dirt and dents that lock in for good.
Common Mistakes
- Latex primer on bare wood. Tannin and resin bleed through as amber or pink halos by month six. Use Cover Stain (oil) on the field, BIN on the knots.
- Skipping the knots. Yellow-brown rings at every knot by the second summer. BIN every visible knot, two thin coats, no exceptions.
- No back-priming the cut ends. Water wicks into raw end grain, freezes, splits the board, and peels the topcoat off from underneath at year five. Brush primer on every cut end.
- Priming wet wood. Boards look dry on the surface and hold moisture inside for days. Primer over wet wood blisters off in a month. Meter under 15% first.
- Self-priming exterior on bare wood. The label claim is for sound old paint, not raw lumber. The film peels at the joints in two seasons. Prime properly first.
- One coat to save time. Bare wood drinks the first coat unevenly and the film never reaches spec thickness. Two coats, always.
- Painting the south wall at noon. Sun-baked wood flashes the solvent before the paint levels. Hit sunny faces early or late.
Maintenance and Longevity
Bare exterior wood painted the right way (oil stain-blocker, sealed knots, primed end grain, two coats of 100% acrylic) holds 8 to 10 years on north and east faces, 6 to 8 on the sun-baked south and west. Early failure shows up as chalking on the south face, mildew on the north, and split board ends along the bottom course where water wicks in.
Wash the wall once a year with a soap injector and a soft pole brush. No pressure washing in the first year while the film cures hard. Re-caulk any seam that opens up. When the south face starts dulling and chalking ahead of the rest of the house around year six, clean it, scuff-sand, and lay one fresh topcoat. The system underneath is still sound. If the paint’s already lifting in sheets, that’s a prep failure, not a wear failure, and the exterior peeling-paint fix walks through stripping back to a sound surface.
FAQ
Do I have to prime bare exterior wood before painting? Yes. Bare wood is porous, often knotty, and the end grain drinks paint at several times the rate of the face. A stain-blocking primer locks the surface, seals the knots, and gives the topcoat something to grip. Skip it and the first coat soaks in blotchy, the knots bleed through, and the film peels off the end grain within a couple of winters.
How long can bare wood stay outside before it has to be painted? Two to four weeks of dry weather is the working window. New lumber needs a few weeks to dry below 15% moisture before primer, but past about a month the surface oxidizes, grays, and grows a thin layer of degraded fiber that primer won’t bite into. If bare wood has sat all season, wash it, sand the gray fuzz off, and let it dry again before you prime.
What primer is best for bare exterior wood? An oil-based stain-blocking primer like Zinsser Cover Stain for the field, plus Zinsser BIN shellac on knots and resin pockets. Oil and shellac carry solvent instead of water, so tannin and resin have nothing to dissolve into and ride to the surface. Latex bonding primer alone lets them bleed through any topcoat.
Can I use paint-and-primer-in-one on bare exterior wood? No, not on bare wood. Self-priming exterior paint is built to recoat sound old paint, not to seal raw lumber, raw end grain, or live knots. The label claim assumes a surface that’s already been primed once. On bare wood the binder sits on top instead of penetrating, and the film peels at the joints inside two seasons.
Should I paint or stain bare exterior wood? Paint lasts longer per coat (8-10 years over proper primer) but cracks and peels when it fails. Stain is a thinner film that fades instead of peeling and recoats easier, but it needs refreshing every 3-5 years. On rough-sawn or heavily textured wood, a solid stain often outlasts paint. See the paint vs stain breakdown for the full trade-off.