How to Texture-Match a Drywall Patch
A patch shows because the texture doesn't match the wall. Learn how to texture-match a drywall patch — orange peel, knockdown, or smooth — so the repair disappears under paint.

A patch shows because the wall has texture and the patch doesn’t. Paint won’t hide that. Match the texture first, then paint, and the repair disappears. Skip the texture step and you’ve got a smooth rectangle telegraphing through three coats every time the light comes in sideways.
Does This Match What You’re Seeing?
Stand off to the side and put a lamp low against the wall. Texture problems only show under raking light. Look for one of these.
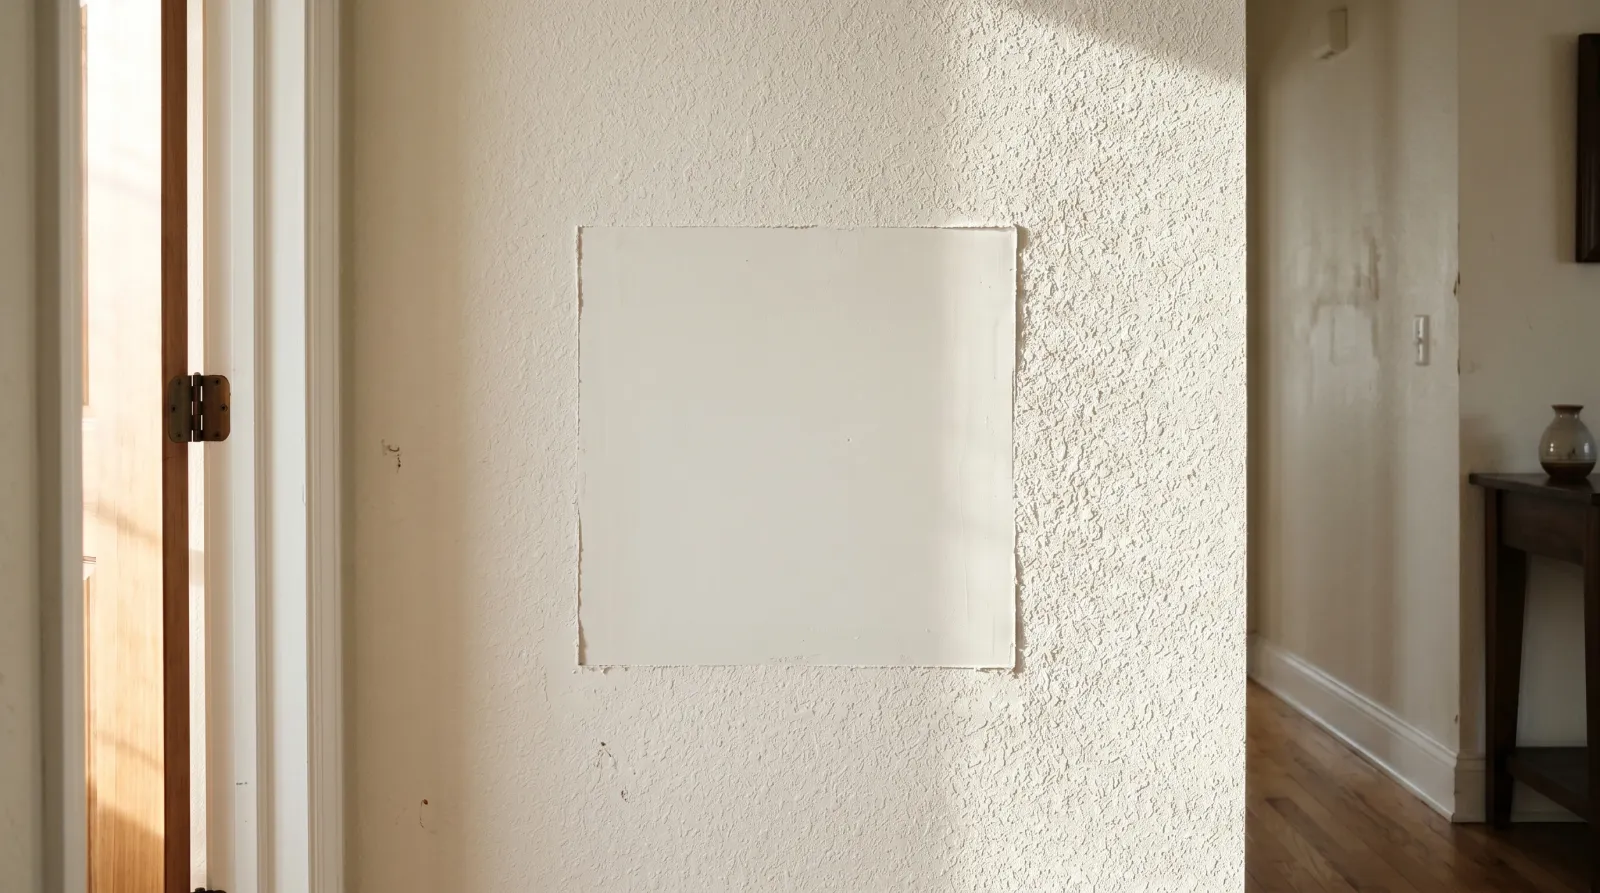
- A flat smooth rectangle in a bumpy wall. You filled the hole, sanded it flush, painted, and never replaced the texture. Most common one I see.
- A patch that’s textured but the bumps are too big or too dense. Right idea, wrong setting on the can or the wrong nozzle. Reads as a slightly different wall.
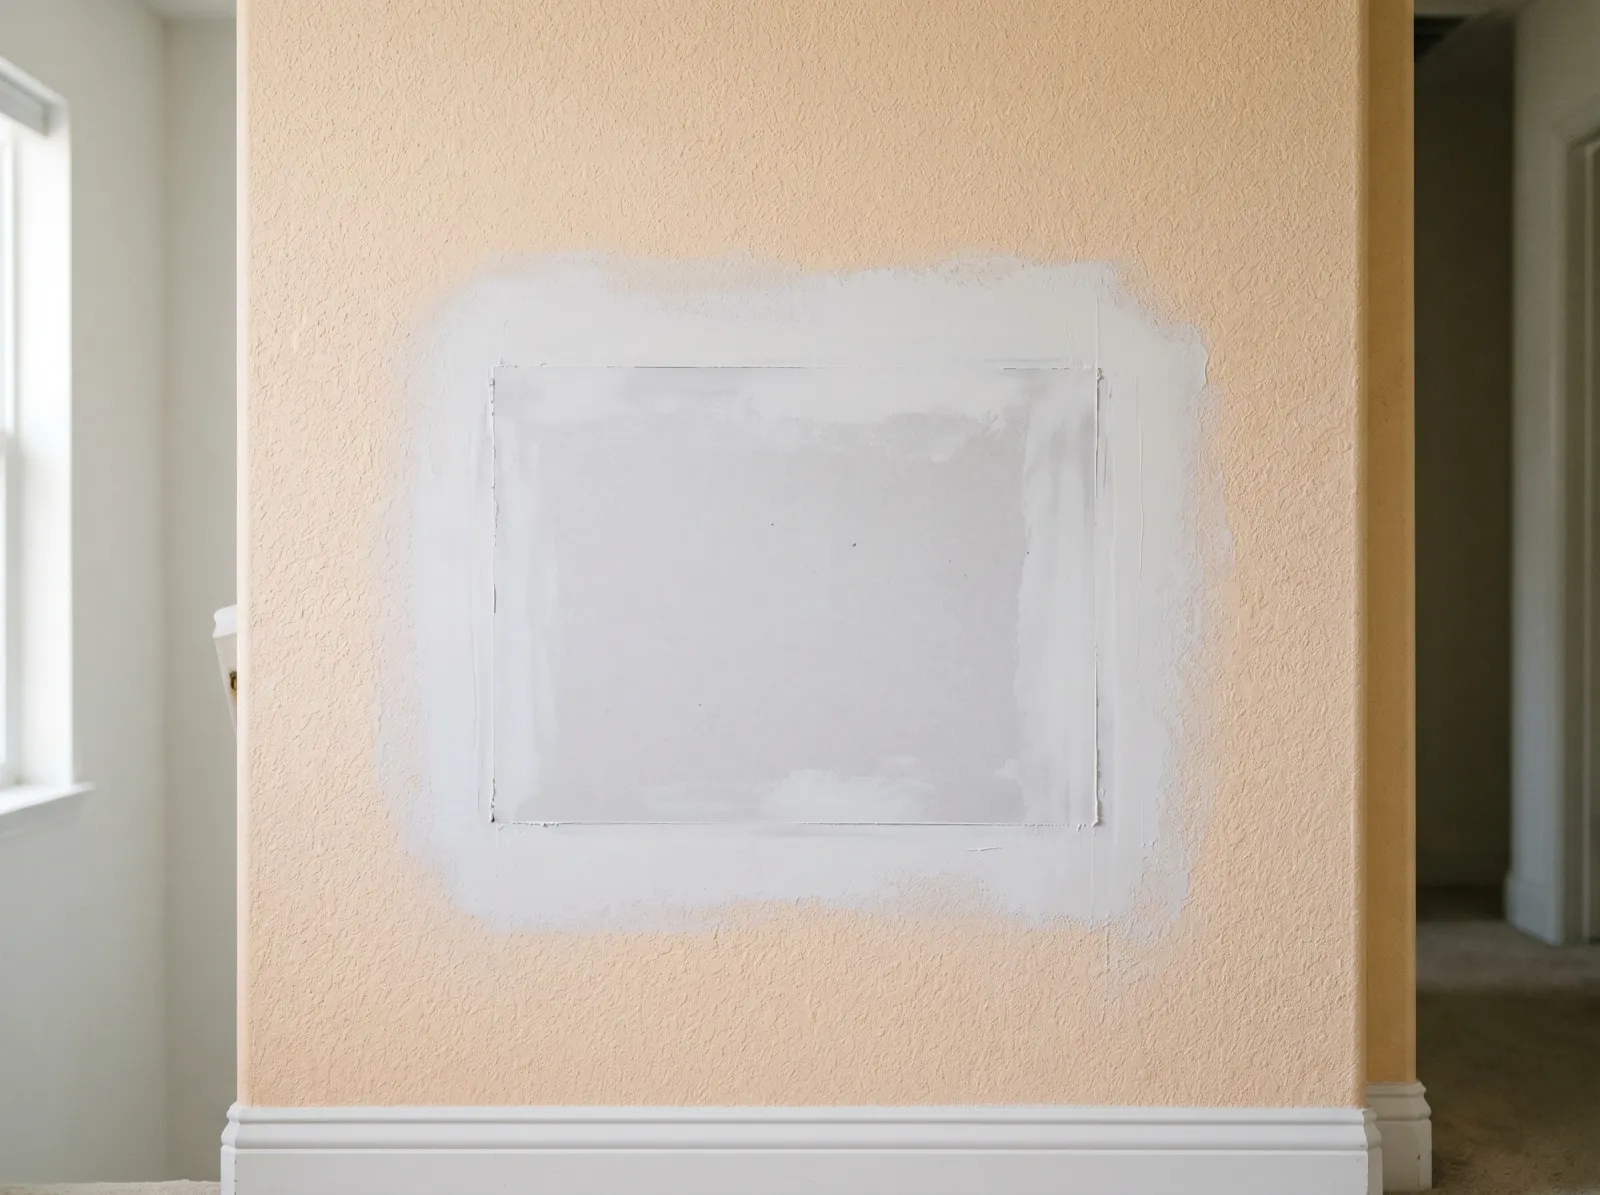
- A halo or ring around an otherwise good patch. That’s not texture. That’s sheen. You spot-painted the patch and the fresh paint sits at a different gloss than the aged wall around it.
- A patch on a knockdown wall that’s all peaks, no plateaus. You sprayed orange peel and forgot to knock it down. Knockdown is orange peel flattened with a blade after it tacks up.
- A popcorn ceiling patch that’s smooth or lumpy. Ceiling texture is its own animal. Aerosol popcorn exists, but color-matching aged popcorn is the hard part.
If the patch is smooth and the wall around it is too, you don’t have a texture problem. You have a sheen or a prep problem. Skip to the FAQ.
How Serious Is This?
Cosmetic. The patch is structurally fine, the drywall is repaired, nothing behind the wall is wrong. This is purely about whether you can see the repair.
That’s also why it’s frustrating. A structural problem you fix once. A texture mismatch you live with every sunny afternoon until you redo it. The good news is it’s a same-day fix with a five-dollar can, and you can practice the spray until it’s right before you commit it to the wall.
The one upgrade in difficulty is matching aged popcorn or a heavy hand-troweled texture on a ceiling. Those are harder to fake. More on that below.
Why This Is Happening (root Cause)
Paint is a thin film. It follows the surface it goes on; it doesn’t build the surface up. A wall texture is physical relief, bumps and valleys put there with a sprayer or a trowel before anyone painted. When you patch a hole, you fill it with joint compound and sand it dead flat. Flat is correct for the repair. Flat is wrong for the wall.
So now you’ve got a smooth island in a textured sea. Roll paint over the whole thing and the paint coats the bumps and coats the flat island at the same thickness. The island stays flat. The texture stays bumpy. Side light throws a shadow off every bump on the wall and throws no shadow off the patch, and your eye reads the no-shadow zone as a defect instantly.
The fix is to put the relief back before the paint goes on. You’re rebuilding the texture on the patch to match what the original installer sprayed, then painting the whole wall as one surface.
The second cause, the halo, isn’t texture at all. Aged wall paint oxidizes and dulls. Fresh paint over just the patch sits glossier than the old paint around it, and the gloss difference reads as a ring even when the texture is perfect. The cure for that is painting corner to corner, never spot-painting a repair into a finished wall. See the drywall painting guide for the full repaint sequence.
The Fix
Step 1. Finish and Prime the Patch
 Patch sanded flush, feathered wide, and primed. Bare compound has to be sealed before any texture goes on or it flashes.
Get the patch flat and feathered first. Sand the joint compound with 120 grit, then 150, until your fingertip can’t feel where the mud ends and the wall begins. Feather the compound a few inches past the repair so there’s no ridge.
Then prime the bare compound. PVA drywall primer or Zinsser Bulls Eye 1-2-3, one coat, rolled just over the patch and a little past. Bare joint compound is thirsty. Spray texture or a topcoat over raw mud and it sucks the moisture out unevenly, flashes, and won’t bond right. Twenty to thirty minutes dry.
Don’t texture over raw mud. That’s the step everyone skips and then wonders why the patch flashes through.
Step 2. Identify the Texture You’re Matching
Get close, then get to the side with a light. Read what the wall actually is before you buy anything.
- Orange peel: fine, even, random bumps. No flat tops. Looks like the skin of an orange. The default in US tract homes since the 1980s.
- Knockdown: orange peel that’s been flattened. You get bumps with wide flat plateaus between them, like splatter that got dragged. Common on ceilings and newer walls.
- Smooth (level 5): no texture at all. A patch on a smooth wall doesn’t need texture, just a good skim and sanding.
- Popcorn / acoustic: heavy ceiling texture, chunky. Pre-1980 popcorn may contain asbestos. Do not sand or scrape it without a test.
Match the bump size too, not just the type. Orange peel comes in fine, medium, and heavy. Hold the can’s spray pattern next to the wall.
Step 3. Practice on Cardboard First
Buy an aerosol wall texture in your type: Homax Orange Peel or Homax Knockdown are the two on every home center shelf, both with an adjustable nozzle for fine, medium, or heavy. Most aerosol texture sprays out wet and white and dries closer to the wall over an hour.
Spray a scrap of cardboard or a cut of drywall first. Adjust the nozzle and your distance until the pattern matches the wall next to it. Distance changes everything: closer gives bigger, wetter blobs, farther gives a finer mist. Two or three test passes and you’ll have it dialed. Don’t burn your first try on the actual patch.
Step 4. Spray the Patch
 Light passes feathered past the patch edge into the existing texture. Build it up, don’t dump it on.
Mask the floor and anything nearby; this stuff travels. Hold the can at the distance you settled on and spray light passes, building the texture up rather than loading it on in one shot. Feather your passes a few inches out past the patch into the existing texture so there’s no hard line where new meets old.
For orange peel, that’s the whole job. Let it dry.
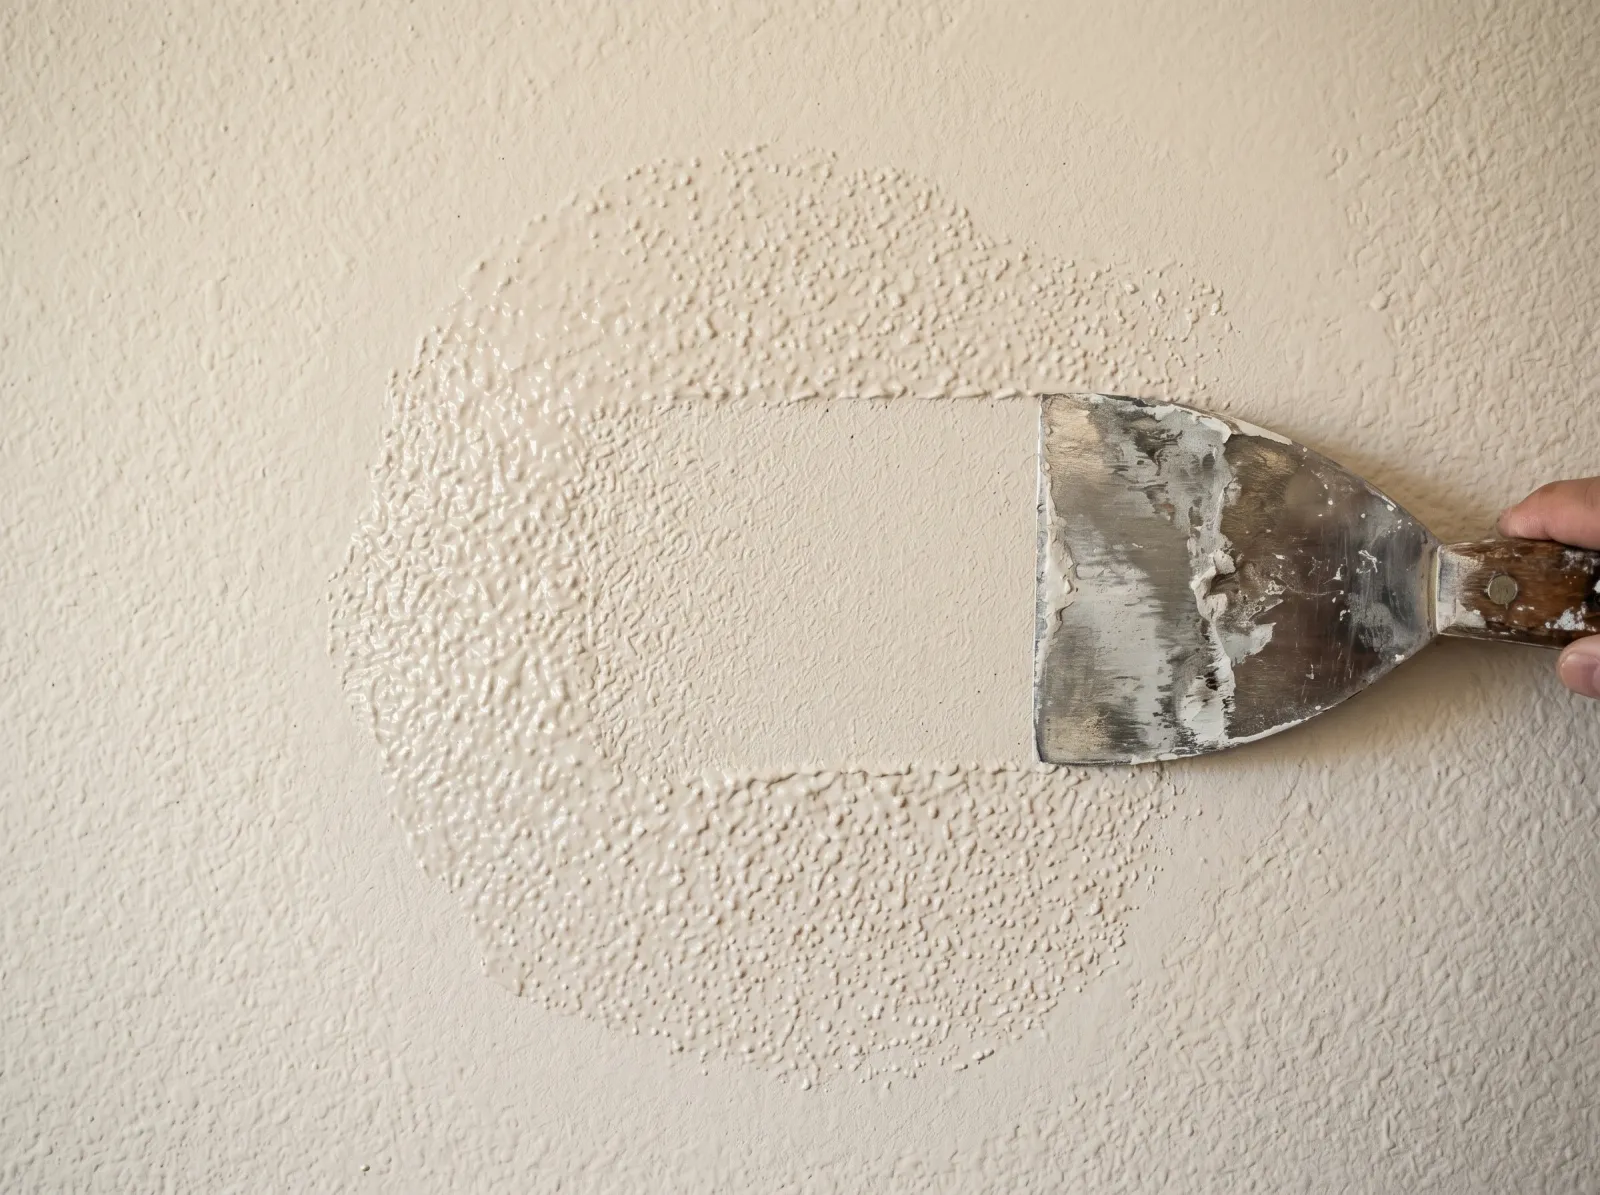
For knockdown, spray it heavier, wait until it loses its wet shine and goes tacky (usually 10 to 20 minutes), then drag a wide knockdown knife or a damp drywall blade flat across it with light pressure. That flattens the peaks into plateaus to match the wall. One pass, don’t overwork it.
Step 5. Let It Dry, Then Prime Again
Aerosol texture is dry to recoat in one to four hours depending on how heavy you sprayed and how humid the room is. If you used a drywall-compound texture instead of aerosol, give it overnight.
Prime the new texture before paint. Fresh texture is porous and will flash under a topcoat the same way raw compound does. One coat of PVA or Bulls Eye 1-2-3 over the textured patch. If you’re not clear on why this matters, the primer explainer covers what primer does that paint can’t.
Step 6. Paint the Whole Wall
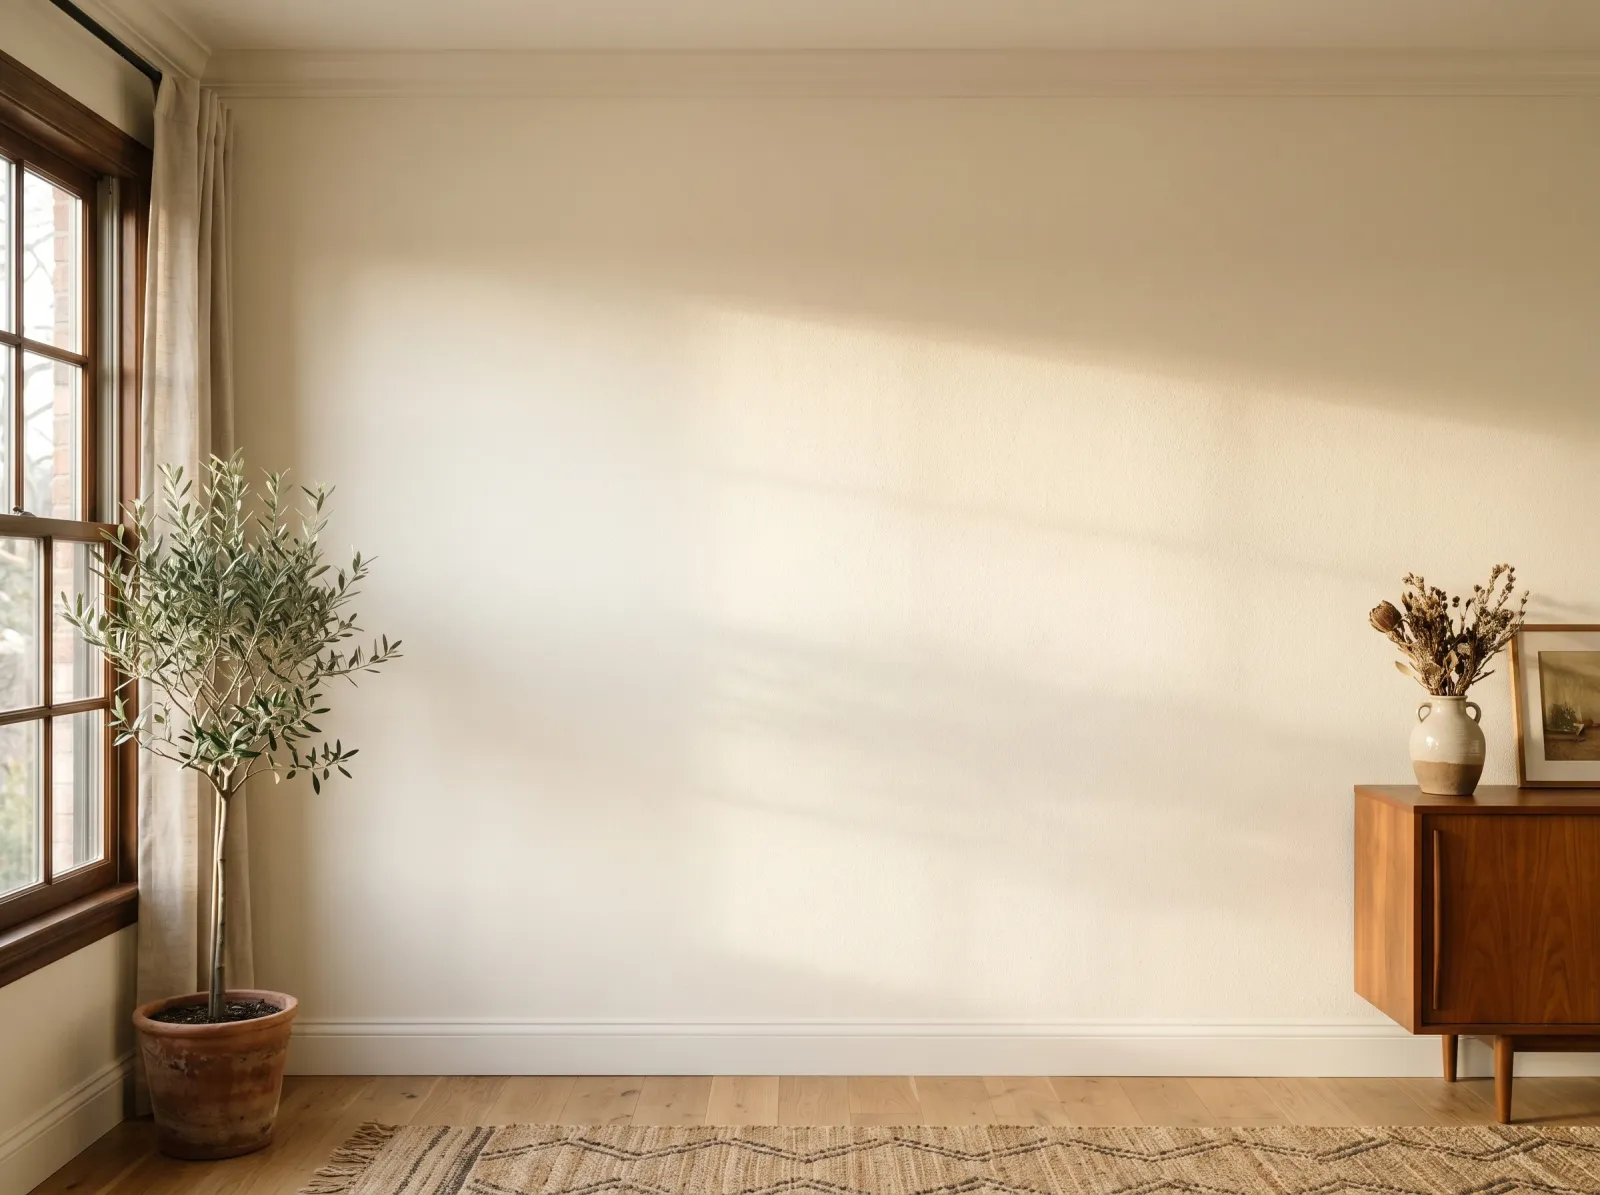 Texture matched, whole wall coated corner to corner. The patch is gone.
Here’s the part people get wrong after doing everything else right. Paint the entire wall, corner to corner, not just the patch.
Spot-paint the patch and even a flawless texture match shows as a sheen halo, because fresh paint over aged paint reads at a different gloss. Roll the whole wall in one session, cut in fresh edges, don’t stop in the middle. Two coats. Use the same sheen as the existing wall; if you don’t know it, the sheen guide walks through how to tell matte from eggshell from satin under light.
Safety
Aerosol texture and primer both off-gas solvent. Cross-ventilate and wear an N95 or better while spraying. Eye protection on ceilings. If your ceiling is popcorn and the home is pre-1980, do not sand, scrape, or disturb it until you’ve had it tested for asbestos. Aerosol popcorn patch products let you add texture without disturbing the existing surface, which is the safer route on an old ceiling.
Common Mistakes
- Painting over the smooth patch and hoping. Paint never fills texture. The rectangle stays.
- Texturing over raw joint compound. Flashes and won’t bond. Prime first.
- Spraying your first attempt straight onto the wall. Test on cardboard, dial the nozzle and distance, then commit.
- Forgetting to knock down a knockdown wall. Orange peel left as peaks on a knockdown wall is its own mismatch.
- Spot-painting the patch. Sheen halo. Paint the whole wall, corner to corner.
- Wrong bump size. Right texture type, wrong coarseness, still reads as a patch under side light.
When to Call a Pro
- Pre-1980 popcorn or acoustic ceiling that needs more than a tiny touch-up. Asbestos risk. Test first, abate through a licensed pro if positive.
- Large areas of hand-troweled or skip-trowel texture. Artisan textures are hard to fake by the square foot; a finisher matches them faster than you’ll learn to.
- Whole-ceiling knockdown or orange peel beyond a patch. A hopper and a compressor lay it down even; rattle cans don’t scale.
- A patch that keeps flashing after you’ve primed and matched correctly. That points to a moisture or substrate issue behind the wall, not a texture problem. See how to fix roller marks if the issue is application, not the patch itself.
What’ll Bite You in Two Years
You rushed the texture, got it close enough, and painted. Close enough looks fine the day you finish, when you’re standing square to the wall under flat overhead light. Then comes the first low winter sun across that wall at four in the afternoon, and the patch jumps out at you like it’s lit from behind. Texture mismatches don’t get worse over time. They get found, every time the light changes. Match it right the first time or you’ll see that rectangle for as long as you own the house.