How to Fix Intercoat Peel
Intercoat adhesion failure means the topcoat let go of the coat under it, usually latex over un-sanded oil or a recoat that sat too long. Scuff to a sound base, bond-prime with STIX, recoat. The honest fix.

Intercoat peel is the cleanest failure in painting. The topcoat lifts off the underlying coat like a sticker. Nothing wrong with the substrate, nothing wrong with the paint in the can. The bond between the two layers never happened. Find why, and the fix is straightforward.
Does This Match What You’re Seeing?
Pick up a peeled chip and flip it over. The back tells the whole story.
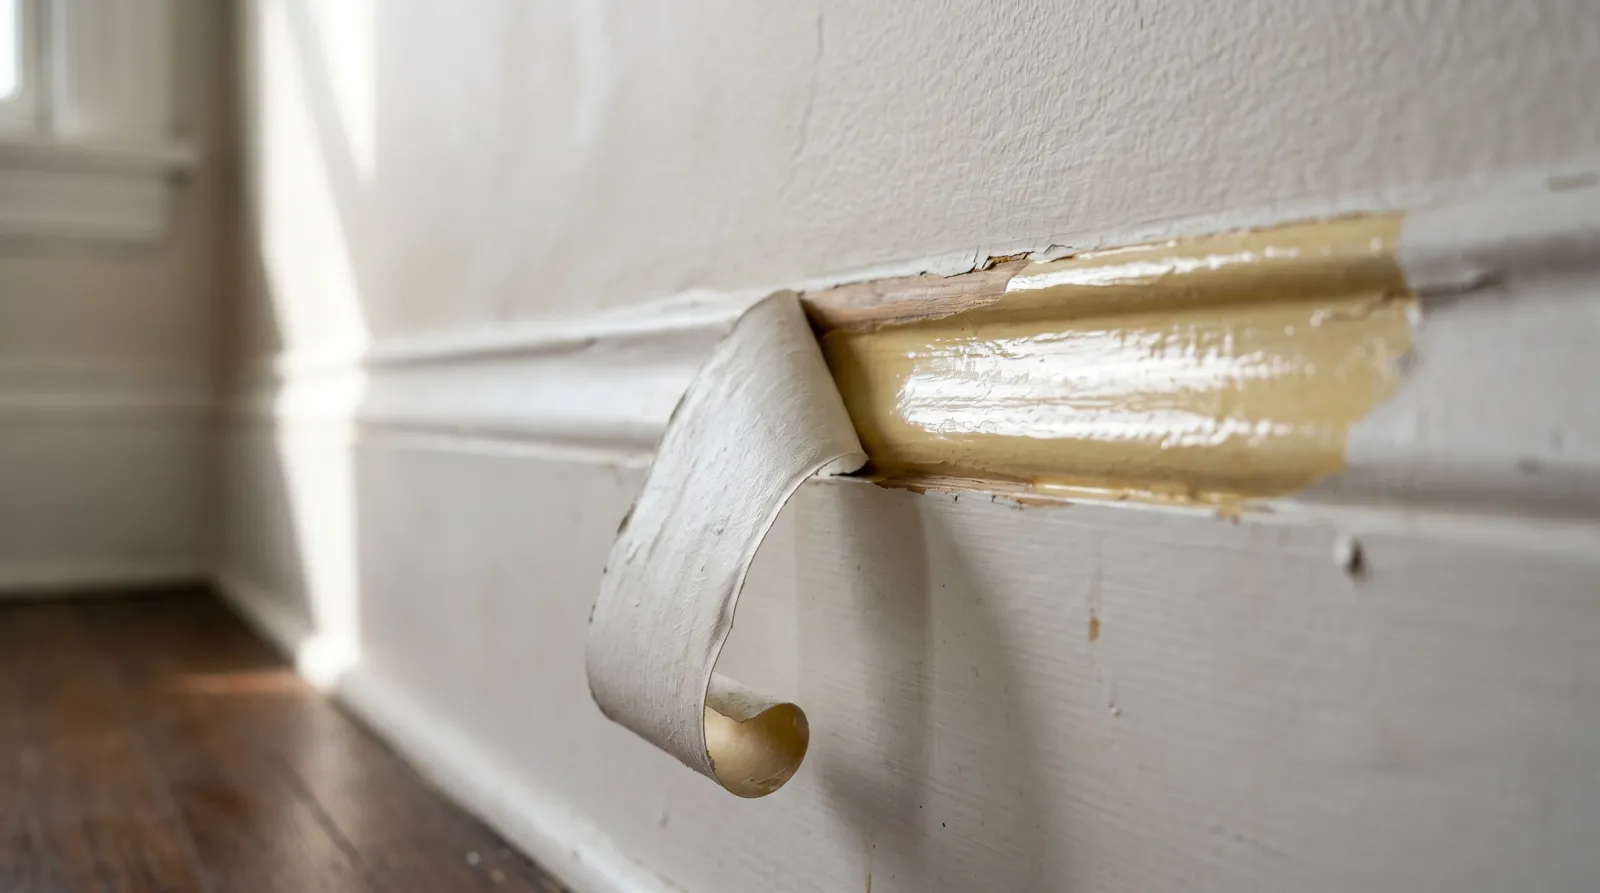
- Back of the chip is smooth and shiny. Pure intercoat. The topcoat released cleanly from the layer underneath. Almost always latex over un-sanded oil.
- Back of the chip shows two colors. You’ve got the new topcoat plus a thin film of the old layer that came with it. Bond was marginal, not zero. Usually a glossy or chalky old film, primed thin or skipped.
- Topcoat lifts in long flexible sheets, no curl. Recoat window blown. Latex went on the old paint after it had cured past its open-recoat phase (>30 days for most acrylics).
- Peel is localized to handled edges (door jambs, drawer pulls, baseboard tops). Hand oils. The surface got skin-greased between coats and never cleaned.
- Peel follows a brush or roller line. You hit a wet edge with a different paint and the new product never chemically married to the old one.
If you peel a chip and the layer underneath comes with it, you don’t have intercoat peel. You have a substrate problem. See how to fix peeling paint for that one.
How Serious Is This?
Low to medium. Intercoat peel is a prep failure, not a moisture or structural problem. The wall, the wood, the drywall under it is fine. What you’re fixing is the bond layer.
Three triggers push it higher:
- It’s happening across a whole room or whole exterior side. That’s a system-wide prep miss. Strip plan, not a touch-up.
- The underlying coat is oil-based and pre-1978. Lead test before you sand. EPA RRP rules apply.
- Cabinets or doors with hard daily contact. You can spot-fix, but the next failure is six months out unless you commit to a real bonding primer and a hard-wear topcoat.
A bedroom wall with a 2-foot peel patch is a Saturday. A whole stair-rail system that’s been latex-over-oil for a decade is a real strip job.
Why This Is Happening (root Cause)
Two causes account for almost every intercoat failure I see, and they often stack.
Latex over old oil without a bonding primer. This is the classic. Oil-based trim from 1990 dries to a chemically inert glossy film. Modern latex has no solvent to bite into it and no mechanical tooth to grip it. The latex sits on top like cling film. It looks fine on day one. Six months later it shrinks past the bond strength and you can lift it with a fingernail. Sand the oil dull, deglosser-wipe, then a real bonding primer (STIX, Bulls Eye 1-2-3). That’s the only path that holds.
Old paint sat too long before recoat. Latex has an open-recoat window of about 30 days. Inside the window, the new coat chemically marries to the old one. The fresh acrylic re-softens the cured film and they fuse. Outside the window, the cured paint is glass-hard and the new coat is just sitting on it. Recoat at day 45 with no scuff and no bond primer and you’ve built an intercoat failure in advance. The film won’t release for months, but it will release.
A third one shows up on jobsites: dirty surface. Hand oils, kitchen grease, silicone furniture polish. The surface looks clean. The new coat sits on a contaminant layer thinner than plastic wrap and the bond never forms.
Press blue tape against the existing film, smooth it down, rip it off at 90 degrees. Paint comes with the tape? Intercoat bond is failing across the whole surface. Tape pulls clean? Local problem, spot-fix.
The Fix
Step 1. Confirm It’s Intercoat and Map the Failure
Flip a chip. Smooth shiny back, layer below still intact: intercoat. Now find the edges. Run a 5-in-1 around the loose zone, lifting gently. Anything that releases under light pressure is failing; mark a perimeter 2 inches past the last lifting point. That’s your work zone.
Tape-test the rest of the surface in three random spots. If two of three pull paint, you’re stripping the whole surface, not patching.
Step 2. Scrape to Sound Paint
Carbide scraper, two hands, 30-degree angle. Pull, don’t push. Anything that comes off under light pressure was never bonded. Stop when the scraper meets resistance. That’s the sound layer.
For pre-1978 work, wet-scrape only, plastic containment, P100 respirator, HEPA vac. Shop vacs spread lead dust; they don’t capture it. If you don’t have the gear, hire a certified RRP contractor.
Step 3. Scuff the Sound Base
This is where the fix lives. The remaining paint is the new bonding surface, and right now it’s slick. Sand it dull with 220 grit on a sanding sponge. You’re not removing paint, you’re breaking the gloss to give the primer mechanical tooth.
On oil-based undercoats, follow the sand with a deglosser wipe (Klean-Strip Easy Liquid Sander or denatured alcohol). The sanding gets 80% of the gloss; the deglosser gets the last 20% in the pin-pricks where the sandpaper missed.
Wipe with a tack cloth. Anything dusty under the primer becomes the new failure plane.
Step 4. Feather the Cliff
You’ve got bare substrate next to a hard edge of remaining paint. Topcoat over a cliff and the transition telegraphs forever. Sand each edge with 120, then 220, until your fingertip can’t feel where one layer ends. This is what separates a repair you see from across the room from one you don’t.
Lowest setting on a power sander, finish by hand.
Step 5. Clean
Hand oils, grease, silicone. All of it kills the new bond. TSP or substitute, scrub, rinse, dry 24 hours. On a kitchen ceiling, scrub twice. Grease is on it whether you see it or not.
Never mix bleach with vinegar, ammonia, or hydrogen peroxide. Produces toxic chlorine gas. PPE: gloves, eye pro, N95 minimum during sanding.
Step 6. Prime With a Bonding Primer
This is the non-negotiable step. Skip it and you’re rebuilding the exact same failure.
- Glossy oil under latex, the classic case: INSL-X STIX. Acrylic-urethane bonding primer. Grabs slick oil, glazed tile, vinyl, PVC. One coat, 4-hour recoat, 7-day full cure.
- Mixed bag (oil patches, latex patches, bare spots): Zinsser Bulls Eye 1-2-3. Universal water-based bonder. Less bite than STIX on hard glossy oil but easier to work with on a varied surface.
- Severe stains or odor through the failed layer: Zinsser BIN (shellac). Bonds, blocks, dries in 45 minutes. Use a respirator; the alcohol carrier flashes hard.
- Exterior trim, oil under latex: STIX still works, but Zinsser Peel Bond is purpose-built for outdoor intercoat patches and feathers into chalky edges.
If the topcoat absorbs into a flat dead spot, the primer was too thin or the surface wicked. Apply a second.
Step 7. Repaint
Two coats. Always two coats. One-coat coverage means one coat under perfect conditions, and your repair zone isn’t perfect conditions.
- Interior trim/doors: acrylic-alkyd hybrid (Benjamin Moore Advance, Sherwin-Williams Emerald Urethane Trim). Levels like oil, cleans up like water.
- Cabinets: INSL-X Cabinet Coat or BM Advance. Both engineered for hard daily wear and chemical bond into a properly primed surface.
- Walls: any quality acrylic in the appropriate sheen.
Cut in the corners, roll while the cut-in is still wet, don’t stop in the middle of a wall. Stopping mid-wall is how you get lap marks, and lap marks show up the second the morning sun hits them.
Recommended Product
INSL-X STIX Waterborne Bonding Primer — the primer that owns this problem. Sticks to glossy oil, glazed tile, vinyl, PVC, and glass without sanding to bare. Tints to a custom undercoat color so dark topcoats cover in two. Half a gallon does a hallway of trim.
Buy on Amazon → · Manufacturer page →
Zinsser Bulls Eye 1-2-3 is the runner-up. Easier to find at a big-box, but STIX bites harder on glossy oil.
By Layer Pairing
| Top layer | Bottom layer | Critical prep | Primer |
|---|---|---|---|
| Latex | Old oil, glossy | Sand 220, deglosser wipe | INSL-X STIX |
| Latex | Old latex, >30 days cured | Sand 220, TSP | Bulls Eye 1-2-3 |
| Latex | Glazed tile or laminate | Sand 220 or deglosser only | STIX (no other primer holds) |
| Latex | Varnish or shellac | Sand 180 to dull, alcohol wipe | BIN shellac primer |
| Latex | Smoke or nicotine stain | Wash with TSP, dry 24 hours | BIN or Smart Prime |
| Acrylic-alkyd hybrid | Old oil trim | Sand 220, deglosser | STIX or self-priming if can says so |
| Exterior latex | Chalky exterior oil | Power-wash, dry, sand edges | Zinsser Peel Bond |
If the failure is on cabinets, the prep ceiling goes up. See how to paint over a glossy finish for the full degloss-and-bond sequence.
Prevention
- Always sand glossy surfaces before recoating. 220 grit, dull the entire surface, tack-cloth the dust. Skip this and your bond is mechanical-zero.
- Use a bonding primer over oil-based undercoats, every time. STIX or Bulls Eye 1-2-3. Don’t skip.
- Recoat inside the 30-day window when possible. Fresh latex chemically marries to fresh latex. After day 30 you’re back to needing scuff and prime.
- Clean before you prime. TSP, rinse, dry. Hand oils, kitchen grease, and silicone polish are invisible bond killers.
- Don’t paint cold. Below 50°F latex doesn’t coalesce. The film never reaches full strength, and intercoat is the first thing to fail.
- Match topcoat chemistry to the wear. Trim and doors need an enamel built for it. Wall paint on a door is a recoat in 18 months.
Lead-Paint Warning (pre-1978 Homes)
If the underlying coat in your peel zone is pre-1978, assume lead until tested. 3M LeadCheck swabs at any home center, $10. Cut a notch through every layer and swab each one.
Positive result: wet-scrape only, plastic containment, P100 respirator, HEPA vacuum, no power-sanding without HEPA capture. Or hire an RRP-certified contractor. Don’t dry-sand, don’t heat-strip. Heat guns volatilize lead.
When to Call a Pro
- Pre-1978 home with peel across more than a few square feet
- Whole-room or whole-exterior-side intercoat failure
- Repeating failure on the same surface a third time
- Cabinet refinishing where the existing finish is unknown
- Any peel above 12 feet on an exterior
What’ll Bite You in Two Years
Skip the bonding primer and you’ll do this job twice. New latex looks fine for a season. Then a humid week shrinks the film past what the marginal bond can hold and you’re back to scraping. The primer is the cheapest insurance on the job. Buy it.