How to Fix a Botched Paint Job
Roller marks, drips, patchy coverage, bleed-through. Diagnose what went wrong, then sand, prime, and recoat so you fix a botched paint job for good.

A botched paint job isn’t one problem. It’s a stack of them, and you can’t fix what you can’t name. Drips need sanding. Patchy coverage needs another coat. Bleed-through needs primer. Roll fresh paint over the whole mess and you copy every flaw forward. Slow down, diagnose the actual failure, and most of this fixes in a weekend.
TL;DR
- Name the defect first. Drips, roller marks, patchy coverage, and bleed-through each have a different fix. The wrong fix wastes a gallon.
- Let it fully dry before you touch it. 4 hours minimum, overnight is safer. Sand wet paint and it balls up on the paper.
- Sand the texture flat. 120 grit for drips and ridges, 220 to finish. Your fingertip is the judge, not your eyes.
- Spot-prime anything bleeding through. Stains, old dark colors, and repaired patches need a stain-blocker, not another finish coat.
- Recoat the whole wall, not the bad spot. Patch-coating creates a new edge next to the old one. Corner to corner, one session, one direction.
- Two coats. Always two coats. Most botched jobs are really one stretched coat pretending to be two.
Does This Match What You’re Seeing?
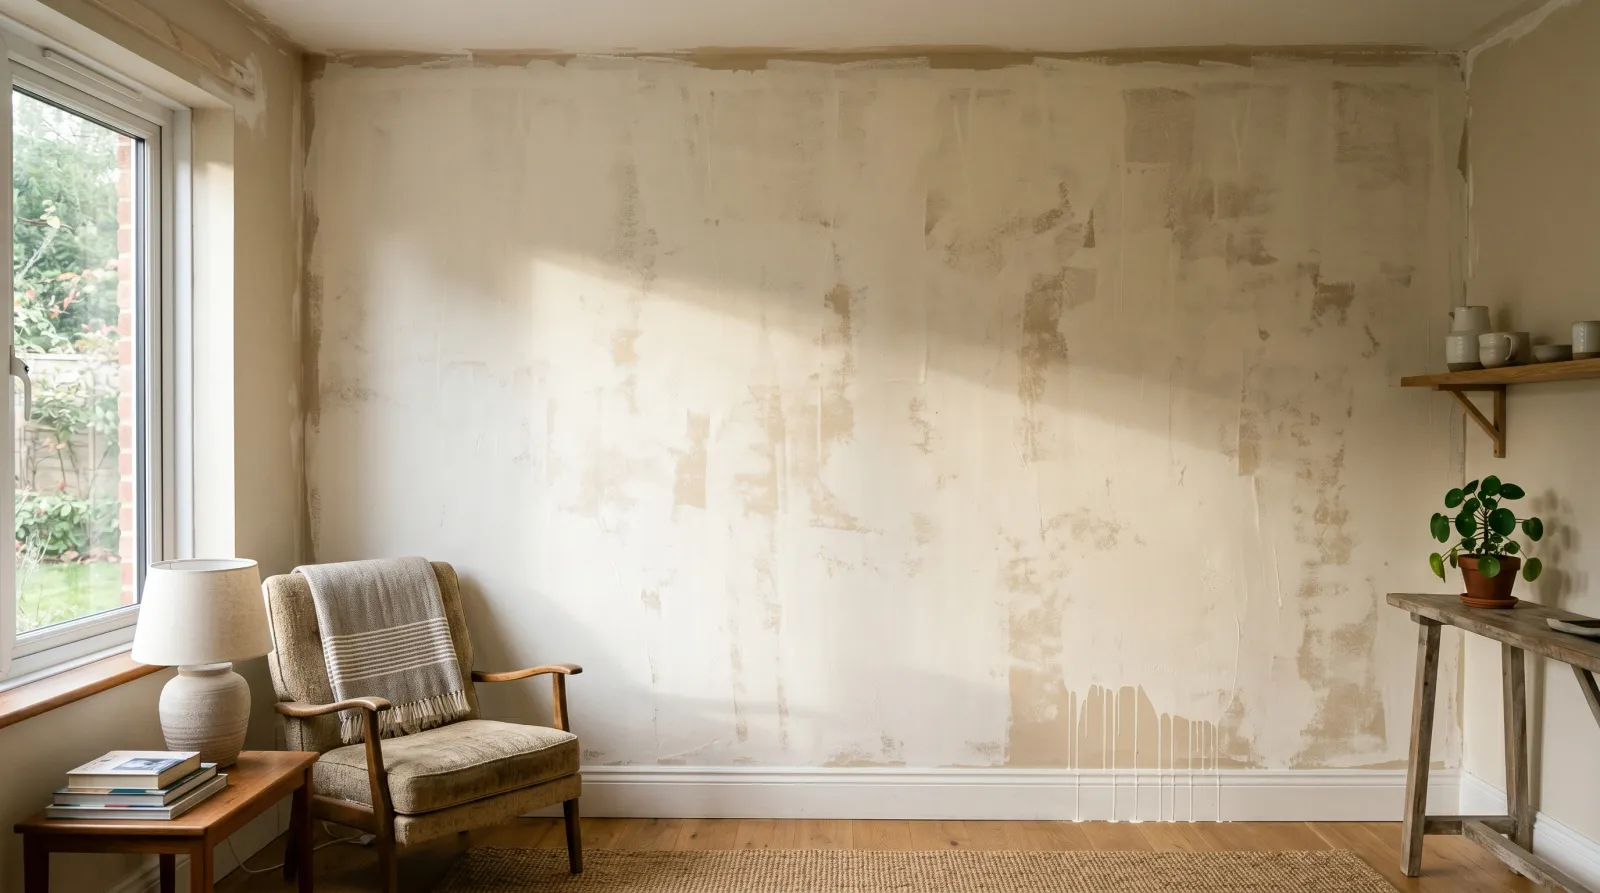
 Three failures at once: lap bands, drips, and the old color showing through. Each has a different fix.
Look at the wall in raking light from the side. You’ll see one or more of these.
- Sags and drips, frozen mid-run. You loaded the brush or roller too heavy, or went back over a section that had started to set. Sand and recoat.
- Patchy coverage, old color or sheen showing through. Stretched paint, one coat where you needed two, or no primer over a color change.
- Faint bands every 3 to 4 feet. Lap marks. The wet edge dried before the next pass overlapped it.
- Stipple or orange-peel texture all over. Wrong roller nap, paint too thick, or you rolled a fast-drying coat too hard.
- Brush ridges and visible strokes on trim. Cheap brush, paint not leveling, or you kept brushing after it tacked up.
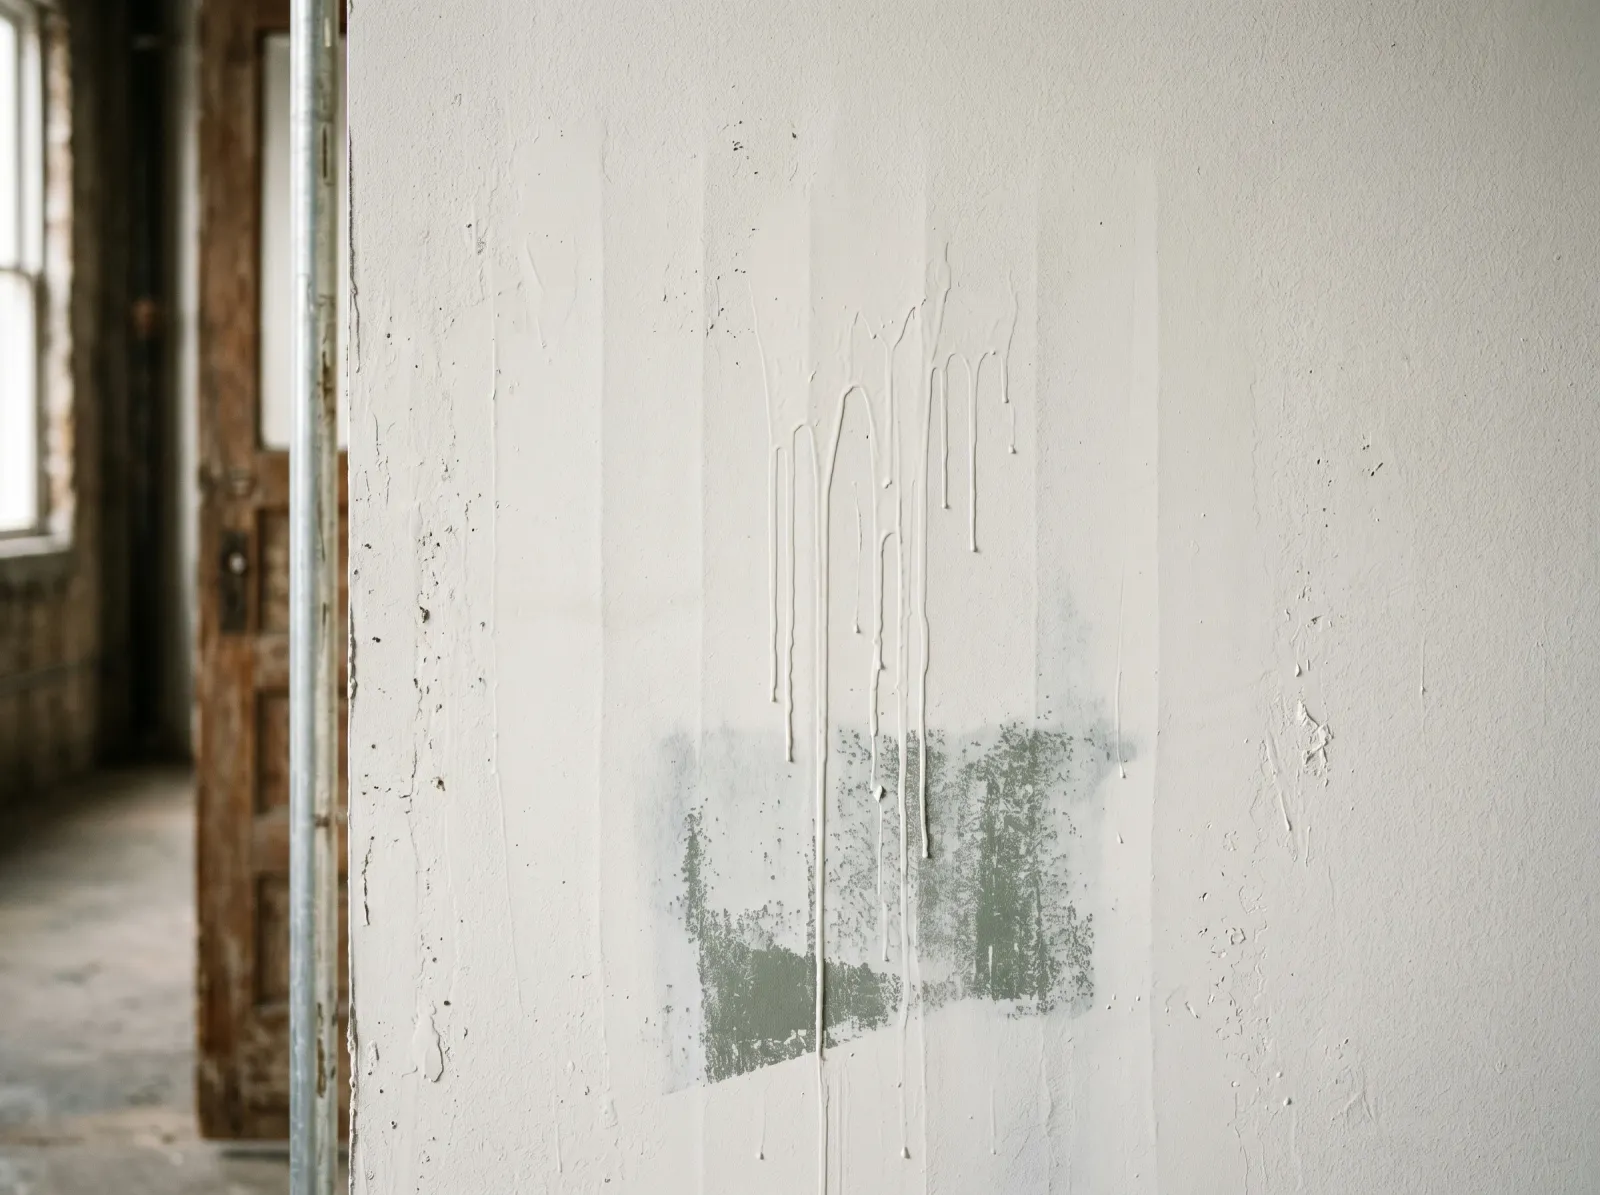
- Yellow or brown stains pushing up through fresh paint. Bleed-through. Tannin, water rings, smoke, or marker. No amount of finish coats stops this.
- Gritty surface, like fine sandpaper. Dust, pet hair, or a dirty roller laid debris into the film.
If you see three of these at once, you didn’t make three mistakes. You made one: you rushed. The fixes are still separate.
How Serious Is This?
Cosmetic, almost always. A botched coat is bonded and sealed. It’s protecting the wall. It just looks rough, and you can’t stop seeing it.
Most of this is a same-weekend fix. Two things push it harder:
- Bleed-through stains. If something is wicking up through the paint, another coat won’t hold it back. You need a primer made to block it, or the stain returns in a month.
- You painted latex over an oily, glossy, or contaminated surface. That’s not a cosmetic problem. That’s an adhesion problem, and the whole coat can sheet off. See how to fix peeling paint if any of it lifts when you press painter’s tape against it and rip it off.
If the paint passes the tape test and the only issue is how it looks, you’re in easy territory.
Why This Is Happening (root Cause)
Botched jobs come from four habits. Most jobs I get called to fix have two or three of them stacked.
One coat doing two coats’ work. This is the big one. Homeowners read “one-coat coverage” on the can and believe it. One-coat coverage means one coat under lab conditions over a similar color. Your living room isn’t lab conditions, and you’re going lighter over a deeper color. Stretch one gallon across a wall that needed a gallon and a half and you get thin film, patchy sheen, and the old color grinning through.
No primer where primer was the whole job. Drywall patches, spackle, a color change, a stained spot. Each of these absorbs paint differently than the wall around it. Skip primer and the difference reads as a patch forever, no matter how many finish coats you pile on.
Wet edge died. You cut in the whole room, then started rolling. By the time the roller reached the brush line, the cut-in was dry, and now there’s a band where they met. Or you stopped mid-wall to answer the phone. The fix for that family of flaws lives in how to fix lap marks and how to fix roller marks.
Cheap tools, wrong tools. A bargain polyester roller sheds fibers and lays a thin, stippled film. A stiff brush leaves ridges that never level. The right roller nap and a decent brush do half the work for you. See the rundown on paint rollers and paint brushes before you blame the paint.
Before you fix anything, figure out which of these bit you. The repair is the same. Knowing the cause is how you keep it from happening on the recoat.
The Fix
Step 1. Let It Fully Cure, Then Wash
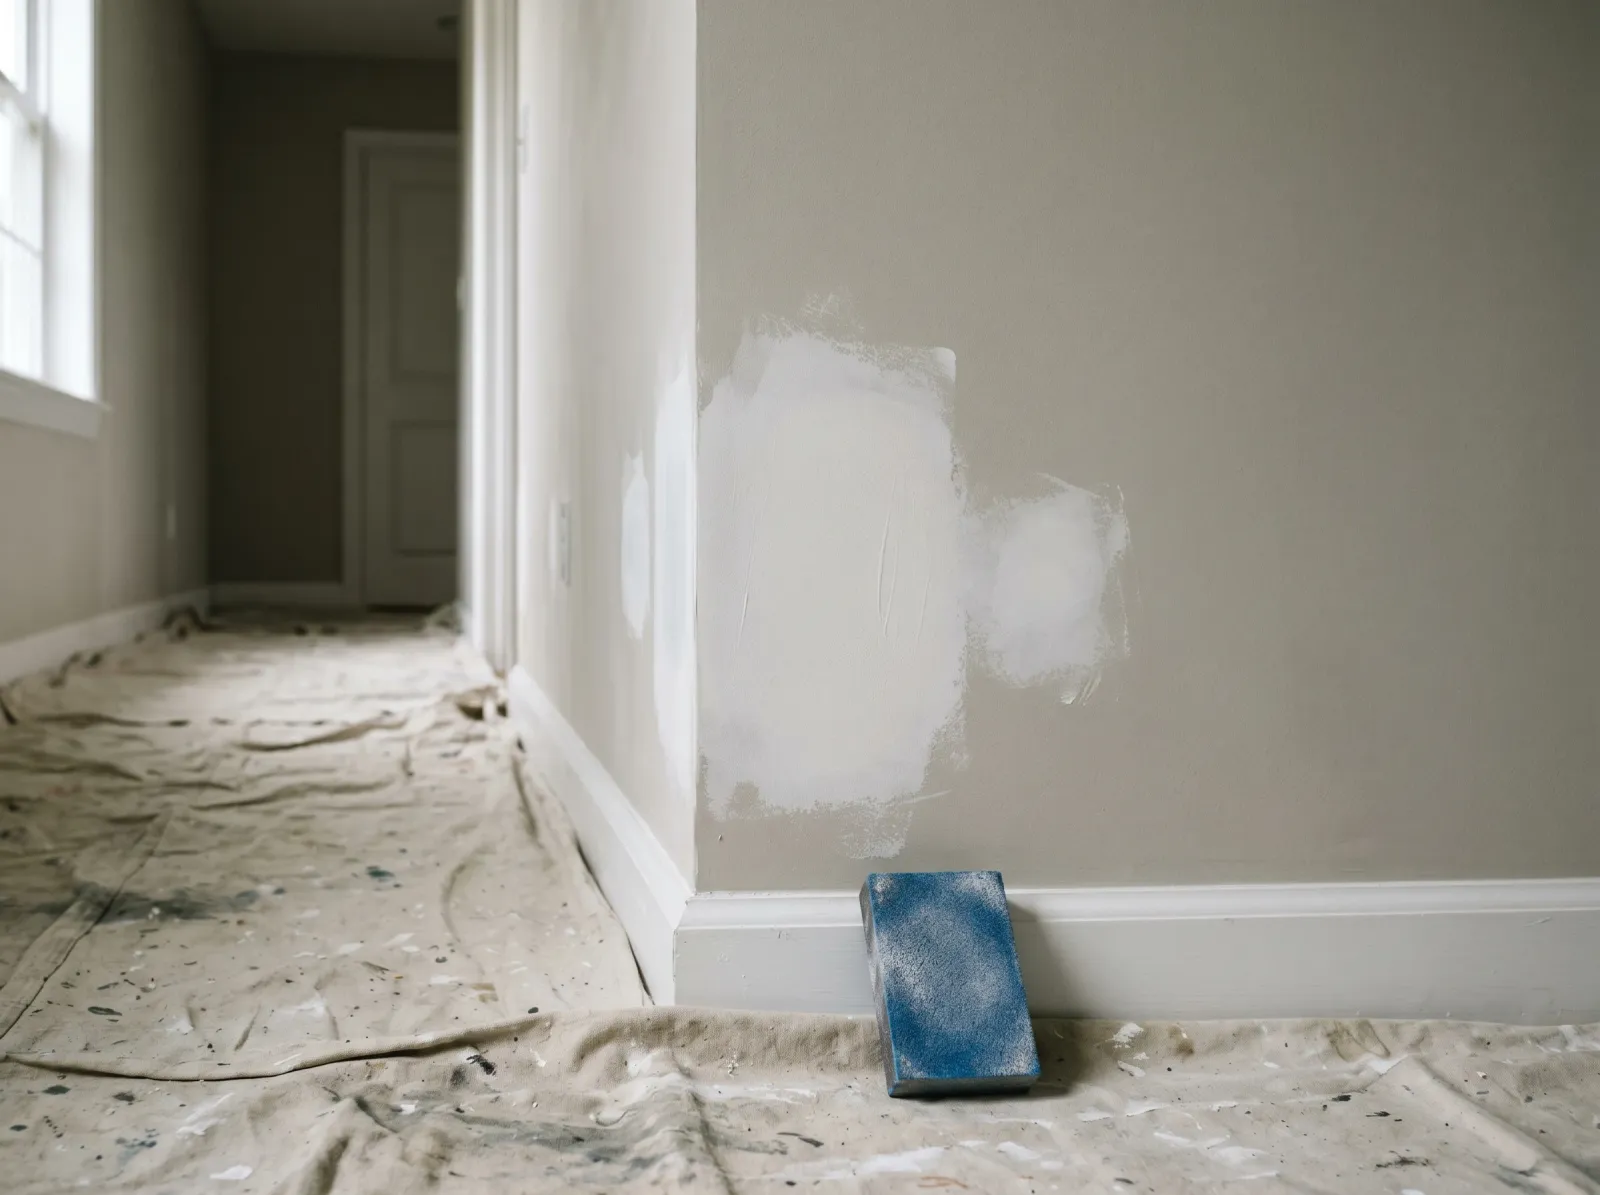 Sanded flat, spot-primed where stains bled through. This is where the real fix happens.
Don’t touch a wall that’s still soft. Most latex is dry to touch in an hour but won’t sand or recoat clean for 4 hours, longer in a cool or humid room. Sand it early and the paint gums up and rolls into little balls under the paper. Give it overnight if you can.
Once it’s hard, wash the wall. TSP substitute, a sponge, rinse, dry. Any grease, dust, or hand oil on the surface keeps the next coat from biting. This matters most in kitchens and around light switches.
Step 2. Knock Down Drips and Texture
Drips, sags, brush ridges, and roller stipple all come off the same way: sandpaper. Start at 120 grit to flatten the high spots, then move to 220 to smooth the transition. A sanding sponge follows the wall better than a flat block.
Your fingertip is the judge. Drag it across the spot with your eyes closed. If you can feel the drip or the ridge, keep sanding. If you can’t feel it, you won’t see it under the recoat.
For grit baked into the film, the same sand-and-smooth works. Wipe with a tack cloth or a damp microfiber after, because new paint over sanding dust is just a fresh batch of grit.
Step 3. Spot-Prime the Bleed-Through and the Bare Spots
Anywhere the old color, a stain, or a repaired patch shows through, prime it before you recoat. Match the primer to the problem:
- Old dark color under a lighter one: Zinsser Bulls Eye 1-2-3, tinted gray or toward your topcoat. Gray primer kills a deep red or navy in one coat where white wall paint would need four.
- Water rings, smoke, tannin, marker: Zinsser BIN (shellac-based). It blocks anything from wicking up. See how to fix water stains on a ceiling for the worst version of this.
- Spackle and drywall patches: PVA primer. Gypsum and joint compound drink paint differently than painted drywall, and the patch flashes through without it.
- Where you sanded down to bare drywall or trim: prime the bare spot so it doesn’t soak up the finish coat and leave a flat dead patch.
Twenty to thirty minutes dry on most quick primers, then you’re ready to paint.
Step 4. Recoat the Whole Surface
Whole wall, corner to corner, top to bottom, one session. Roll over just the bad spot and you trade one flaw for two: now there’s a fresh patch with its own edges. The only way to make a wall read even is to coat all of it at once.
Cut in a section of corner, then roll into it while the cut-in is still wet. Load the roller heavy. A starved roller is what made the wall patchy the first time. Pick one direction and keep it the whole wall. Don’t stop in the middle.
Two coats. The first botched coat doesn’t count as one of them, because you’re sanding and priming through it. Treat the wall like bare work and give it two honest finish coats.
On big walls or a hot room, stir in a latex paint conditioner like Floetrol, half a cup per gallon. It keeps the wet edge alive longer so your passes actually overlap. The full case for it is in how to fix lap marks.
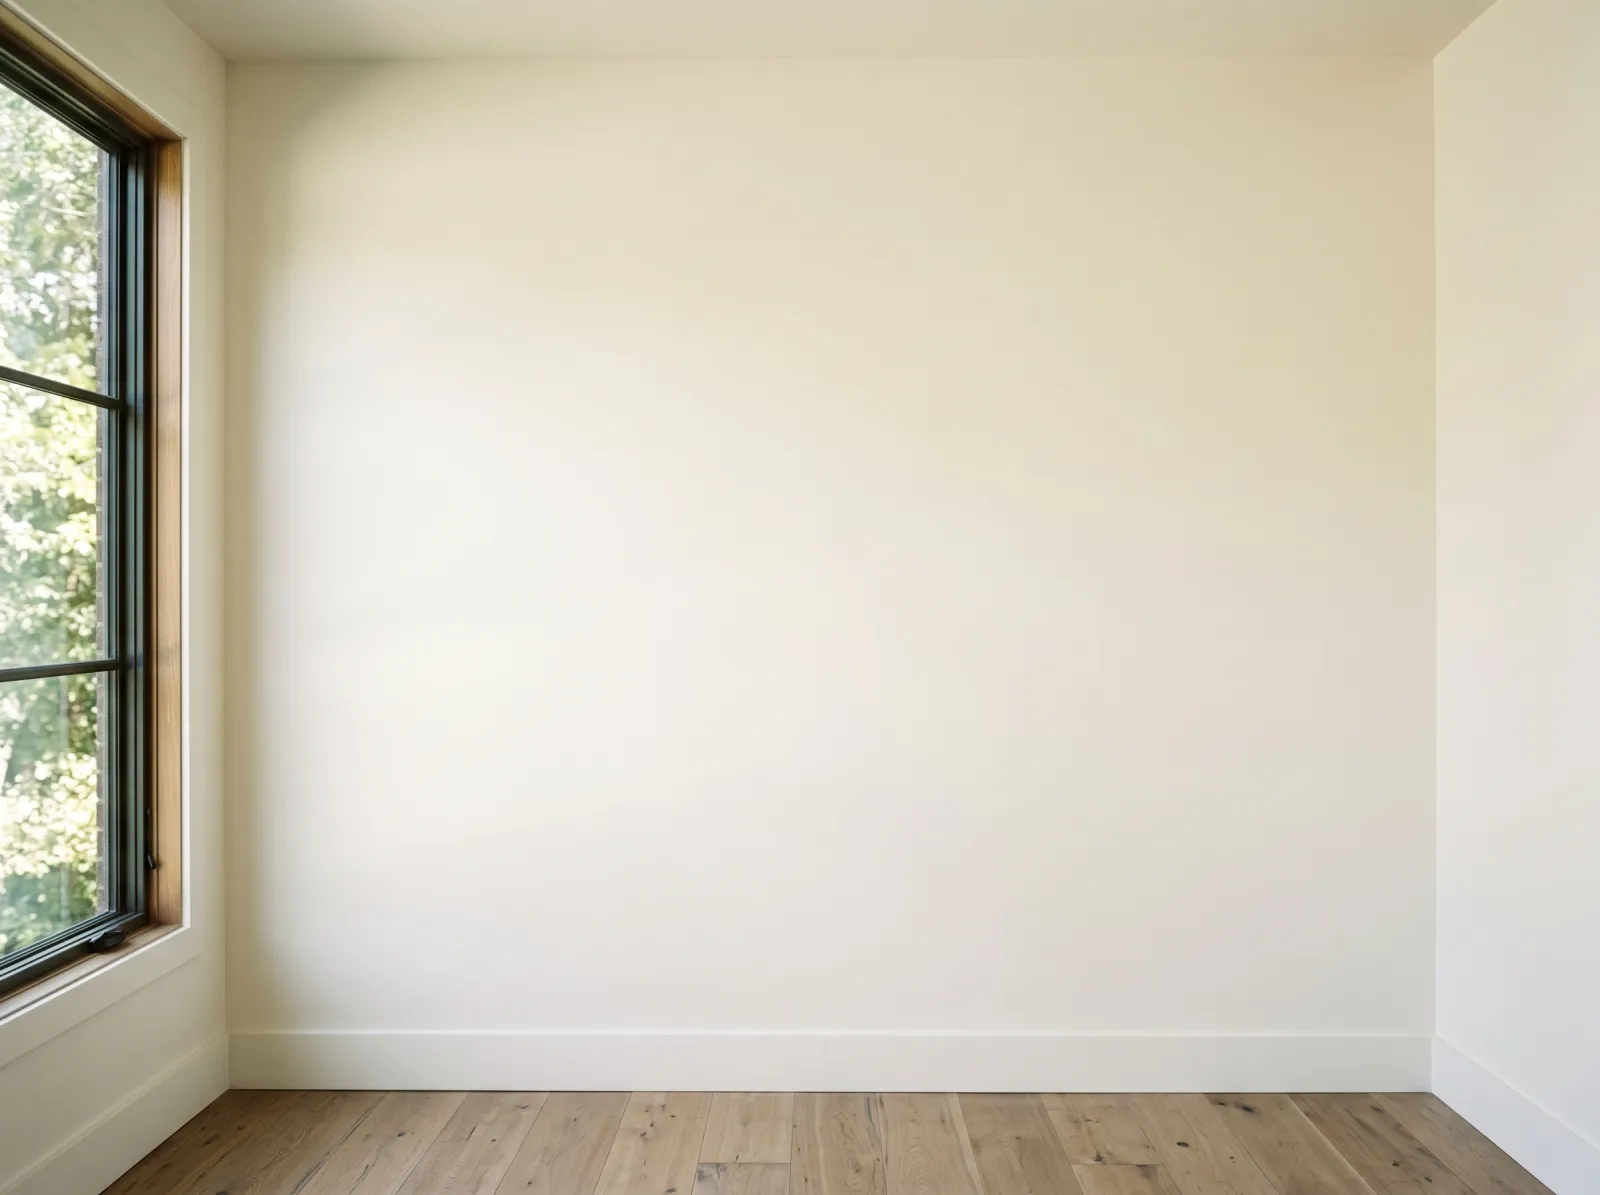 Two coats, one direction, wet edge kept alive. The wall reads flat from any angle now.
Safety
N95 while sanding. Cross-ventilate while priming, especially with shellac-based BIN, which carries strong fumes. Eye protection for any overhead or ceiling work. Never mix bleach with vinegar, ammonia, or hydrogen peroxide when cleaning a stained wall. It produces toxic chlorine gas. If you cleaned with any of those, rinse with clean water and let the wall dry 24 hours before primer.
If the house was built before 1978, the paint under your botched coat may be lead. Don’t dry-sand it. Test with 3M LeadCheck swabs first and follow EPA RRP practices. The full rundown is in the peeling paint guide.
Match the Fix to the Defect
| What you see | Root cause | The fix |
|---|---|---|
| Drips and sags | Overloaded brush/roller | Sand flat at 120, smooth at 220, recoat |
| Patchy coverage | One stretched coat, no primer | Spot-prime patches, full second coat |
| Old color showing through | Light over dark, no primer | Tinted primer, then two finish coats |
| Roller stipple / orange peel | Wrong nap, paint too thick | Sand smooth, recoat with correct nap roller |
| Brush ridges on trim | Cheap brush, paint not leveling | Sand, use an acrylic-alkyd enamel, better brush |
| Stains wicking up | Tannin, water, smoke, marker | Zinsser BIN, then topcoat |
| Gritty surface | Dust or shed roller fibers | Sand, tack-wipe, recoat clean |
| Lap or banding | Wet edge died | See lap marks / roller marks guides |
Common Mistakes
- Recoating before it’s dry. You pull the half-set film and make it worse. Wait it out.
- Patch-coating the bad spot. Creates a new flaw next to the old one. Whole wall, every time.
- Another finish coat over a stain. Latex doesn’t block bleed-through. Prime it.
- Skipping primer over repairs. The patch flashes through no matter how many coats you add.
- Sanding only the drip, not feathering around it. Leaves a divot. Blend the sanded area into the surrounding film.
- Blaming the paint. Most botched jobs are technique and prep, not a bad gallon. Mid-grade paint applied right beats premium paint stretched thin.
Prevention
- Buy enough paint for two coats. Run the numbers with a coverage and gallons calculator before you start. Running short mid-wall is how stretched, patchy coats happen.
- Prime color changes and repairs, always. It’s the cheapest insurance against a flashy, patchy wall.
- Match the sheen to the room. Flat hides wall flaws but scrubs poorly. Higher sheen wears better but shows every defect. The sheen guide walks through the tradeoff.
- Cut and roll in matching sections. Don’t cut the whole room first. The brush line dries and you get a band.
- Use a 3/8 or 1/2-inch microfiber roller on walls. It holds more paint and lays a more even film than a cheap polyester sleeve.
- Plan the room before you open the can. Where you start, where you stop, where tomorrow’s light will land. Most botched jobs are decided before the first brushstroke. The whole-room painting walkthrough lays out the order.
When to Call a Pro
- The botched coat is lifting or peeling when you press tape to it. That’s adhesion failure, not a cosmetic one.
- Pre-1978 home where fixing the mess means sanding lead paint without HEPA containment.
- Bleed-through stains that keep returning after a proper shellac primer. Something behind the wall is feeding them.
- Vaulted ceilings or stairwell walls over 12 feet, where the recoat is a spray-and-back-roll job and the rental plus safety setup outweighs DIY.
- A whole-house repaint gone wrong. Fixing one wall is a weekend. Fixing twelve rooms you rushed is a job for someone who does it daily.
What’ll Bite You in Two Years
If you recoat over a botched job without sanding the texture flat, the drips and roller ridges telegraph through the new paint. A fresh color doesn’t bury them. It copies them. And the next time you repaint, you’ll be sanding through two bad coats instead of one. Fix it down to a smooth, primed surface now, or you inherit the mess every repaint from here on.