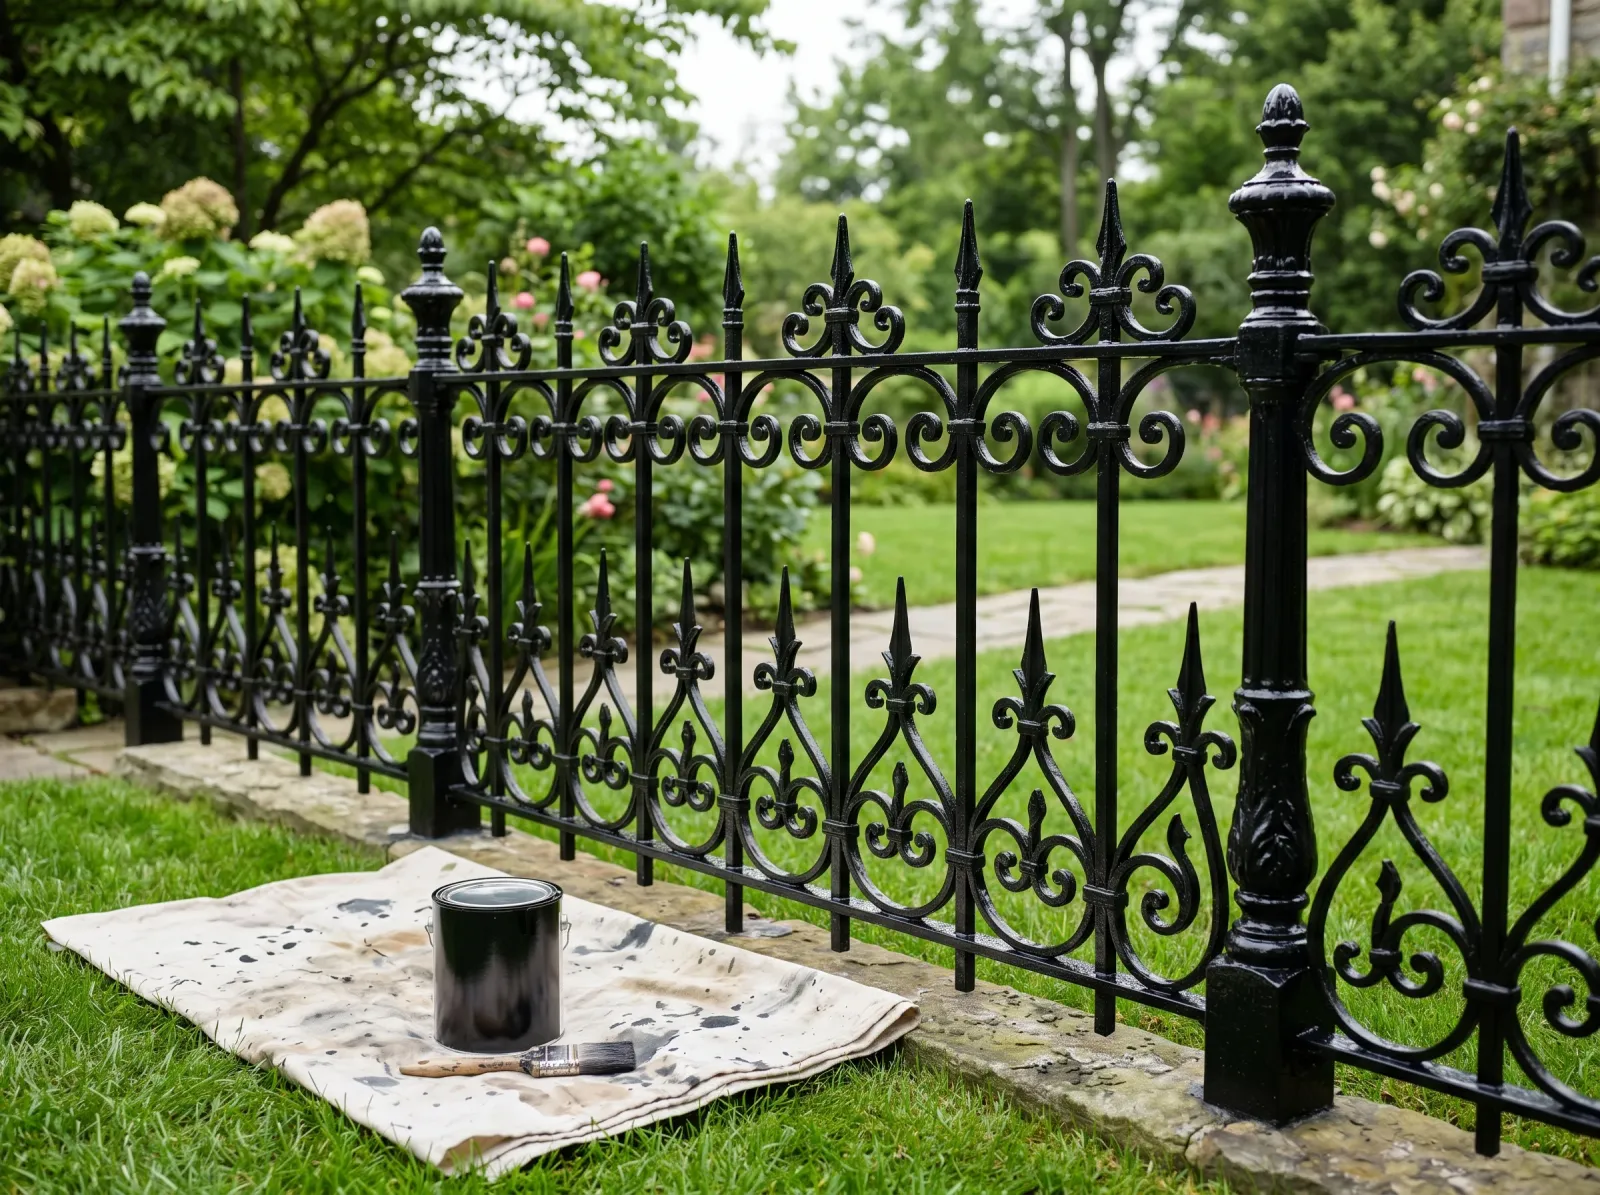
How to Paint a Wrought-Iron Fence
Painting a wrought iron fence the right way: strip the rust, prime bare metal, two thin topcoats. What lasts ten years and what flakes off by spring.

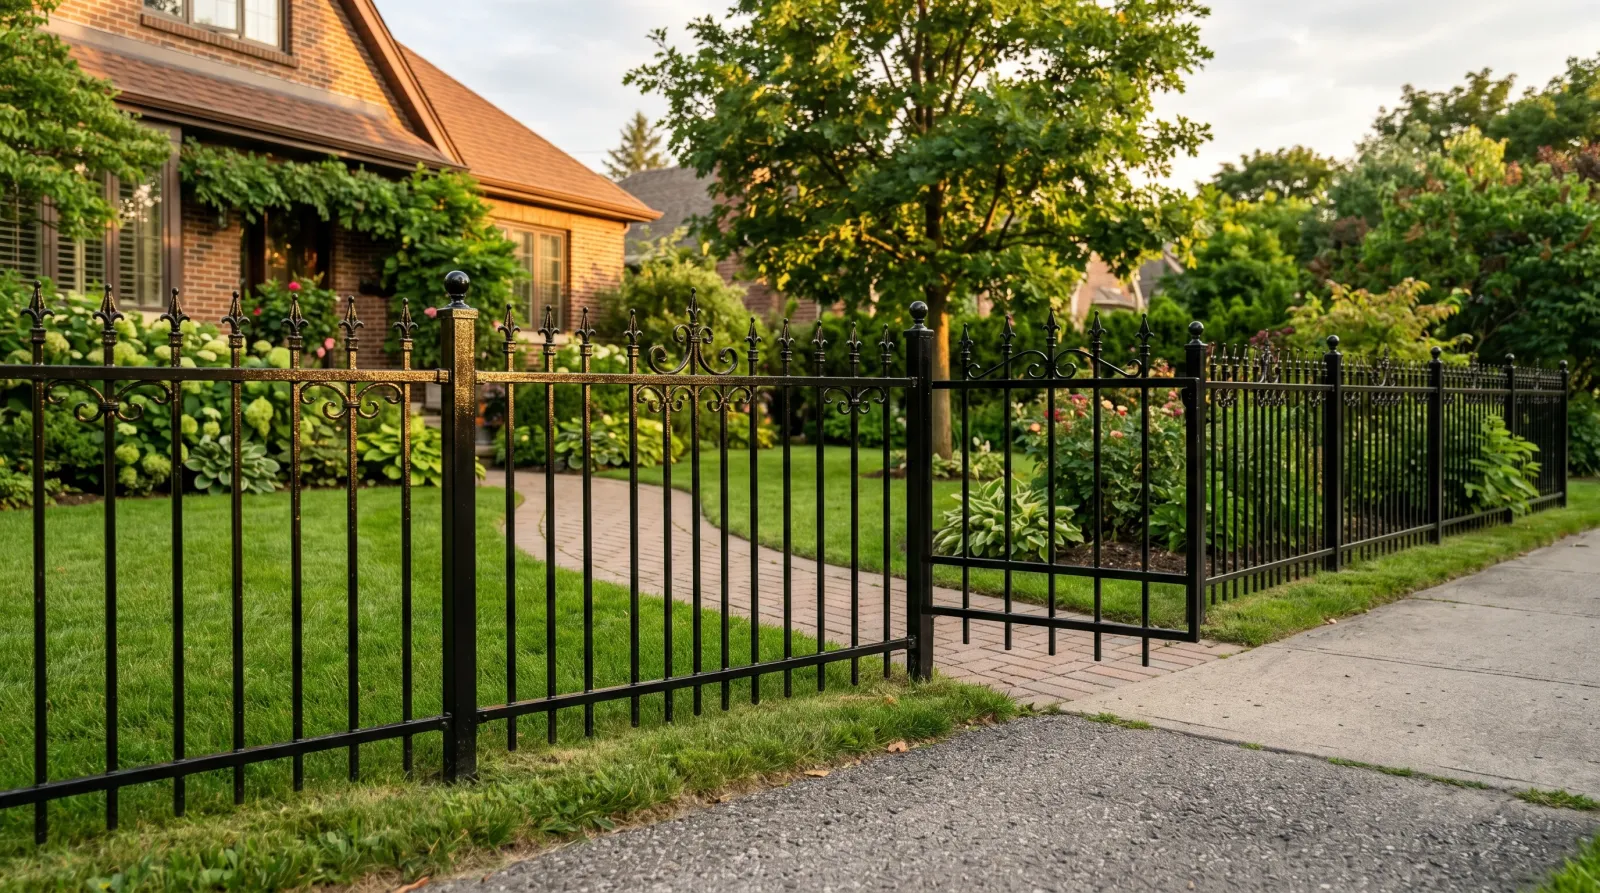
A wrought-iron fence is rust waiting to happen. That’s the whole job in one sentence. Everything you do out there is fighting water and oxygen, and the paint is just the last line of defense. Get the prep right and the paint holds for a decade. Get it wrong and you’re back on your knees with a wire brush in two springs.
I’ve repainted fences that the homeowner did themselves the year before. Same fence, twice, because the first time they rolled enamel straight over flaking rust. Paint doesn’t stick to rust. Rust keeps growing under the paint and pushes it off. So we start where it matters, which is not at the paint store.
What You’ll Get
A fence that looks new and stays that way for eight to ten years, instead of one that flakes at the bottom rail by next spring.
Honest Take on Difficulty and Time
This is a medium job, and the difficulty is all in the prep. The painting is easy. Knocking the rust back is slow, dirty, and the part everyone wants to skip.
Realistic time on an average residential run (40 to 60 feet): one full weekend. A full day of wire-brushing and sanding, a few hours to prime, then two thin topcoats with dry time between them. If your fence is mostly sound and only spot-rusting, you can knock it out in a long Saturday. If it’s an old fence that’s been neglected for a decade, budget two weekends and an angle grinder.
The dry time isn’t optional. Oil enamel wants a few hours between coats and a few days to harden. Rush the second coat and the first one wrinkles.
What You’ll Need
Paint and Primer
A rust-inhibiting metal primer is non-negotiable on any bare metal you expose. Rust-Oleum Rusty Metal Primer goes over tight surface rust. For spots you’ve ground to bright metal, a clean-metal primer or a direct-to-metal product works. A rust converter (the phosphoric-acid kind that turns rust black) is worth it on a fence that’s too far gone to fully strip.
For the topcoat, use a direct-to-metal (DTM) enamel. Oil-based Rust-Oleum Stops Rust is the standby and cures hard as a rock. Waterborne DTM acrylics like Sherwin-Williams DTM clean up with water and have closed most of the gap. Pick gloss or semi-gloss. Gloss sheds water and dirt, and outdoors that beats a soft finish every time. See the best exterior paint round-up for the topcoat picks, and the primer explainer for why bare metal can’t go straight to color.
Tools
A wire brush gets you started. For real rust you want a wire-wheel or a flap disc on an angle grinder, because hand-brushing scale takes forever. Then 80-grit and 120-grit to smooth what you ground. A 2-inch angled sash brush for the rails and a 1-inch for the scrollwork. Tape, a drop cloth, safety glasses, a dust mask, and nitrile gloves. Rust dust is nasty and the metal grindings are sharp. Abrasive picks are in the sandpaper round-up.
Step 1 — Knock Back the Rust
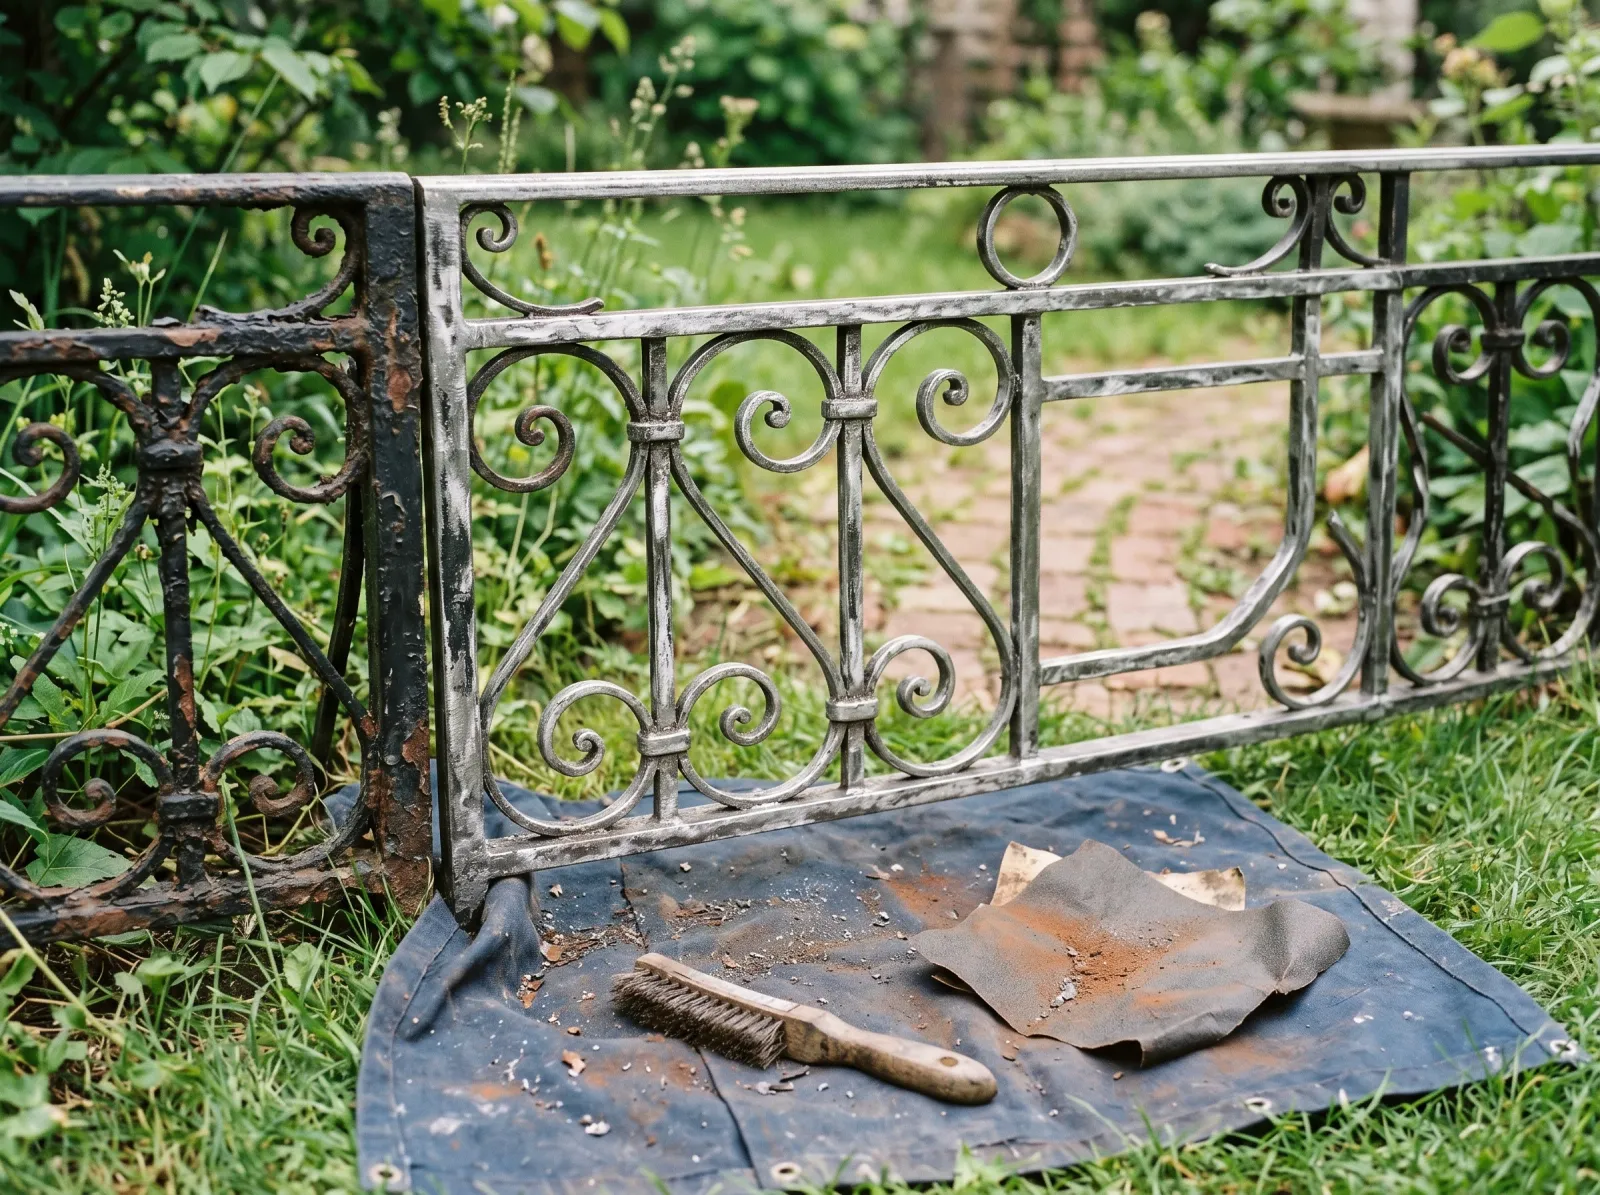 Loose flakes and scale gone, the worst spots ground to bright metal. This is most of the job.
Hit every inch with a wire brush. Anything that flakes, lifts, or comes off in your hand has to go. Loose rust and loose paint can’t hold a new coat, so they come off now or they take your new paint with them later. For heavy scale, switch to the wire-wheel or flap disc and grind the bad spots down to bright metal.
You don’t have to strip the whole fence to bare steel. Tight surface rust that won’t budge under the brush can stay and get a rust-converting primer. The line is simple: if it’s letting go, remove it. If it’s locked on, leave it and convert it.
Watch out for the joints where pickets meet the rails. That’s where dirt packs in and water sits, and that’s where the rust hides. Dig it out. Skip the joints and you’ve prepped the easy 90% and left the 10% that actually fails.
Step 2 — Sand and Wipe Down
Run 80-grit over the rough ground spots to knock down the burrs, then 120-grit to feather the edge where bare metal meets sound old paint. You want a smooth transition, not a hard ridge that telegraphs through the topcoat. Scuff any glossy old paint you’re keeping so the new coat has a tooth to grab.
Now wipe the whole fence down with mineral spirits or denatured alcohol on a rag. Grease, dust, and finger oils all stop paint from bonding. Let it flash off. Give it ten minutes to evaporate before you prime. A tack cloth on the detail work picks up the last of the grinding dust.
Paint over a greasy fence and the coat fish-eyes and peels at the low spots first.
Step 3 — Prime the Bare Metal
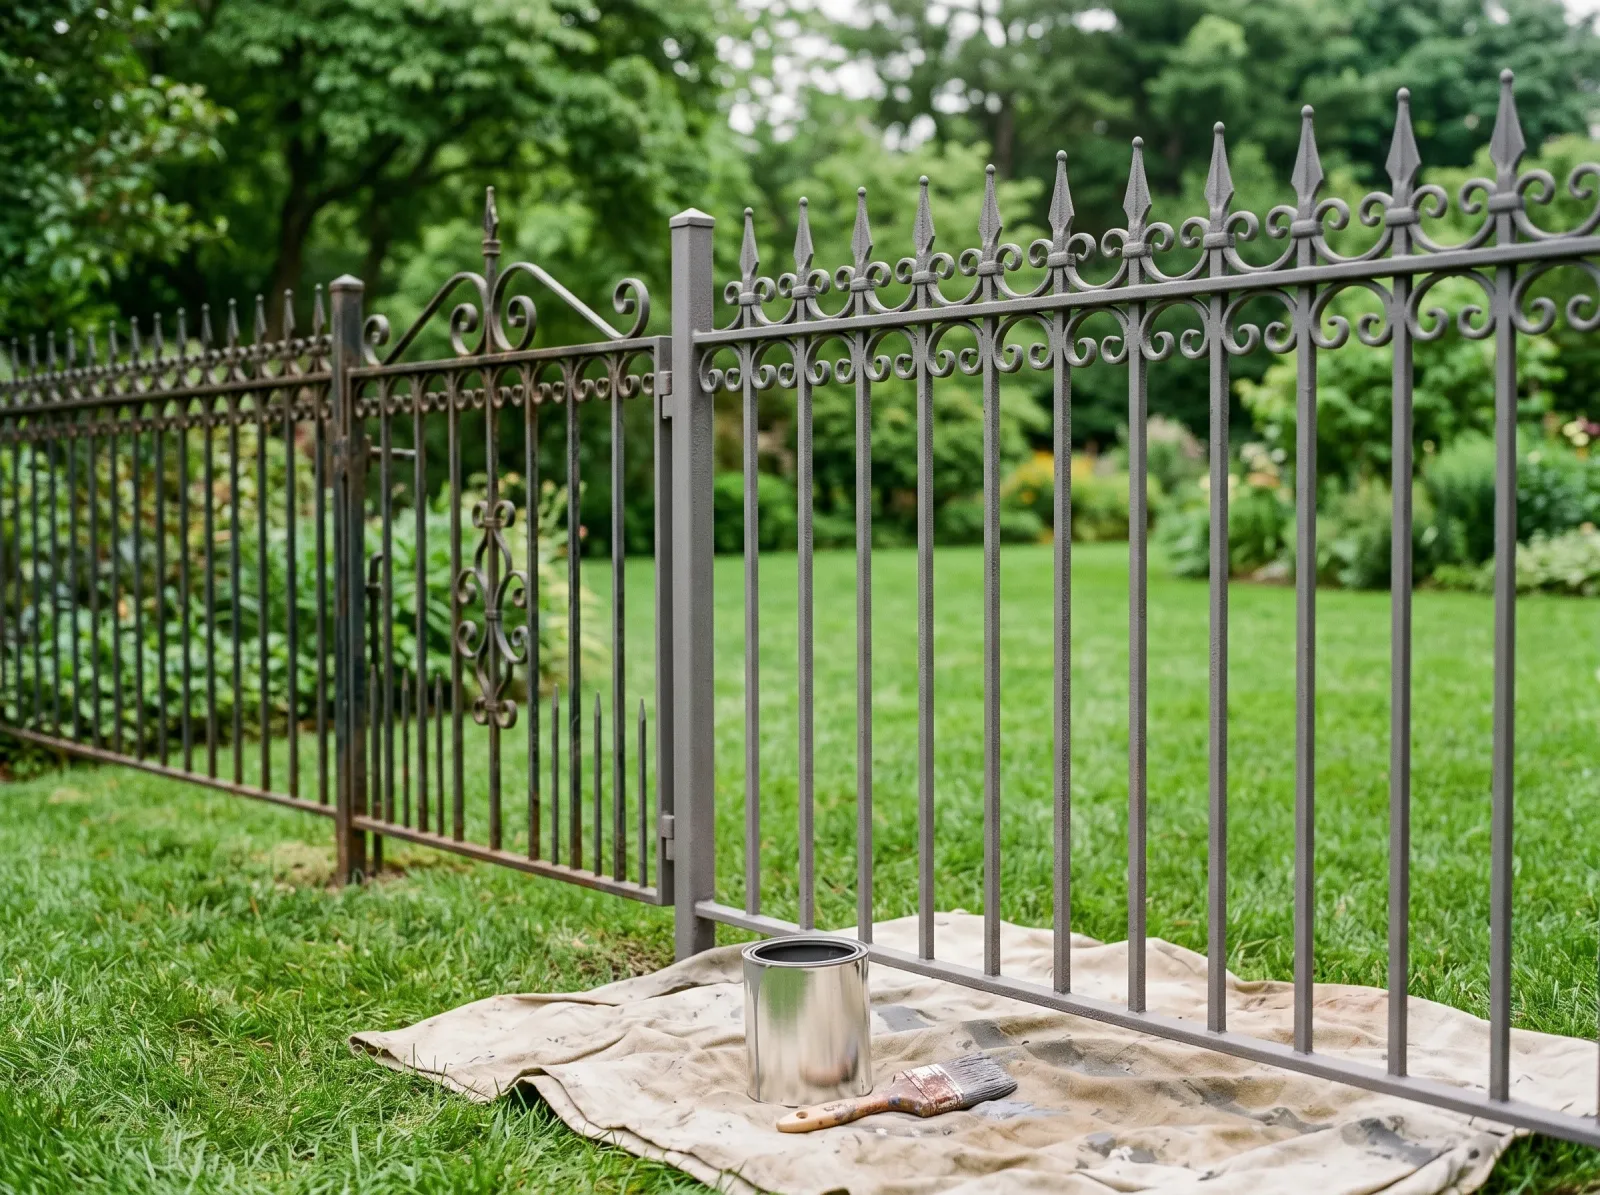 Every bare spot coated in rust-inhibiting primer. The fence looks patchy and dull. That’s correct.
Prime every spot you took down to metal. Brush it into the joints and the scrollwork first with the 1-inch, then the open rails with the 2-inch. If the whole fence was rusty, prime the whole thing. If you only had a few bad areas, spot-prime them and feather the primer a little past the repair.
Use thin coats. Primer that’s laid on thick runs in the corners and sags off the verticals, and a sagged primer coat ruins the topcoat sitting on it. One even coat is plenty. Let it dry the full time on the can before you touch it, usually a couple of hours for a metal primer, longer if it’s cold or damp.
Watch out for priming in direct sun on a hot day. The metal gets hot enough to flash the primer before it levels, and you get a gritty surface. Work in the shade or in the morning.
Step 4 — First Topcoat
 First thin coat of black enamel. Still a little translucent over the primer. Don’t try to bury it in one pass.
Dip the brush a third of the way and tap it on the inside of the can. A loaded brush drips, and on a vertical bar a drip becomes a run you’ll see from the street.
Paint top to bottom so you catch your own drips on the way down. Do the scrollwork and the back faces first, then the front faces last while the back is setting up. The first coat will look thin and a little translucent over grey primer. Leave it. Resist the urge to pile it on to bury the primer in one pass. Thick enamel skins over on top and stays soft underneath, and it never cures hard.
Let it dry the recoat time on the can. For oil enamel that’s usually a few hours.
Step 5 — Second Topcoat and Cleanup
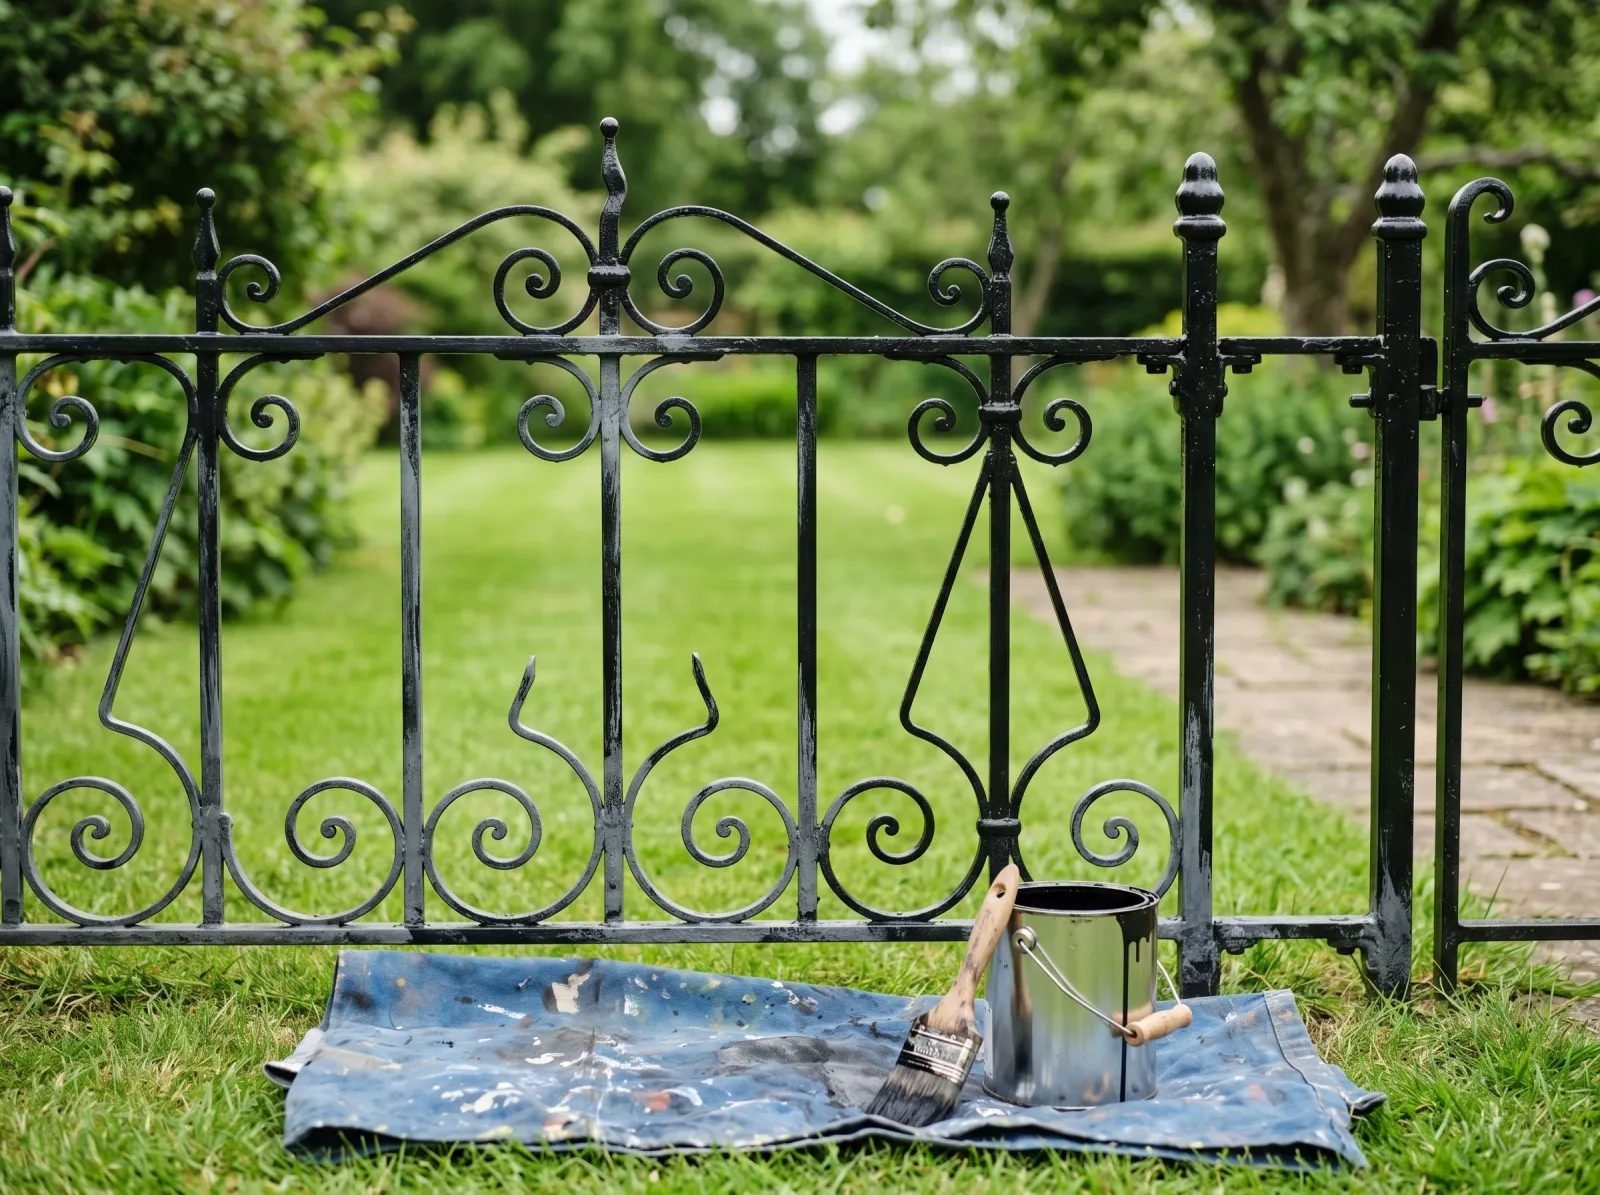
 Second thin coat evens out the sheen and buries the primer. Even gloss, no runs in the scrollwork.
Second thin coat, same order, top to bottom. This is the one that evens the sheen and gives you the deep, uniform gloss. Two thin coats. Always two thin coats. One heavy coat will sag and stay soft, and on an exterior fence soft enamel chalks and fails fast.
Pull your tape while the paint is still slightly tacky, not bone dry. Clean oil-based brushes in mineral spirits, waterborne in warm water until it runs clear. Let the fence cure before anything leans on it or before the sprinklers come back on.
Cure Schedule
| Time after the second coat | What’s safe |
|---|---|
| 4-6 hours | Touch dry, don’t lean anything on it |
| 24 hours | Light rain is okay, no scrubbing |
| 3-4 days | Hard enough for normal contact, dogs, kids |
| 7 days | Turn the sprinklers back on near it |
| 30 days | Full cure, hose it down, scrub if needed |
Cold or humid weather stretches every one of these. A 50-degree damp day can double the recoat and cure times. When in doubt, wait.
Common Mistakes
- Painting over flaking rust. The rust keeps growing under the new paint and lifts it off. Wire-brush every loose flake first. There’s no primer that fixes paint laid over rust that’s already letting go. For the bigger picture on why coatings let go, see why paint peels.
- Skipping primer on bare metal. DTM enamel bonds, but bare steel under a topcoat with no rust inhibitor flash-rusts from underneath and bleeds through in months. Prime every spot you took to metal.
- One thick coat instead of two thin ones. Heavy enamel sags on the verticals, runs in the scrollwork, skins on top, and stays soft underneath. Thin coats cure hard. Thick coats never do.
- Ignoring the bottom rail and the joints. That’s where water sits and rust starts. Prep those hardest, not the easy open faces. A fence that fails always fails at the bottom first.
- Painting in direct sun or before a rain. Hot metal flashes the paint before it levels; rain within a few hours washes uncured enamel into a streaky mess. Shade, dry forecast, calm morning.
Maintenance and Touch-Ups
A properly prepped and primed fence holds for eight to ten years. The failure always shows up first at the bottom rails and the joints where the pickets meet, because that’s where water lives. Walk the fence every spring and look low, not at eye level.
When you find a fresh rust spot, and you will around year four or five, don’t wait. Wire-brush that one spot back to metal, prime it, and dab two thin coats of your leftover enamel on with a 1-inch brush. Catch it small and the repair takes ten minutes. Let it run for two more years and you’re stripping a whole rail. Keep a quart of the topcoat sealed in the garage labeled with the color and the brand for exactly this.
The thing that’ll bite you in two years isn’t the paint. It’s the sprinkler head you forgot about that hits the same bottom rail every morning at six. Move it, or aim it away from the fence, or you’ll be repainting that one section on a loop while the rest of the fence still looks new.
Cost Breakdown
| Item | $ |
|---|---|
| Rust-inhibiting primer, 1 quart | $12 |
| DTM enamel topcoat, 1 quart | $18 |
| Naval jelly / rust remover | $10 |
| Brushes (2-inch and 1-inch) | $20 |
| Sandpaper, wire brush, rags | $15 |
| Total | $75 |
That’s a brush job on an average fence. Add $40-$60 if you rent or buy a flap disc and grinder for a heavily rusted run, and another $15-$25 in rattle cans if you spray instead of brush. Either way it’s a fraction of the $1,500-plus a contractor quotes to strip and repaint the same fence.