How to Paint Wood Paneling
Painting wood paneling the right way: clean, scuff-sand the shine, prime so the knots don't bleed, then two coats. Every step explained for first-timers.

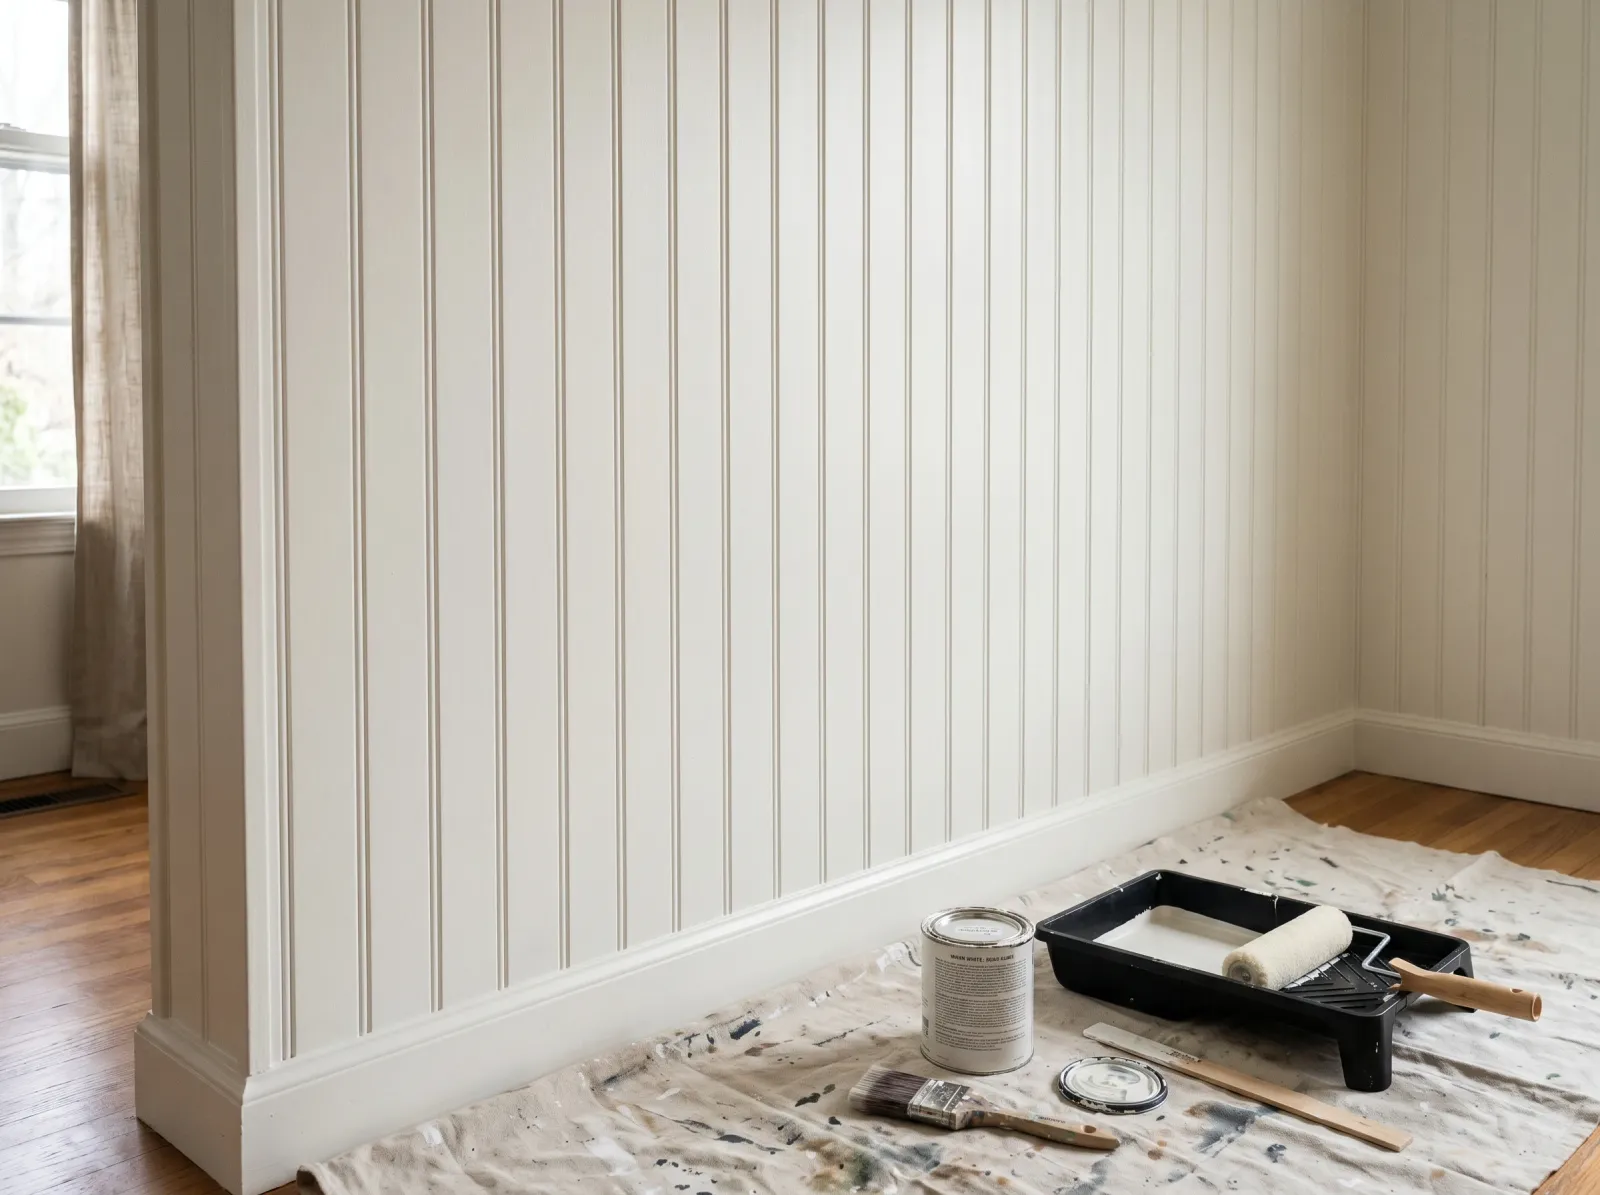
Okay, so you’ve got that dark wood paneling making the room feel like a 1972 rec room, and you want to paint it white and be done. You can. Painting paneling is easier than it looks. The catch isn’t the painting part. It’s the prep. Paneling has a slick, shiny finish, and the wood underneath bleeds stains up through your paint if you don’t seal it. Get those two things right and the rest is just rolling.
Here’s the order: clean it, dull the shine, prime it, paint it twice. Skip the priming and you’ll be scraping peeled paint off the wall by next year.
TL;DR
- Clean first. Wipe off years of furniture polish with TSP substitute or Krud Kutter, or the paint won’t stick.
- Scuff the shine. Dull the glossy finish with 150-grit so primer can grip. You’re not sanding to bare wood.
- Prime, no exceptions. A bonding stain-blocking primer (Zinsser BIN, Cover Stain, or KILZ) seals the wood so knots don’t bleed and paint doesn’t peel.
- Brush the grooves by hand. The roller skips them. Brush each groove, then roll the flats.
- Three coats total. One primer coat, two finish coats in eggshell or satin.
- Leave the grooves. Painted, they read as shiplap. Filling them is a separate job.
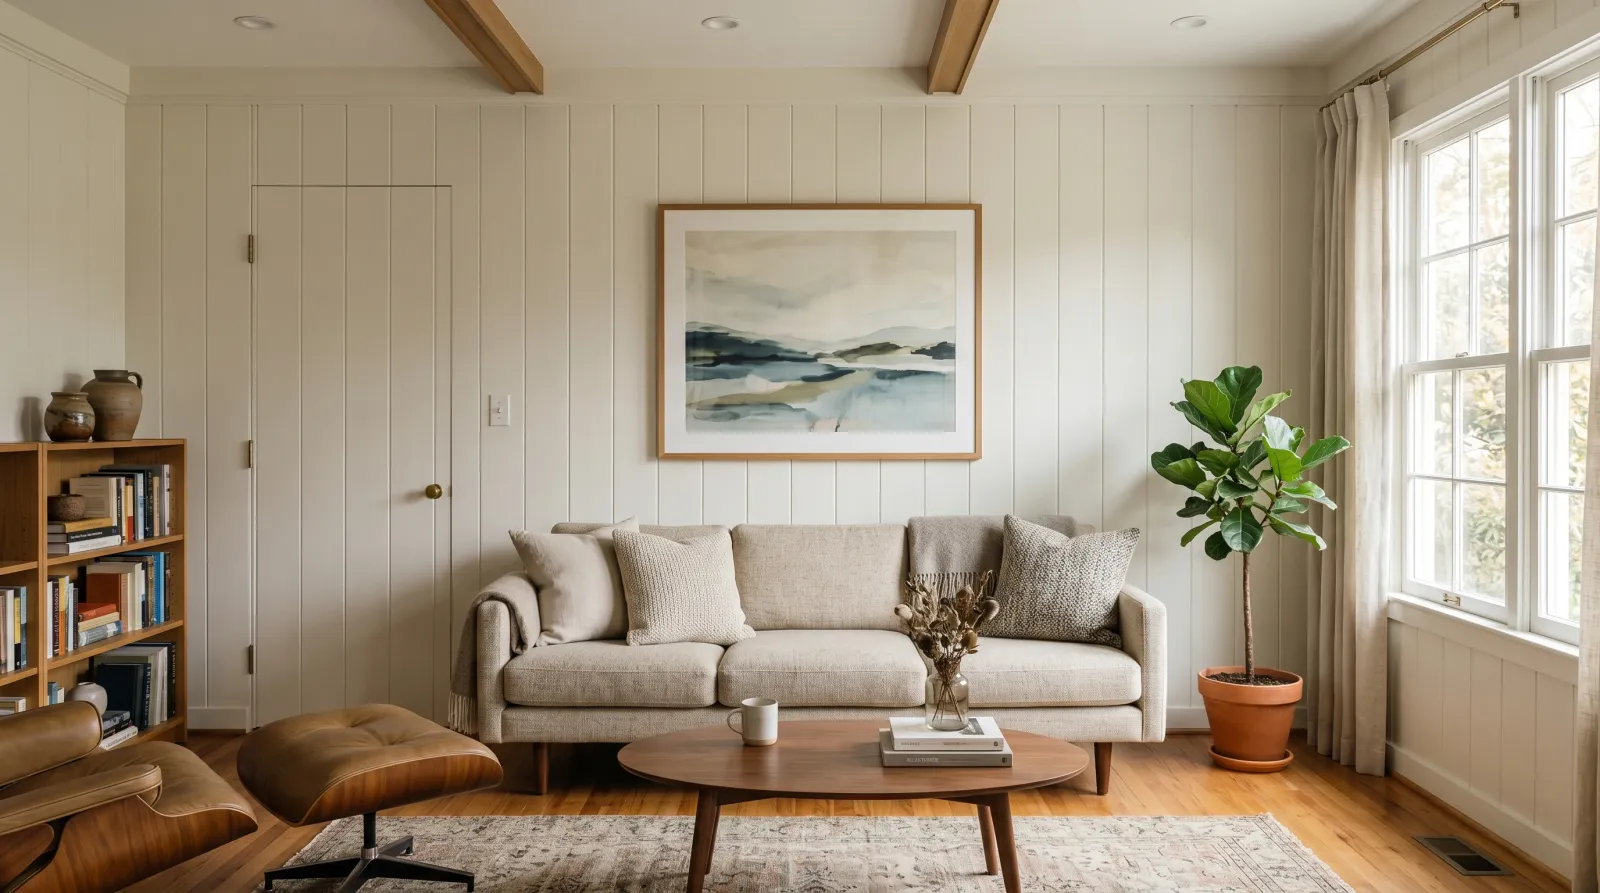
What You’ll Get
A bright, modern wall (or room) where the paneling reads as paint, not as 1970s wood. The vertical grooves usually still show faintly, and that’s fine. Painted, they look like shiplap instead of a basement.
Honest Take on Difficulty and Time
The work is easy. The waiting stretches it out. An average 12-by-12 room of paneling takes a first-timer about 10 working hours, spread over a weekend because the primer has to dry before the paint.
Day one: clean, sand, tape, and prime. Day two: two coats of color with a few hours between them.
The grooves are the only slow part. The roller skips over them and leaves them bare, so you brush them by hand first. That’s the part nobody warns you about. It adds an hour and it’s the difference between a clean job and one where you see raw wood lines from across the room.
What You’ll Need
Paint and Primer
The most important can you’ll buy is the primer, not the paint. You need a bonding stain-blocking primer. “Bonding” means it sticks to slick surfaces; “stain-blocking” means it seals the wood so the oils and knots don’t bleed through. Zinsser Cover Stain (oil-based), Zinsser BIN (shellac-based), and KILZ Original all do both. BIN sticks to the glossiest paneling without much sanding and dries in 45 minutes, but it smells strong and needs denatured alcohol for cleanup. Cover Stain is more forgiving to work with.
For color, a gallon of eggshell or satin wall paint covers a 12-by-12 room of paneling in two coats. Behr Premium Plus, BM Regal Select, and Sherwin-Williams SuperPaint are all solid mid-tier picks. See the best stain-blocking primers for the full primer rundown, and the sheen guide if you’re stuck between eggshell and satin.
Tools
A 2.5-inch angled brush, because you’ll be brushing every groove by hand. A 9-inch roller for the big flats, plus a narrow 4-inch foam roller that fits the panel faces better. Sanding sponges in 150-grit (dulling the shine) and 220-grit (between coats). Tape, a canvas drop cloth, degreaser, gloves, and a tack cloth.
Don’t cheap out on the brush. The grooves punish a bad brush, splaying the bristles and leaving streaks. A $14 Wooster or Purdy holds its edge. Picks are in the best paint brushes round-up.
Step 1: Clean Off Years of Polish and Grime
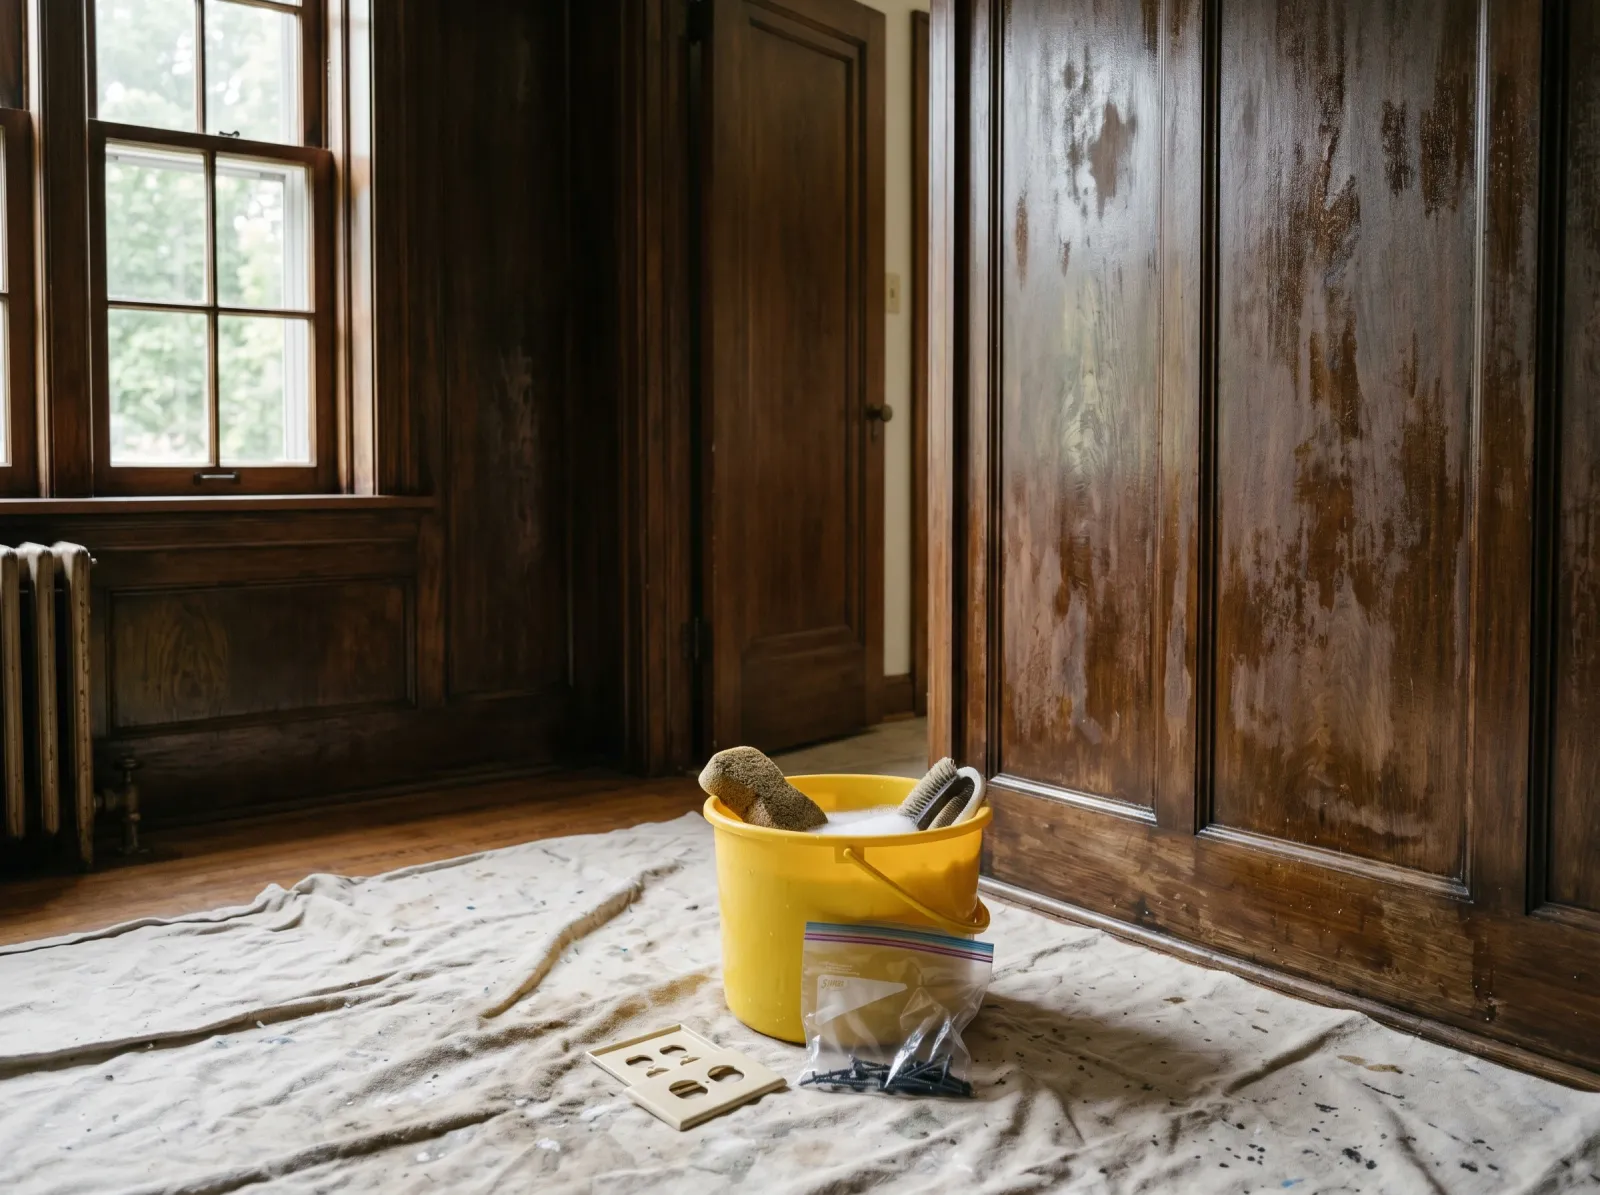
Panels wiped down with degreaser to pull off years of polish and grime, outlet plates off, drop cloth down.
Old paneling is coated in decades of furniture polish, dust, and hand oils, and paint won’t stick to that film. Mix TSP substitute into warm water, or spray Krud Kutter straight on, glove up, and wipe every panel top to bottom with a sponge.
Scrub harder on the lower third where hands and furniture rubbed it shiny. Rinse with a second bucket of clean water and let it dry an hour. Take the outlet and switch plates off and bag the screws.
Watch out for waxed paneling. If water beads up and the rag glides instead of grabbing, there’s wax on it. Wipe it with mineral spirits before you sand, or the wax gums up the sandpaper and the primer won’t grip.
Step 2: Scuff-Sand Until the Shine Is Gone
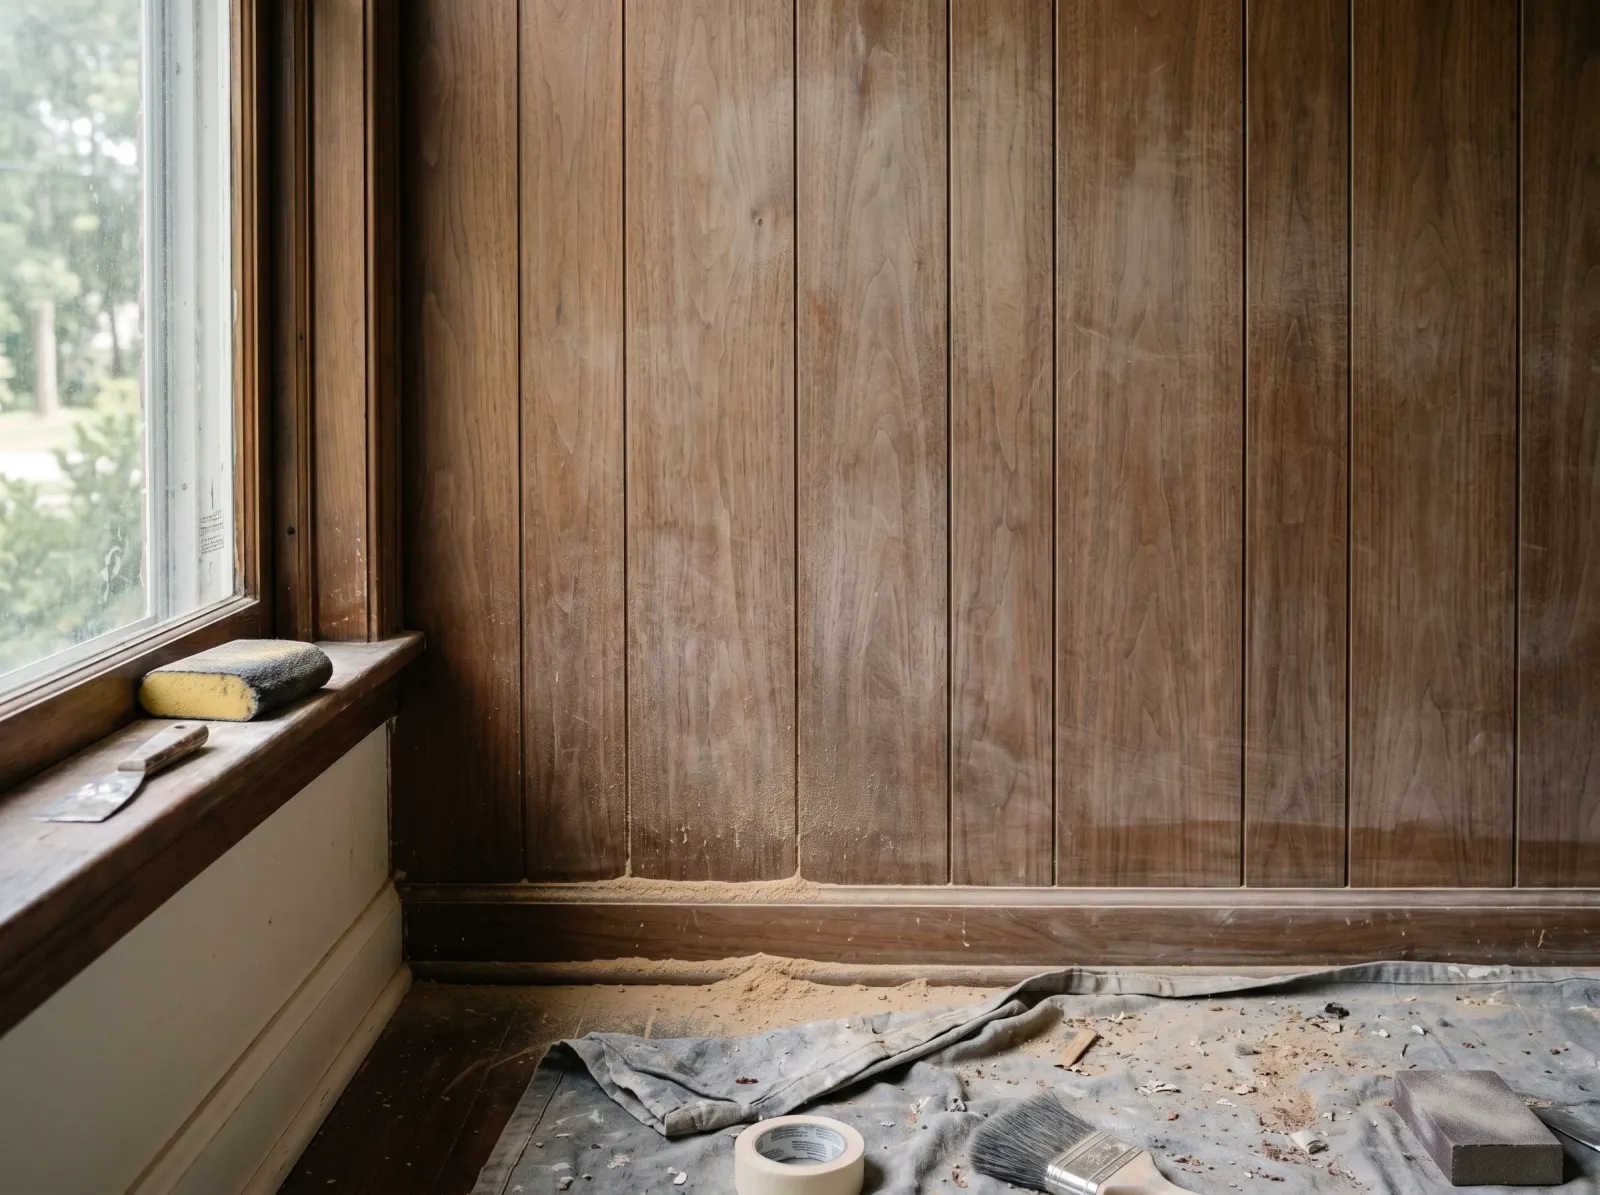
The glossy sheen knocked off with 150-grit so the primer has something to grip. The wall looks hazy and matte now.
You’re not sanding to bare wood. You’re dulling the gloss so the primer has a rough surface to lock onto. Rub the whole wall with the 150-grit sponge, grooves included, until the shine turns hazy matte. Ten minutes a wall. You’ll know it’s enough when the surface looks flat and chalky instead of reflective.
Wipe all the dust off with a tack cloth or a damp microfiber rag. Primer over dust is primer that peels.
Watch out for skipping the grooves. The roller can’t reach into them, so the primer there is brushed by hand, and if you didn’t sand the groove the primer beads up and sits on top instead of grabbing.
Step 3: Tape Off and Cover the Floor
Tape along the ceiling line, baseboards, window and door casings, and any built-in you’re not painting. Press the edge down hard with your thumbnail so paint doesn’t bleed under. Lay the canvas drop cloth along the base of the wall; canvas soaks up drips and doesn’t slide like plastic.
If your paneling has a wide gap where it meets the ceiling or floor, run a thin bead of paintable caulk along it now. It makes the finished wall look built-in instead of tacked-on.
Step 4: Prime Every Panel and Groove
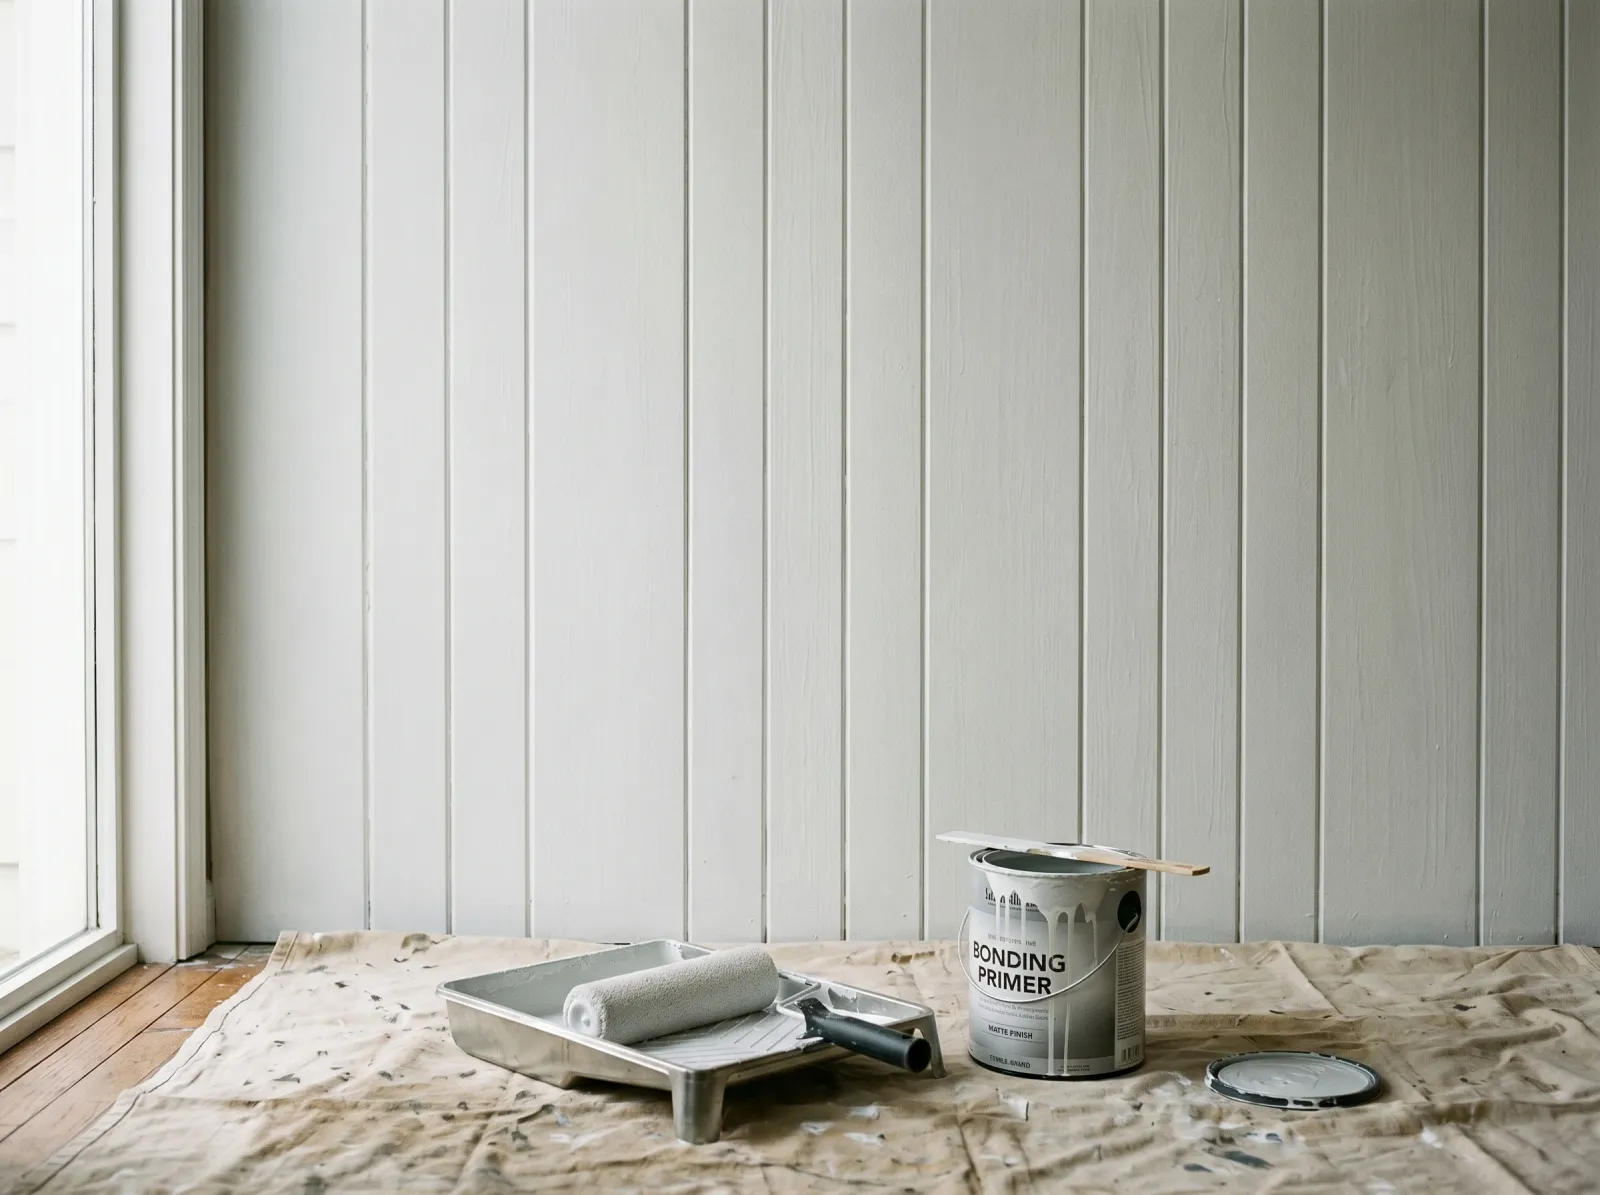
A bonding stain-blocking primer rolled and brushed over every panel, including down into the grooves. The wood grain is sealed.
This is the step that makes or breaks the project. Start with the brush in the grooves, dragging it down each vertical groove so it’s coated top to bottom. Then roll the flat panel faces with the 4-inch foam roller, working into the wet grooves so they blend.
One full coat of bonding primer seals the wood and hides most of the old color. Let it dry the full time on the can. BIN is dry in 45 minutes; Cover Stain wants a few hours.
Watch out for knots ghosting through the dried primer. Real wood knots bleed an amber stain that pushes right through latex paint. If a knot still shows, hit it with a second dab of shellac primer before you paint. The full story is in the guide to blocking knots that bleed through.
If the old paneling was very dark and the grain color still shows through the primer, do a second primer coat. It’s cheaper than fighting it with three coats of finish paint.
Step 5: First Coat of Color
Lightly sand the dried primer with the 220-grit sponge if it feels rough, and wipe the dust. That gives you a smooth base for the color.
Same routine as the primer: brush the grooves first, then roll the flats. Cut in a band along the taped edges, then roll the panel faces with the 9-inch roller and the 4-inch roller for the tight spots.
The first coat will look patchy and thin. That’s normal on paneling. Don’t fuss over it. The second coat is what fills it in.
Watch out for drips running down out of the grooves. The grooves hold extra paint, and it sneaks out and runs down the flat below. Check the grooves a few minutes after you brush them and tip out any pooling paint with the brush.
Step 6: Second Coat, Then Pull the Tape
Two coats of finish paint over the primer. The grooves are brushed first, then the flats rolled. Color is even and solid.
Wait the recoat window on the can, usually 4 hours. Touch the wall with a knuckle; if it’s dry and not tacky, go. Second coat is the same as the first: grooves with the brush, flats with the roller. This is the coat where the color goes solid and even.
Pull the tape while the second coat is still slightly tacky, about 30 to 60 minutes after you finish. Pull slow, at a 45-degree angle. Wait until it’s bone dry and the film cures across the tape edge, then peels off in a ragged strip when you pull.
Step 7: Reset the Room
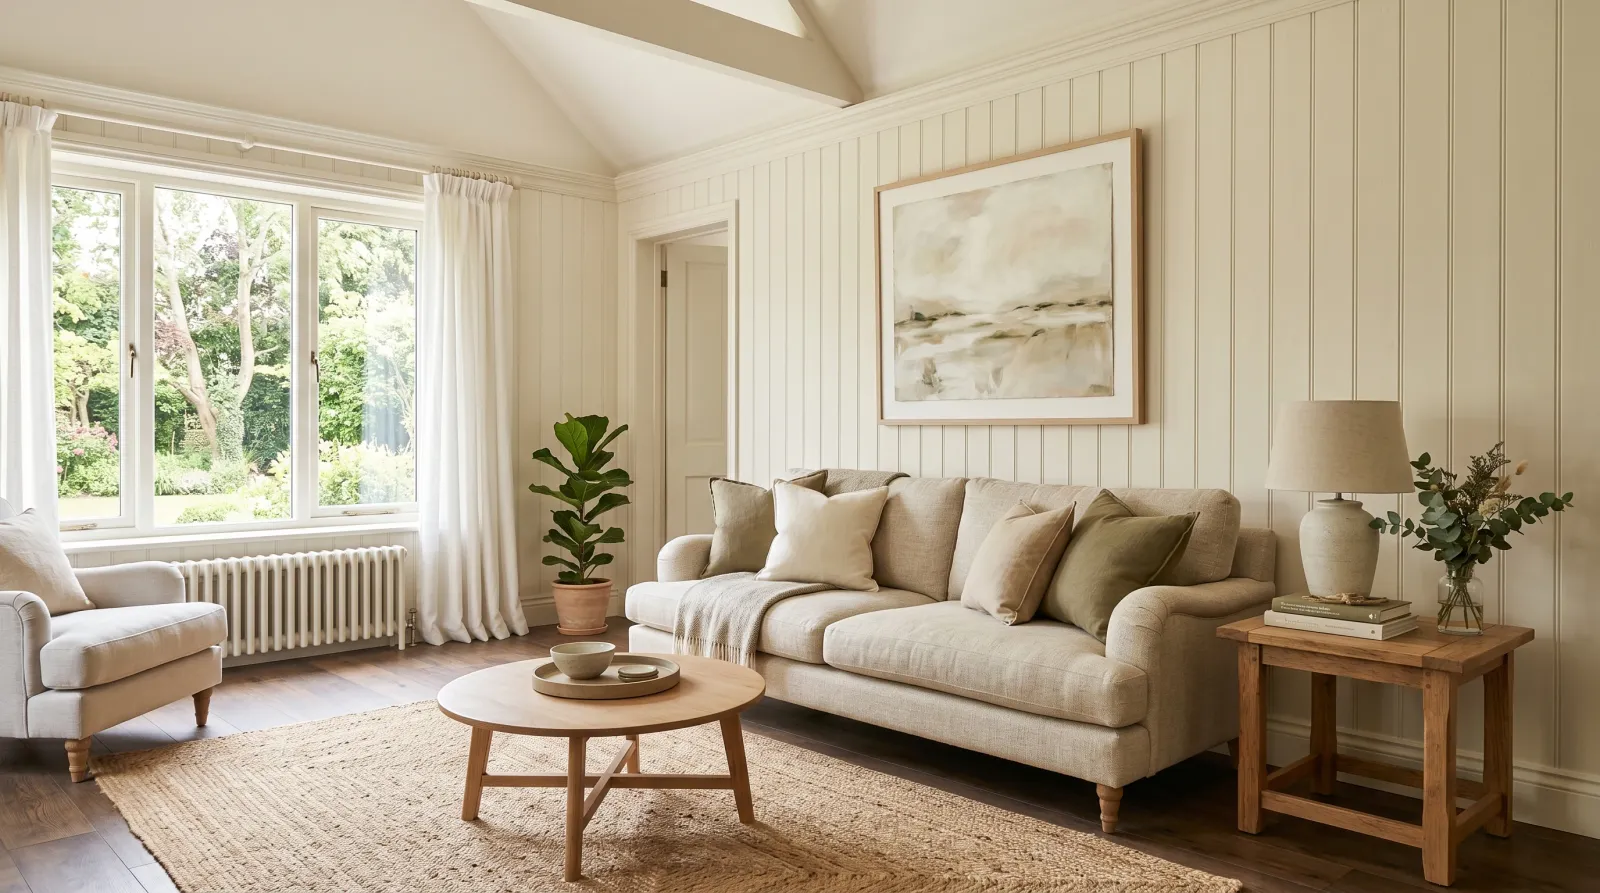
Tape pulled, drop cloth folded, furniture back. The room reads brighter and bigger.
Outlet plates back on. Fold the drop cloth and shake it outside. Wash the brush and rollers (warm water for latex; denatured alcohol if you used BIN). Wait 24 hours before pushing furniture back against the wall, and a few days before hanging anything heavy. The paint is touch-dry fast but it hasn’t hardened yet.
Common Mistakes
- Skipping the primer. The big one. Latex paint straight on a slick panel peels, and the knots stain through within weeks. A bonding stain-blocking primer is mandatory, not optional.
- Using paint-and-primer-in-one as the primer. It’s marketing for thicker wall paint. It does not seal wood or stick to gloss the way a real bonding primer does. Buy the separate can of Zinsser or KILZ.
- Rolling over the grooves and calling it done. The roller can’t reach the bottom of a groove. You end up with bare wood lines you can see from across the room. Brush every groove by hand first.
- Not dulling the shine. Primer on a glossy surface that wasn’t scuffed will bond poorly and can be scratched off with a fingernail later. Ten minutes with 150-grit prevents it.
- Painting over furniture wax. Old paneling is often waxed. Wax repels primer no matter how good it is. Wipe suspect walls with mineral spirits before sanding.
Cure Schedule
| Time after the second coat | What’s safe |
|---|---|
| 30–60 min | Pull the painter’s tape |
| 4 hours | Touch dry, don’t bump it |
| 24 hours | Furniture back against the wall |
| 48 hours | Hang light frames |
| 7 days | Wipe smudges with a damp cloth |
| 30 days | Full cure, scrubbable |
Maintenance and Touch-Ups
Painted paneling holds up about as long as a painted wall, 7 to 10 years in a living space, less in a busy hallway. The grooves collect dust, so wipe them every few months with a dry microfiber cloth or the vacuum brush.
For a scuff or a ding, dab leftover finish paint on with a small artist’s brush. With primer under it, touch-ups blend well. Keep a labeled quart of both the primer and the color. If a knot ghosts through years later, spot-prime it with shellac and dab color over it.
Cost Breakdown
| Item | $ |
|---|---|
| Bonding stain-blocking primer, 1 gallon | $30–$45 |
| Wall paint, 1 gallon eggshell or satin | $35–$60 |
| Degreaser (TSP substitute or Krud Kutter) | $10 |
| Brushes, rollers, tray, sleeves | $35 |
| Tape, drop cloth, sanding sponges | $25 |
| Total | ~$135–$175 |
Cheaper mid-tier paint and primer runs closer to $90. Don’t skimp on the primer. A good bonding primer is the whole reason the project lasts.