How to Paint a Shed Exterior
Painting a shed exterior the right way: prep, primer, and two coats that hold up. What lasts ten years, what peels in two, and the gutter the can label skips.

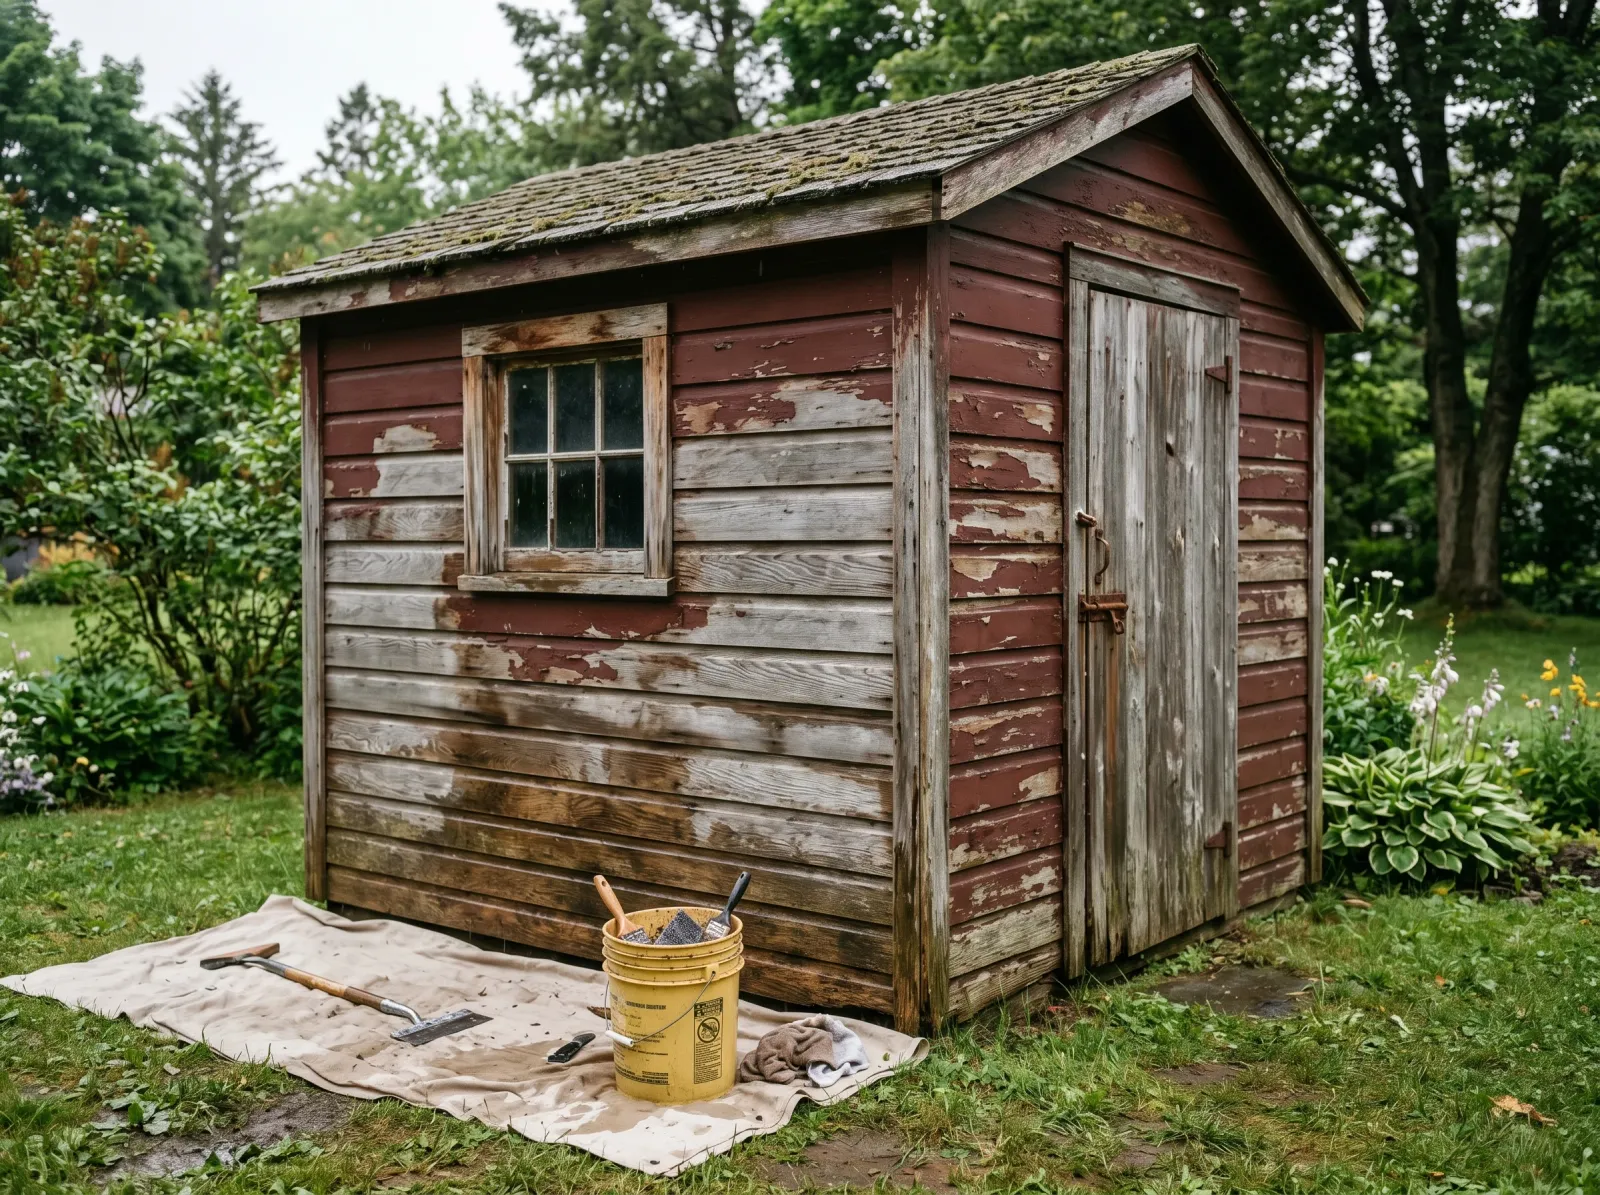
A shed is the easiest exterior job to get wrong. It sits in full sun all day, nobody primes the bare wood because it’s “just a shed,” and two summers later the south wall is peeling in sheets. The wood swelled, the cheap paint didn’t move with it, and now you’re scraping instead of painting.
Do it right once and you get six to ten years before you touch it again. The order is what matters. Prep, prime the bare spots, two coats. Skip the prep and none of the rest holds.
What You’ll Get
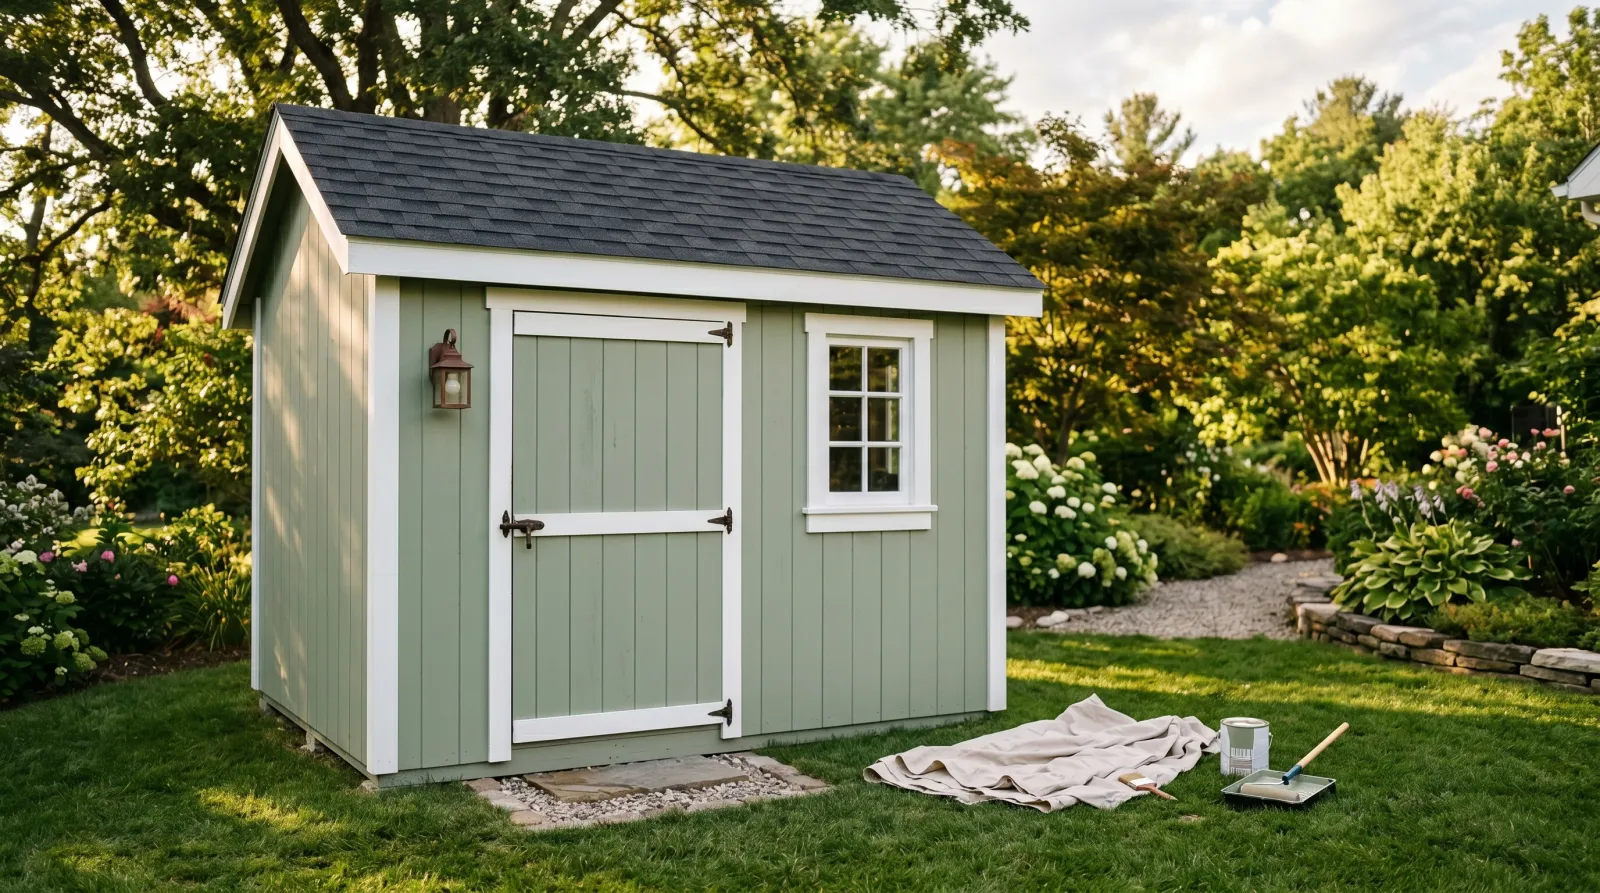
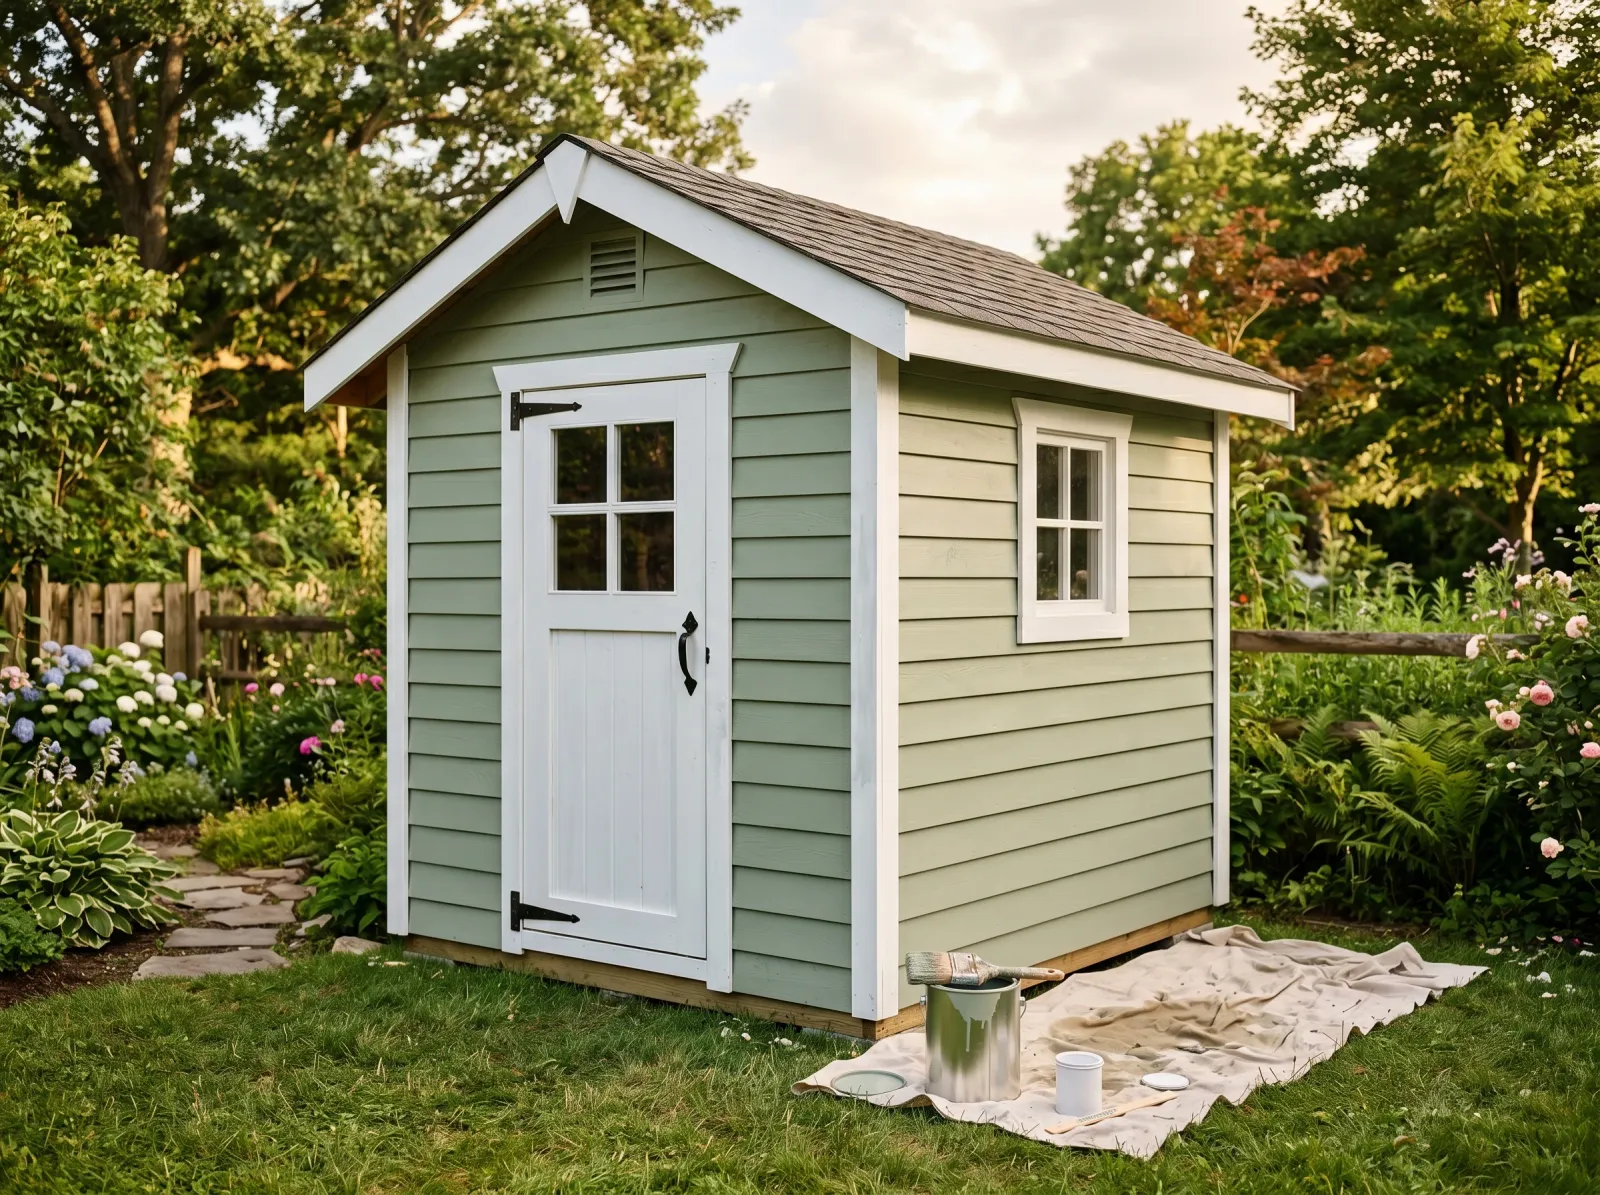
A weatherproof, repainted shed that sheds rain and holds its color. One weekend of work, plus a dry day before you start and 48 hours of cure after.
Honest Take on Difficulty and Time
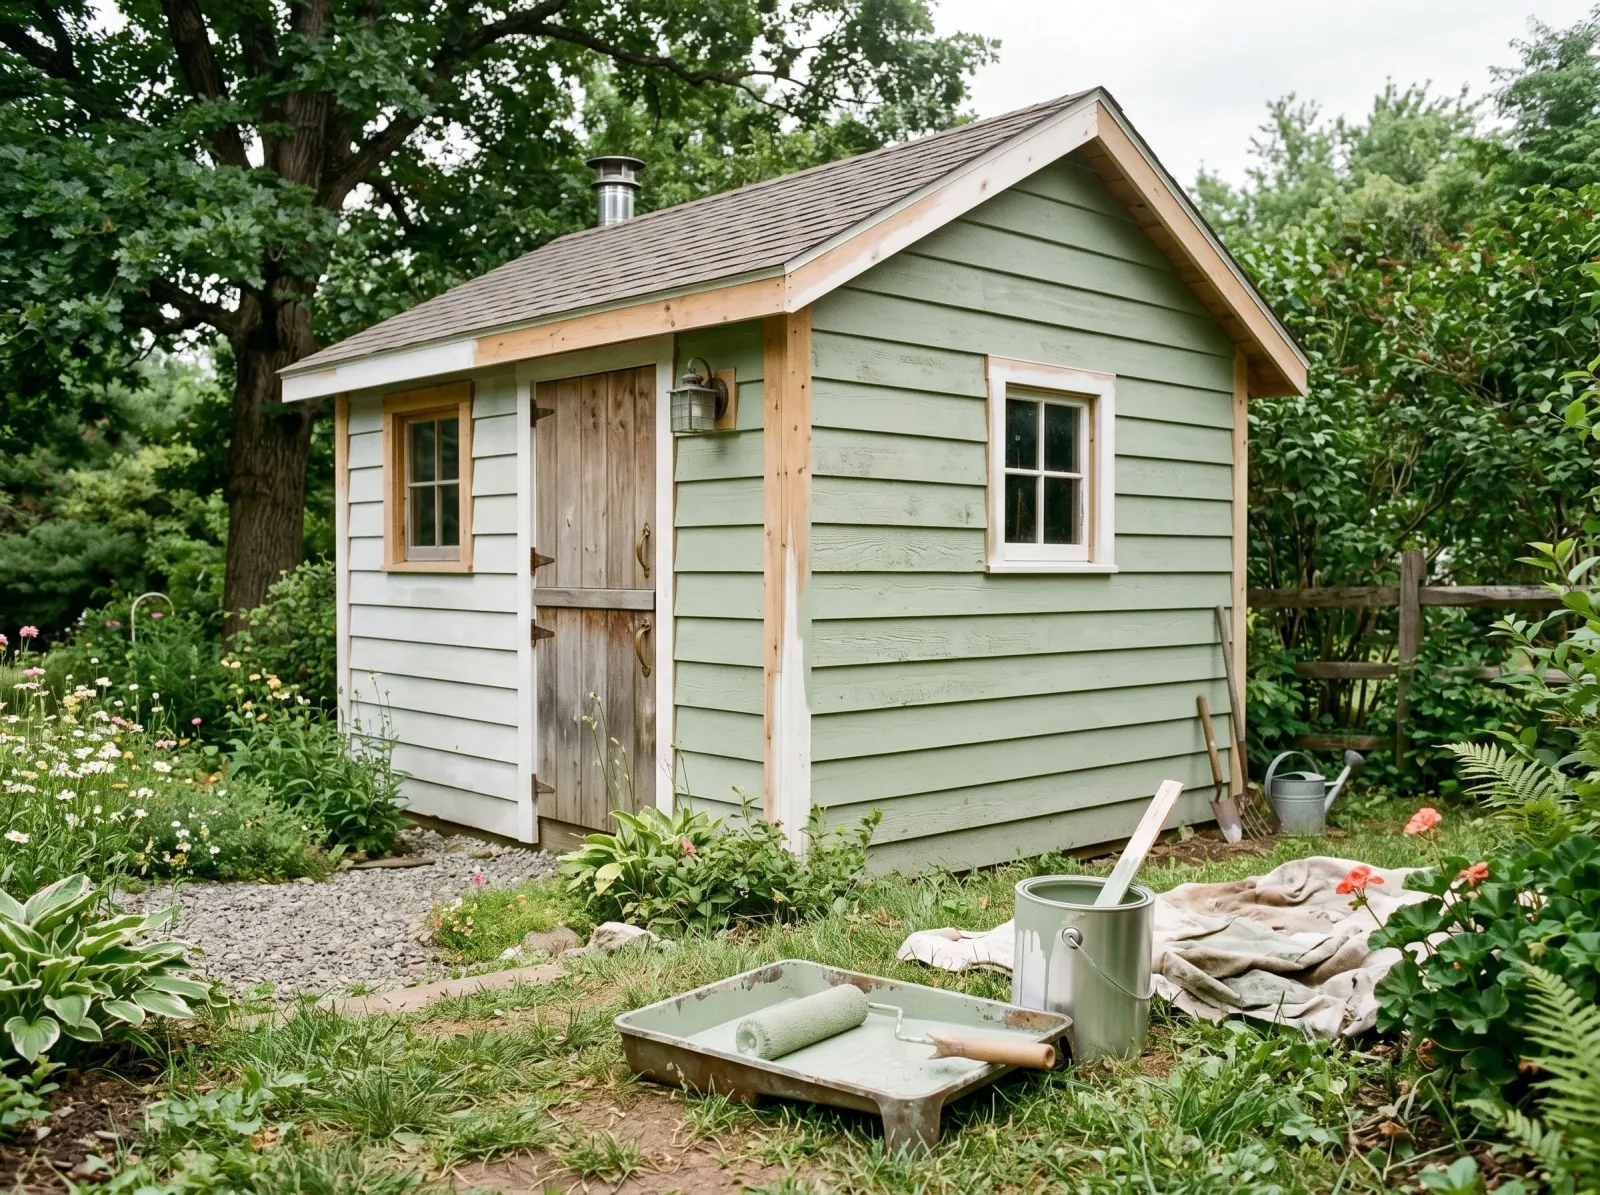
A standard 8×10 shed is a weekend if the old paint is mostly sound. Day one: wash, scrape, fill, prime the bare spots, let it dry. Day two: two coats, trim last.
If half the old paint is peeling, add half a day of scraping. Scraping is the job nobody budgets for and the one that decides whether the new paint sticks. Weather doubles your timeline too. You need a dry surface going in and a dry forecast for 24 hours after the last coat, so check before you open the can.
The work itself is easy. Brush, roller, no ladder if it’s a single-story shed. The skill is in the prep and in not painting a wall the sun is cooking.
What You’ll Need
Paint and Primer
A 1-gallon can of exterior acrylic in satin or low-luster. Acrylic is water-based and flexes as the wood swells and shrinks through the seasons. Oil-based exterior goes brittle and cracks. One gallon covers an 8×10 shed for two coats with a little to spare.
For bare wood, knots, and any spot showing brown tannin bleed, a quart of exterior stain-blocking primer (Zinsser Cover Stain or KILZ Premium). You don’t prime the whole shed unless it’s all bare. You prime the trouble.
Self-priming exterior is a marketing claim. Your bare cedar still needs a real primer over the raw spots, or the resin in the knots bleeds through and the bare grain flashes a different sheen than the rest. For the full material breakdown, see how to paint exterior wood, and for SKU picks the best exterior paint round-up.
Tools
A 3-inch flat brush for the siding edges and a 2.5-inch angled sash brush for trim and tight cut-in. A 9-inch roller with a 3/4-inch nap sleeve, because shed siding is rough and a short nap can’t reach into the grain. A scraper, a putty knife, a caulk gun, sandpaper, a drop cloth, and tape.
The brush is where you don’t cheap out. A $4 brush sheds bristles into your topcoat and leaves a ragged cut line. A $14 Purdy or Wooster holds its edge for years. Picks are in the best paint brushes round-up.
Step 1 — Wash, Scrape, and Let It Dry
 Scrape the loose paint first, then wash. Paint over dirt and it peels with the dirt.
Hose the whole shed down, or pressure-wash it if you own a washer. Knock off the dirt, cobwebs, and the chalky film that old exterior paint leaves. A stiff brush and a bucket of warm water with a TSP substitute handles the green mildew on the shady side.
Then scrape. Run the paint scraper over every blister and flake until what’s left is stuck tight. Feather the edges of the scraped patches with 100-grit so the transition isn’t a hard ridge you’ll see through the new paint.
Watch out for painting before it’s dry. Wood that looks dry on the surface holds moisture for a day after a wash. Trapped moisture is the number one reason a fresh coat blisters. Give it a full dry day. If you see peeling paint come back fast, this is almost always why.
Step 2 — Fill, Caulk, and Prime the Bare Spots
 Every bare patch and knot gets primer. The brown stuff in knots bleeds through topcoat if you skip it.
Press exterior wood filler into split trim and gouges, let it set, sand flush with 120-grit. Run a bead of paintable exterior caulk where the trim meets the siding and around the door frame. Those gaps are where water gets behind the wood and lifts your paint from underneath.
Now prime every bare spot. Knots, the scraped patches, anywhere the wash took you back to grey wood. One coat of Cover Stain or KILZ Premium. Knots especially: the resin in a knot will bleed an amber stain straight through two coats of finish if you don’t block it. See how to stop knots bleeding through if yours are stubborn.
Watch out for skipping the knots because they’re small. One bled knot on a white shed door is the thing your eye goes to every time you walk past.
Step 3 — First Coat: Cut In, Then Roll
 Cut in the corners and edges, then roll the flats. The first coat always looks thin. Don’t panic.
Start in the shade and follow it around the shed as the sun moves. Cut in the corners, the edges along the trim, and under the eaves with the brush first. Then roll the big flats while the cut-in is still wet, so the brushed band and the rolled field blend instead of leaving a halo.
Load the roller, roll off the excess on the tray ramp, and lay it on in sections. Don’t stop in the middle of a wall. Stopping mid-wall is how you get lap marks, and lap marks show up the second the morning sun hits them at an angle.
Watch out for back-rolling. If you spray or the roller skips over the rough grain, go back over each section with the brush to push paint into the texture. A holiday (a missed bare spot) on an exterior wall is where water gets in.
Step 4 — Second Coat and Trim
 Second coat evens the color. Trim and door go on last in the contrast color.
Let the first coat dry the time on the can, usually 2 to 4 hours for acrylic in good weather. Then roll the second coat the same way: shade side, cut in, roll wet into wet. The second coat is where the color goes solid and the mil thickness gets built. This is the coat that does the waterproofing.
Paint the trim, door, and any contrast color last with the angled sash brush. Trim in a semi-gloss or satin wipes clean and frames the shed. Take your time on the door edges; that’s the part people stand two feet from.
Watch out for the south and west walls. They take the most sun and the most UV. If anything’s going to peel first, it’s there, so make sure those two walls got a full, even second coat.
Common Mistakes
- Painting over flaking paint. New paint is only as stuck as the layer under it. If the old coat is lifting, your fresh coat lifts with it. Scrape to sound paint, feather the edges, then recoat.
- Skipping primer on bare wood. Bare wood drinks the first coat unevenly and flashes a different sheen. Knots bleed brown through the topcoat. Spot-prime every raw patch.
- Using interior paint. It has no UV package. The south wall chalks and fades in one summer. Exterior acrylic only.
- Painting a wall in full sun. The surface skins over before it bonds, and you get flash and lap marks. Follow the shade around the shed.
- One coat to save time. One coat fades, wears thin on the corners, and doesn’t keep water out. Two thin coats every time.
Cure Schedule
| Time after the second coat | What’s safe |
|---|---|
| 1 hour | Pull the tape |
| 4 hours | Touch dry; light rain won’t ruin it, but don’t bet on it |
| 24 hours | Surface dry; handle the door, close it up |
| 48 hours | Lean a ladder or rake against it |
| 7 days | Scrub it, hang tools on the inside walls |
| 30 days | Full cure; the paint is at its hardest and most water-resistant |
Maintenance and Touch-Ups
A properly prepped shed holds six to ten years on the weather sides. The north wall goes longer. The south and west walls take the UV and fade or chalk first.
Keep the leftover quart. Walk around the shed every spring and look at the sunny walls. Touch up a thin or chalking spot at year five, before it peels, and you reset the clock without repainting the whole thing. Wait until it’s actively peeling and you’re back to scraping.
For a touch-up, wash the spot, let it dry, feather any rough edge with sandpaper, and dab the leftover paint on with a brush. Exterior acrylic touches up cleaner than oil because it doesn’t yellow as it ages.
Cost Breakdown
| Item | $ |
|---|---|
| Exterior acrylic, 1 gallon | $40 |
| Stain-blocking primer, 1 quart | $15 |
| Caulk, wood filler, sandpaper | $20 |
| Brush, roller, sleeve, tray | $30 |
| Drop cloth and tape | $15 |
| Total | $120 |
Mid-tier exterior paint (Behr Premium Plus or SW SuperPaint). Budget paint drops it nearer $80. Top-shelf (BM Aura Exterior) pushes past $140, and on a shed that bakes all day, the better paint is the cheaper choice over ten years.