How to Paint an Interior Brick Wall
Painting an interior brick wall the right way: clean it, check for moisture, prime the porous surface, then roll and brush two coats into every joint.

There’s a particular kind of orange that exposed interior brick goes under afternoon light. Warm, busy, a little restless. Some rooms want that. A loft with tall windows and a lot of steel can carry it. But a small living room with one brick wall often reads cramped and dim because the brick is soaking up every bit of light the room has, and painting it is how you hand that light back.
Painted brick does something a plaster wall can’t. The texture stays, the shadow lines stay, but the color goes quiet, and the wall stops competing with everything else in the room. The trick is getting the paint into the joints and onto the porous faces evenly, which the brick will fight you on the first coat.
What You’ll Get
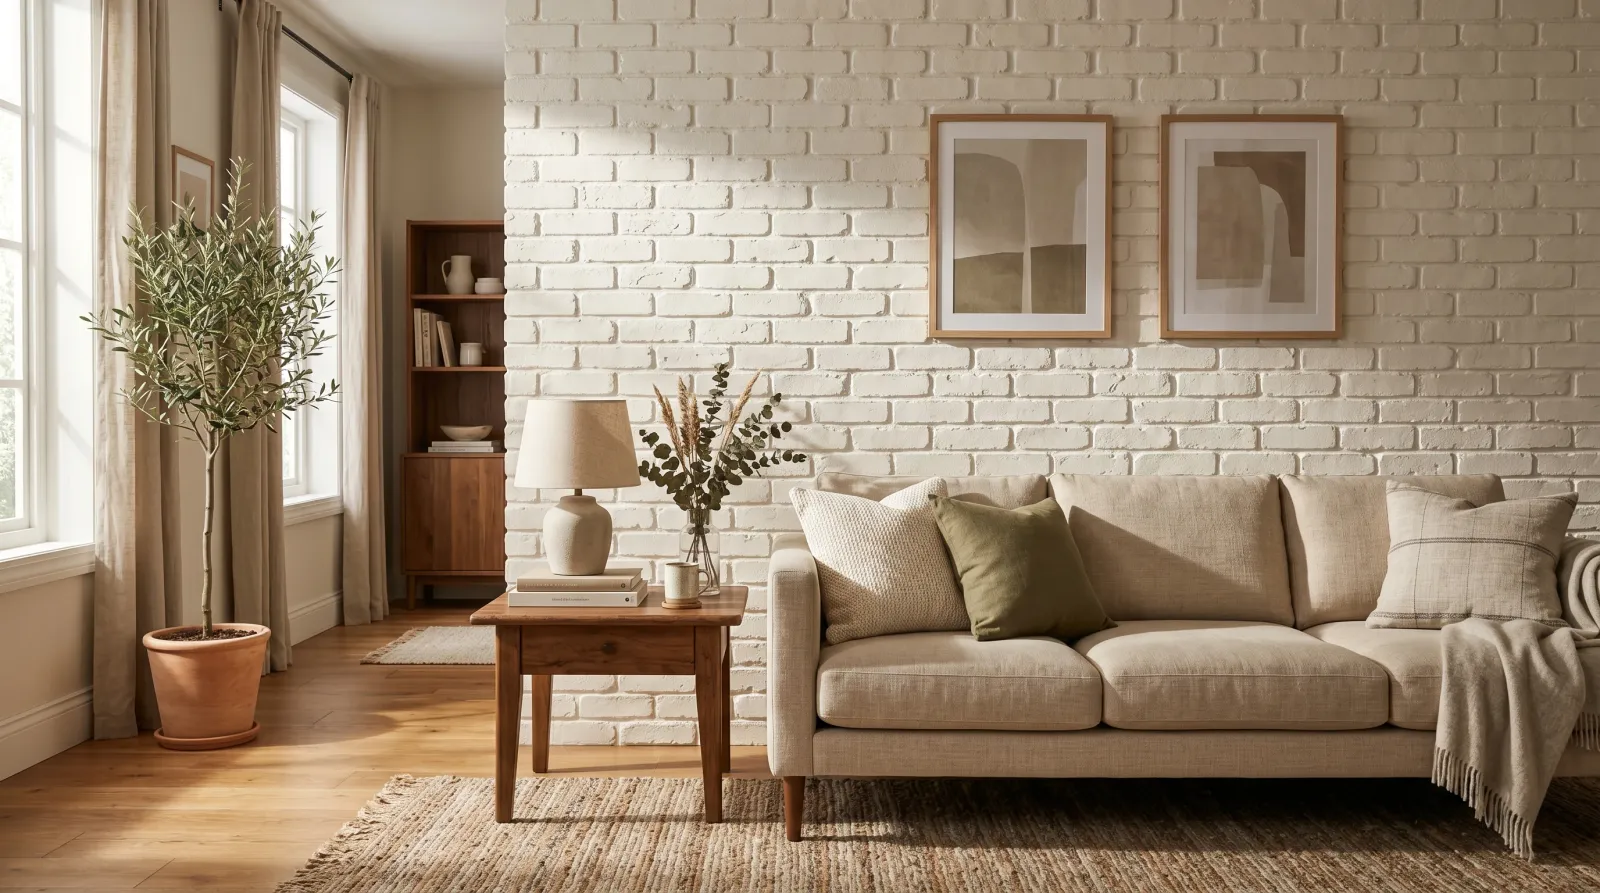
One brick wall turned from busy and orange to a soft, even backdrop, with the mortar lines and the brick texture still reading through. The room will feel a size larger.
Honest Take on Difficulty and Time
Not hard, but slow, and most of the slowness is waiting. The painting itself goes quicker than a plaster wall because the texture hides your strokes. The clean-down and the dry windows are what eat the weekend.
| Stage | Active time | Then wait |
|---|---|---|
| Clean and dust-down | 1–2 hrs | Wall must dry fully (overnight if you washed it) |
| Prime | 1 hr | 2–4 hrs to recoat |
| Two finish coats | 2–3 hrs total | 4 hrs between coats |
The one thing you cannot rush is moisture. Wash a brick wall in the morning and it can still hold damp deep in the joints by evening. Paint a damp wall and you’ve sealed water in behind the film, which is exactly how you get bubbling a month later.
What You’ll Need
Paint and Primer
Brick is the thirstiest surface in your house. Buy more than the math says.
- A masonry bonding primer, one gallon. Zinsser Bulls Eye 1-2-3 or KILZ Adhesion grips the porous, slightly chalky brick the way a regular wall primer won’t. This step is not optional on brick.
- A gallon of finish paint in eggshell or matte. A standard 10-foot by 8-foot wall takes about a gallon and a half over two coats, because the joints and faces drink at different rates. For an older or damp-prone wall, look at a breathable mineral paint so moisture can still move through instead of getting trapped. The best masonry paint round-up has the picks.
- Sheen matters more here than on flat plaster. Brick texture throws its own shadows, so a low sheen reads calm and a glossy one lights up every ridge. The sheen guide walks through why matte sits so well against texture.
Tools
- A thick-nap roller, 3/4-inch or 1-inch. Short nap skates over the surface and leaves every mortar joint bare. The nap is what reaches down into the texture. See the roller picks if you don’t have one deep enough.
- A stiff masonry brush for working primer and paint into the joints the roller can’t fully reach.
- A 2.5-inch angled sash brush for the ceiling line and edges, a stiff scrub brush and a vacuum for the clean-down, a tray, an extension pole, and a step ladder.
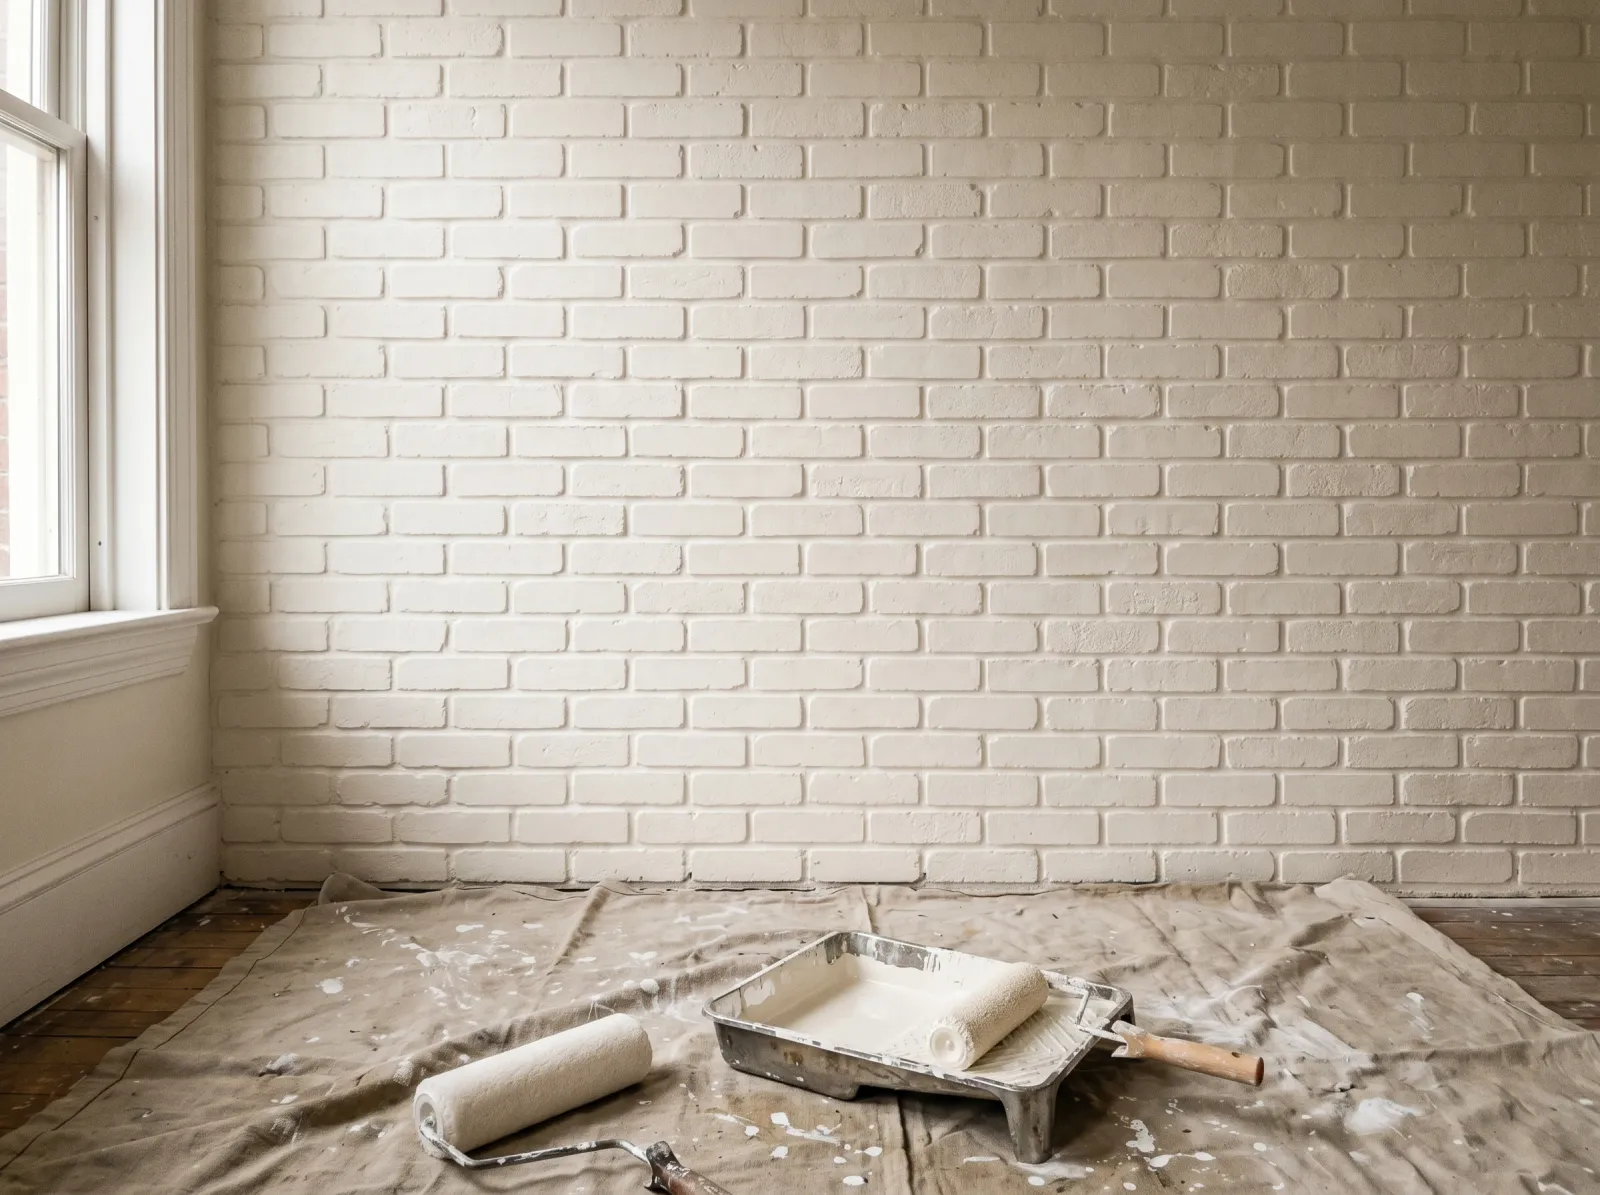
Step 1 — Clean the Brick and Tape Off
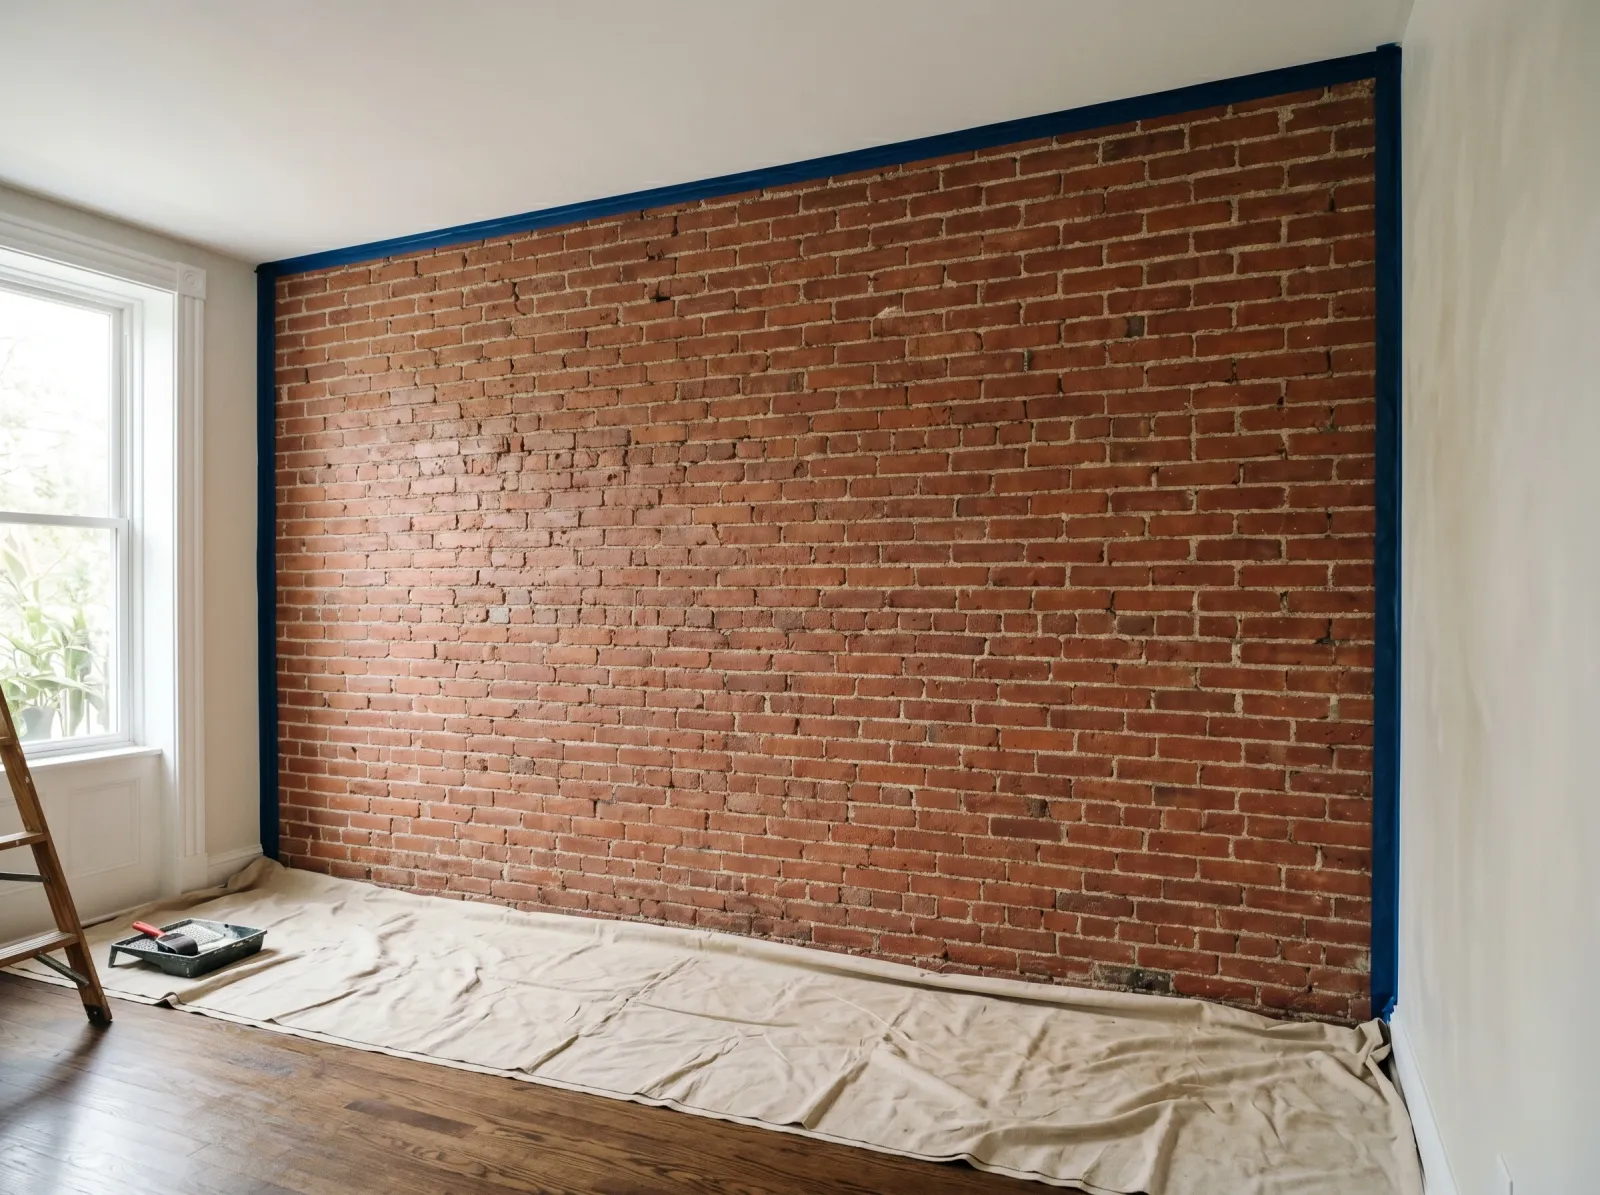
Brick brushed and vacuumed free of dust, the floor draped, painter’s tape along the ceiling and the edge of the next wall.
Brick holds decades of dust in its texture, and paint won’t grip dust. Run the stiff scrub brush over the whole wall, then go back over it with a vacuum brush head to pull the loosened grit out of the joints. For a wall near a kitchen or a fireplace, wash it down with a TSP substitute, gloves and glasses on, then rinse with clean water on a sponge.
Tape the ceiling line and the edge where the brick meets the next wall. Drape the floor with the canvas drop cloth, snugged right up to the base of the wall where drips collect.
Watch out for a wall that’s still damp after washing. Brick can hold water deep in the joints long after the face feels dry. Give it overnight before you prime, or you’ll trap moisture behind the paint.
Step 2: Check for Moisture and Efflorescence
Before any primer, look hard at the wall in raking light. White, chalky, powdery patches mean efflorescence: mineral salts pushed to the surface by moisture moving through the brick. It’s a moisture signal, not a stain, and painting straight over it is how you get a wall that bubbles and flakes within weeks.
Brush the salts off dry, find where the damp is coming from, and fix that first. The full walkthrough lives in the guide to fixing efflorescence on brick. On a typical interior wall away from the ground this is rarely an issue, but the five minutes it takes to check can save you the whole job.
Step 3 — Prime the Wall
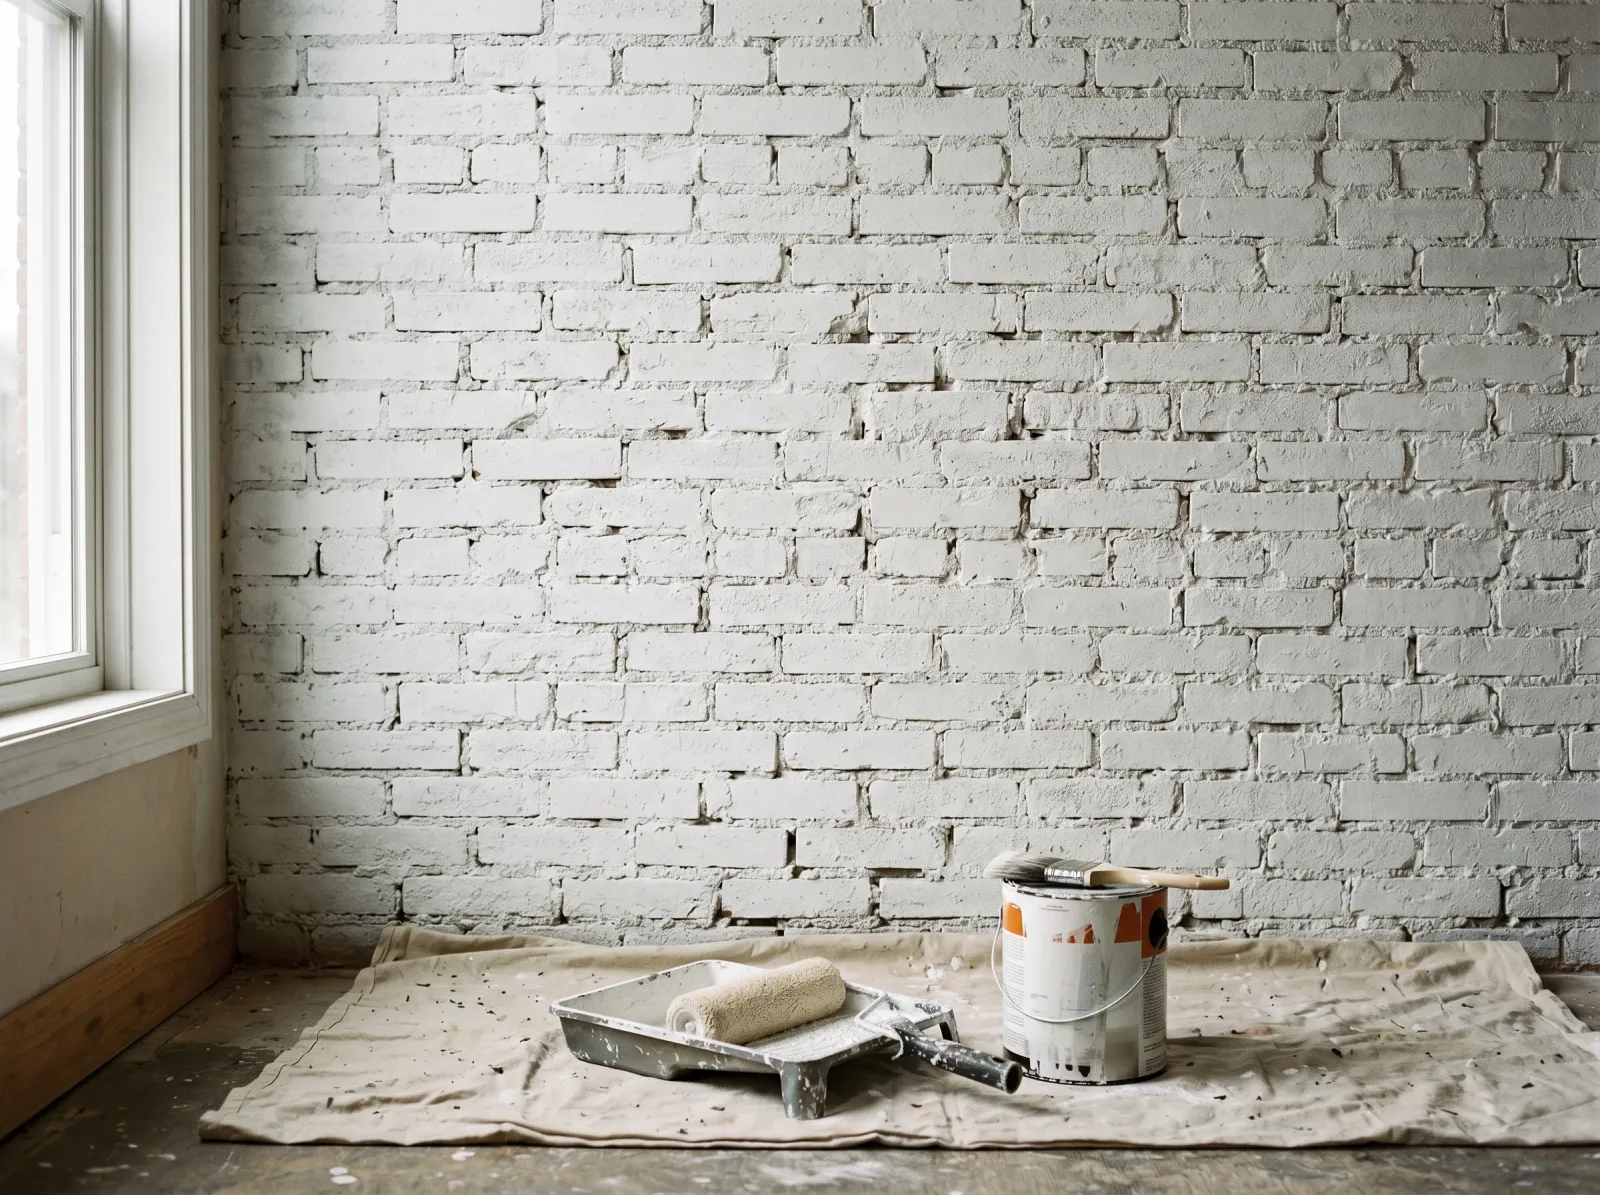
A coat of bonding primer rolled on and brushed into every mortar line, the brick turning a flat chalky white.
Cut in the edges with the angled brush first, then load the thick-nap roller and work the primer onto the brick faces. Go back with the stiff masonry brush and push primer into every mortar joint the roller skipped. The joints are recessed, and a roller bridges right over them if you let it.
One even coat of bonding primer is enough. It’ll look chalky and flat when it dries, and the brick texture will read clearly through it. That’s correct. Let it cure the time on the can, usually 2 to 4 hours, before color goes on.
Watch out for skipped joints. Step back and look across the wall at an angle. Any spot of raw brick color peeking through is a joint the roller missed, and it’ll show through the finish too.
Step 4 — First Coat of Color
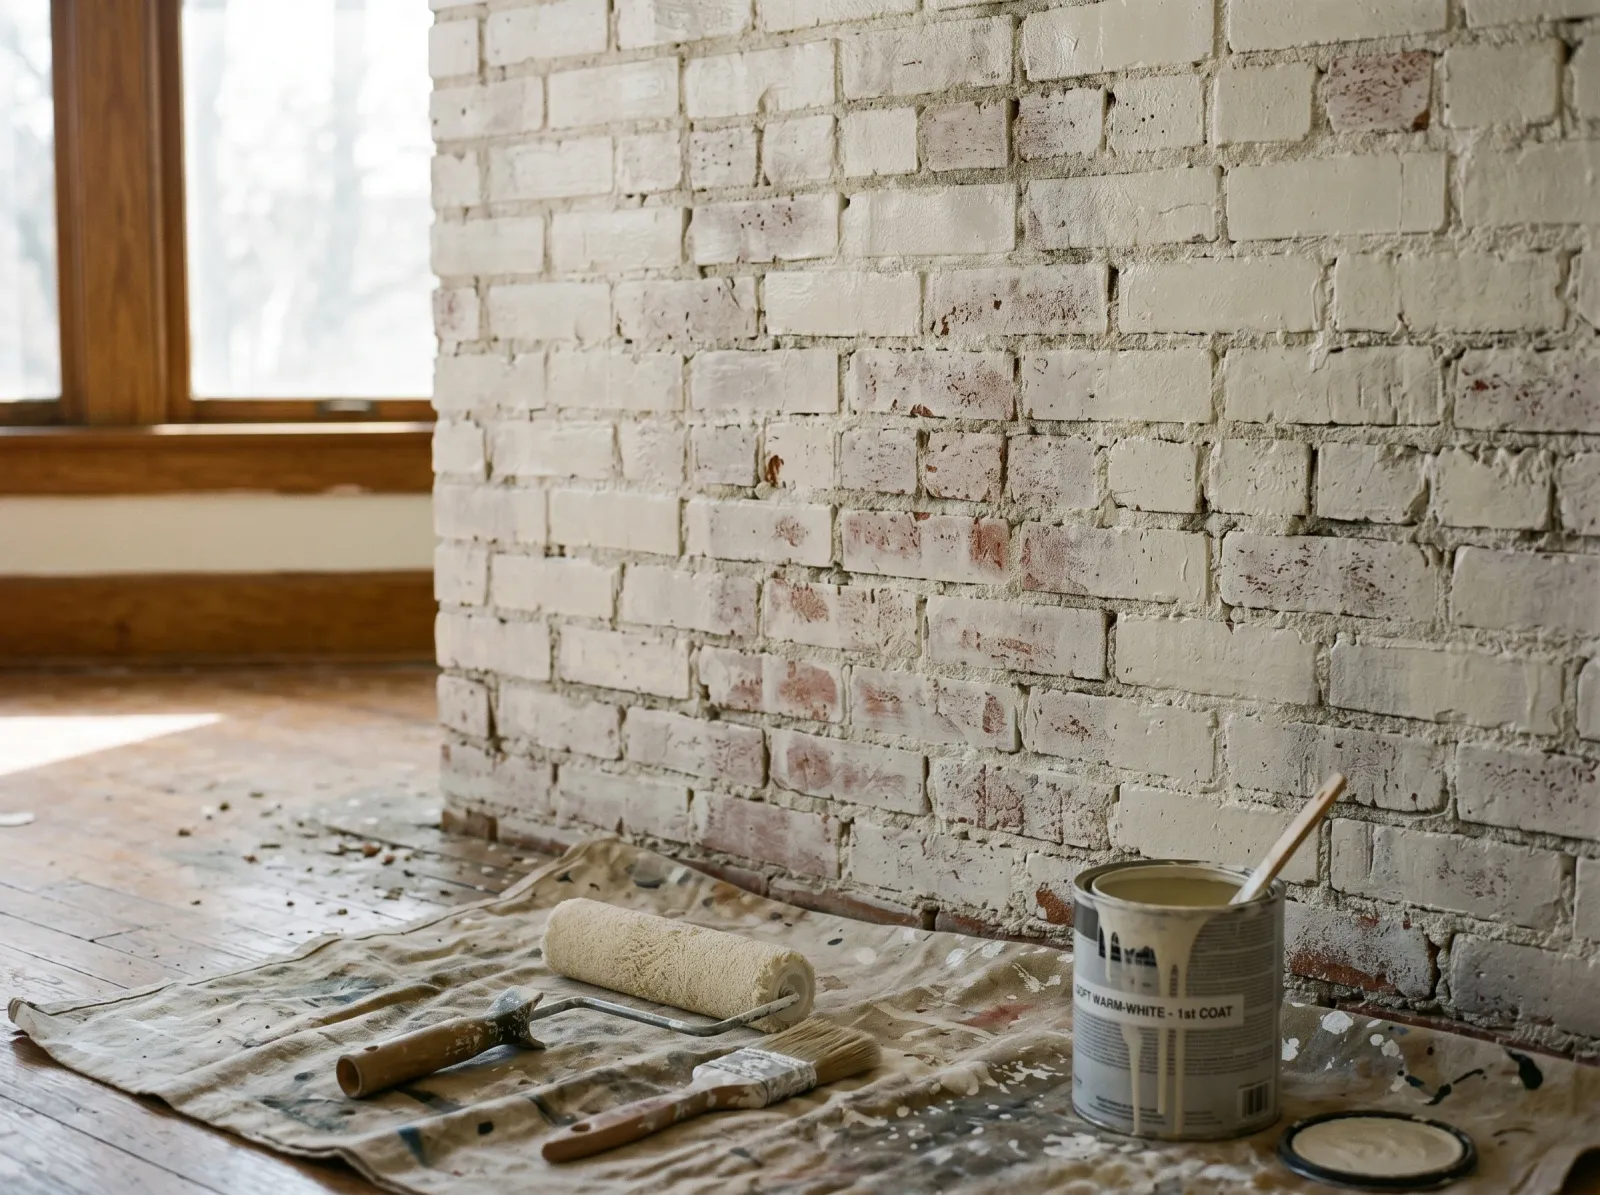
First finish coat over the primer, still slightly uneven where the brick faces drank it down faster than the joints.
Same routine as the primer: cut in, roll the faces, brush the joints. The brick faces are more porous than the mortar, so they’ll pull the paint in faster and the wall will look blotchy and uneven. Don’t fight it by piling on more paint in the thin spots. You’ll only build ridges that show later.
Lay an even coat and stop. The blotchiness is the first coat doing its job, sealing the surface so the second coat can sit on top and level out. Let it dry a full 4 hours.
Step 5 — Second Coat and the Even Finish
Second coat brushed and rolled, the brick now a clean even white with the texture still reading through.
The second coat is where the color arrives. Cut in, brush the joints, roll the faces, working a section at a time so the brushed joints and the rolled faces stay wet against each other and blend. This is the coat that buries the patchiness and gives you a single quiet color across the whole wall.
Stand back in the light you actually use the room in. A white that looks crisp at noon can read grey and cool in north-facing afternoon light, and the texture will deepen that shift. If the wall still looks thin in one corner, that corner gets a third pass once the second coat is dry, not while it’s wet.
Step 6 — Pull the Tape and Reset
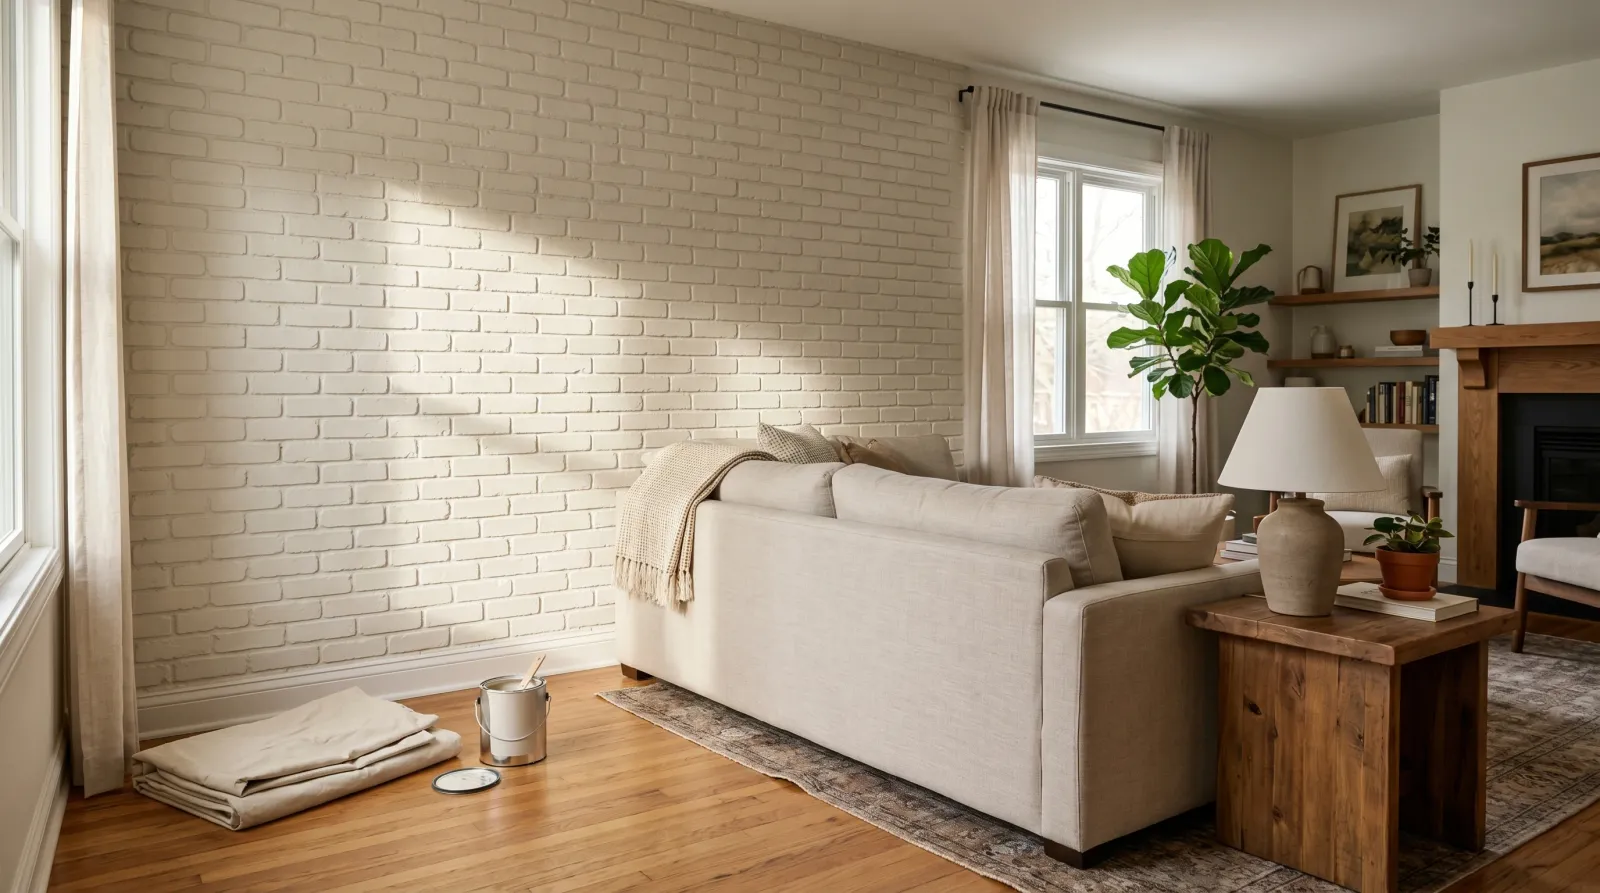
Tape off, drop cloth folded, furniture back in place against a quiet painted brick backdrop.
Pull the tape while the last coat is still slightly tacky, slow and at a 45-degree angle. On textured masonry, paint can bridge from the tape onto the wall, so going slow keeps the line clean. If a fleck lifts at the ceiling, dab it back with the sash brush.
Fold the drop cloth, wash the brushes and roller under warm water until it runs clear, and leave the room to breathe. Furniture back against the wall in 24 hours.
Common Mistakes
- Skipping the bonding primer. Brick is porous and chalky, and finish paint laid straight on it grips unevenly and chalks off in patches. A masonry primer is the foundation the whole job sits on.
- Using a short-nap roller. Short nap rides the high faces and leaves every recessed mortar joint bare. You need 3/4-inch nap minimum, plus a stiff brush to chase the joints by hand.
- Painting over damp brick or efflorescence. Sealing moisture behind the film gives you bubbling and peeling within weeks. White chalky bloom means water is moving through. Fix the source, let it dry, then paint.
- Judging the color after one coat. The first coat always looks blotchy because the faces drink faster than the joints. Wait for the dry second coat before you decide anything about the color.
- Reaching for a glossy sheen. Gloss lights up every ridge and lump in the brick, which makes the wall look louder, not cleaner. Matte or eggshell lets the texture stay quiet.
Cure Schedule
| Time after the second coat | What’s safe |
|---|---|
| 1 hour | Pull the painter’s tape while tacky |
| 4 hours | Touch dry; don’t lean anything on it |
| 24 hours | Furniture back against the wall |
| 7 days | Wipe a scuff with a damp cloth |
| 30 days | Full cure; clean normally |
Maintenance and Touch-Ups
A painted interior brick wall holds up for years, longer than plaster in most rooms because nobody scuffs it the way they scuff a hallway. The texture also hides minor wear, so small marks disappear into the shadow lines on their own.
For a real scuff, wipe it with a damp microfiber cloth first; most marks are surface dirt. For a chip down to the primer, dab the spot with a small brush loaded with your leftover finish paint, stippling it into the texture so the repair doesn’t read as a flat patch against the rough surface. Keep a labeled quart of the color for exactly this.
Cost Breakdown
| Item | $ |
|---|---|
| Finish paint, 1.5 gallons eggshell | $50–$80 |
| Masonry bonding primer, 1 gallon | $25–$35 |
| Thick-nap roller, masonry brush, sash brush | $30 |
| TSP, tape, drop cloth | $20 |
| Total | ~$125–$165 |
Numbers run on mid-tier paint. A breathable mineral paint for older brick pushes the top end higher, and it’s worth it on a wall that needs to stay open to moisture.