How to Paint a Doorstep or Front Step
Painting a doorstep the right way: how to clean, etch, and prime concrete or wood steps, pick a slip-resistant masonry paint, and get a finish that lasts past one winter.

A front step takes more abuse than any painted surface on the house. Boots, road salt, rain, frost, the dog, the mailman, a hundred trips a day. Paint it like you’d paint a wall and it’ll be peeling in sheets by the first thaw. The paint isn’t the problem. The prep is.
I get called every spring to redo a step somebody painted last fall. Same story every time: they grabbed leftover wall paint, slapped it on a slick concrete slab, and skipped the etch. It looked great for a month. Here’s the order that makes it last a few years instead of a few weeks.
What You’ll Get
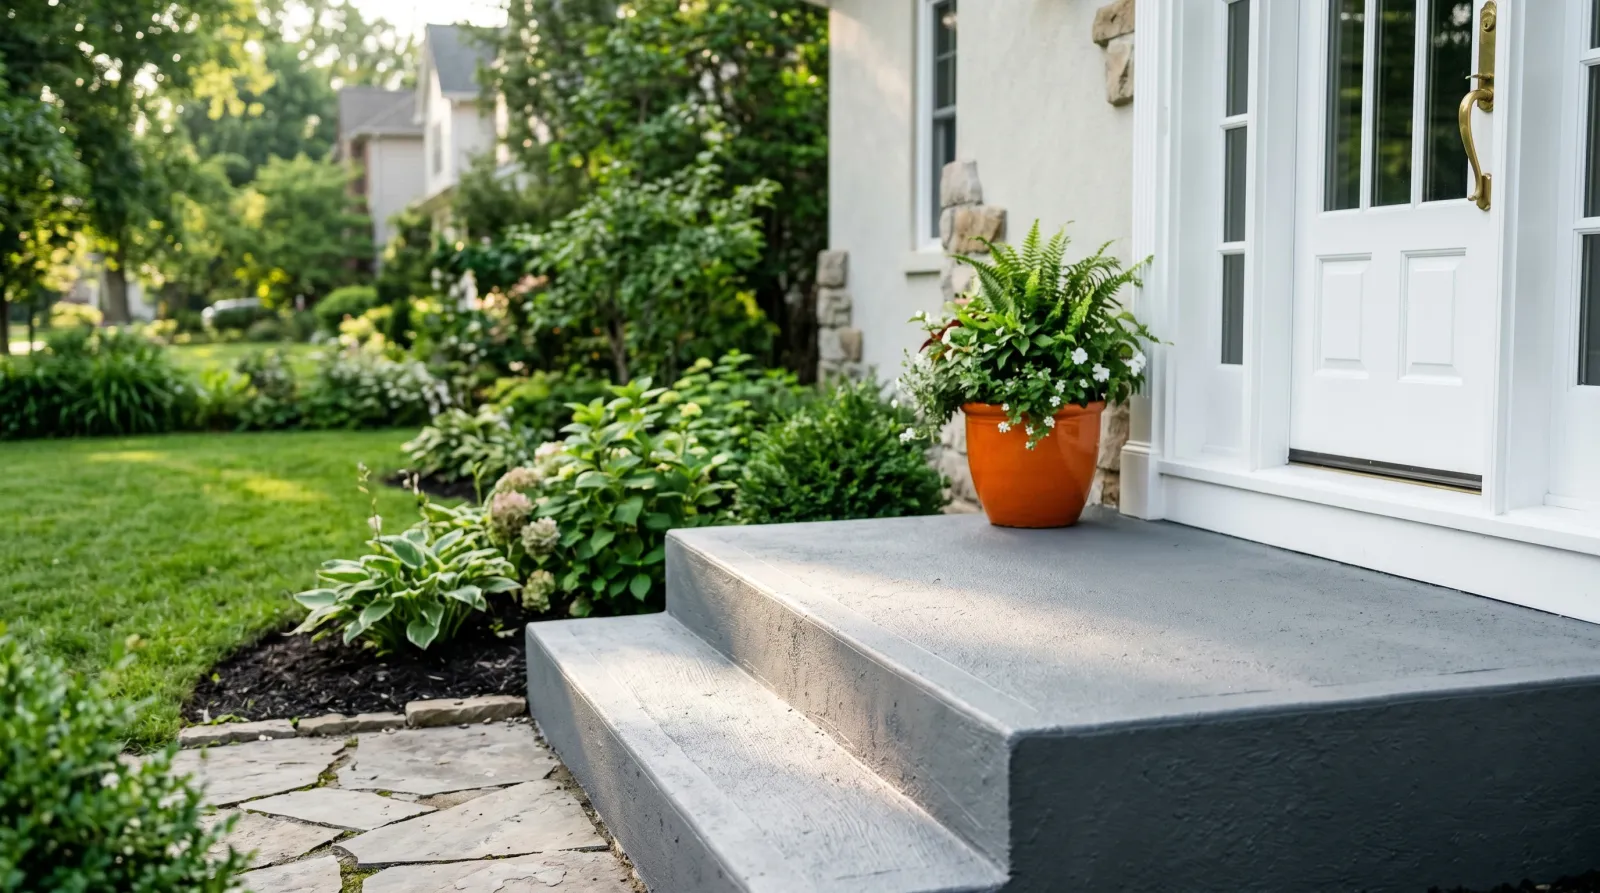
A clean, even, slip-resistant front step or doorstep that survives a winter. One weekend of work, most of it waiting for things to dry.
Honest Take on Difficulty and Time
The painting is easy. The prep is the job, same as always. Figure about four hours of actual work spread across two days, plus dry time you can’t rush.
Day one: strip, clean, patch, and etch. Day two: prime, then two coats of floor paint. Then you keep everyone off it for a day, ideally longer. The slab has to be bone dry before you prime, so if it rained, you wait. Painting damp concrete is the single fastest way to get a coating that lets go.
If anyone tells you it’s a one-hour job, they’ve never watched a step peel.
What You’ll Need
Paint and Primer
Floor paint or masonry paint. Not wall paint. The can has to say porch, floor, or masonry on it. INSL-X Tuff Crete and BEHR Porch & Patio Floor Paint are solid acrylic options. Rust-Oleum EpoxyShield is a two-part epoxy that wears like iron on a high-traffic step, but it has a short pot life and you mix it on the spot.
On bare or chalky concrete you also need a masonry bonding primer (Zinsser Watertite or BEHR Concrete & Masonry Bonding Primer). Watertite does double duty if you’ve got any moisture coming up through the slab.
One more thing, and it’s not optional on a step people use: an anti-slip additive. A packet of grit you stir into the topcoat. Rust-Oleum Anti-Slip or H&C SharkGrip. Glossy paint plus rain equals a fall.
For the SKU comparison, see the best masonry and porch paint round-up.
Tools
A stiff nylon scrub brush, a wire brush for the loose edges, a 2.5-inch angled exterior brush for the risers and corners, and a 9-inch roller with a 1/2-inch nap sleeve for the textured tread. The thick nap pushes paint into the pores; a short nap skates over them. Picks are in the paint roller round-up.
Plus a pressure washer or a hose with a jet nozzle, painter’s tape, a drop cloth, and gloves and a respirator if you’re acid-etching.
Step 1 — Strip and Scrub It Down
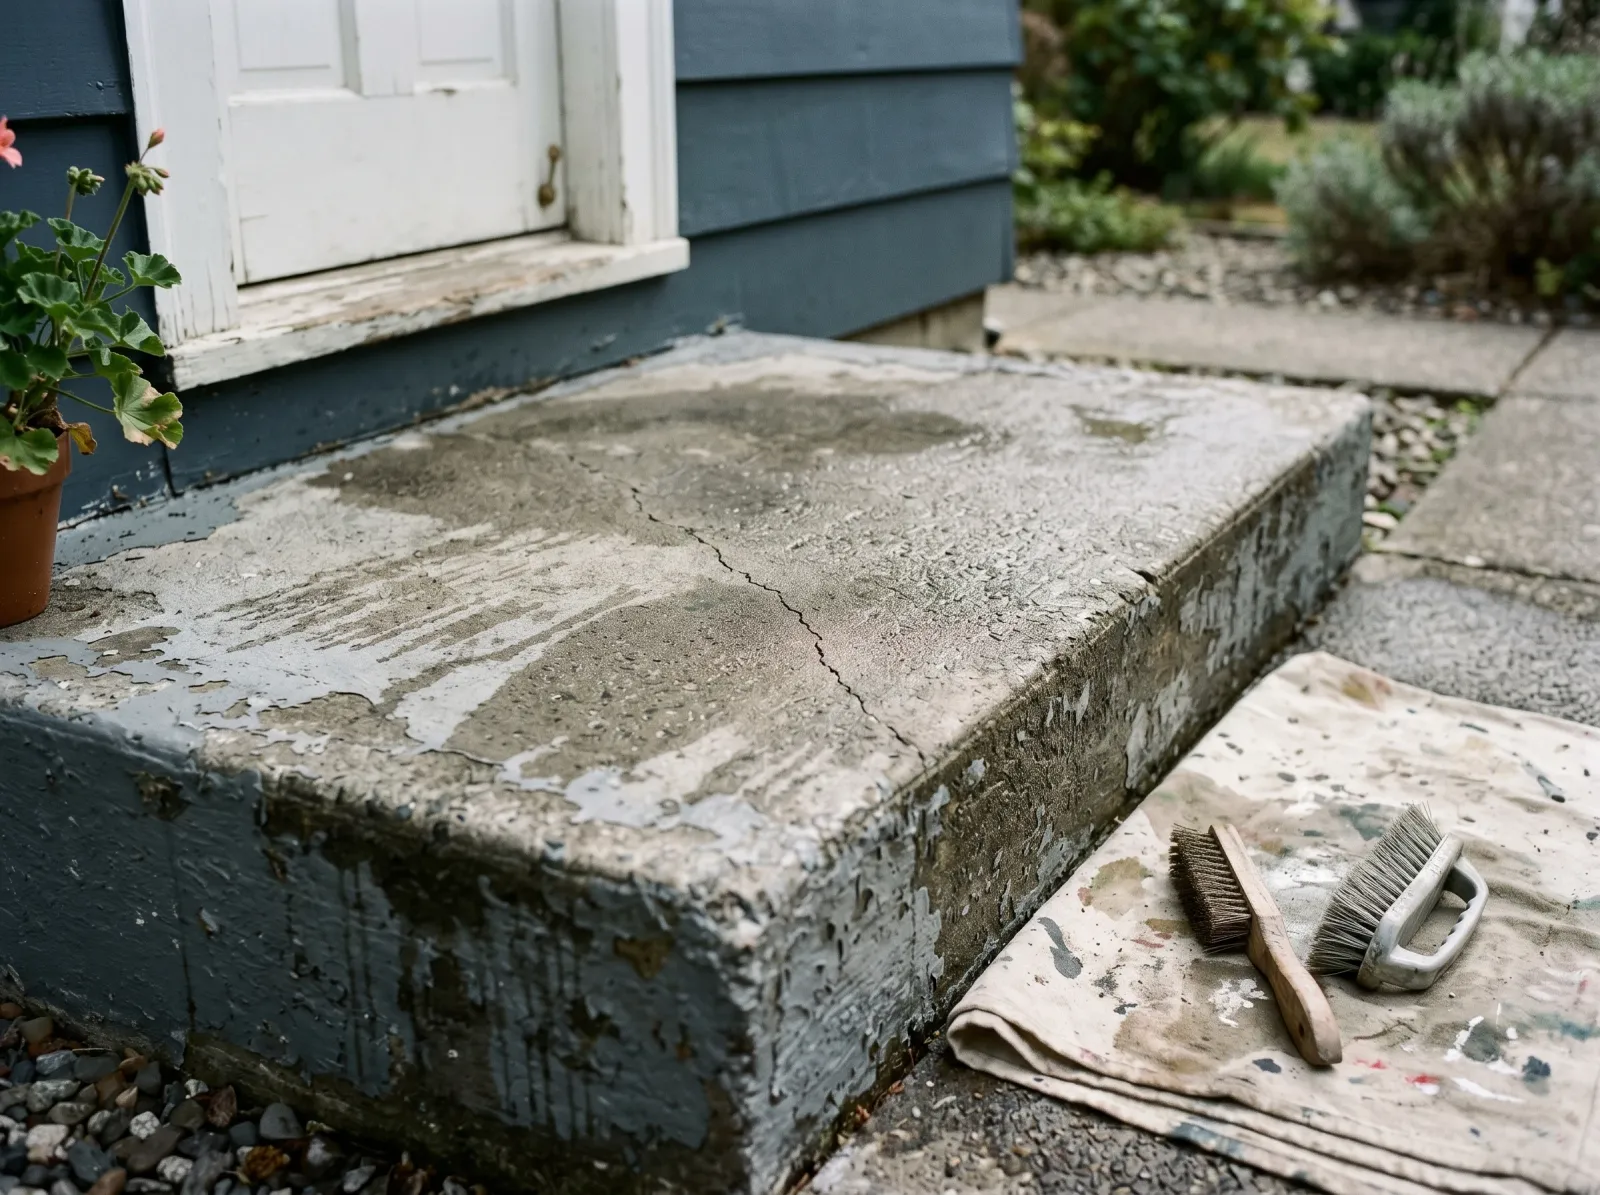 Get the old paint and grime off first. Anything you paint over comes off with the new coat.
Scrape and wire-brush off every flake of old loose paint. If a section is peeling, keep pulling until you only have paint that’s stuck tight. Then scrub the whole step with a stiff brush and a degreaser (TSP substitute works). Get the salt residue, the dirt, the dog tracks, all of it.
Rinse it clean with the hose or pressure washer and let it dry completely. Overnight at least.
Watch out for painting over a step that still has flaking edges. Whatever’s loose under your new paint takes the new paint with it when it lets go. Loose paint is a guarantee of more peeling down the line.
Step 2 — Fill the Cracks and Etch the Surface
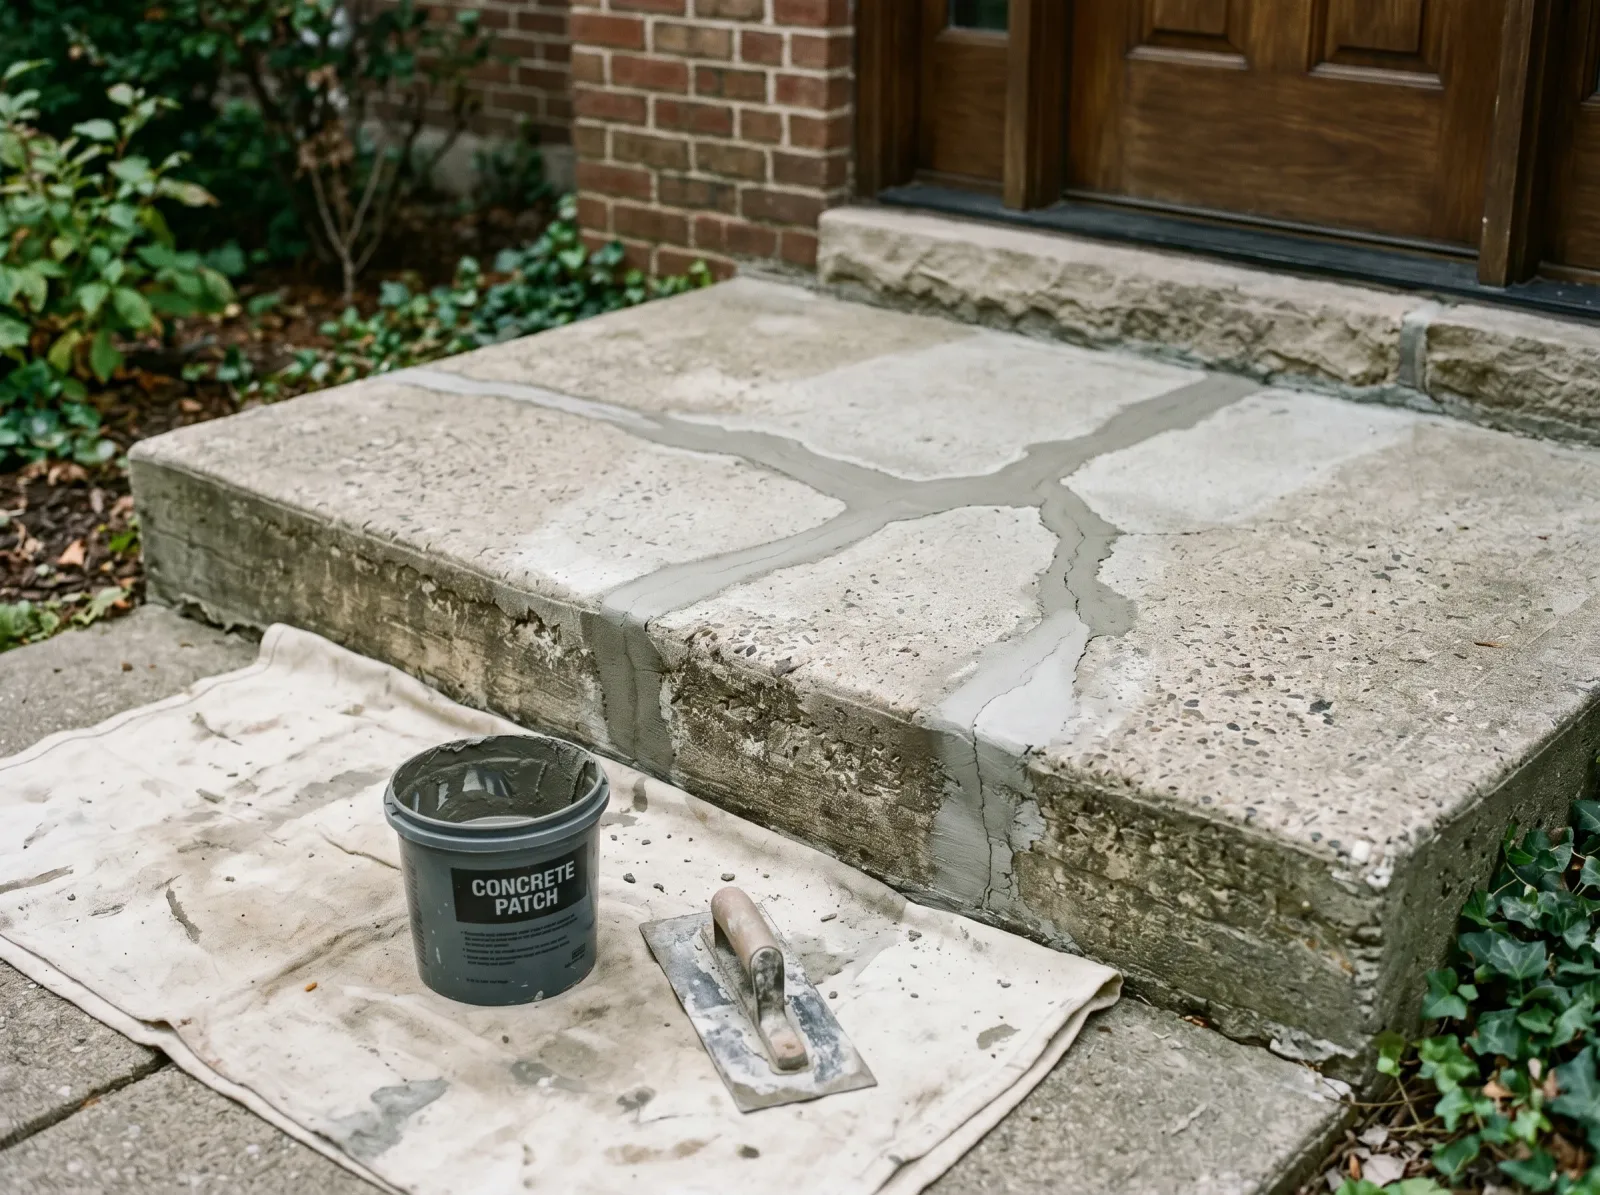 Patch the cracks, then etch the slick concrete so the primer has teeth to bite into.
Pack any cracks and chips with concrete patch, smooth them flush, and let the patch cure per the tub. A crack you paint over just opens back up and the coating splits along the line.
Now the step most people skip: etching. Smooth, troweled, or previously sealed concrete is too slick for paint to hold. Acid-etching opens the surface so the primer bites. Mix the etcher (muriatic acid diluted, or a safer phosphoric etcher like Klean-Strip Green), brush it on, let it fizz, scrub, and rinse hard. Done right, the concrete ends up feeling like medium sandpaper.
Watch out for the acid. Gloves, glasses, respirator, and rinse it well off the surrounding plants and metal. And never paint a slab that hasn’t been etched if it’s smooth. That’s prep failure number one on a step. The brick-and-masonry side of this lives in the exterior masonry guide.
Step 3 — Prime the Bare Concrete
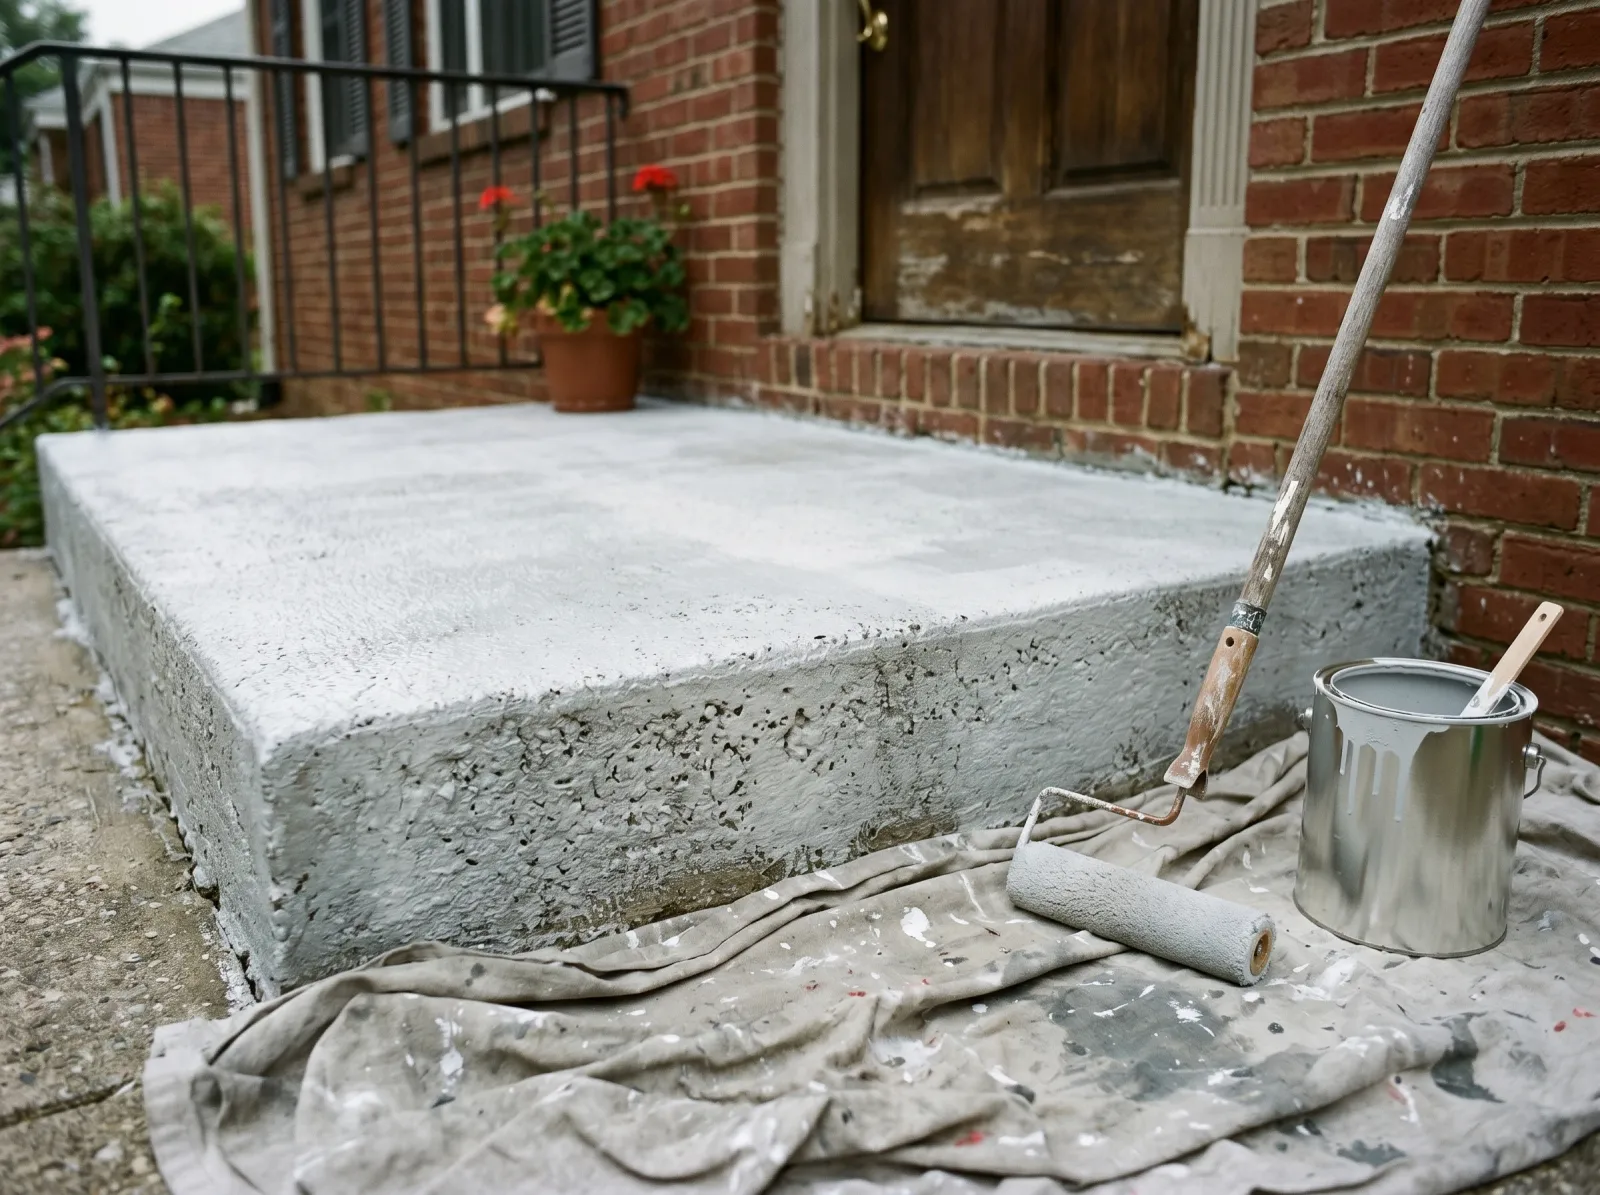 One thin coat of masonry bonding primer. This is the layer that makes the topcoat stick.
Roll one thin coat of masonry bonding primer over the bare and patched concrete. Cut the edges and risers with the brush, roll the tread with the 1/2-inch nap. Work it into the texture, don’t just lay it on top.
If the old paint is sound and not chalky, you can skip the primer and scuff-sand instead. But the second you see chalk on your hand, prime. Let it dry the full time on the can before you topcoat. Usually a few hours, longer if it’s cool.
Watch out for priming a slab that’s holding moisture from below. If water keeps pushing up through the concrete, a standard primer peels with everything on top of it. Use a moisture-blocking primer like Zinsser Watertite when the slab sits low or stays damp.
Step 4 — Roll the First Coat
 First coat goes on thin with the anti-slip grit stirred in. Don’t let it pool in the corners.
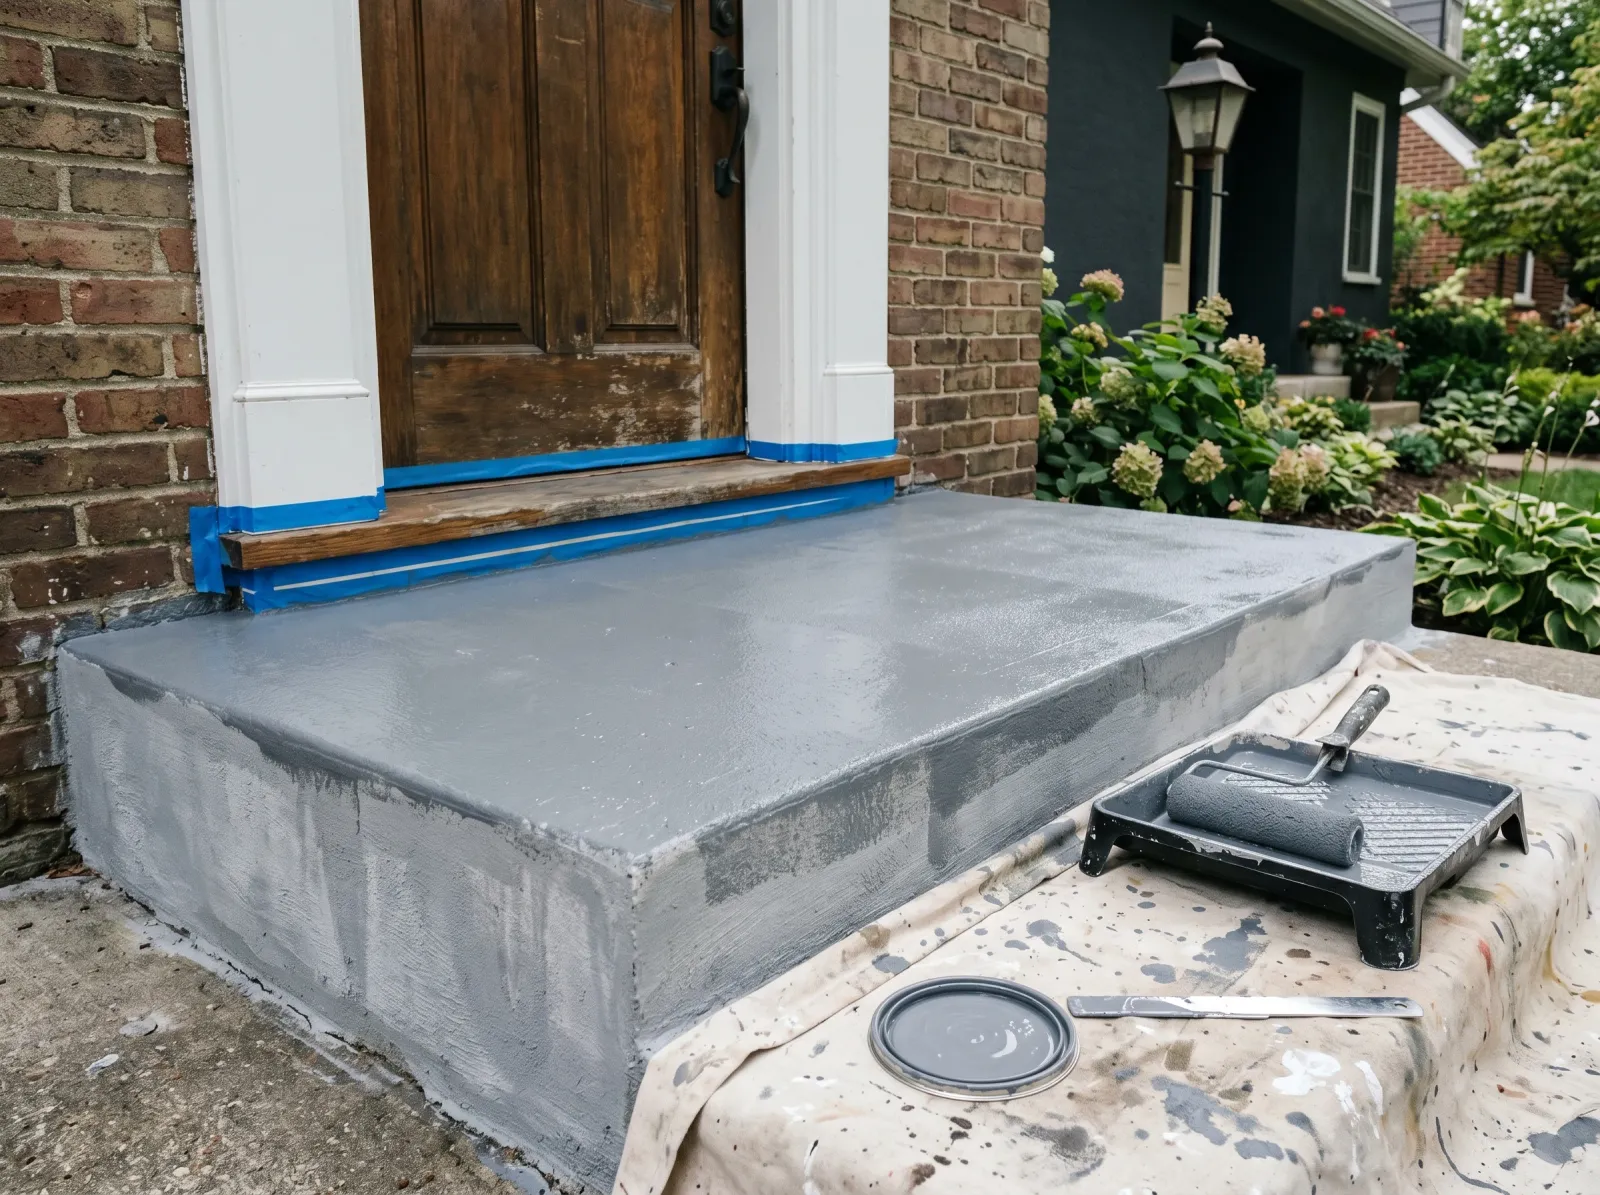
Stir the anti-slip additive into the can and keep stirring as you go, because the grit settles. Cut in the edges, the riser fronts, and the corner where the step meets the door threshold. Then roll the tread.
Keep the coat thin. Floor paint that pools dries soft and stays tacky for days. Two thin coats beat one thick one every time. The first coat will look patchy and streaky. That’s normal. The color fills in on the second pass.
Watch out for the threshold and siding. Tape them off and lay a drop cloth, because floor paint is stubborn to scrub off the door once it skins over.
Step 5 — Second Coat, Then Rope It Off
 Second coat down, tape pulled, step roped off. The cure is what gives the paint its hardness.
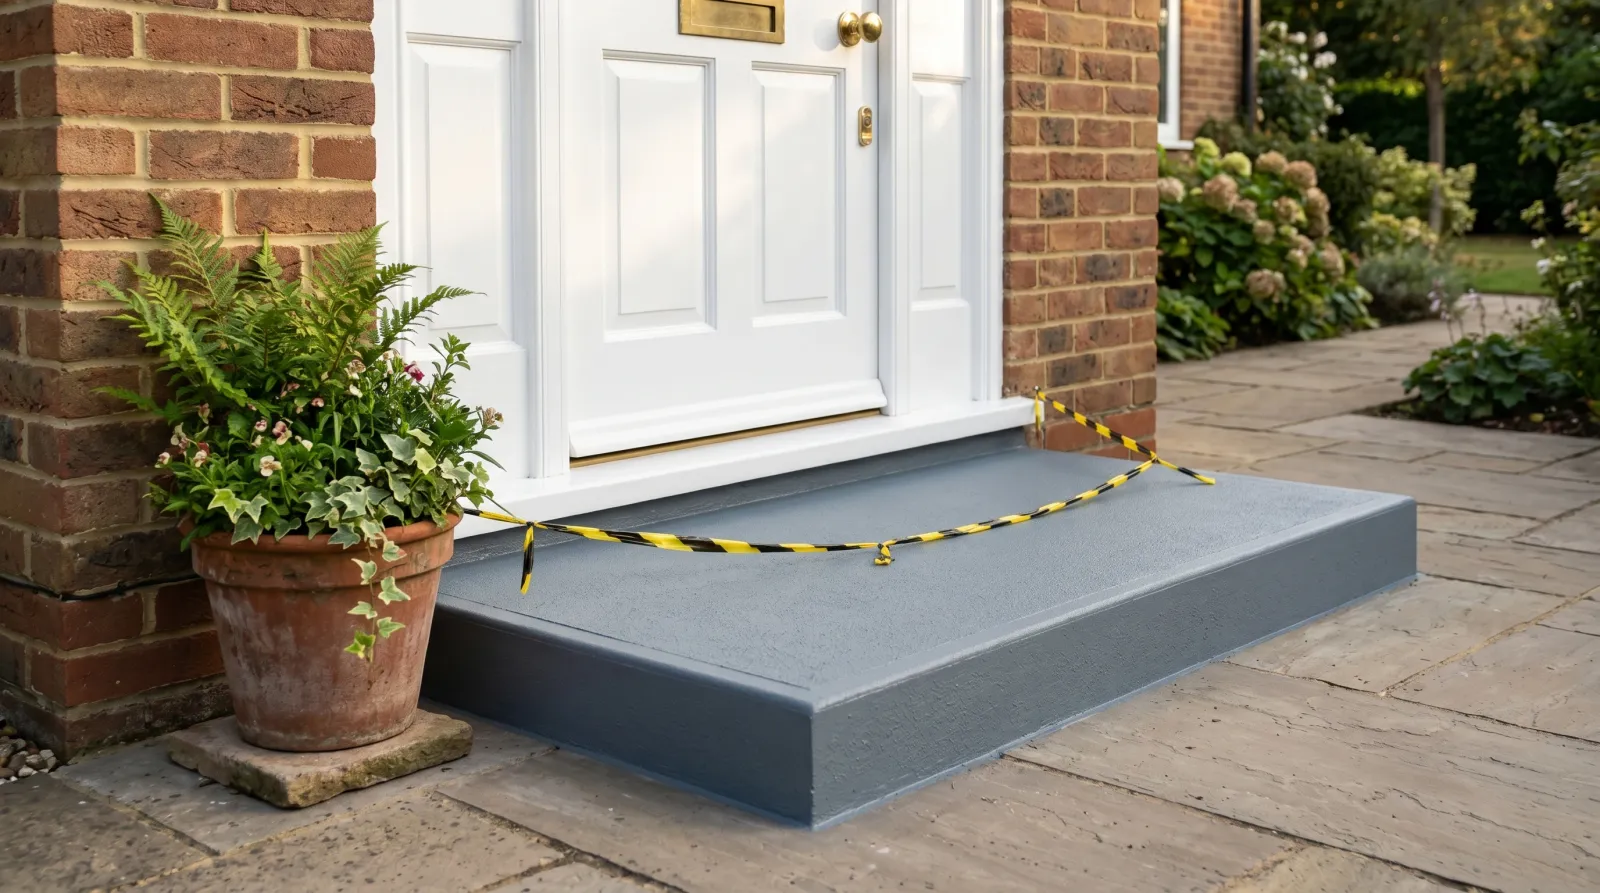
Let the first coat dry the full recoat time on the can, then roll the second coat the same way. Stir the grit back up first. Pull the tape while the paint is still slightly tacky, not bone dry, so it doesn’t chip along the edge.
Now keep everyone off it. String a line across the step or set a chair in the doorway. Light traffic is okay after 24 hours in warm dry weather. The paint doesn’t hit full hardness for about a week.
Watch out for rain on fresh paint. If a shower blows in within the first few hours, tent the step with plastic on a couple of bricks. Rain on uncured floor paint leaves a permanent dimpled mess.
Method Variant: Wood Steps
If your step is wood, not concrete, the order’s the same but the products change. Skip the masonry paint and the acid etch. Sand the old finish, prime bare wood with an exterior wood primer, then use exterior porch-and-floor enamel. Back-brush it into the grain so water can’t sit on the surface, and seal the cut end grain on the edges, because that’s where rot starts. The front door guide covers the same enamel family.
Common Mistakes
- Using wall paint instead of floor paint. Wall paint has zero abrasion resistance. It peels off a step in one season. The can must say porch, floor, or masonry.
- Skipping the etch on smooth concrete. Paint can’t grip a slick sealed slab. It sits on top and sheets off the first cold snap. Etch until the surface feels like sandpaper.
- Painting damp or rained-on concrete. Trapped moisture pushes the coating off from underneath. The slab has to be dry all the way through, not just on the surface.
- Leaving out the anti-slip grit. A glossy painted step in the rain is genuinely dangerous. Stir the additive in. It costs a few dollars and you barely see it.
- Walking on it too soon. Footprints bake into a soft coat and never come out. Give it 24 hours minimum, a week if you can.
Cure Schedule
| Time after the second coat | What’s safe |
|---|---|
| 1-2 hours | Pull the tape (while slightly tacky) |
| 4-6 hours | Touch dry, keep off it |
| 24 hours | Light foot traffic if warm and dry |
| 3 days | Normal daily use |
| 7 days | Full hardness, hose it down, drag the doormat back |
Cold or damp weather stretches every one of these numbers. When in doubt, wait a day longer.
Maintenance and Touch-Ups
A properly prepped floor coating on a front step holds up 3 to 5 years before it needs a refresh. The high-wear strip right where everyone plants their foot wears first. Epoxy systems push toward the longer end of that range; standard acrylic floor paint, the shorter end.
For a worn spot, scuff it, wipe it clean, and roll a fresh coat of the same paint just on that area. Feather the edge so the patch blends instead of leaving a hard ring. Keep a quart left over and labeled. Re-coating one worn strip every couple of years is a ten-minute job and beats stripping the whole step down again.
Cost Breakdown
| Item | $ |
|---|---|
| Floor/masonry paint, 1 gallon | $35-$55 |
| Masonry bonding primer, 1 quart | $15 |
| Anti-slip additive | $8 |
| Concrete patch and etcher | $15 |
| Brush, roller, sleeve, tape | $20 |
| Total | $45-$95 |
The spread comes down to whether you go standard acrylic floor paint or a two-part epoxy. Epoxy costs more up front and lasts longer on a step that gets hammered.
What’ll Bite You in Two Years
Moisture. Not the paint, not the color, not the brush you used. If the slab sits low and wicks water up from the ground, even a perfect prep job lets go from underneath in a season or two, and you’ll swear you did everything right. You did, on top. The fix is a moisture-blocking primer the next time around, and making sure water drains away from the step instead of pooling against it. Grade the soil away from the slab, clear the gutter dumping next to it, and the coating you put down this weekend has a real shot at lasting.