How to Paint a Coffered Ceiling
Painting a coffered ceiling without a mess of brush marks and overlap lines. The order that works, why beams get a different sheen than the recesses, and the fixes.

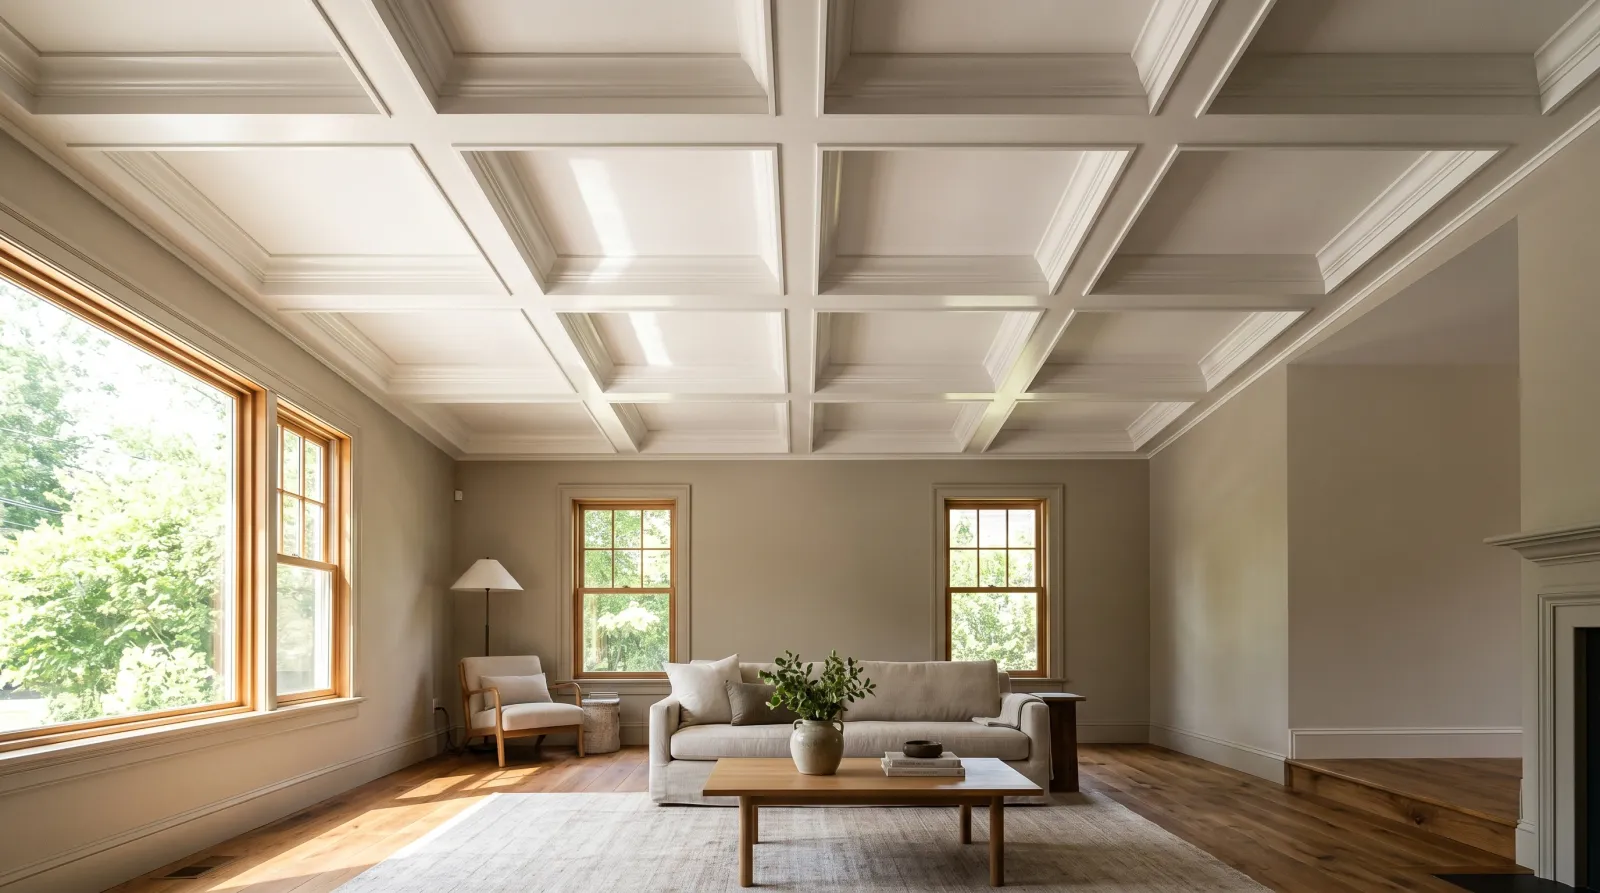
Okay, so you’re standing under a coffered ceiling, neck already sore from looking up, counting the boxes and realizing each one has four inside corners. A coffered ceiling is a grid of recessed panels framed by raised beams, the kind you see in old craftsman houses and new builds trying to feel like old craftsman houses. It looks like a lot. It is a lot of edges. But it isn’t a lot of skill.
Here’s the thing. You already know how to paint a wall and you already know how to paint trim. A coffered ceiling is just those two jobs stacked on top of each other and turned upside down. The panels are walls. The beams are trim. Do them in order and the grid does most of the work for you.
What You’ll Get
A coffered ceiling where the beams stand crisp and slightly shiny and the recessed panels sit back soft and flat, so the whole grid reads as real depth from across the room. One long weekend of work plus dry time.
Honest Take on Difficulty and Time
This is a medium job, not a hard one, and the difficulty is all in your neck and shoulders, not your hands. A 12×14 ceiling with a 9-box grid takes a careful DIYer about 14 working hours over two or three days. Most of that is cutting in. There’s very little big-roller flat painting here, which is the fast part of a normal ceiling, and a lot of slow brushwork around beams and corners.
If a video tells you a coffered ceiling is a Saturday afternoon, they painted it one flat color and skipped the sheen step. Doing it right, with primed bare spots, caulked joints, and two sheens, is a weekend.
Budget for the overhead fatigue. Take breaks. Working with your arms up tires you out faster than you expect, and tired arms leave brush marks.
What You’ll Need
Paint and Primer
Two finishes, and the split is the whole point. A flat or matte ceiling paint for the recessed panels (BM Waterborne Ceiling 508, Behr Premium Plus Ceiling, or SW ProMar 200 Ceiling). Flat hides every drywall ripple inside the boxes. Then a satin or semi-gloss for the beams (BM Advance, SW ProClassic, or Behr Alkyd Enamel). The beams are trim, so they get a trim finish that wipes clean and catches light.
You only need primer on problem spots: bare wood or new MDF beams, water stains, or knots that might bleed through. New MDF beams drink up paint and fuzz at the cut edges, so they want a coat of Zinsser Bulls Eye 1-2-3 Plus first. For water stains or knotty pine, step up to Zinsser BIN. The deep version of why is in the best primer round-up.
For the sheen decision, the sheen guide walks through how flat, satin, and semi-gloss each read on a ceiling. And for SKU picks on the panel paint, see the best ceiling paint round-up.
Tools
The brush is most of this job, so spend the money there. A 2.5-inch angled sash brush for the wide beam faces, plus a smaller 1.5-inch angled brush for the narrow sides and the inside corners. A foam mini-roller (4 or 6 inches) fits inside the recessed panels where a full 9-inch roller can’t lie flat against the drywall.
A cheap brush sheds bristles into the paint and leaves a streaky cut line you’ll see in raking light forever. A $14 Wooster or Purdy holds its edge for years. Picks are in the best paint brushes round-up.
You also need a steady ladder or a small platform, a caulk gun, a putty knife, and a work light you can angle across the ceiling. That last one matters. Flaws hide when light comes straight down and jump out when light rakes sideways, so a raking light shows you what the room will show your guests.
Step 1 — Fill, Caulk, and Tape
This step is where crisp ceilings come from, and it’s the step everyone wants to skip.
Find every nail hole in the beams. Fill them: DryDex spackle on drywall faces, a 2-part wood filler on MDF or real-wood beams. Let it dry, then sand flush with the 220-grit sponge. Run your fingers over each beam in raking light. You’ll feel a proud filler bump before you see it.
Now caulk. Anywhere a beam meets a panel and there’s a visible gap, run a thin bead of paintable acrylic caulk and smooth it with a damp fingertip. Unpainted gaps turn into dark shadow lines once the wood around them goes bright white, and they make the whole grid look unfinished.
Tape the inside corners if your hand isn’t steady. You don’t have to tape everything, just the corners where two different sheens will meet and where a wobble would show.
Watch out for caulking a gap wider than about a quarter inch in one pass. It’ll sag and crack. Do two thin passes with a dry hour between them.
Step 2 — Prime the Bare and Stained Spots
Skip this entirely if your beams and panels are already painted and sound. Primer is for bare wood, raw MDF, water stains, and knots only.
Brush Zinsser Bulls Eye 1-2-3 Plus onto bare MDF or wood beams, one coat, and let it dry. For water stains on the panels or knots that might bleed, spot-prime just those areas with Zinsser BIN. You don’t need to prime the whole ceiling. Prime the trouble, not the room.
Sand the primed spots lightly with 220 once they’re dry, then wipe the dust off with a damp rag.
Step 3 — Roll the Recessed Panels First
Panels before beams. Always. If you do the beams first, the roller bumps their wet edges when you come back for the panels, and you’ll smear two sheens together.
Cut in a 2-inch band around the inside of each box with the angled brush, right up to the beam line. Then fill the middle of the panel with the foam mini-roller. Roll in one direction, then cross-roll to even it out. The mini-roller fits flat into the recess where a big 9-inch roller would ride up on the beam edges and leave the corners dry.
Most ceiling paint covers in two coats. Let the first dry the time on the can (usually 2 to 4 hours for water-based) before the second.
Watch out for roller spatter raining down on you. Wear safety glasses and an old shirt, and don’t stare straight up while the roller’s moving.
Step 4 — Brush the Beams in the Higher Sheen
Now the trim half of the job. Switch to the satin or semi-gloss and the 2.5-inch angled brush for the wide beam faces, the 1.5-inch for the narrow sides and corners.
Dip the brush a third of the way in, no more. Brush along the length of each beam in long smooth strokes, keeping a wet edge so you don’t get a lap line where a dry section meets a fresh one. Do the sides of the beams, then the bottom faces. Work one beam fully before moving to the next.
The sheen jump is what you’re after. Side by side, flat panels and satin beams read as two planes, and the grid pops into three dimensions. Same white, two sheens, big difference.
Watch out for drips collecting on the bottom inside corners of the beams, where gravity pulls the paint. Check the corners every few minutes for the first half hour and brush out any sag while it’s still wet.
Step 5 — Second Coat and Pull the Tape
The beams almost always need a second coat. Higher-sheen paints show every thin spot, and one coat on a beam looks blotchy in raking light. Recoat after the can’s dry time.
Pull the tape while the last coat is still slightly tacky, not bone dry, at a slow 45-degree angle. Bone-dry paint can crack and lift along the tape edge. If a corner line looks fuzzy after the tape’s off, wait for full dry, then dab the edge clean with a small artist’s brush.
Take the drop cloths outside and shake them. Wash brushes and the foam roller under warm water until it runs clear. Put furniture back the next day.
Common Mistakes
- Painting the beams before the panels. The roller hits the wet beam edges and drags one sheen into the other. Panels first, every time.
- One flat color over the whole grid. The depth vanishes from a few feet away and you’ve spent a weekend on a ceiling that looks plain. Vary the sheen even if you keep one color.
- Overloading the brush at the inside corners. Paint pools in the corner, then sags and dries as a ridge. Keep the brush lightly loaded and brush out of the corner, not into it.
- Skipping the caulk. Gaps between beams and panels become dark shadow lines once everything’s white, and the grid looks half-built. Caulk first, then paint.
- Painting bare MDF beams without primer. MDF soaks up the first coat unevenly and the cut edges fuzz up. One coat of bonding primer fixes both. The MDF prep guide covers the edge-sealing trick in detail.
Cure Schedule
| Time after the second coat | What’s safe |
|---|---|
| 1 hour | Pull the tape |
| 4 hours | Touch dry, don’t bump the beams |
| 24 hours | Furniture back in the room |
| 7 days | Wipe a beam clean with a damp cloth |
| 30 days | Full cure, fully washable |
Maintenance and Touch-Ups
A coffered ceiling barely gets touched, so the finish lasts. Expect 10 to 15 years before it needs a refresh, longer than walls because nobody leans on a ceiling. The beams might show cobweb dust at the corners; a dry microfiber duster on a pole clears it.
For a chip on a beam, dab leftover beam paint on with a small artist’s brush. Match the sheen, not just the color, or the touch-up flashes a different shine. Keep a labeled quart of each sheen in the basement.
Cost Breakdown
| Item | $ |
|---|---|
| Ceiling paint, 1 gallon flat | $30 |
| Beam paint, 1 quart satin/semi-gloss | $25 |
| Primer, 1 quart (spots only) | $18 |
| Brushes and foam mini-roller | $40 |
| Caulk, tape, spackle, sponge | $25 |
| Total | $138 |
Numbers are mid-tier paint. Cheaper runs about $90, top-shelf (BM Aura and Advance) closer to $180.