How to Paint a Chain-Link Fence
Painting a chain-link fence the right way: kill the rust, prime bare metal, and spray or roll a galvanized-friendly coat that won't flake off in one summer.

Chain-link is galvanized steel. Paint hates galvanized steel. That’s the whole problem, and it’s the reason most painted fences you see flaking in an alley got skipped on prep.
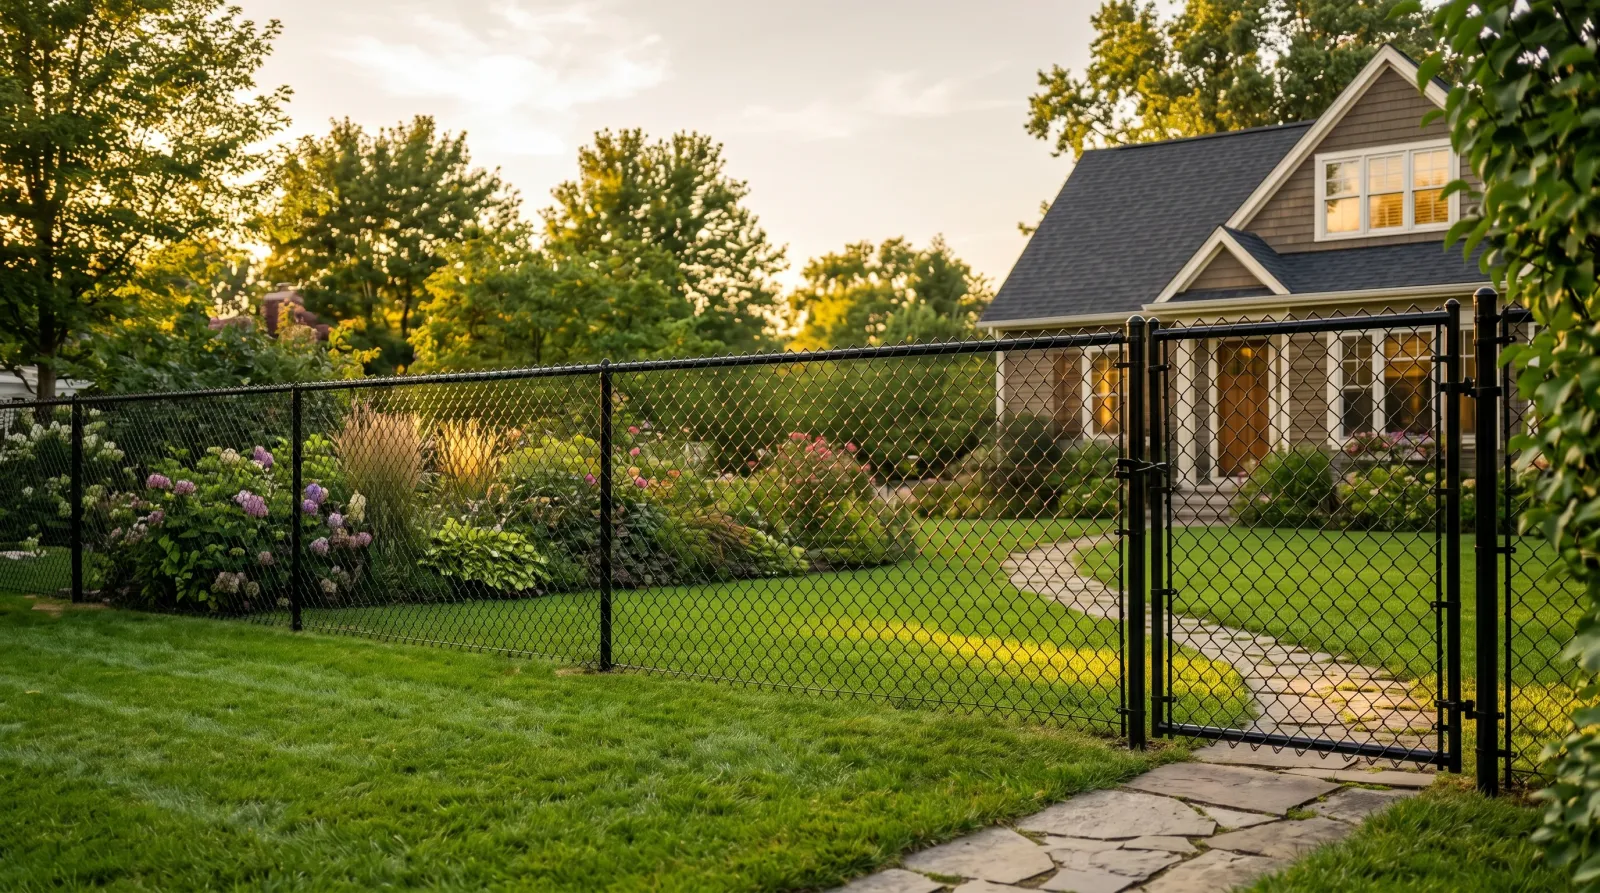
Here’s the rule. Strip the zinc film, kill the rust, prime the bare metal, then coat it. Do those four things and a black or dark-green fence reads like wrought iron from the curb for a decade. Do none of them and your color sheets off the wire by August. There’s no middle ground with zinc.
What You’ll Get
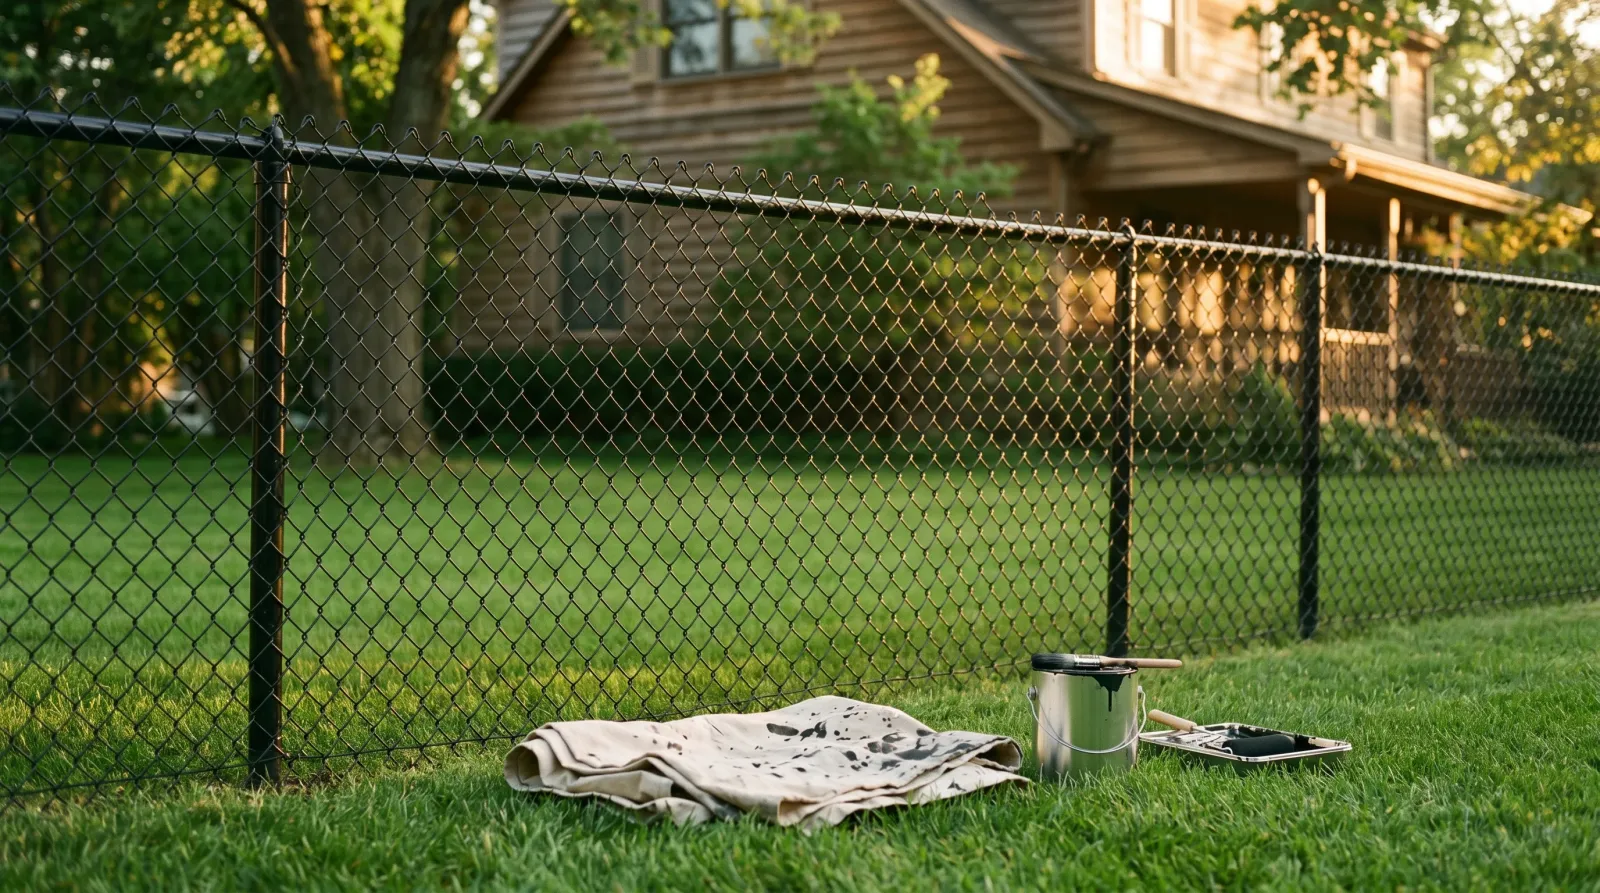
A chain-link fence in a solid color (black and dark green are the workhorses) that looks intentional instead of industrial, and a coat that actually grips the metal instead of peeling in the first heat wave.
Honest Take on Difficulty and Time
This is a medium job, not an easy one. Not because the painting is hard. Because the prep is fussy and the mesh fights you.
A 50-foot run of 4-foot fence is one weekend. Saturday: clean, de-rust, prime the bare spots. Sunday: two coats. Add a day of cure before the dog leans on it.
Sprayer or brush changes the math more than anything else. Realistic time:
| Method | Active time, 50 ft | Paint wasted | Best for |
|---|---|---|---|
| Pump or HVLP sprayer | 2–3 hrs both coats | High (overspray through mesh) | Open yards, no close neighbors |
| Thick-nap roller + brush | 6–8 hrs both coats | Low | Tight spaces, shared fence lines |
| Spray cans | 3–4 hrs both coats | Medium | Short runs, gates, touch-ups |
If somebody tells you a fence is a two-hour job, they sprayed it without prepping it, and they’ll be repainting it next year.
What You’ll Need
Paint and Primer
Two products do the heavy lifting. A primer that handles galvanized metal and rust, and an exterior metal top coat.
For primer, you’ve got two cases. Bare or rusty spots get a rust-converting primer (Rust-Oleum Rusty Metal Primer). The galvanized field that’s still sound gets a self-etching or clean-metal primer so the top coat has something to bite. On an older fence that’s mostly rust and dull zinc, the rust converter does most of the work.
For the top coat, an exterior metal enamel rated for galvanized. Rust-Oleum Stops Rust, Rust-Oleum Professional, or a direct-to-metal (DTM) acrylic. Oil-based enamel cures harder and resists chips better. Water-based DTM dries faster and cleans up with water. The trade-off between the two is laid out in the oil-based vs water-based breakdown.
One gallon of top coat covers about 100 feet of 4-foot mesh, both sides, two coats. Mesh drinks more paint than a flat wall because you’re coating wire from every angle. Buy the extra quart. For the full SKU rundown on what holds up outdoors, see the best exterior paint round-up.
Tools
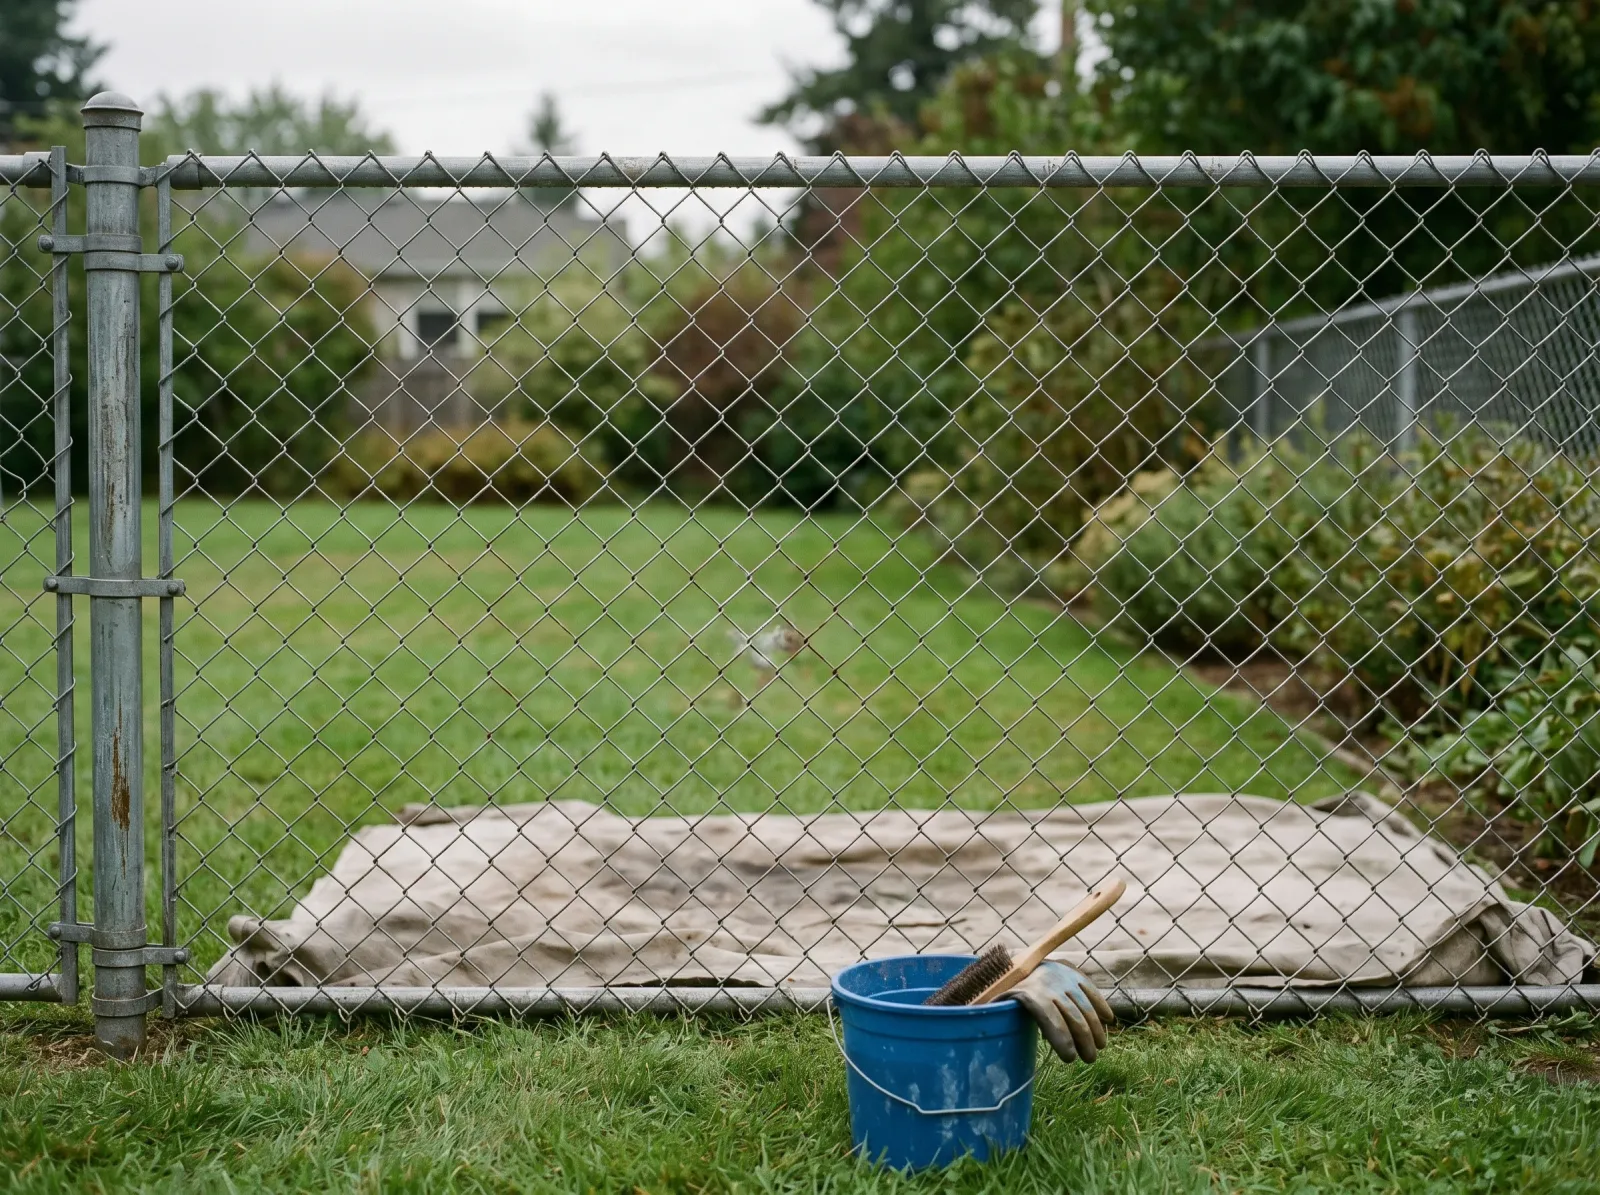
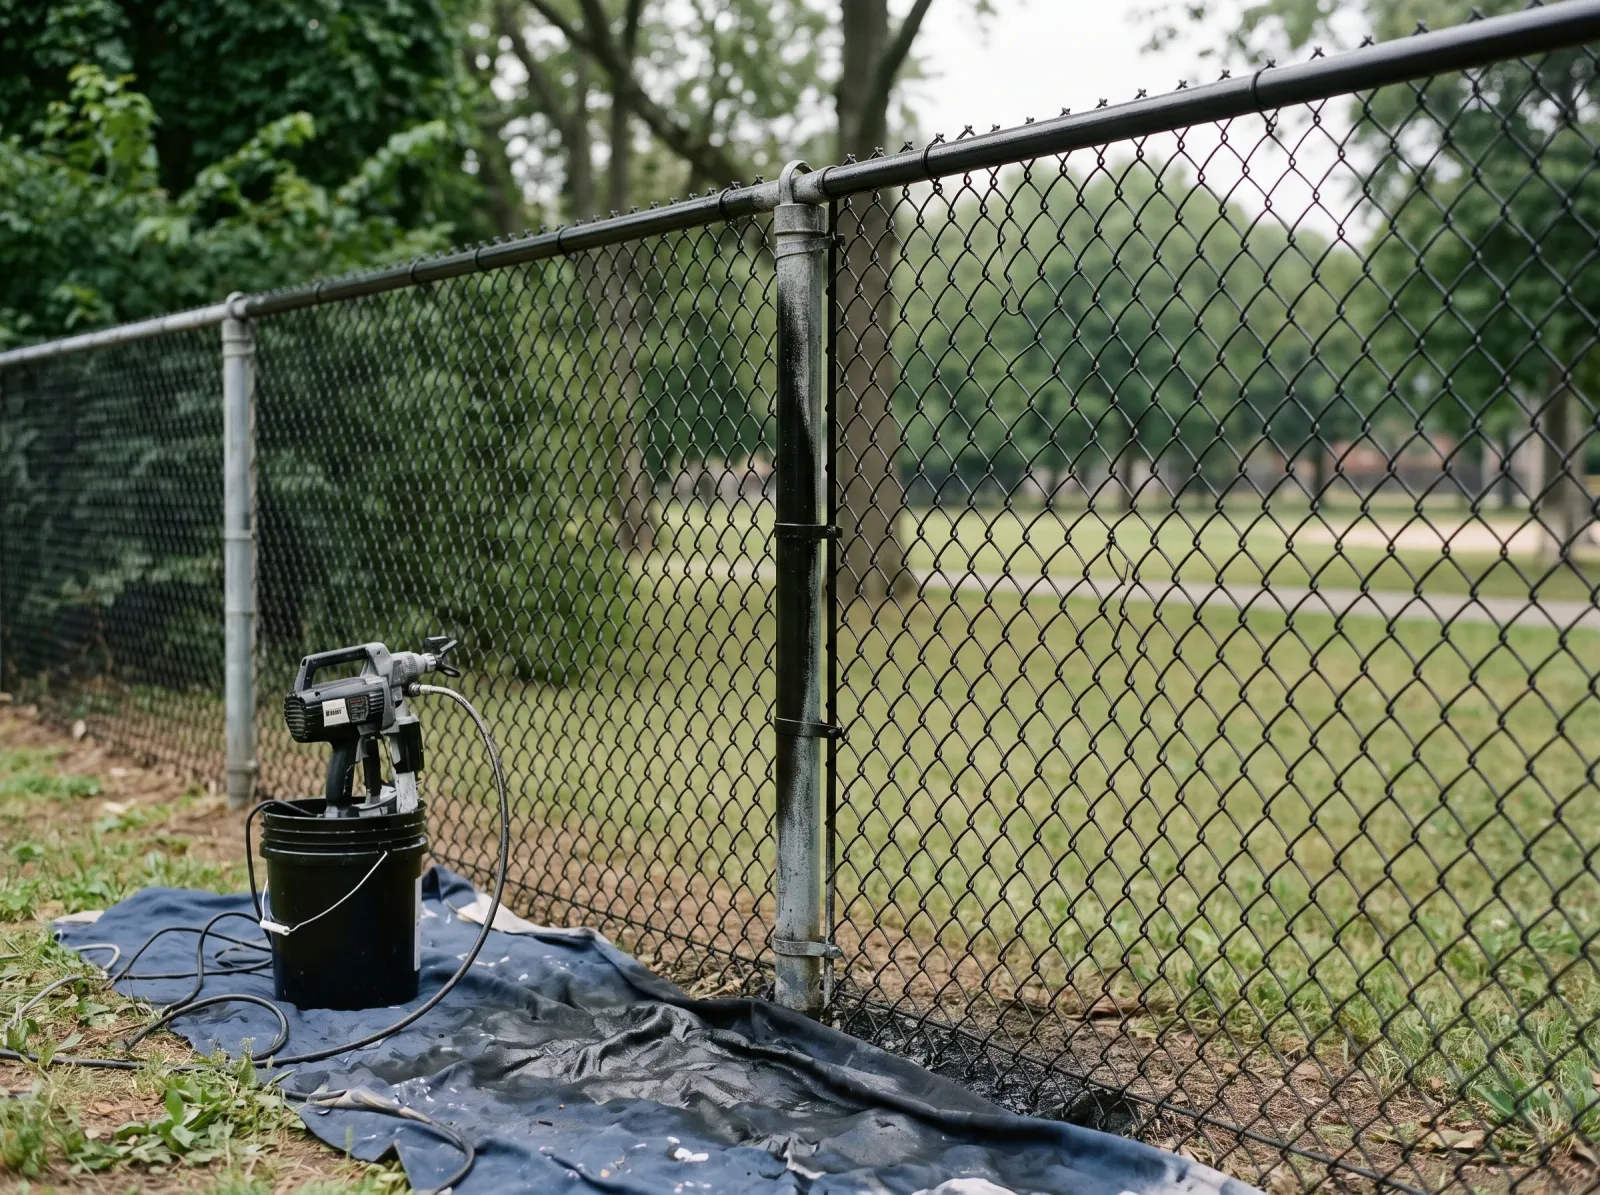
A wire brush and a wire-wheel drill attachment for the rust. A pump sprayer or HVLP if you’re spraying. A 3-inch synthetic brush and a thick-nap roller (3/4-inch or 1-inch nap — mesh eats short nap alive) if you’re hand-painting. A drop cloth or sheet of cardboard behind the fence to catch overspray. Gloves and a respirator if you spray.
The sprayer is where the time savings live. Fence-rated pump sprayers are cheap and built for exactly this. Picks are in the pump sprayers for fences guide.
Method: Spray, Brush, or Both
Before Step 1, pick your path. It changes how you set up.
- Spray if the yard is open, the day is still, and nothing precious sits behind the fence. Fast, even, wasteful.
- Brush and roll if you share the fence with a neighbor, there’s a car in range, or there’s any wind. No overspray, three times the labor.
- Both is what most people land on. Spray the diamond field, brush the posts, top rail, and knuckles by hand. Best coverage where it matters, least overspray drift.
A still, overcast day above 50°F and below 85°F is the target. Wind blows your overspray onto the neighbor’s siding. Direct sun flashes the paint before it can level, and you get a rough, gritty finish.
Step 1 — Clean and De-Rust
 Loose rust gone, the zinc film washed off, the whole run dull and dry before primer.
Wire-brush every flaking, loose rust spot down to sound metal. The wire wheel on a drill makes fast work of the rusty knuckles where wire crosses wire. Those crossings are where rust hides and where your coat will fail first.
Then degrease the whole run with a TSP substitute and rinse. New galvanized fence has a chalky zinc film that paint will not stick to. Wipe it down with white vinegar or a phosphoric-acid metal prep wash, let it sit a few minutes, then rinse and let it dry fully.
Watch out for painting over a damp fence or a sunny-warm one. Trapped moisture under the coat blisters it within weeks. Galvanized metal in direct sun also gets hot enough to flash the paint. Work the shaded side, or wait for cloud.
Step 2 — Prime the Bare and Rusty Metal
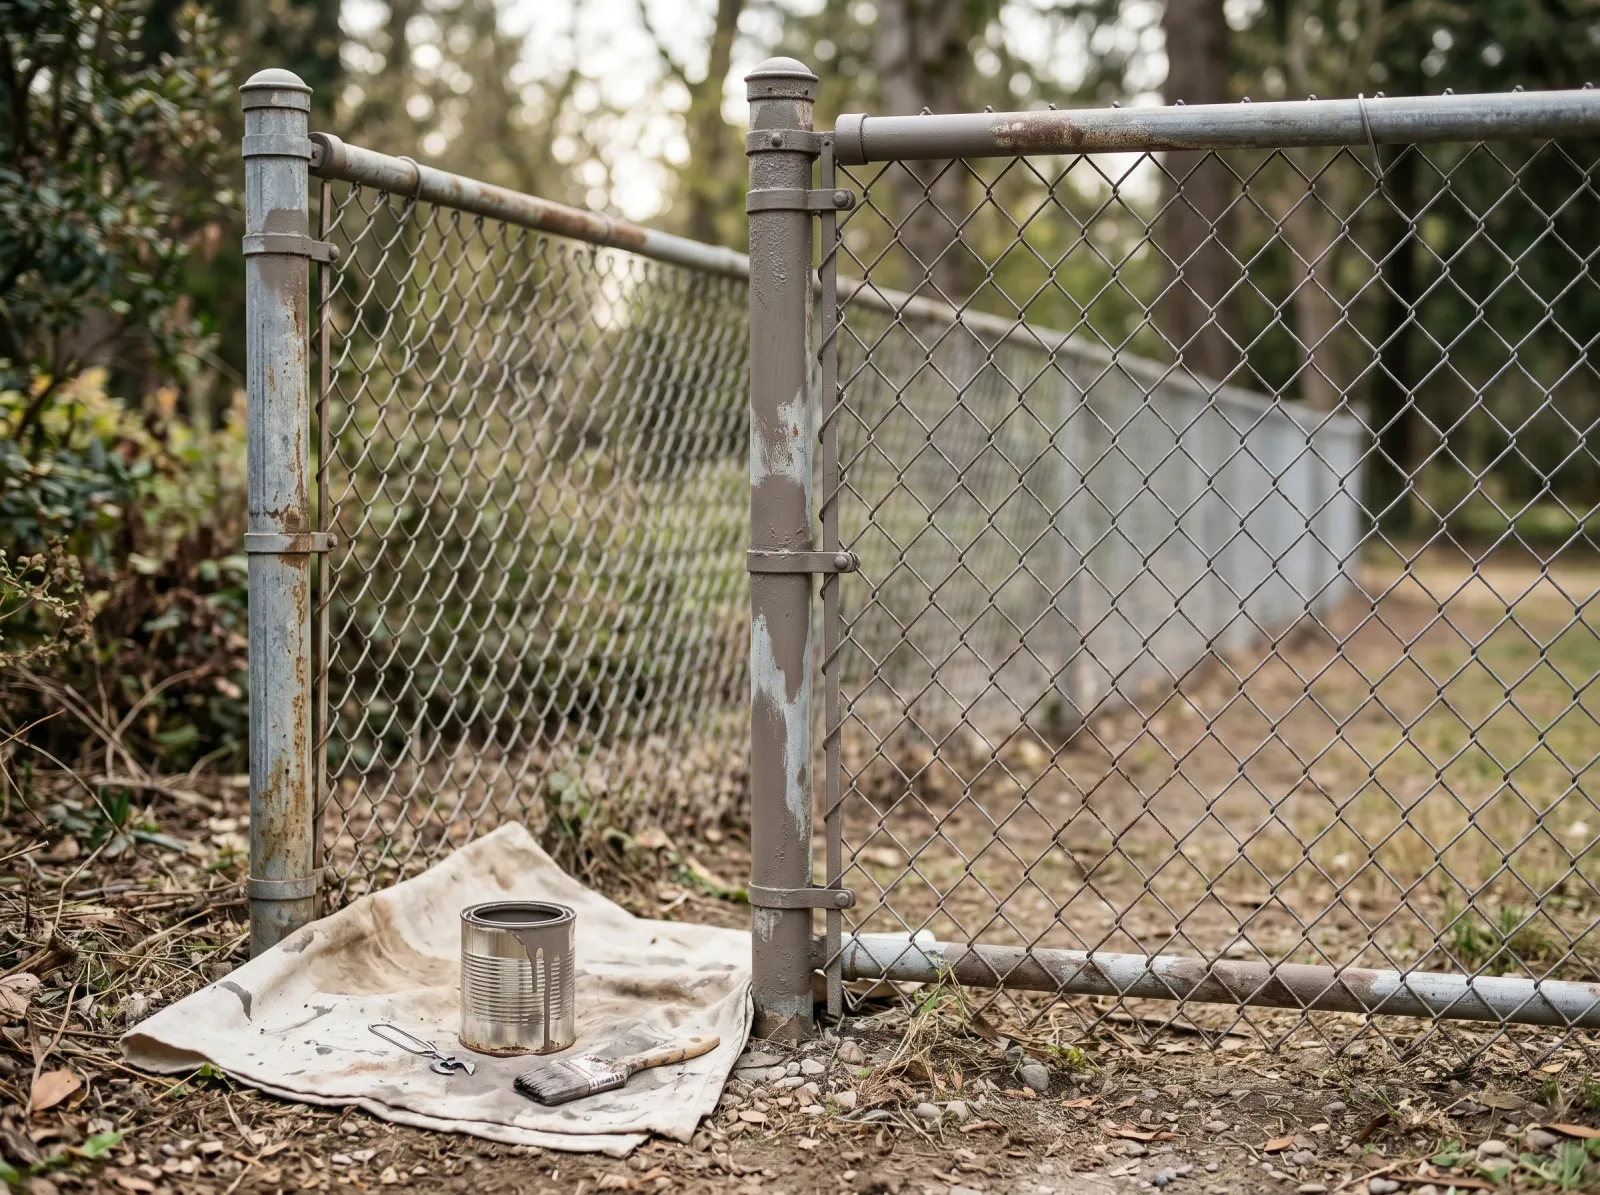 Rust converter on the bare spots and rusty knuckles, etch primer on the dull zinc field, posts and rail spot-primed.
Hit every bare and rusty spot with the rust-converting primer. It chemically turns the surface rust into a stable black film the top coat can grip. On a fence that’s mostly dull galvanized, lay a thin etch-primer coat over the whole field so the enamel has tooth.
Brush the posts, the top rail, and the tension bars by hand. Those are solid steel, not mesh, and they’re the first parts to show rust bleed if you cheap out on primer.
Watch out for skipping primer because “the can says self-priming.” Self-priming exterior enamel is a marketing claim, and it’s not written for raw zinc. Your bare metal still needs a real primer. For the why behind metal failure modes, the exterior metal guide covers the substrate in depth.
Let primer cure per the can. Rust converters usually want 24 hours before the top coat.
Step 3 — First Coat
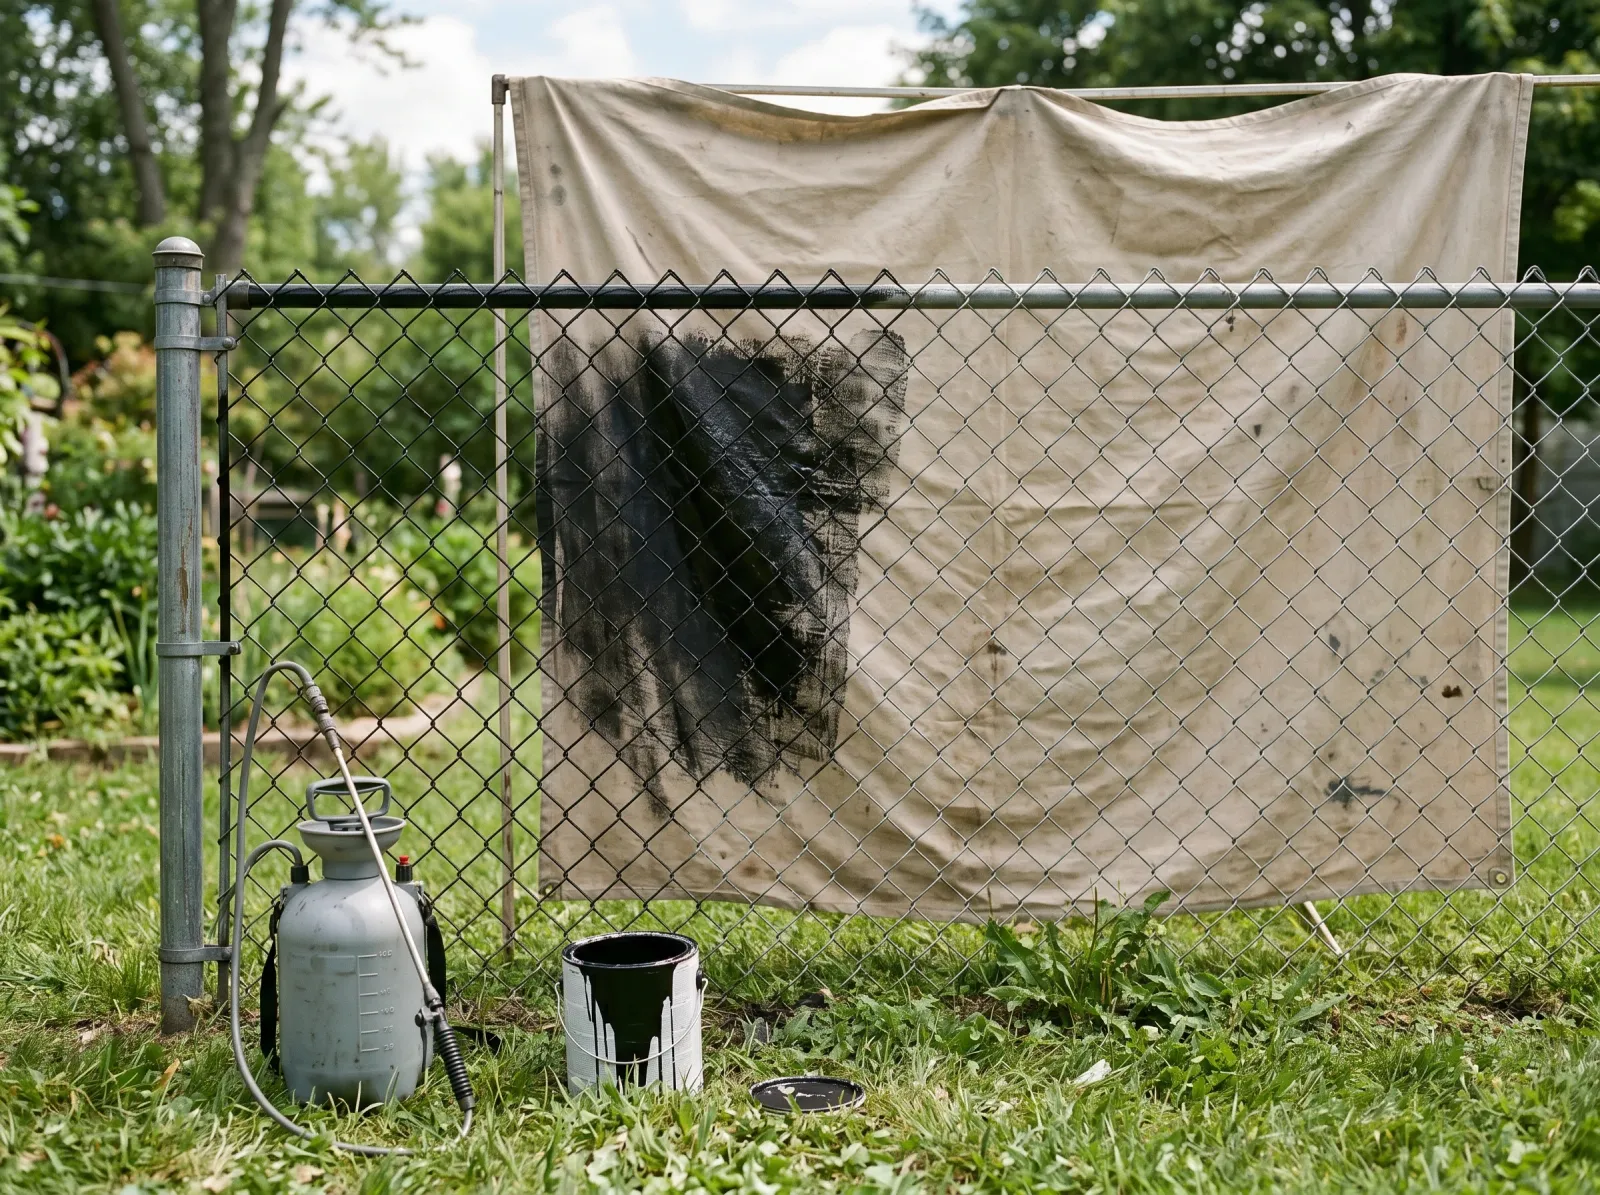 Thin first pass worked into the mesh from one side, drop cloth behind catching the overspray.
Hang a drop cloth or lean cardboard behind the fence first. Spraying mesh means half your paint goes straight through the gaps. The drop cloth saves the neighbor’s grass and your conscience.
Coat from one side, working the sprayer or brush into the diamonds at an angle so the paint wraps the wire. Keep it thin. A heavy first coat on round wire sags and runs into drips that dry as bumps. Two thin coats beat one thick one every time, same as any other paint.
If you’re brushing, jab the brush into the diamonds and drag along the wire, not across it. Roll the flat posts and rail with the thick-nap sleeve.
Watch out for drips hanging off the bottom of each wire. Mesh holds paint at every crossing. Check the run after ten minutes and brush out the drips before they skin over.
Step 4 — Second Coat From the Back
 Flip to the other side for coat two so the wire gets paint all the way around.
Let the first coat dry to the can’s recoat window (usually 1 to 4 hours for spray enamel, longer for oil). Then coat again from the opposite side. This is the part people miss. Round wire has a front and a back, and one-side painting leaves the far side of every strand bare. From three feet away it looks fine. Up close, and after the first winter, the bare back rusts and bleeds through.
Working both sides is why the paint estimate runs high on mesh. Plan for it.
Step 5 — Cure and Clean Up
 Even satin black, drop cloths pulled, gate swinging clean.
Pull the drop cloths once the surface is touch dry, usually a couple of hours. Clean a water-based sprayer with water right away; mesh enamel sets like cement inside a sprayer if you let it sit. Oil-based gear wants mineral spirits.
Keep the dog, the kids, and the lean-against-it crowd off the fence for a full day. Latch the gate open so it isn’t swinging the wet paint shut against the post.
Common Mistakes
- Painting straight over loose rust. The coat lifts in months because the rust keeps growing underneath. Wire-brush the loose stuff first, then prime the rest with a rust converter.
- Skipping the galvanized wash. New chain-link has a slick zinc film. Paint beads and peels off it. A vinegar or phosphoric-acid wash etches the zinc so the primer grabs.
- One-sided painting. Round wire has a back you can’t see from where you stand. Coat from both sides or the hidden half rusts and bleeds through within a year.
- Heavy coats on the wire. Thick paint sags into drips that dry as bumps on round mesh. Two thin coats wrap the wire clean; one fat coat runs.
- Spraying on a windy day. Overspray drifts onto siding, cars, and the neighbor’s fence. Wait for a still, overcast morning, or brush it instead.
Cure Schedule
| Time after final coat | What’s safe |
|---|---|
| 1–2 hours | Touch dry; pull drop cloths |
| 24 hours | Latch the gate; let the dog near it |
| 3–5 days | Lean a ladder, run a hose against it |
| 7–14 days | Full cure; scrub and pressure-rinse |
Oil-based enamel cures slower than water-based DTM. Cold or humid weather stretches every number on this table.
Maintenance and Touch-Ups
A properly primed and double-coated fence holds five to ten years. The bottom rail and the rusty knuckles always go first, because they sit in splash and dirt. Watch them.
Every couple of springs, walk the run. Wire-brush any new rust spot, dab rust converter on it, and touch up with leftover top coat and a small brush. Twenty minutes of touch-up beats a full repaint by years. If you ever see the coat lifting in sheets rather than spotting, that’s a prep failure, not wear — the peeling paint fix walks through why a coat sheets off and how to reset it.
Cost Breakdown
| Item | $ |
|---|---|
| Rust-converting / etch primer, 1 qt | $12 |
| Exterior metal enamel, 1 gal | $40 |
| Wire brush + wire wheel | $15 |
| Pump sprayer (reusable) | $30 |
| Vinegar/metal wash, TSP, gloves | $15 |
| Drop cloth | $10 |
| Total | $122 |
Brush-and-roll instead of a sprayer drops it under $90. Spray-can-only on a short run lands around $60 but eats cans fast on anything past 15 feet.
What’ll Bite You in Two Years
The knuckles. Every spot where wire crosses wire holds water, and water on galvanized that’s lost its zinc means rust from the inside out. You’ll see it bleed orange through your black coat at the crossings first. That’s not the paint failing. That’s the metal under it. Prime those crossings heavier than you think you need to, hit them in your spring touch-up, and the fence outlasts two coats. Ignore them and you’re wire-brushing the whole run again in three summers.