How to Paint a Brick Fireplace
Painting a brick fireplace the right way: degrease the soot, prime with a masonry primer, then roll two coats. The prep is what makes it last 10 years.

A red-brick fireplace dates a room faster than the carpet does. People want it white, or gray, and painting it is the cheapest way there. The job itself is easy. The brick is what fights you.
Brick is porous and dusty, and the smooth bricks near a working firebox are half-glazed by years of fire. Paint laid straight on that comes off in patches. So you degrease, you prime for masonry, and you roll thick. Get the prep right and it holds for a decade. Skip it and you’ll see the brick grinning back through the white in a year.
TL;DR
- Wash the soot off first. Smoke leaves an invisible film. Paint won’t stick to it. TSP substitute or Krud Kutter and a stiff brush.
- Prime with a masonry bonding primer, not paint-and-primer-in-one. Brick needs the real thing. KILZ Adhesion, Zinsser 1-2-3, or INSL-X Stix.
- Use flat or eggshell, not gloss. Shine shows every flaw in rough brick.
- Buy a thick-nap roller. A 3/4-inch or 1-inch nap reaches into the brick texture. A wall nap skips right over it.
- Don’t paint the inside of the firebox with regular paint. That face needs high-heat stove paint or nothing.
- It’s permanent. Paint soaks into brick and won’t strip back out clean. Decide before you start.
What You’ll Get
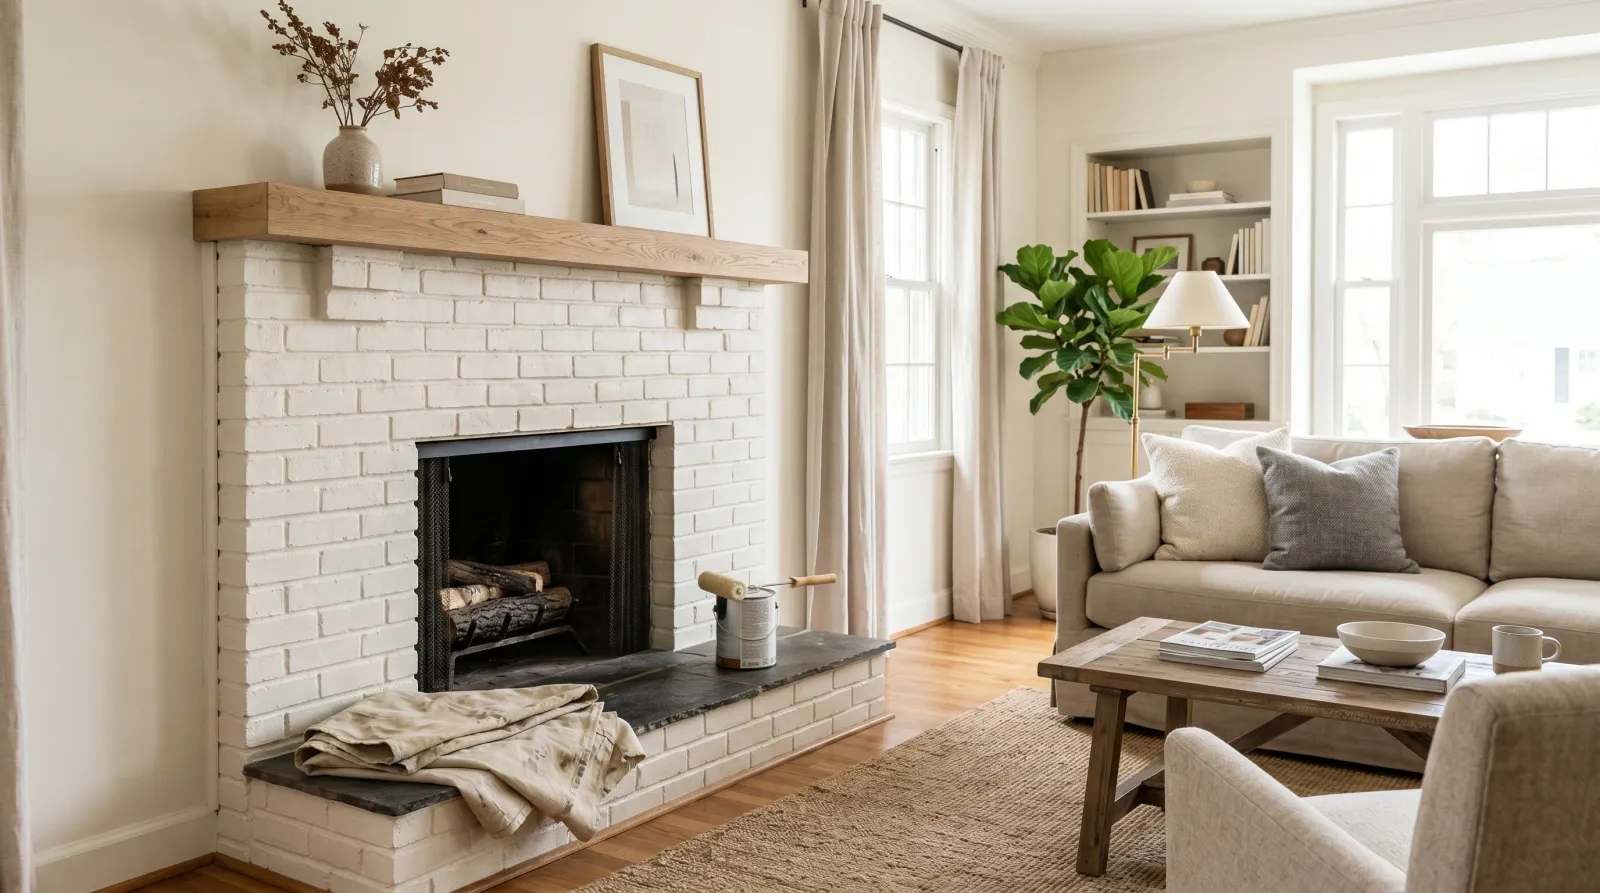
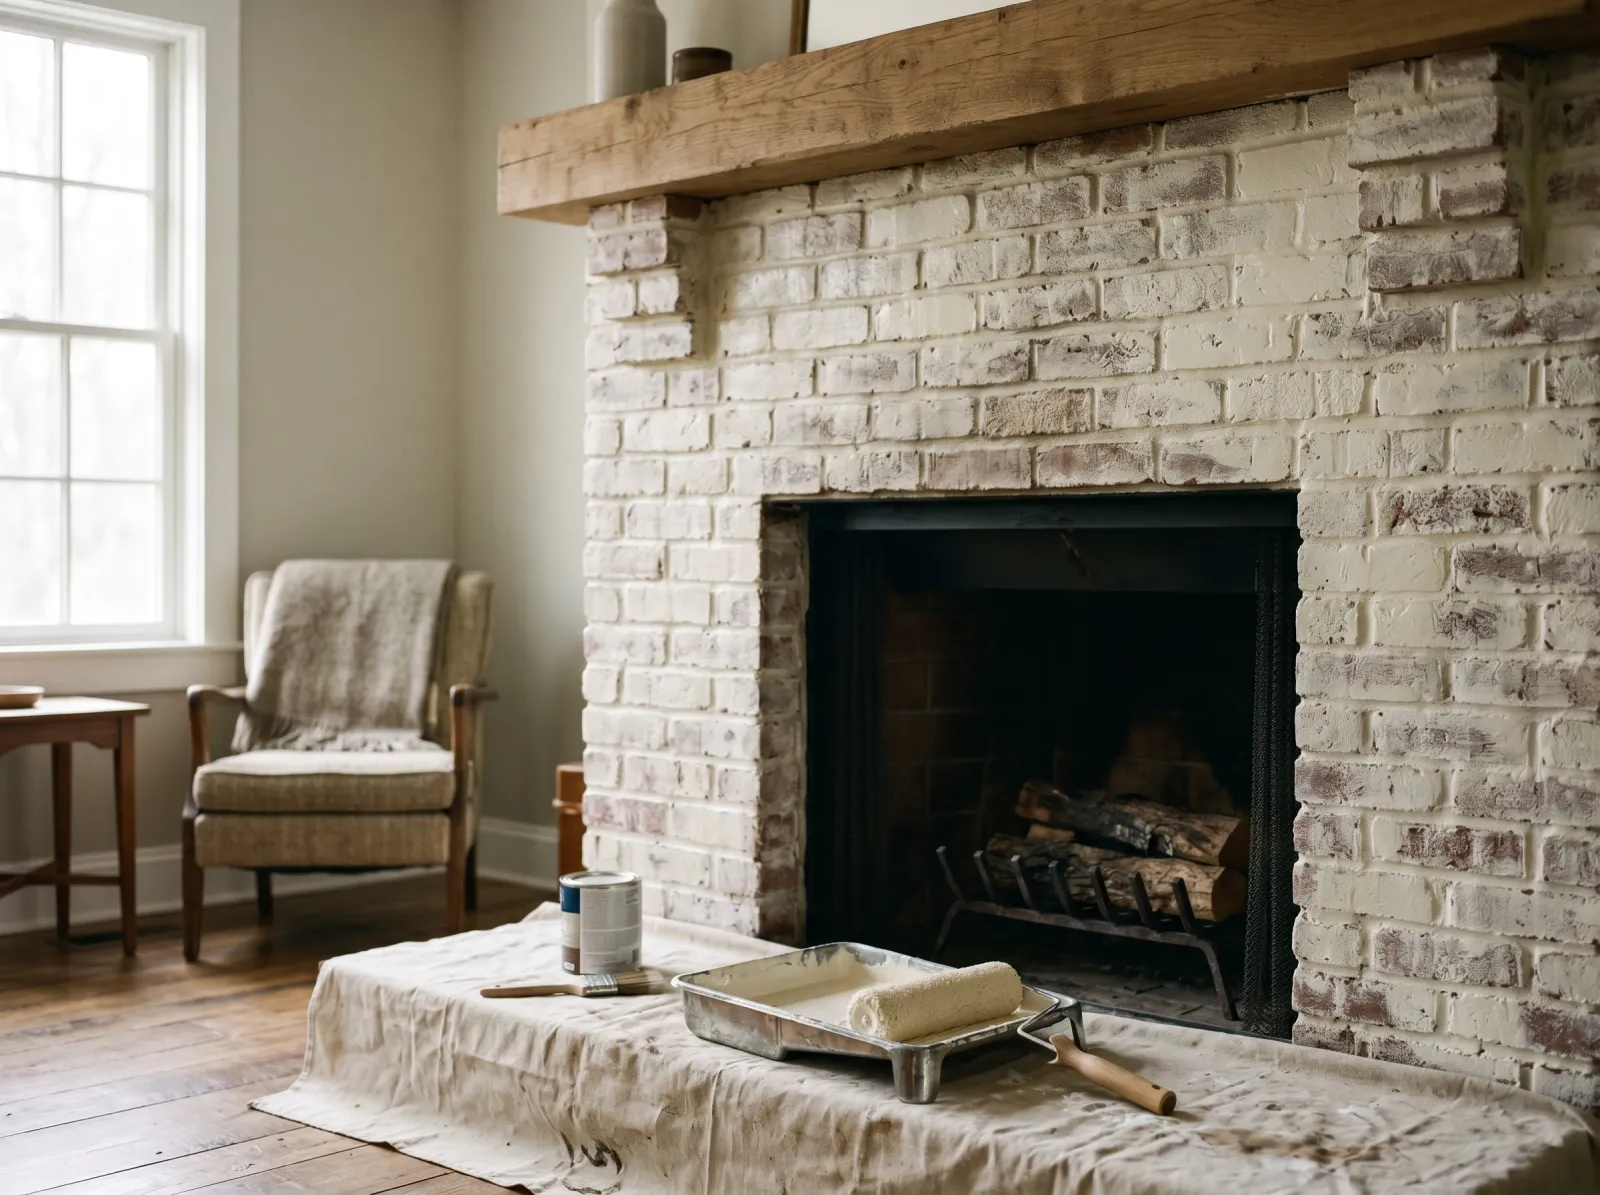
A clean, fully painted brick surround that brightens the whole room and wipes down near the hearth. Two coats, one weekend, and the brick texture still reads through the paint instead of looking like a flat panel.
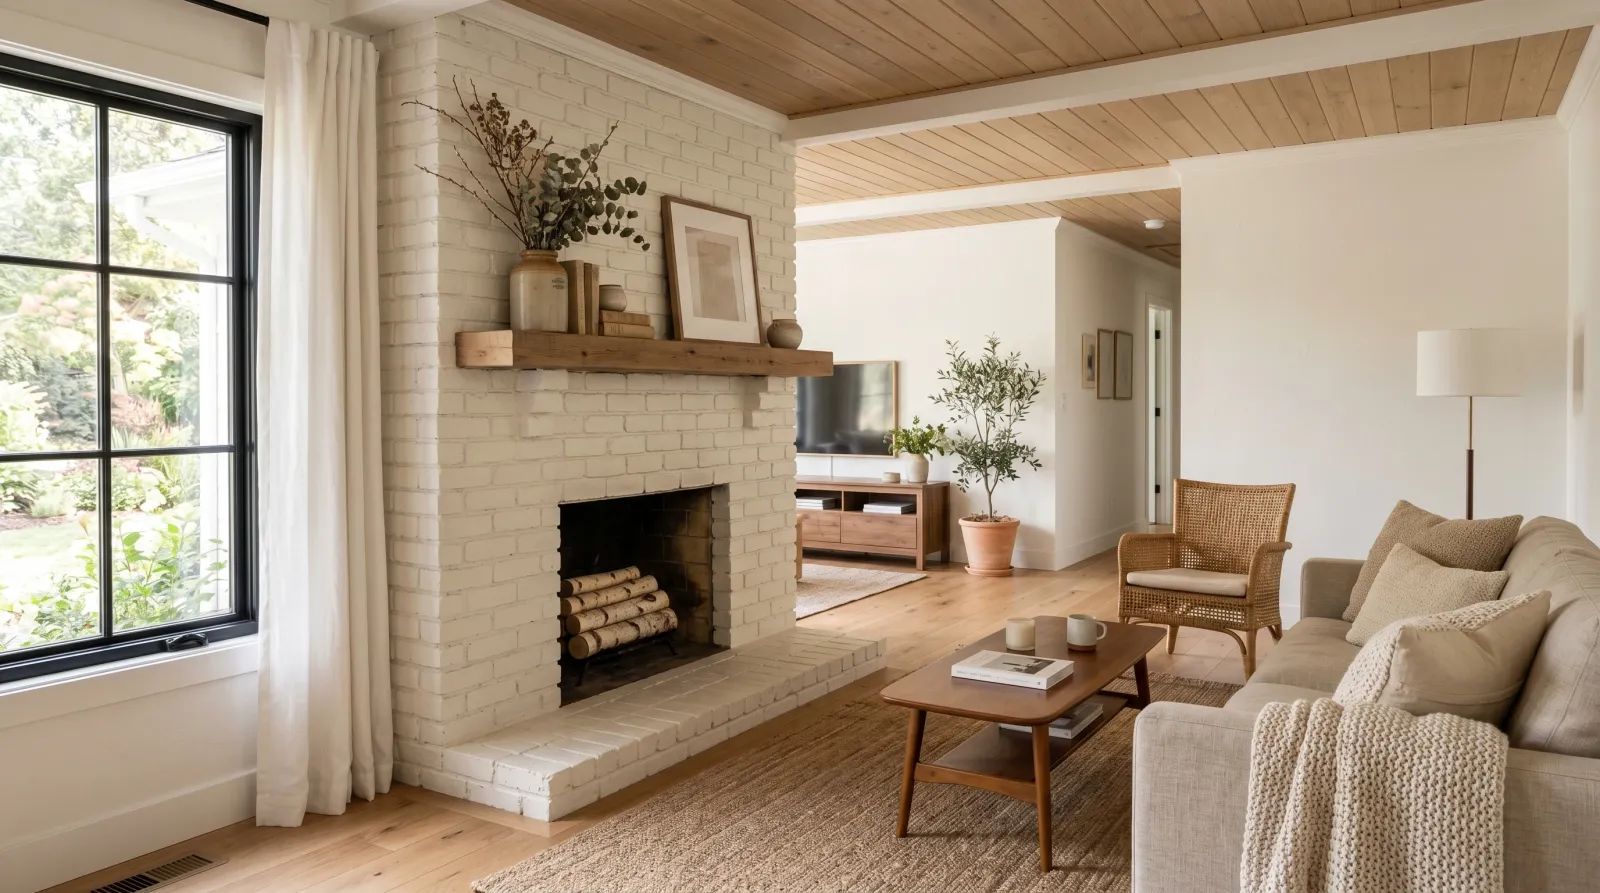
Drop cloths off, mantel reset, the surround painted clean and dry.
Honest Take on Difficulty and Time
Call it medium, not easy. The painting is simple. The reason it’s not a beginner job is the prep and the surface itself. Brick eats paint, the joints are slow to work, and the dust gets everywhere.
An average surround is about 8 working hours split over a weekend. Day one: tape off, brush out the joints, degrease, let it dry, then prime. The primer wants to cure overnight. Day two: two finish coats with a recoat wait between them.
If someone tells you it’s a two-hour afternoon, they’ve never worked paint into a mortar joint with a stiff brush. For the deep version of brick prep and why masonry behaves the way it does, see the brick painting guide. This page is the fireplace-specific playbook.
What You’ll Need
Paint and Primer
A masonry bonding primer is non-negotiable. KILZ Adhesion, Zinsser Bulls Eye 1-2-3, or INSL-X Stix. These grip the slick fire-glazed bricks that regular primer slides off of. Self-priming wall paint is a marketing claim on brick. It is not a masonry primer and it will not bond the same. For why the two aren’t interchangeable, see the primer-vs-paint-and-primer breakdown.
For the finish, a gallon of interior masonry paint or quality 100% acrylic latex in flat or eggshell. Flat hides the brick’s unevenness and looks most natural. Eggshell wipes cleaner if you’re painting near where ash and soot land. Skip semi-gloss and gloss on the brick faces. Shine and rough texture fight each other and the finish looks cheap. The sheen guide walks the trade-offs.
Buy the full gallon of each. Brick drinks paint. It pulls two to three times what a drywall wall does per square foot, and the joints are thirsty. For SKU picks rated for interior masonry, see the masonry paint round-up.
Tools
A stiff masonry block brush, 3 to 4 inches, for working paint into the mortar joints. A regular sash brush won’t push paint into a deep joint. A 9-inch roller frame with a 3/4-inch or 1-inch nap sleeve. The thick nap is the whole trick on brick. It reaches into the dimples and joints that a standard 3/8-inch wall nap rolls straight over.
Wire brush, shop vac, painter’s tape, a canvas drop cloth, gloves, and glasses for the degreaser. Don’t cheap out on the block brush. Picks are in the brush round-up.
Step 1 — Brush, Vacuum, and Degrease the Brick
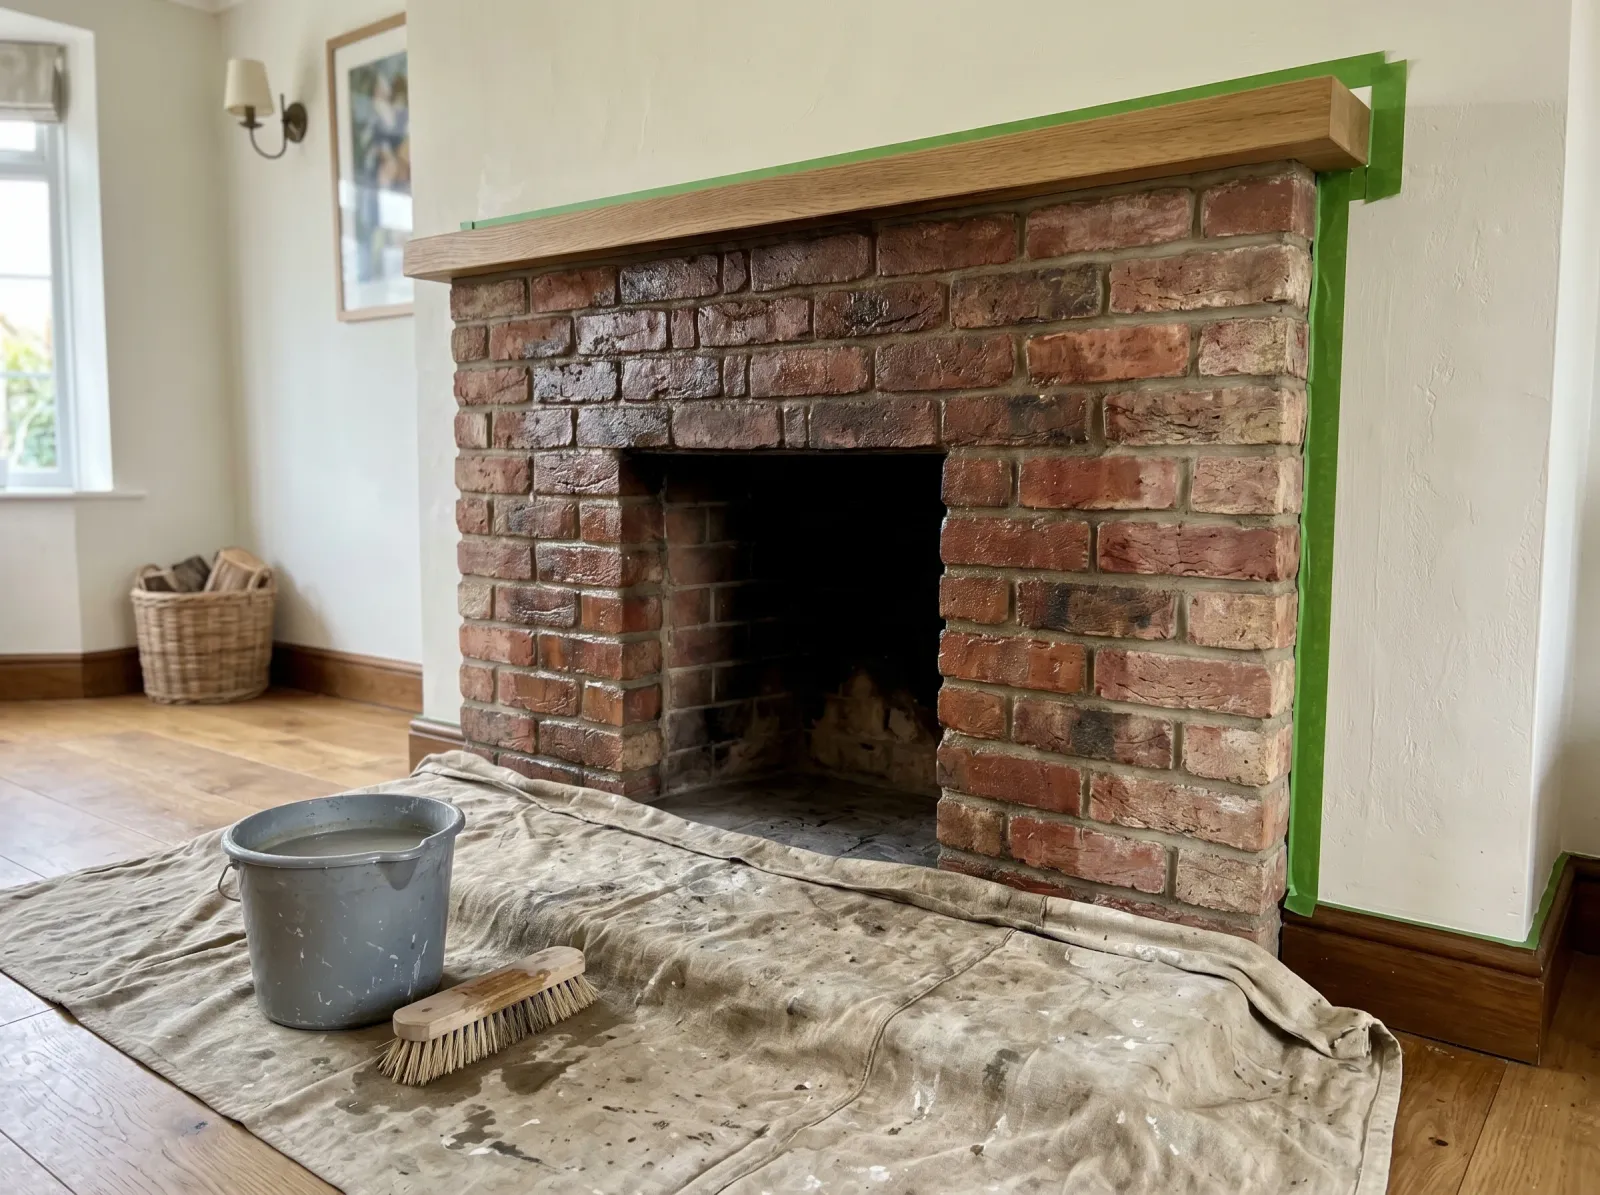
Loose dust knocked out of the joints, soot film washed off with degreaser, the brick left to dry.
Run the wire brush over the whole surround to knock loose grit and old soot out of the joints. Vacuum the dust out with the shop vac, getting the nozzle into the mortar lines. Paint won’t stick to dust.
Then degrease. A working fireplace coats the brick in a thin smoke film you can’t see. Mix TSP substitute in warm water or spray Krud Kutter straight on, gloves and glasses first. Wipe the whole face top to bottom with a soaked sponge. The rag comes away gray-brown. That’s the film that would’ve wrecked your adhesion.
Watch out for the bricks right above the firebox opening. Soot is heaviest there and paint fails there first. Scrub that band twice. Rinse with clean water and let the brick dry a full day before you prime. Brick holds moisture deep in the pores.
Step 2 — Tape Off and Fill the Cracks
Tape the mantel, the wall edges, and the floor line of the hearth. Press the edge down hard with your thumbnail so paint doesn’t bleed under. Lay the canvas drop cloth over the hearth and floor. Brick dust and primer spatter travel.
Find any real cracks, hairline gaps where mortar has crumbled or pulled away. Fill those with masonry crack filler or paintable acrylic caulk and smooth with a wet finger. Don’t fill the normal joints. Those deep lines are the texture you’re keeping.
Watch out for efflorescence, the white powdery bloom that shows up on some brick. That’s salt pushing out with moisture, and paint won’t hold over it. Brush it off dry and find the moisture source first. If your brick has it, read how to deal with efflorescence on brick before you go further.
Step 3 — Prime With a Masonry Bonding Primer
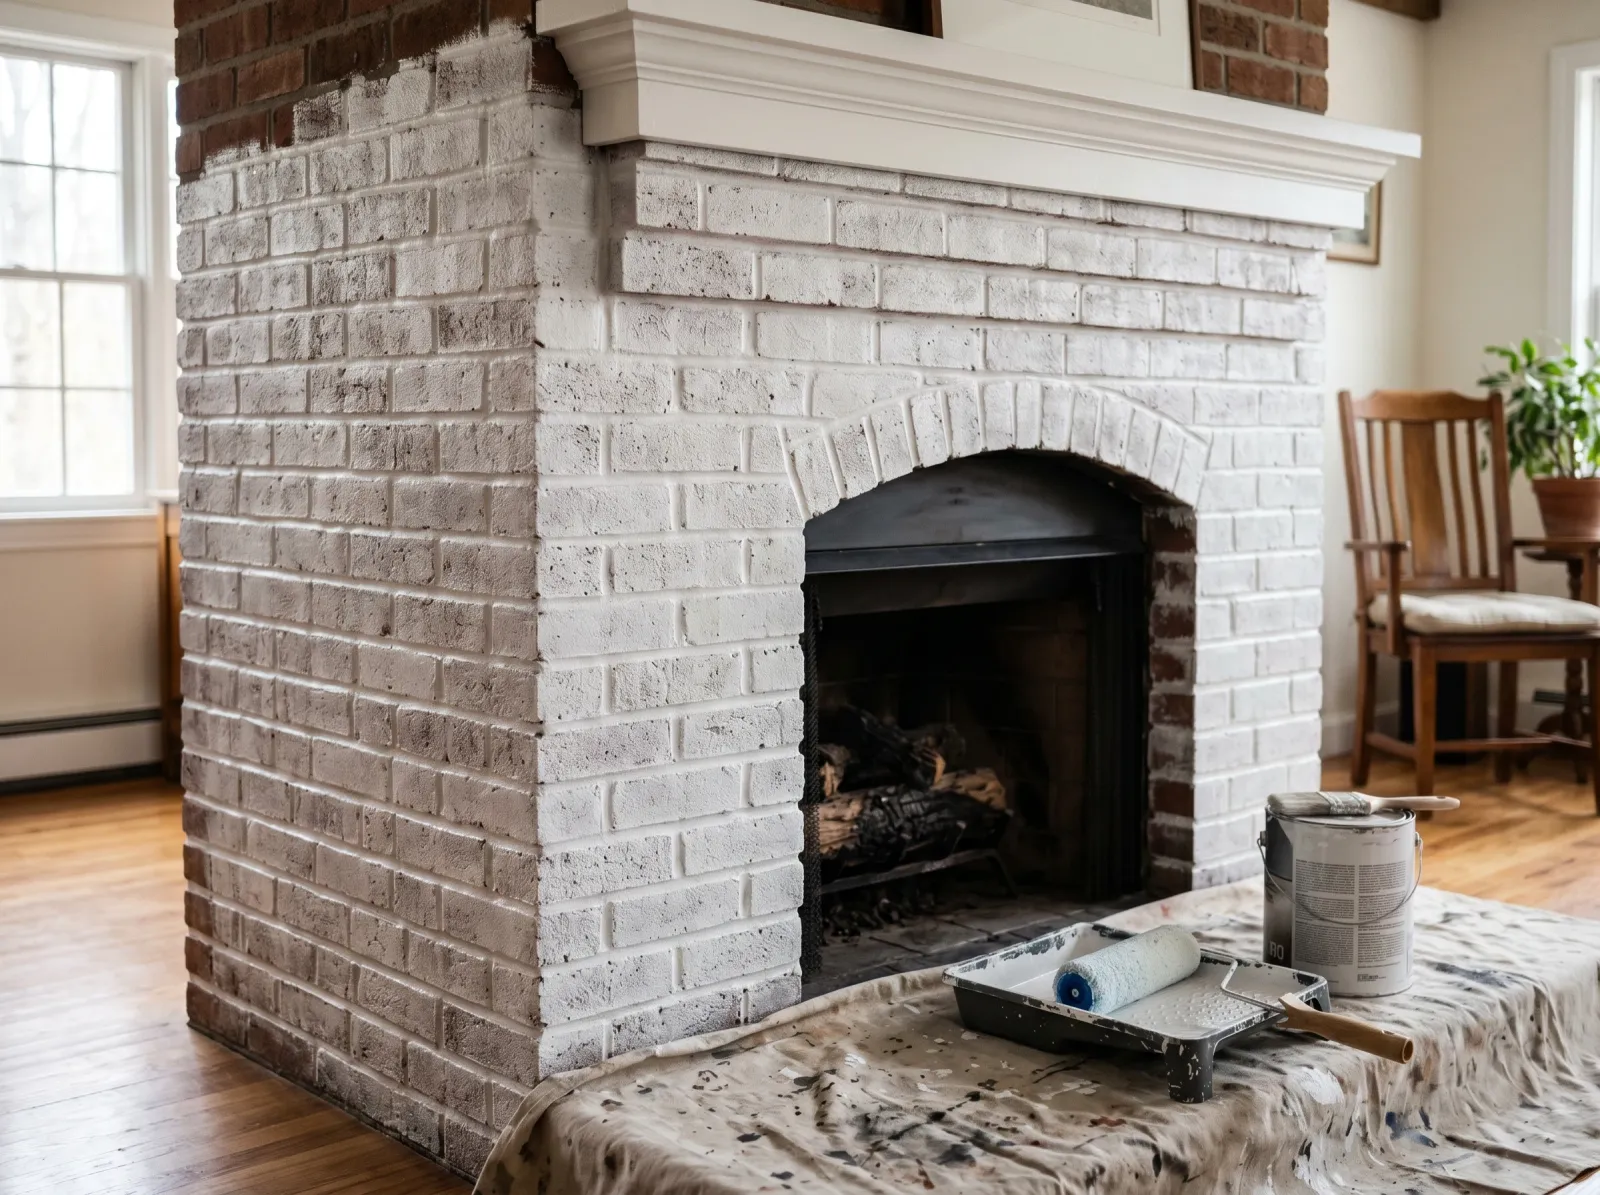
One full coat of white bonding primer worked into every mortar joint with the block brush, then rolled.
Joints first, faces second. Load the block brush and push primer into every mortar line. Work it in. A dry joint is a holiday that shows up the second the finish coat goes over it. Then roll the brick faces with the thick nap, pressing hard enough to fill the dimples.
One full coat. The brick will still show its color through the white primer in places, and that’s fine. Primer’s job is to bond and seal, not to hide. Let it cure the time on the can. With masonry primer that’s usually overnight, not four hours.
Watch out for rolling too light. A skim coat of primer on brick seals the smooth faces but leaves the porous ones bare, and your finish coat soaks in unevenly. Load the roller and press.
Step 4 — First Finish Coat
Mortar joints brushed, then the brick faces rolled with the thick nap. Color looks thin and patchy. Normal.
Same order as the primer. Block brush into the joints, then roll the faces. The first coat will look thin and patchy with brick grinning through. Don’t fight it. Don’t keep going back over half-dry spots trying to fix it, or you’ll leave roller drag marks.
The thick nap matters more here than anywhere. A thin roller on the second pass leaves the joints darker than the faces and the whole thing reads striped. Push paint into the texture.
Let it dry the recoat window on the can, usually two to four hours for acrylic at room temperature.
Step 5 — Second Coat, Then Pull the Tape

Second coat fills the joints solid and evens the brick faces. Tape peeled while the paint is still slightly tacky.
The second coat is where it comes together. Joints first again, then roll. The patchiness fills in, the joints go solid, and the brick reads even. Most surrounds are done at two coats. If a stubborn dark brick still shows through, spot a third coat just there.
Pull the tape while the last coat is still slightly tacky, about 30 to 60 minutes after you finish, slow and at a 45-degree angle. Wait until it’s bone dry and the cured film tears at the tape edge, and you’ll be touching up the mantel line.
Sweep the hearth, fold the drop cloth, reset the mantel.
Common Mistakes
- Painting over the soot. The smoke film is invisible and it’s the number-one reason a fireplace peels. Thirty minutes with degreaser and a sponge prevents the whole failure. Don’t skip the wash.
- Using wall primer instead of masonry primer. Bare brick and fire-glazed brick need a bonding primer that grips slick surfaces. A standard drywall primer or a self-priming paint slides off the smooth bricks and you get blotchy adhesion.
- A thin roller nap. A 3/8-inch wall sleeve skips over the brick texture and leaves the joints bare. Use 3/4-inch to 1-inch nap and brush the joints by hand.
- Painting the firebox interior with regular paint. The face where the logs burn gets too hot. Standard paint scorches, bubbles, and peels. Leave it bare or use high-heat stove paint rated to 1,200°F.
- Rushing the primer dry time. Masonry primer wants overnight, not the four hours you’re used to with wall paint. Recoat too soon and the finish coat lifts it. Read the can and wait.
Cure Schedule
| Time after final coat | What’s safe |
|---|---|
| 30–60 min | Pull the painter’s tape |
| 4 hours | Touch dry, don’t lean anything on it |
| 24 hours | Reset mantel decor, light a small fire |
| 7 days | Wipe ash and soot off near the hearth with a damp cloth |
| 30 days | Full cure, scrubbable |
Hold off on a roaring fire for the first 24 hours. The warmth a working firebox throws speeds the dry, but you want the film set before you heat-cycle it.
Maintenance and Touch-Ups
A primed, degreased surround holds 10 to 15 years indoors. The only real stress is heat from the firebox and the scrub near the hearth. Near the firebox opening the paint can yellow or dull from heat over the years. That’s the spot you’ll touch up first.
Wipe soot off with a damp microfiber cloth once the paint is past 30 days. For a dull patch near the opening, dab leftover paint with a small piece of roller, not a brush, so the texture matches. Keep a labeled quart in the basement.
Cost Breakdown
| Item | $ |
|---|---|
| Masonry bonding primer, 1 gallon | $30 |
| Interior masonry/acrylic finish, 1 gallon | $40 |
| Degreaser (TSP substitute or Krud Kutter) | $12 |
| Thick-nap roller, frame, block brush | $30 |
| Tape, drop cloth, crack filler | $25 |
| Total | ~$137 |
Mid-tier paint runs about there. Cheaper lands near $90. Top-shelf masonry paint closer to $160.
FAQ
Can I paint a brick fireplace that I still use for fires?
Yes, the surround and outer brick. Use a 100% acrylic latex or interior masonry paint; it handles the warmth a working fireplace throws. Don’t paint the inside of the firebox with regular paint. That face gets too hot and scorches. Use high-heat stove paint rated to 1,200°F there, or leave it bare.
Do I have to prime brick before painting it?
Yes. Brick is porous and alkaline, and the smooth fire-glazed bricks shed bare paint. A masonry bonding primer seals the surface and gives the finish something to grab.
Can the painted brick ever be undone?
Not cleanly. Paint soaks into the pores and won’t strip fully back out. Treat it as permanent and live with the decision for a week before you commit.