How to Paint a Tongue-and-Groove Wood Ceiling
Painting a tongue-and-groove ceiling takes BIN on the knots, a ceiling-rated topcoat, and two coats — plus a ladder plan that doesn't leave drips. Full guide.

Two coats. Always two coats. And before either of those, every knot gets sealed with shellac, because the second a sun-warm afternoon hits a south-facing plank ceiling, every knot you skipped will bleed amber through your white finish.
TL;DR
- Clean: TSP wash, fully dry, fan on
- Prep: caulk plank-to-wall gaps, light 220 scuff, vacuum and tack
- Knot sealer: Zinsser BIN on every visible knot, two thin coats
- Primer: Insl-X Stix only if planks are slick, factory-coated, or previously oil-finished
- Paint: ceiling-rated flat or matte (BM Aura Matte or Behr Marquee Flat), two coats
- Cure: 30 days before any wipe-down
What “Tongue-and-Groove Ceiling” Means
A tongue-and-groove ceiling is a run of milled wood planks joined edge-to-edge with a protruding tongue on one plank slotting into a routed groove on the next. The seam reads as a thin shadow line (the V-groove) once installed. Common species: pine, cedar, knotty pine, fir, sometimes poplar or hemlock. You see it on porch ceilings, cabin great rooms, vaulted ceilings, mudrooms, and pretty much any space where someone wanted the ceiling to do more than disappear.
Painted T&G is a different look than stained or clear-coated T&G. Flatter, brighter, more architectural. It’s also a more demanding paint job than drywall, because the planks move with humidity, the knots fight you, and the V-grooves catch every roller mistake.
Why Plank Ceilings Are Trickier Than Drywall
Drywall is one flat plane. A tongue-and-groove ceiling is dozens of small planes joined by shadow lines, with porous knots scattered through it, all of it overhead. Four things go differently.
The planks move. Wood expands across the grain with humidity, contracts in winter heat. The V-grooves are the expansion joints. Paint a plank ceiling rigid (thick film, no give) and you’ll see hairline cracks at the grooves the first winter.
Knots bleed. Pine, cedar, and fir are full of resin pockets. The pitch leeches up through latex paint and stains the finish coat amber, then brown. South-facing rooms heat the planks and accelerate the bleed. White ceiling, brown rings, three weeks in. The fix at that point is to scuff, hit every knot with BIN, repaint. Twice the work for skipping a step.
Tannin bleeds too. Cedar and oak carry water-soluble tannins. Latex primer activates them. They migrate up through every layer as a yellow-brown stain. Especially nasty on white planks.
The V-grooves catch everything. A loaded roller pushed across the grooves leaves a bead of paint in the seam that dries with a sheen halo. You see it the moment afternoon sun rakes across the planks. The fix is to brush the grooves first, roll second, along the grain.
The job isn’t hard. It’s just unforgiving of skipped steps and wrong technique.
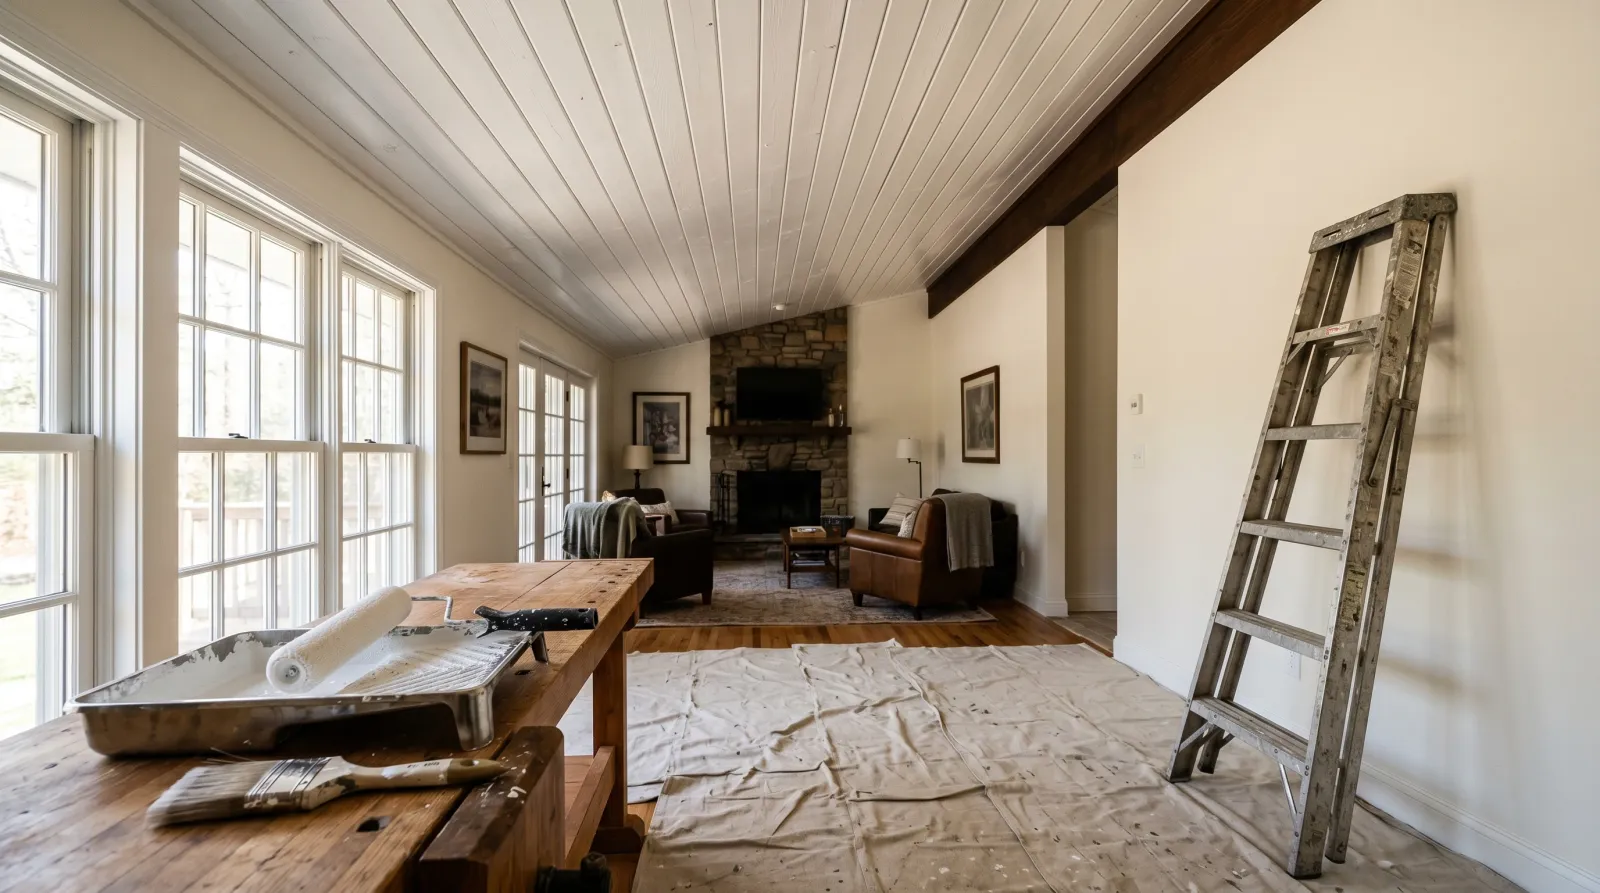
Step 1: Clean and Mask
Knots and grain showing through the existing finish, walls and floor masked, fan on.
Old plank ceilings collect cobwebs, kitchen grease (if it’s in a great room near the stove), nicotine in older houses, and a fine layer of dust nobody can see from the floor. None of it takes paint.
Vacuum the ceiling first with a soft brush attachment. Then wipe with a TSP solution on a damp microfiber pad on a pole extension. Rinse with clean water on a second damp pad. Let the planks dry overnight with a fan running.
Mask the walls at the top edge of the wall, the crown moulding if there is one, the floor below, and any built-in light fixtures. Drop cloths on the floor, not bedsheets. Paint soaks through bedsheets and you’ll find drips on the hardwood at the end of day two.
Run a fan in the room while you work. Latex ceiling paint dries slow in still air, and slow-drying paint catches dust nibs and shows lap marks.
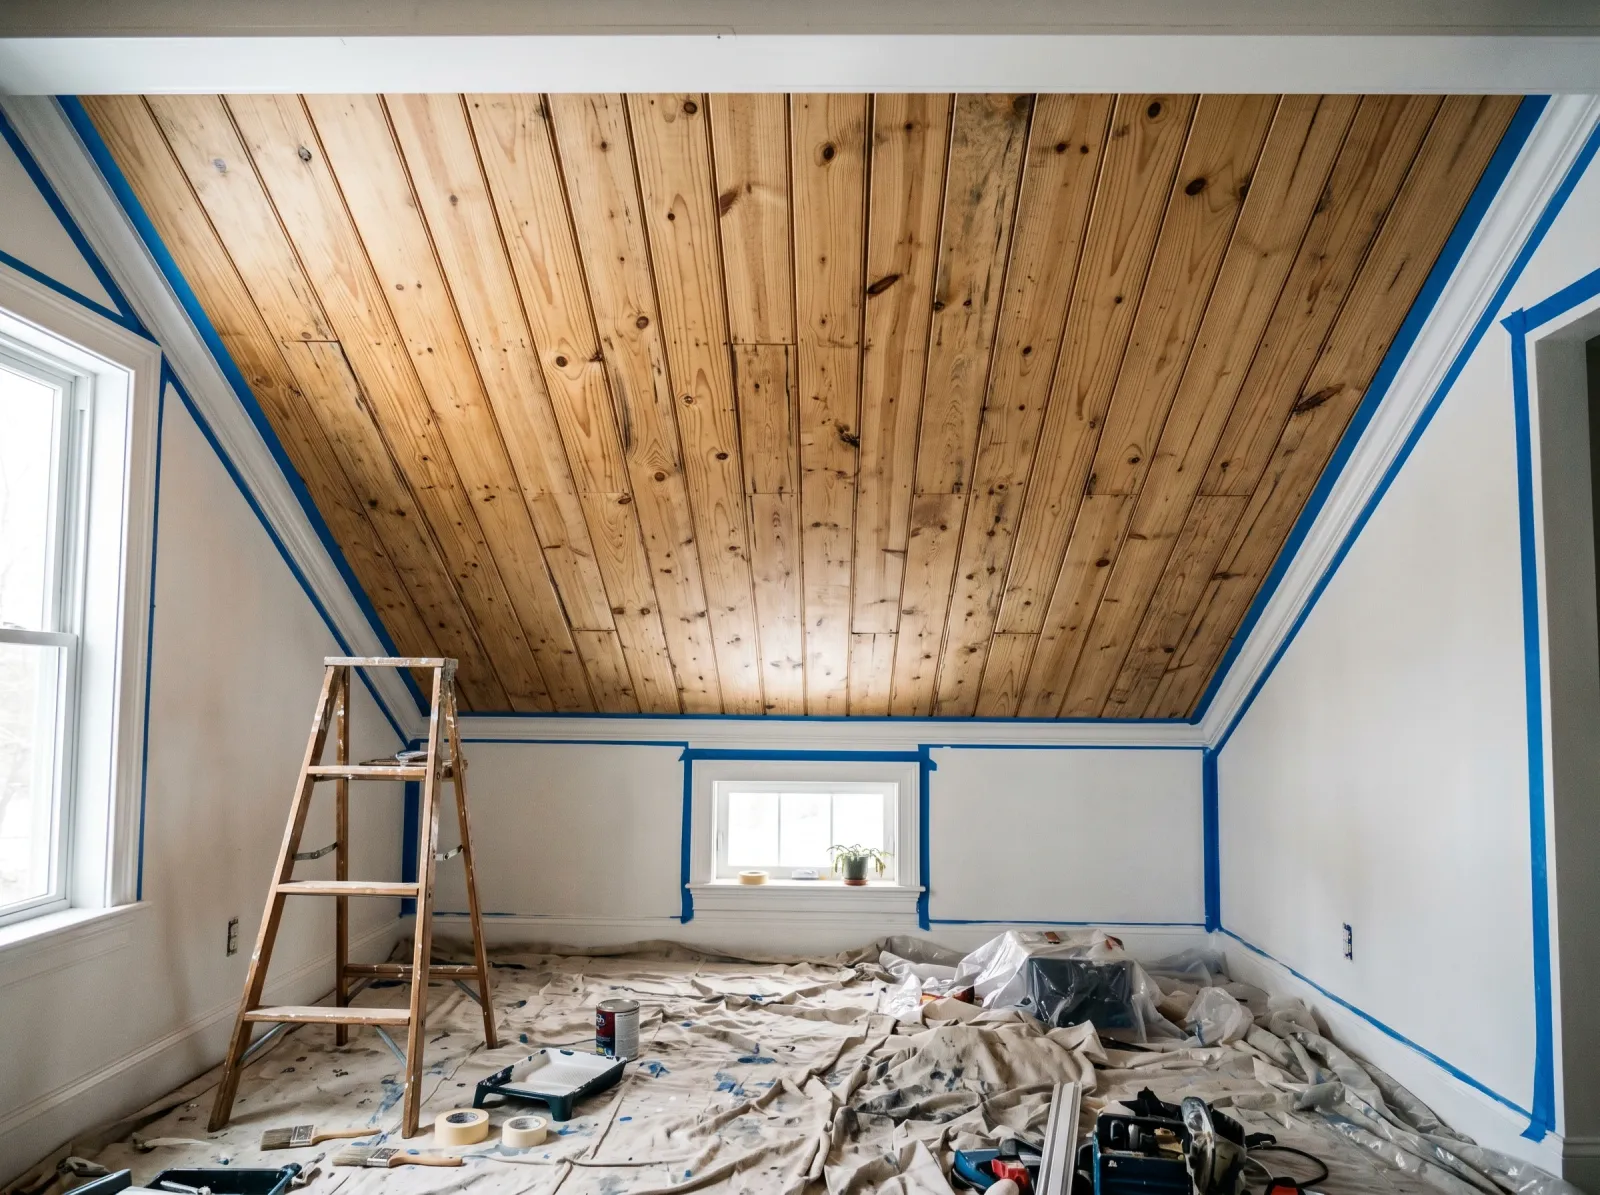
Step 2: Caulk, Sand, Tack
Caulk the gap where the planks meet the wall or crown moulding. Acrylic paintable caulk, smoothed with a wet finger, one continuous bead. Don’t caulk the V-grooves between planks. Those are the expansion joints. Filling them with caulk locks the planks rigid and the first winter cracks the film along every seam.
Light scuff with 220-grit on a sanding sponge across every plank face. You’re not stripping the old finish; you’re knocking the sheen down so primer or topcoat bites. Sand with the grain of the planks, not across.
Vacuum the planks again. Then a tack-cloth pass on a pole. Dust on a ceiling shows up as a bumpy haze under any raking light, and the only fix is to sand and recoat.
Step 3: Seal Every Knot
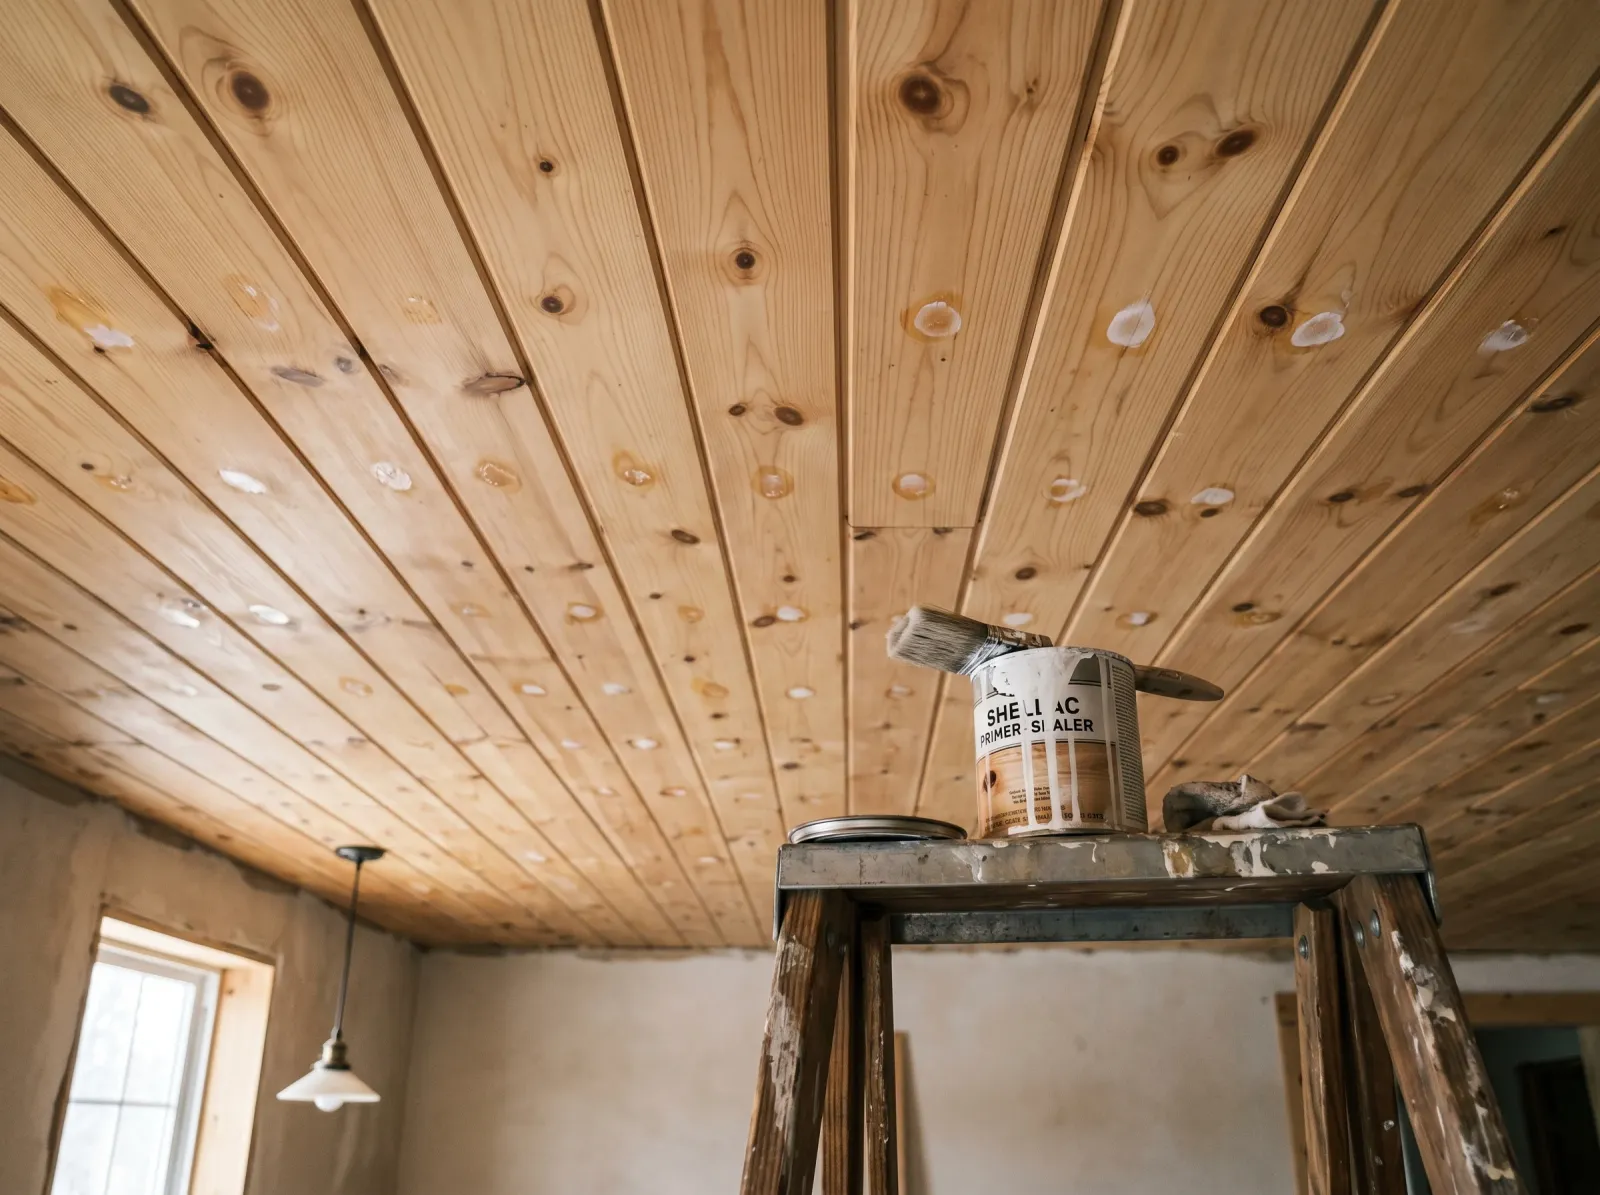
Every visible knot dabbed twice with shellac primer before the full coat.
This is the step that decides whether the ceiling looks right in two years. Every visible knot on pine, cedar, fir, or hemlock gets dabbed with Zinsser BIN shellac primer before any topcoat goes up. Every one. A small artist’s brush, two thin coats, fifteen minutes apart. Let it dry an hour before the next step.
BIN is the only knot sealer I’ll use on a wood ceiling. Shellac is alcohol-based, sets in 45 minutes, and locks pitch and tannin into the knot where neither water nor solvent can reactivate them. “Latex knot sealers” sold cheap at big-box stores don’t hold pitch on a sun-warm plank in July. The knot wins, the seal fails, the amber ring comes through the white finish.
On a tannin-heavy ceiling (old cedar, redwood, white oak T&G) BIN handles the tannin too. Same shellac barrier, different chemistry doing the work.
Ventilate the room hard during this step. The alcohol smell fills a vaulted ceiling fast.
Step 4: Decide on a Bonding Primer
If the planks are bare wood or were previously finished with latex paint that’s still sound, you don’t need a separate bonding primer. BM Aura Matte and Behr Marquee Flat both self-prime over scuff-sanded latex.
You do need a bonding primer when:
- The planks were factory-finished with a slick clear coat or sealer (common on pre-finished cedar T&G from a lumber yard)
- The previous topcoat was oil-based (common in houses built before the early 2000s; a quick test wipe with denatured alcohol on a hidden corner pulls color from latex but not from oil)
- The planks are dense knot-heavy pine or fir headed into a south-facing room
Insl-X Stix is the right call. Waterborne urethane-acrylic bond, two-hour recoat, ties topcoats to slick or oil substrates without sanding back to bare. Roll a full coat over the run after the knot-spotting dries. One coat is enough.
Step 5: Paint — Ceiling-Rated, Not Wall Paint
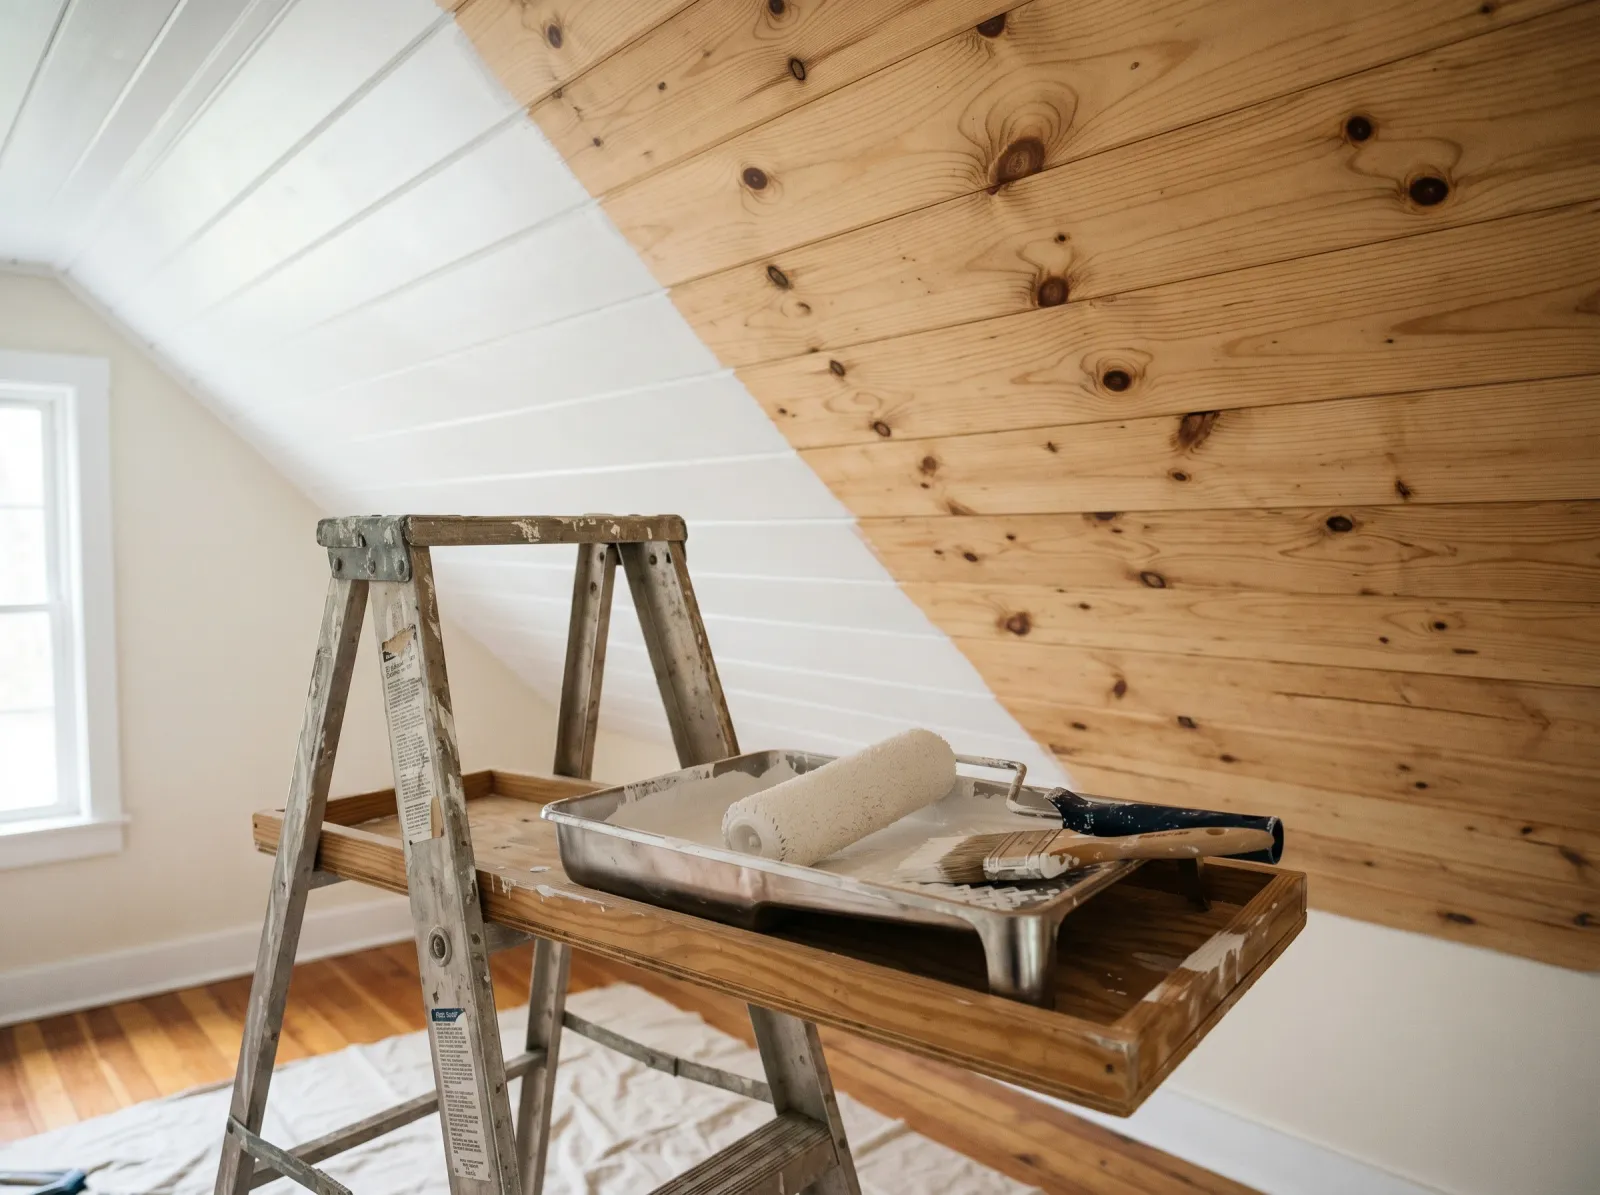
Brush the V-grooves first, roll the flats, work plank by plank.
Two paints worth using up there.
Benjamin Moore Aura Matte. Aura’s matte chemistry sits flatter than any other waterborne interior I’ve used, which is exactly what you want overhead. Plank irregularities, mill marks, light gouges from the lumber-yard rack: Aura Matte hides them under raking light better than any flat I’ve rolled out. Tints to any BM color. 1-hour recoat, generous open time, zero VOC, $90+ per gallon at BM stores.
Behr Marquee Advanced Stain-Blocking Ceiling Flat. The smarter-money pick on most jobs, and the right call on any ceiling with water-stain history. Engineered as a stain-blocking ceiling flat, antimicrobial-loaded for kitchen and porch use, dead flat finish that hides plank texture cleanly. White only. $50–$60 per gallon at Home Depot. For the deeper round-up, see the best ceiling paint guide.
Skip wall paint on a T&G ceiling. The sheen is wrong, the drip resistance is wrong, and rolling wall paint over the V-grooves leaves a glossy halo in every seam that catches afternoon light.
Application: V-grooves First, Then Flats
Cut in the perimeter with a 2.5-inch angled sash brush. Every edge where the planks meet the wall, every penetration around a light fixture. Then brush the V-grooves on the run of planks you’re about to roll. Run the brush along each groove, not across, with a light wet load. The groove takes paint deep; the brush bristles do what the roller can’t.
Roll the plank flats with a 9-inch frame and a 3/4-inch nap microfiber cover on a pole extension. Long pole (six to eight feet, depending on ceiling height) saves your shoulders and lets you control angle from the floor. Roll along the grain of the planks. Crossing the V-grooves with a loaded roller pools paint in the seam.
Work plank-by-plank in a long-axis direction, keeping a wet edge. Don’t stop mid-plank. Lap marks on a ceiling show up the moment any side light hits the surface.
Load the roller at 75%, not full. A ceiling roller dripping at 100% load is how you ruin the floor below and your forearm. A 75% load is plenty for a plank ceiling.
Two coats. First coat 1–2 hours dry on Aura Matte, 2 hours on Marquee Flat. Second coat goes on perpendicular to the first only if you’re working on a perfectly smooth wall ceiling. On T&G, both coats run along the grain of the planks. Crossing them is a roller-control mess on a textured surface.
Step 6: Ladder and Scaffold Logistics
A 9-foot flat ceiling is a stepladder job. A vaulted T&G ceiling at 14 feet is a different planning problem.
For ceilings up to 10 feet, an 8-foot stepladder plus a pole extension on the roller covers it. Move the ladder every six feet, cut in, brush the grooves, then come down and roll from the floor. Faster than rolling from the ladder and easier on the shoulder.
For 10 to 14 feet, use a 12-foot extension ladder for the cut-in and a 12-foot roller pole for the flats. Extension ladders sit at an angle, so the legs reach further into the room than a stepladder’s footprint. Plan the drop cloth coverage wider than you think.
Anything over 14 feet, rent a rolling scaffold from your local rental yard. Eighty bucks. Saves you a fall, saves your back, and the platform lets you cut in long runs without repositioning every six feet.
Both feet on the ladder, never the second-from-top rung. Drop cloths two feet past the ladder footprint in every direction. Safety glasses on. Ceiling paint drips into your eyes from a roller, every time.
Step 7: Dry, Recoat, Full Cure
Second coat down, V-groove shadow lines reading sharp under raking light.
BM Aura Matte: touch-dry at 1 hour, recoat at 1 hour, full cure at 30 days. Behr Marquee Flat: touch-dry at 1 hour, recoat at 2 hours, full cure at 30 days.
During cure: don’t wipe the ceiling, don’t run a humidifier in the room, don’t repaint anything else in the room that throws spray drift up. The first 30 days the film is soft. Steam in a kitchen ceiling won’t ruin it but will slow the cure. A cooking grease splatter in week one will absorb into the film and ghost forever.
After 30 days the film is hard enough to dust gently with a microfiber pad on a pole. Avoid Magic Erasers and abrasive cleaners on a ceiling matte forever. They burnish the surface from flat to satin in patches you can’t un-burnish.
Common Failures
- Skipping BIN on the knots. Result: amber rings on every knot within weeks, accelerating on south-facing planks. Fix: scuff the ring, BIN the knot, repaint the affected plank section to a natural break.
- Wall paint instead of ceiling-rated paint. Result: glossy halos in the V-grooves, drip spatter on the floor, roller stipple visible from the floor under raking light. Fix: full recoat with a proper ceiling flat or matte.
- Caulking the V-grooves between planks. Result: hairline cracks through the caulk along every seam the first winter when the planks contract. Fix: scrape the caulk back out of the seams, leave them open, touch up. Painful.
- Rolling across the V-grooves instead of along them. Result: a bead of paint pooled in each seam, dried with a sheen halo. Fix: light scuff, recoat along the grain.
- One coat to save time. Result: the planks read as semi-translucent in spots, knots ghost through, sheen reads uneven. Fix: a second coat. Same paint. Same direction.
- Rolling a loaded roller over your own head. Result: ceiling paint in your hair and eyes. Fix: a wet rag, a shower, and a pair of safety glasses next time.
Maintenance & Longevity
A properly primed and painted tongue-and-groove ceiling holds its finish 10–15 years in normal residential service, longer on porch and great-room ceilings that don’t see kitchen grease or bathroom steam. Watch for hairline cracking at the V-grooves. That’s the wood telling you the room ran dry one winter and humid the next. Touch up with a small brush along the affected groove; don’t re-caulk. Wipe gently with a dry microfiber on a pole every few months. If a knot starts ghosting through after five-plus years, the original BIN seal is failing. Spot it again, touch up the plank with the original ceiling paint.
Concrete Recommendation
For a typical pine or cedar T&G ceiling in a great room or porch ceiling: TSP wash, caulk plank-to-wall gaps, 220 scuff, vacuum and tack, BIN every knot twice, full coat of Insl-X Stix if the planks are slick or oil-finished (otherwise skip), then two coats of Behr Marquee Stain-Blocking Ceiling Flat for budget jobs or Benjamin Moore Aura Matte for a designer finish. Brush the V-grooves first, roll the flats along the grain with a 3/4-inch nap on a pole. That’s the system. Skip the knot-spotting and you’ll see it on the first sunny afternoon in July, and you’ll see it from the couch, every day, until you sand it back and start over.