Why a Foam Roller Leaves Streaks (and the Fix)
Foam roller streaks come from a tool starved of paint, the wrong sheen, or paint that's too thick. Diagnose the cause, fix the streaked surface, and roll the next coat clean.

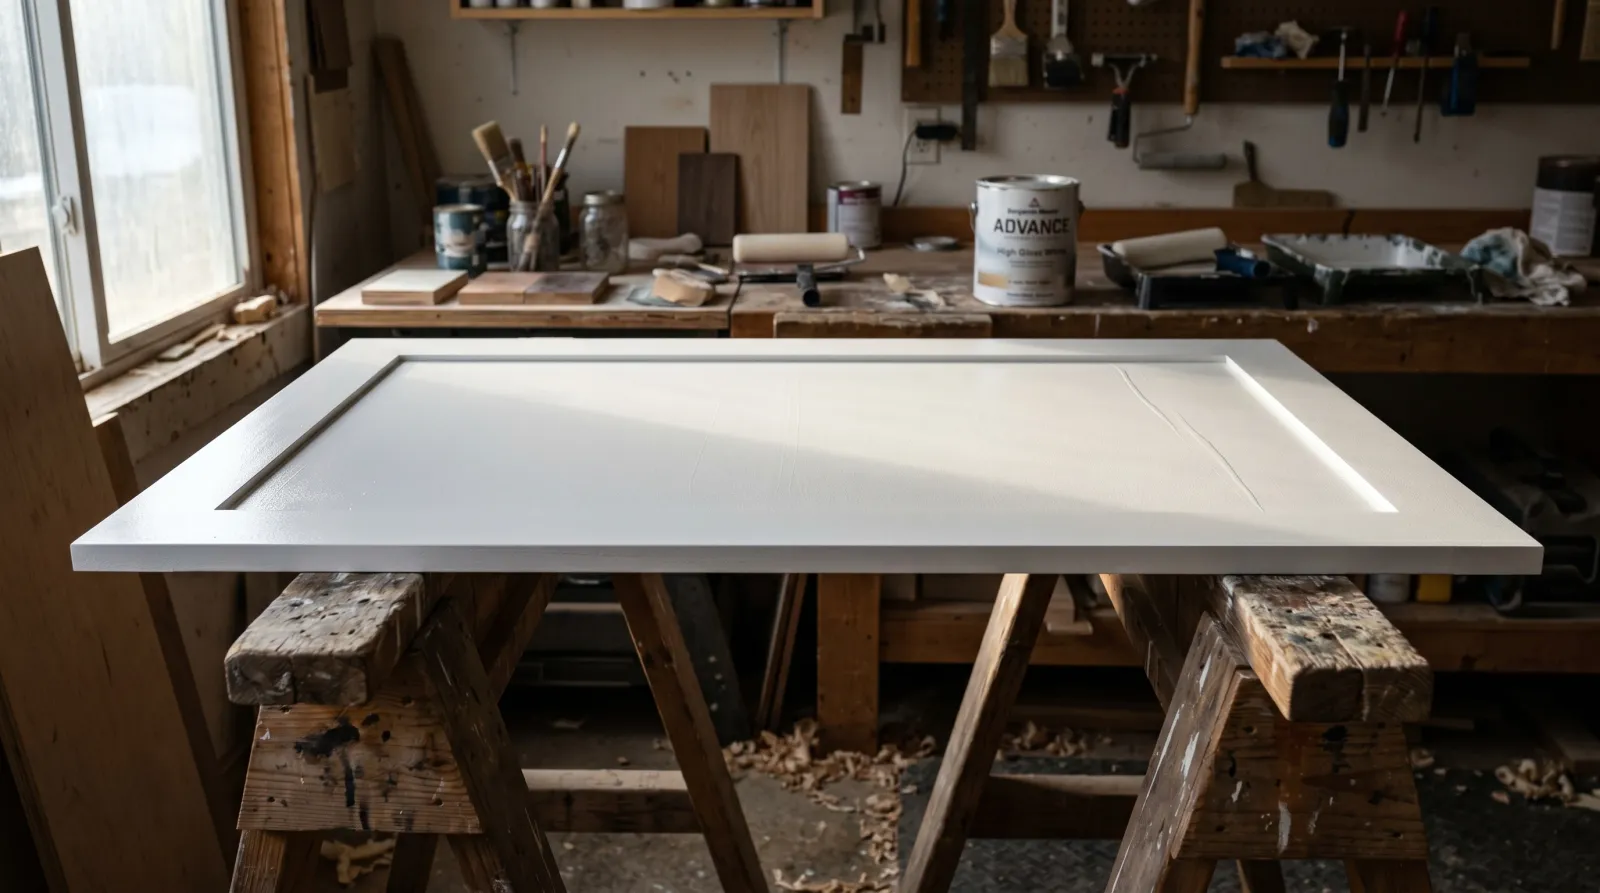
A foam roller is supposed to give you the smoothest hand-rolled finish there is. When it streaks, the tool isn’t the problem. It’s starved, the paint’s too thick, or you rolled it like a wall. Find which one, and the next coat lays down glass-flat.
TL;DR
- Foam streaks come from three things: a roller starved of paint, paint too thick to flow, or rolling too fast and too long over a setting film.
- The surface is cosmetic. The film is bonded and protecting. You just have to look at it under raking light.
- Fix existing streaks: sand to 320 grit until smooth, tack off, recoat the whole panel in one pass.
- Use a dense white foam roller, condition the enamel with Floetrol, load it heavy, and tip off in one direction.
- Foam alone can’t do a routed cabinet door. Brush the profiles, roll the flats, blend them wet.
Does This Match What You’re Seeing?
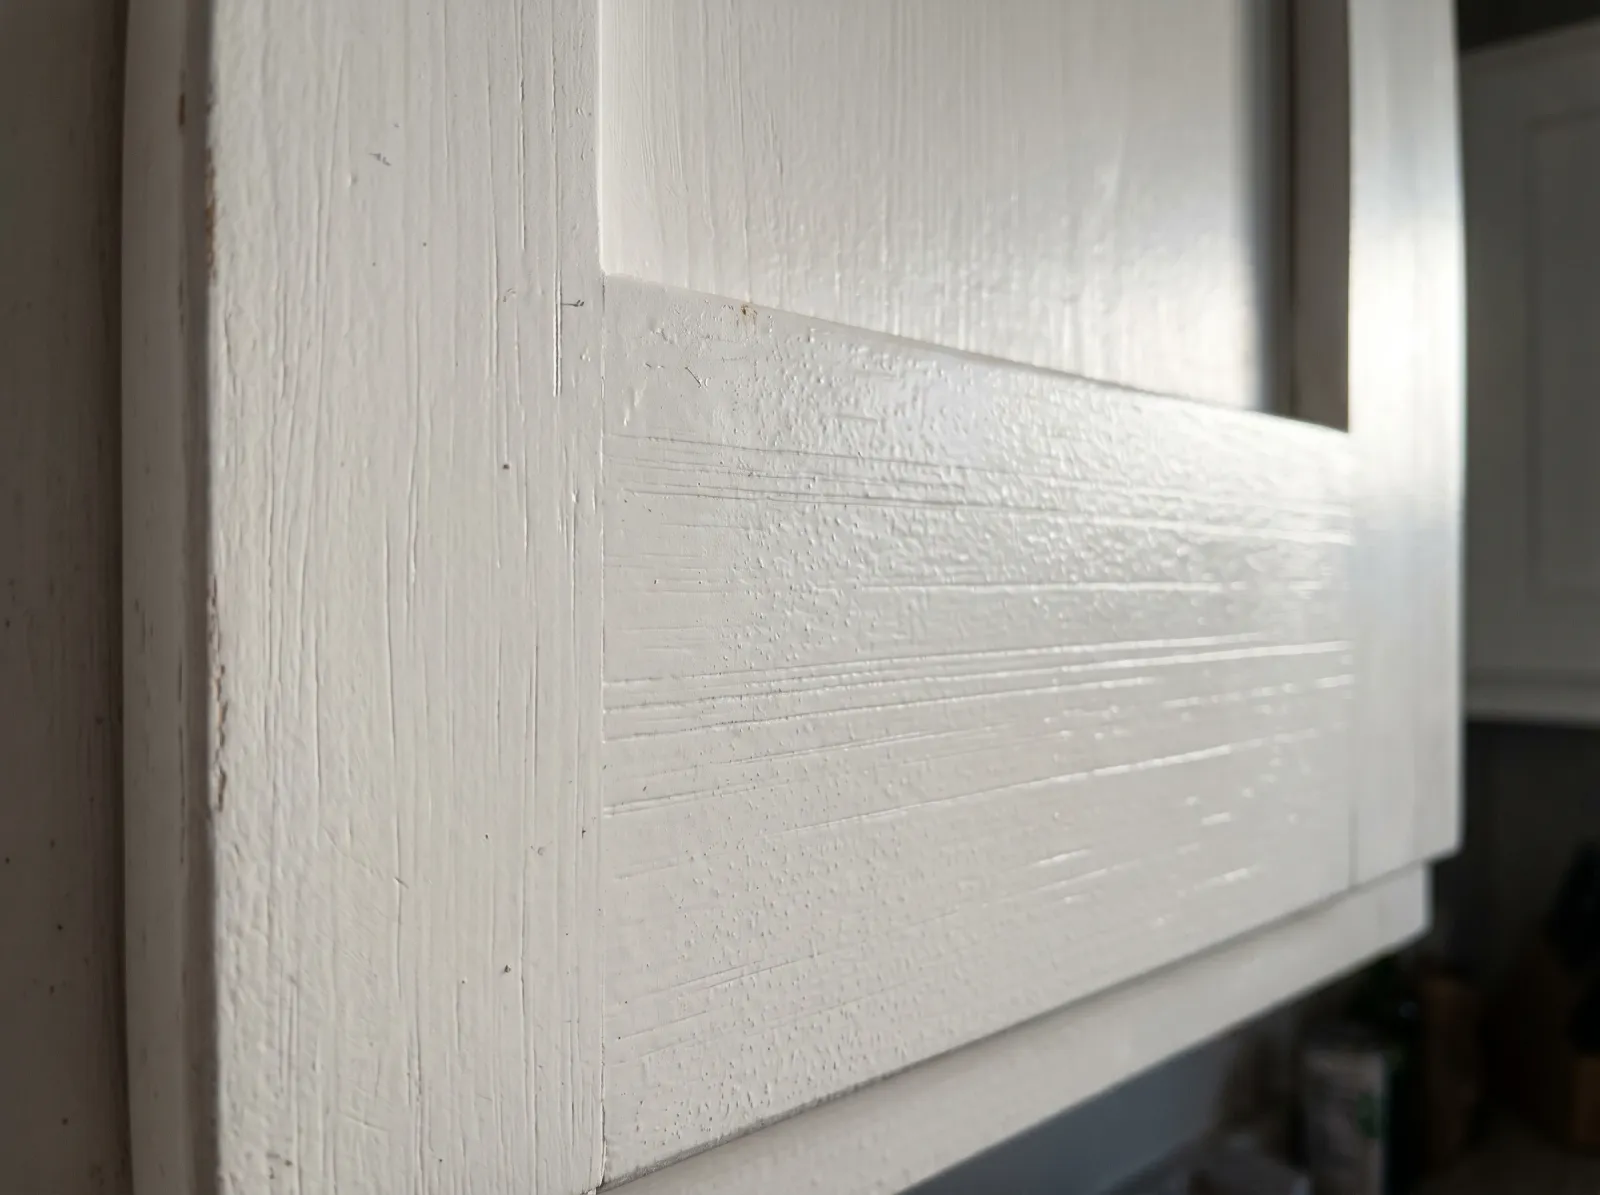
Lay the piece under a side light and look low across the surface. You’ll see one of these.
- Thin parallel track lines running the roll direction. The roller ran dry. The foam dragged instead of releasing paint.
- A fine stippled haze, like light orange peel. Paint too thick, or you rolled too fast and the texture never flowed out.
- Tiny pinholes or popped bubbles. Cheap open-cell foam, or fast passes whipping air into the film.
- A darker streak at the very edge of each pass. The roller end dug in. Square-cut foam instead of rounded ends.
- A ridge where two passes met. Same problem as a wall lap mark. The first edge set before the second pass overlapped it.
If the whole surface feels rough to a dry fingertip, the paint dried before it could level. Heat, low humidity, or a film stretched too thin.
 Track lines plus a faint stipple. The roller was starved and the enamel was too thick to flow back together.
How Serious Is This?
Cosmetic. The paint is bonded and doing its job. Nothing fails because a cabinet door has foam streaks. The problem is you’ll see them every time the kitchen light rakes across the door, and on a cabinet or a front door that’s a surface you stare at daily.
A second coat over the whole panel fixes it in almost every case, as long as you flatten the existing streaks first. The trap is touching up just the streak. Roll fresh paint over one track line and you get a new edge next to the old one.
Why a Foam Roller Streaks (root Cause)
Foam works differently than nap. A microfiber or wool roller holds a reservoir of paint and meters it out. Foam holds far less, releases it faster, and skins the moment it stops moving. That’s what makes it lay flat when it’s fed right, and streak the second it isn’t.
Three causes account for nearly every streaked panel I’ve seen.
The roller ran dry. Foam carries maybe a third of what a 1/2-inch microfiber holds. You roll a section, the foam empties, and the last few inches drag a thin starved film that reads as parallel tracks. With foam you reload constantly. Treat one panel like four small sections, not one pass.
The paint’s too thick to level. Waterborne cabinet enamels like Benjamin Moore Advance or Sherwin-Williams Emerald Urethane self-level, but they’re thick from the can. Foam lays a thin film, and a thin film of thick paint can’t flow the roller texture back together before it sets. It freezes the stipple in place.
You rolled too fast, too long. Foam skins fast. Keep working a section after the film starts to set and you tear it open instead of smoothing it. Wall instinct is to roll briskly and keep going back over. On foam that’s the move that streaks it.
A fourth shows up on cabinets: wrong sheen. A dead-flat enamel shows every track because there’s no gloss to even the reflection out. Satin and semi-gloss hide minor texture. See the sheen guide for what each finish forgives.
The Fix for Existing Streaks
Same repair regardless of which cause put the streaks there.
Step 1. Sand the Surface Flat
320-grit on a sanding block or sponge. Light pressure, even strokes, until your fingertip drags smooth across the whole panel with no ridges. On a glossy enamel, go to 400 to keep the scratch pattern invisible. Don’t sand through to primer on the high spots; you’re knocking down texture, not stripping the coat. Wipe with a tack cloth, then a barely damp microfiber, and let it dry 20 minutes.
Step 2. Spot-Prime If You Sanded Through
Anywhere you cut down to bare wood or primer, hit it with a fast-dry bonding primer. INSL-X STIX or Zinsser Bulls Eye 1-2-3, one thin coat, dry per the label (STIX is recoatable in about 4 hours, 1-2-3 in 1). On MDF doors, seal any exposed core; raw MDF drinks paint and flashes dull. See how to paint MDF for sealing the edges right.
Step 3. Recoat the Whole Panel
Condition the enamel, load the roller heavy, and roll the entire panel in one wet pass. Don’t spot-coat the streak. Roll a flat door flat on sawhorses, not vertical, so the film has time to level before gravity pulls it. Tip off in one direction with a near-dry foam roller, then leave it alone. Going back into a setting film is how you put the streaks back.
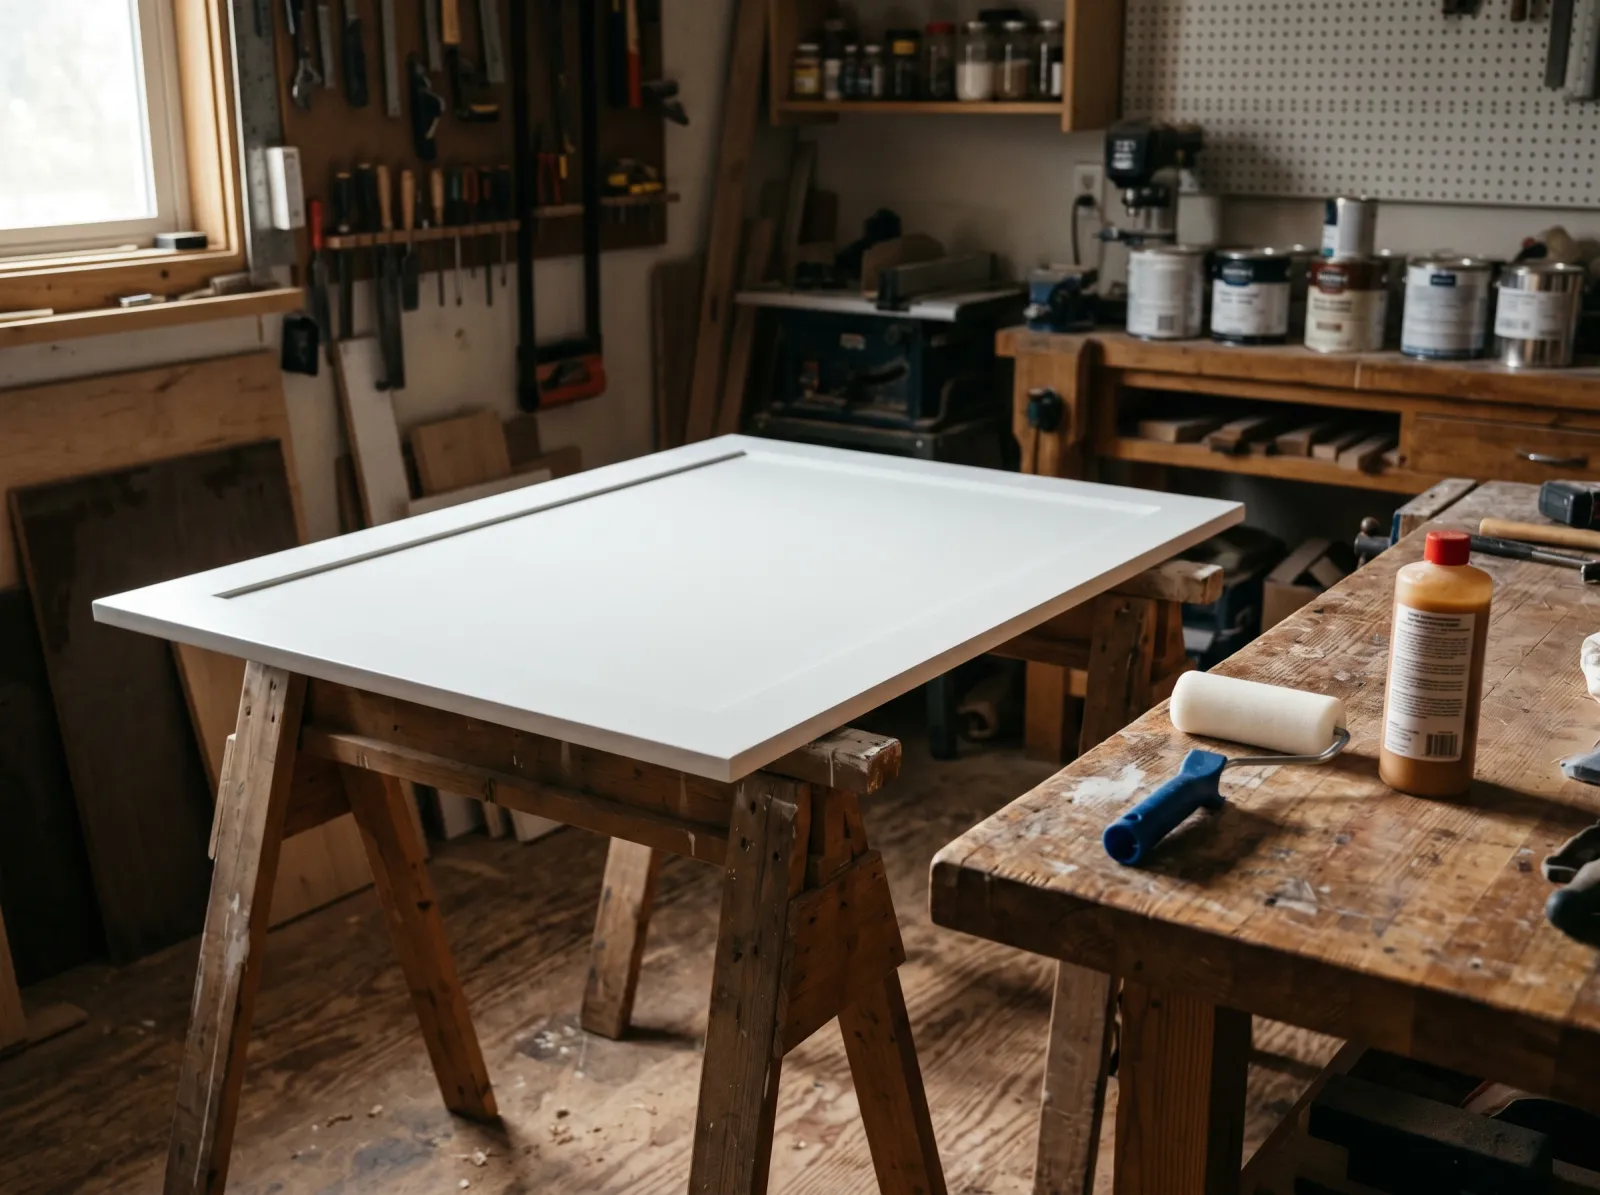 Same door, recoated with a conditioned enamel and a heavy-loaded dense foam roller. Even sheen, no tracks.
How to Roll Foam Without Streaks (the Technique)
The discipline is the fix. Order matters.
- Use a dense white foam roller with rounded ends. 4-inch for cabinet doors, 6-inch for larger flats. Skip the cheap yellow open-cell foam; it bubbles and falls apart.
- Condition the paint. Half a cup of Floetrol per gallon of waterborne enamel. It buys you open time and lets the thin foam film flow back together instead of freezing.
- Load the roller heavy and reload often. Roll it through the tray until the foam is saturated, not damp. Reload every small section. A starved foam roller streaks every time.
- Roll slow. Half the speed you’d use on a wall. Let the foam release the paint; don’t slap it on. Fast passes whip in air and bubbles.
- Work in small sections. A cabinet door is three or four sections, not one. Each gets a fresh load.
- Tip off in one direction. One final light pass with a near-dry roller, all the same way, to even the texture. Then stop touching it.
- Lay flat where you can. Doors and drawer fronts off the cabinet, flat on stands. A flat film levels; a vertical one sags and tracks.
For a routed cabinet door, brush the recessed panel and profiles first with a quality synthetic brush, then immediately roll the flat rails and stiles while the brushed paint is wet so they blend. If brush strokes are your real problem, see how to fix brush strokes.
Foam vs Microfiber vs Spray
| Method | Surface | Finish | Watch out for |
|---|---|---|---|
| Dense foam roller | Cabinets, doors, trim, smooth panels | Near-sprayed if conditioned and fed | Streaks when starved; can’t reach routed panels |
| Microfiber/wool nap | Walls, ceilings, large flats | Slight stipple, hides on walls | Too much stipple for cabinet doors |
| Brush + foam combo | Profiled cabinet doors | Hand-painted that reads sprayed | Blend the wet edges or you see the seam |
| HVLP/airless spray | High-volume cabinets, doors | Flattest finish, no roller texture | Overspray, masking, learning curve |
If you’re doing a whole kitchen, spraying beats rolling on finish quality and time. The round-up of cabinet spray paints covers what sprays clean. For a few doors, a conditioned foam roller gets you most of the way there with none of the masking.
Common Mistakes
- Treating foam like a nap roller. Foam holds a third of the paint and dries faster. Reload constantly and roll slow.
- Rolling thick enamel straight from the can. Condition it. Thick paint can’t flow a thin film flat.
- Going back into a setting coat. Foam skins in minutes. One tip-off pass, then walk away.
- Cheap open-cell foam. Bubbles, tears, pinholes. Buy the dense white foam.
- Flat sheen on a cabinet. Shows every track. Satin or semi-gloss hides minor texture and cleans better.
- Spot-coating one streak. Recoat the whole panel or you trade one mark for two.
Recommended Products
You don’t need a specialty product to fix this, you need the right roller and a conditioner. A dense white foam roller (Whizz or Jen, 4-inch) plus Floetrol at a half cup per gallon solves most foam streaking on waterborne enamels. For oil-based or alkyd enamels, use Penetrol instead of Floetrol; same idea, different solvent base. Don’t mix the two up.
For the enamel itself on cabinets and doors, an acrylic-alkyd hybrid like Benjamin Moore Advance or Sherwin-Williams Emerald Urethane levels like oil and cleans up like latex. See the best cabinet paint round-up for the full comparison.
Prevention
- Buy dense foam, not bargain foam. This is the single biggest fix. Open-cell yellow foam streaks and bubbles no matter your technique.
- Condition every enamel coat. Half a cup of Floetrol per gallon, stirred in. Buy a quart, treat eight gallons.
- Roll slow and reload often. Foam empties fast. Reload every section, not every wall.
- Pick satin or semi-gloss on cabinets. It hides minor texture and wipes clean. Flat shows everything.
- Lay the work flat. Doors off the hinges, on stands, so the film levels before it can track.
- Two thin coats, not one thick one. A thick foam pass streaks; two thin conditioned coats build a flat film.
When to Call a Pro
- A full kitchen of cabinets where a sprayed finish is the standard and the masking, ventilation, and HVLP setup add up fast.
- Pre-1978 painted cabinets or trim you’d be sanding. Lead until tested. Use lead test kits before any sandpaper touches the surface, and follow EPA RRP rules if positive.
- High-gloss or lacquer finishes where any roller texture is unacceptable and only spray will do.
- Veneer or laminate doors where sanding risks cutting through the face.
What’ll Bite You in Two Years
Cheap foam is the trap. You’ll fix this panel, the kitchen will look sharp, and the next time you touch up a door you’ll grab whatever foam roller is in the drawer. If it’s the yellow open-cell stuff, you’re back here. Keep two or three dense white foam rollers in the box with the Floetrol, and the touch-up matches the original coat instead of streaking next to it.