How to Paint Wood Siding
Painting wood siding the right way: scrape and sand the failed paint, prime bare wood, spot the rot, then two thin coats brushed back into the grain.

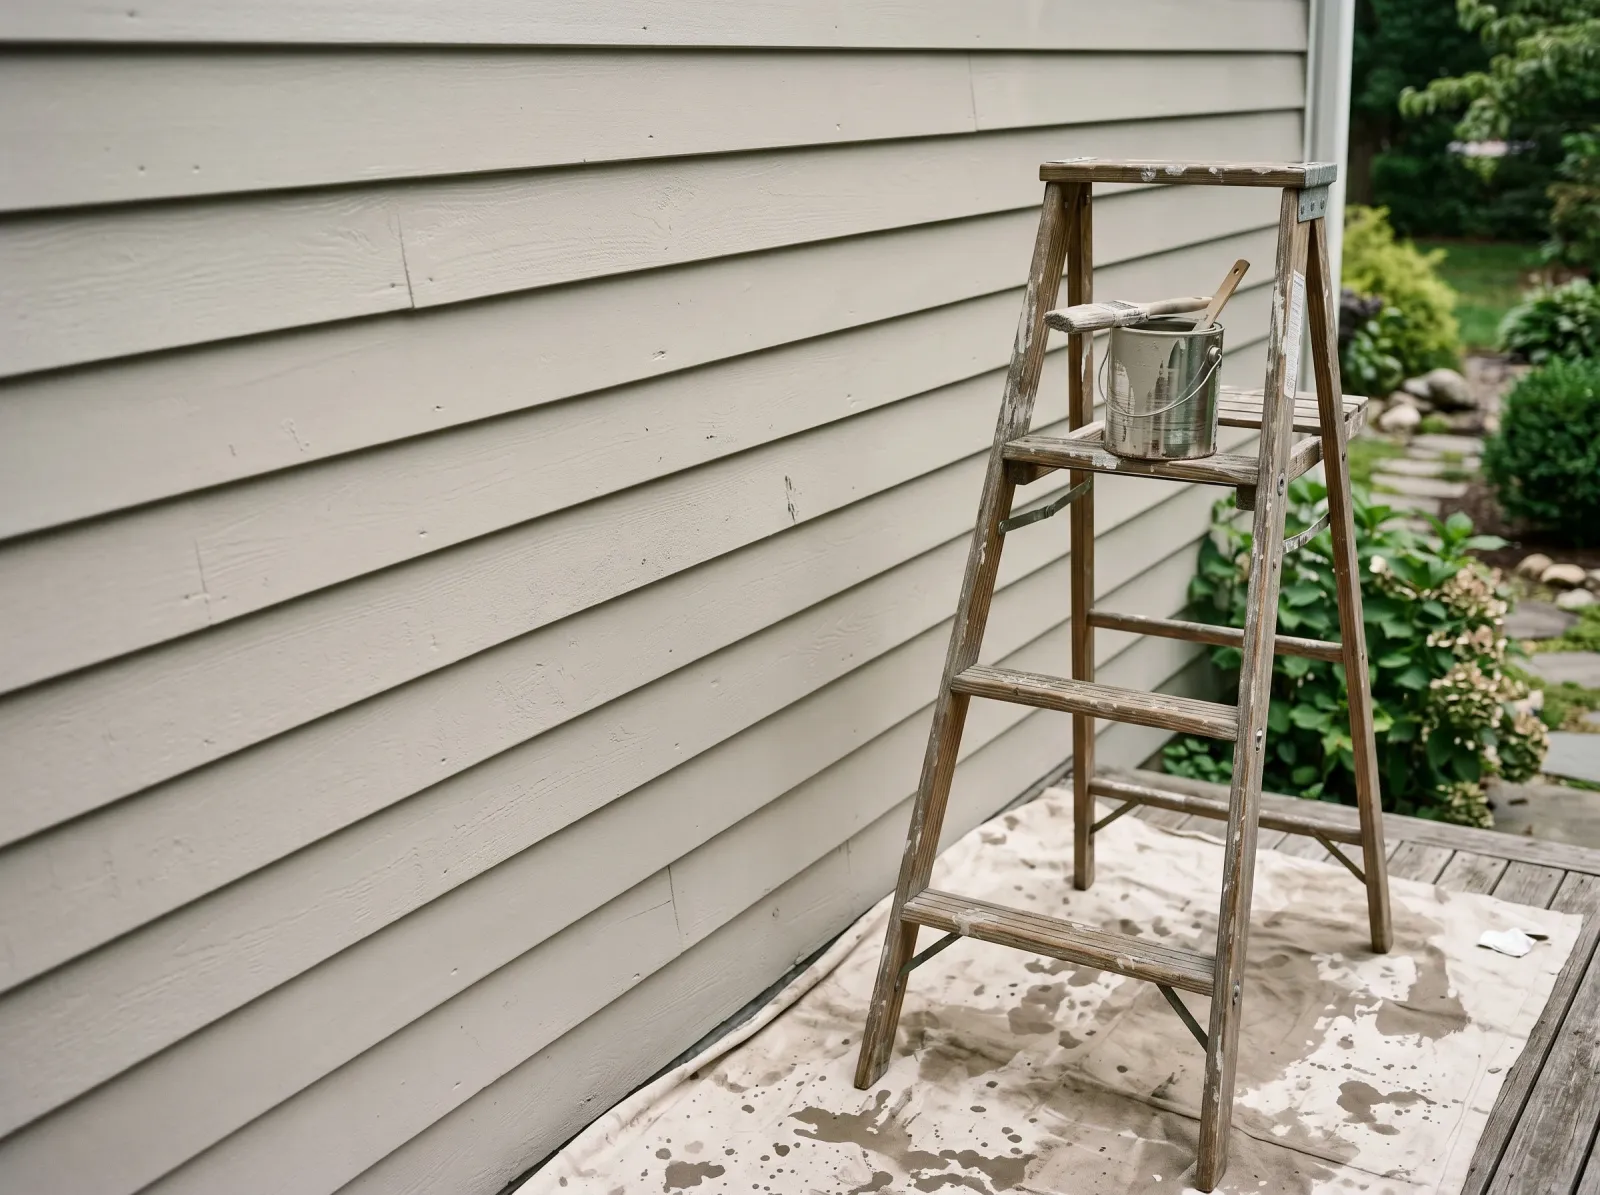
Wood siding is 80% prep and 20% paint. Everybody wants to talk about the color and the brand, and almost nobody wants to talk about the scraping. The scraping is the job. Get the dead paint off and the bare wood primed, and the finish coats are the easy part. Skip the prep and you’ll be back up the ladder in two years, scraping the new paint off along with the old.
I’ve repainted a lot of siding that the last guy sprayed in an afternoon. It always fails the same way: it peels in sheets, because it never had anything to hold onto. Wood moves. Paint that doesn’t move with it lets go. So we slow down and do the boring part right.
What You’ll Get
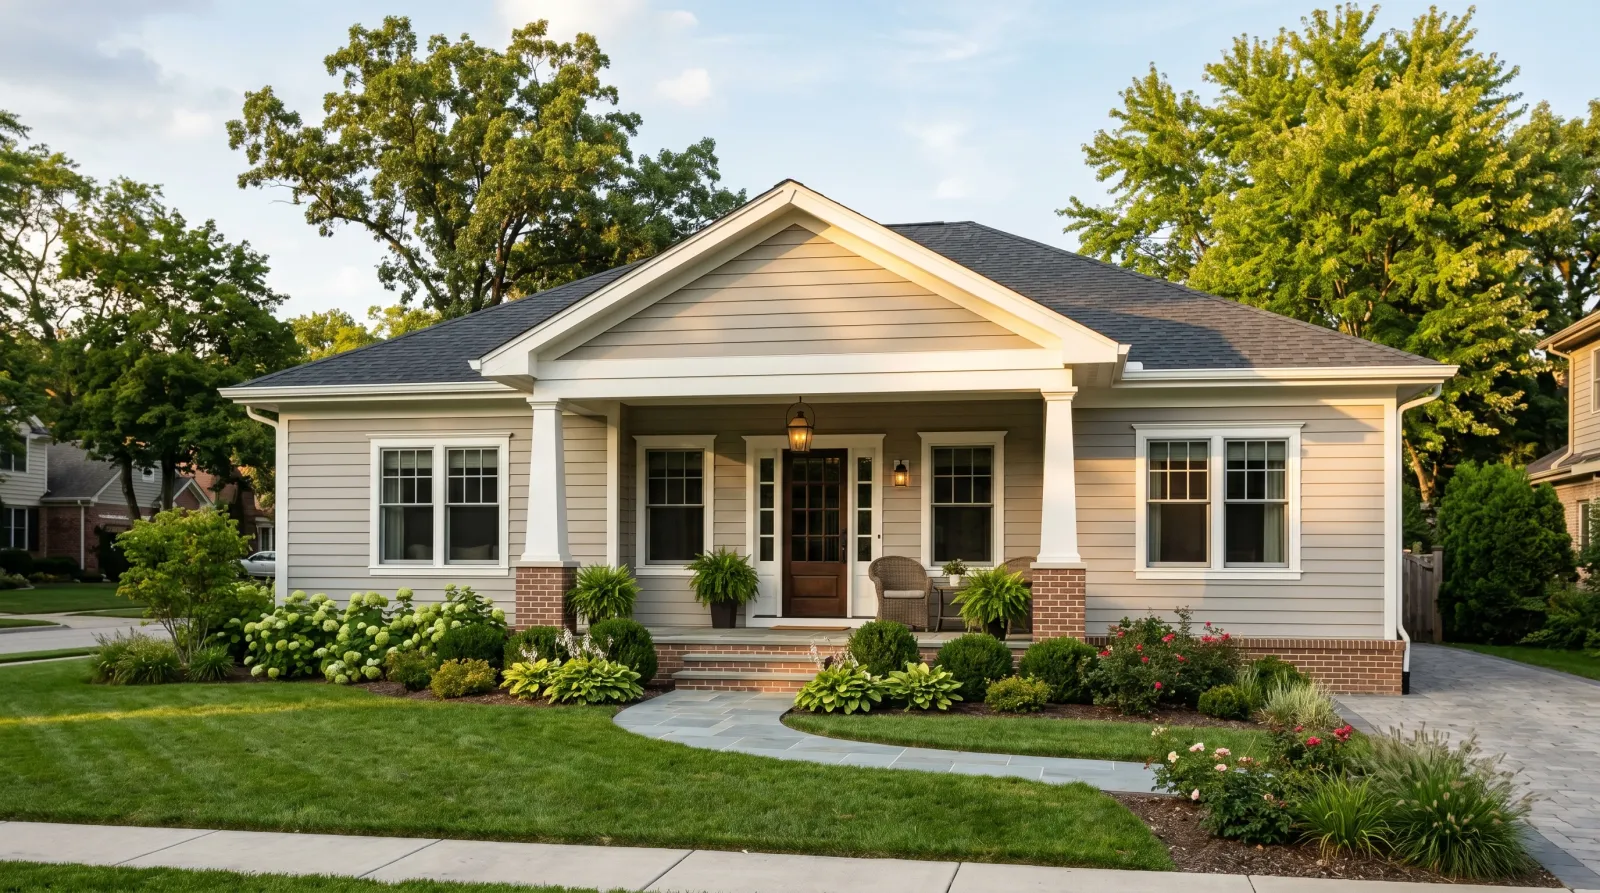
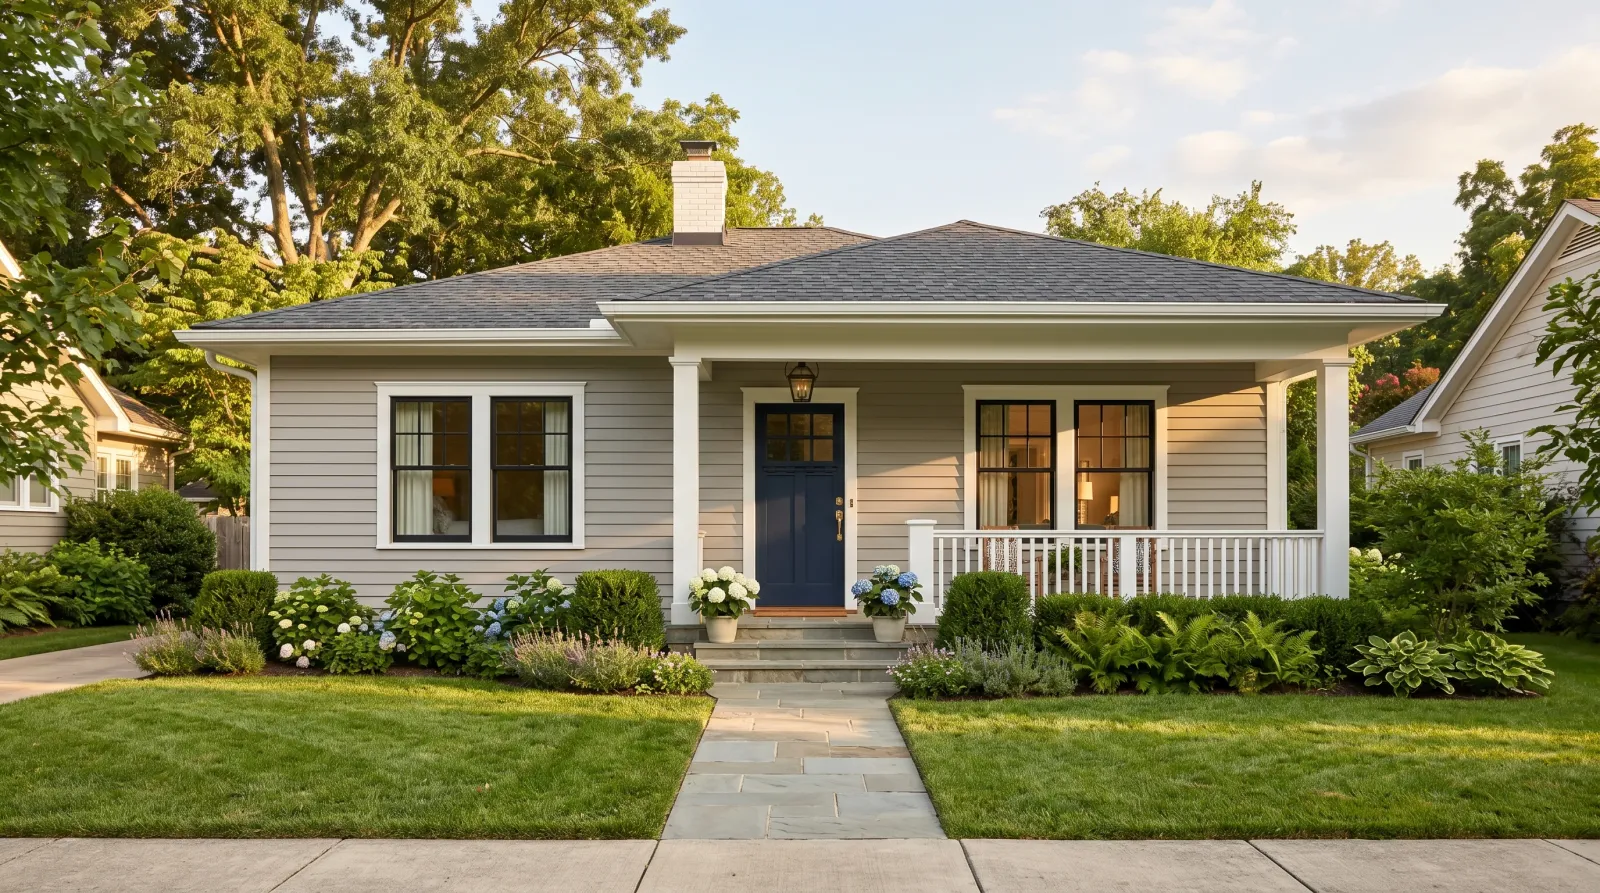
A wood-sided exterior that looks repainted from the curb and actually holds for 7 to 10 years instead of starting to flake by the third summer. Even color, crisp trim lines, and no brown knot rings bleeding through.
Honest Take on Difficulty and Time
This is the hard end of the project pillar. Not because the painting is tricky, but because you’re working off a ladder, the weather gets a vote, and the prep is long and unglamorous.
A typical single-story house is three to five days. Roughly: one to two days of washing, scraping, sanding, and repair; half a day of caulk and spot-priming; then a day per finish coat with dry time between. A two-story house, or one with a lot of failed paint, easily doubles that.
If you’ve got rot, lead paint (anything painted before 1978), or three stories of wall, this is where a lot of homeowners hire it out. For everything else, you can do this with a ladder, a scraper, and patience.
For the material-specific science of how paint fails on wood and why bare cedar bleeds tannin, read the exterior wood prep guide before you start. This page is the project; that page is the substrate.
What You’ll Need
Paint and Primer
A 100% acrylic exterior paint is what you want on wood. Acrylic stays flexible and moves with the boards through the seasons. Sherwin-Williams Duration, BM Aura Exterior, and Behr Marquee are the workhorses. A 1,500-square-foot single-story exterior runs 6 to 8 gallons for two coats; measure your walls and divide by about 350 square feet per gallon per coat, then double it.
Primer is not optional on the bare spots. Use an exterior stain-blocking primer (Zinsser Cover Stain or KILZ Adhesion) on every place you scraped to wood and on every knot. Knots bleed sap; an acrylic-only primer won’t stop it, so oil-based or a dedicated stain-blocker goes over the knots.
Satin or low-luster sheen. Flat shows every scrape repair and chalks faster. Gloss telegraphs every flaw the wood has. See the best exterior paint round-up for the current SKU picks.
Tools
The carbide pull scraper is the tool that decides how this whole job goes. A sharp carbide blade pulls dead paint off in ribbons. A dull hardware-store scraper turns the job into a week of misery. Buy a good one and keep a spare blade.
You also need brushes for back-brushing (a 4-inch and a 2.5-inch angled sash), a random-orbit sander, a pressure washer or a stiff brush and hose, a caulk gun, epoxy wood filler, an extension ladder with a standoff stabilizer, and drop cloths. Brush picks live in the best paint brushes round-up.
Step 1 — Wash and Scrape
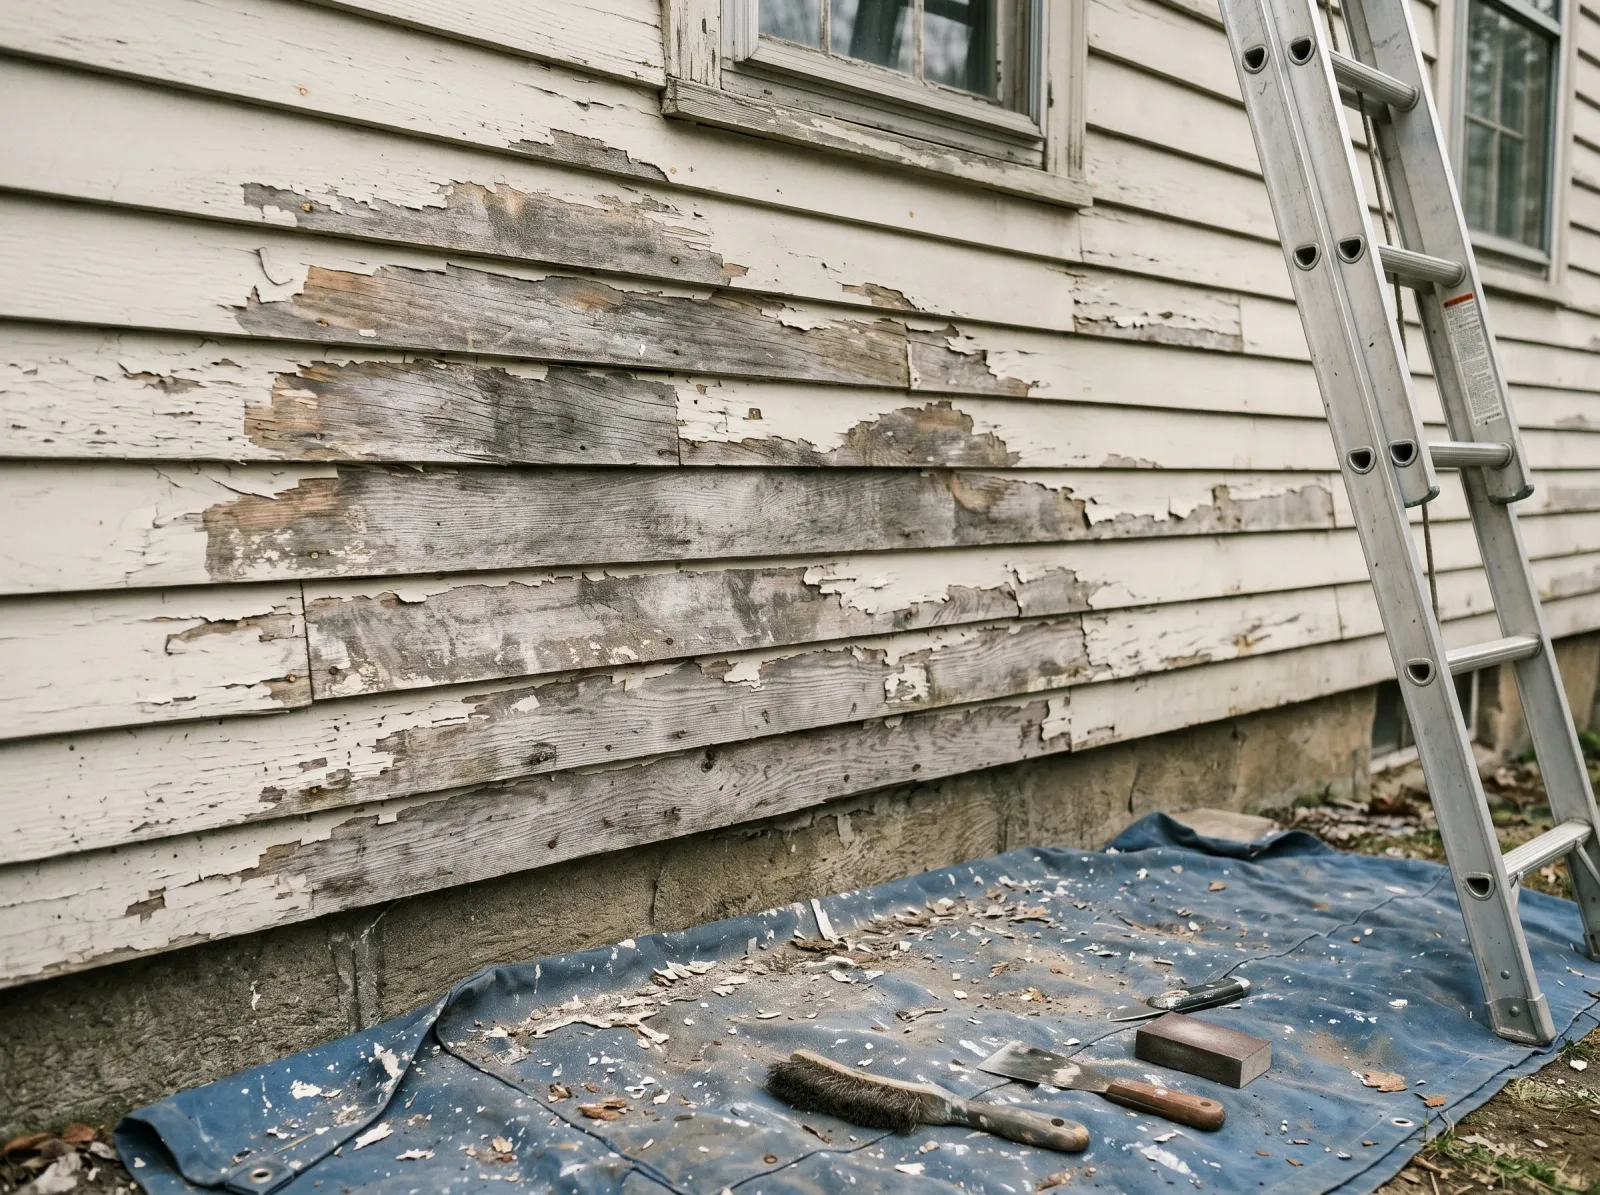
Siding pressure-washed and left to dry, all the failed paint scraped back to a sound edge.
Wash first. Pressure-wash at 1,500 to 2,500 PSI, holding the wand back and moving with the grain, or scrub by hand with a siding wash if you’re nervous about driving water behind the boards. You’re after dirt, chalk, and the loose stuff. Let it dry two full days before you touch it. Wood holds water longer than it looks.
Then scrape. Pull the carbide scraper over every blister, crack, and flake until you hit paint that won’t come off. That paint stays. You’re not stripping the house, you’re removing what’s already failed.
Watch out for lead. If the house was painted before 1978, test the paint with a $10 swab kit before you scrape. Lead dust is the real hazard on old siding. If it’s positive, follow lead-safe practices or get a certified pro. Don’t dry-sand it.
Step 2 — Sand, Repair, and Caulk
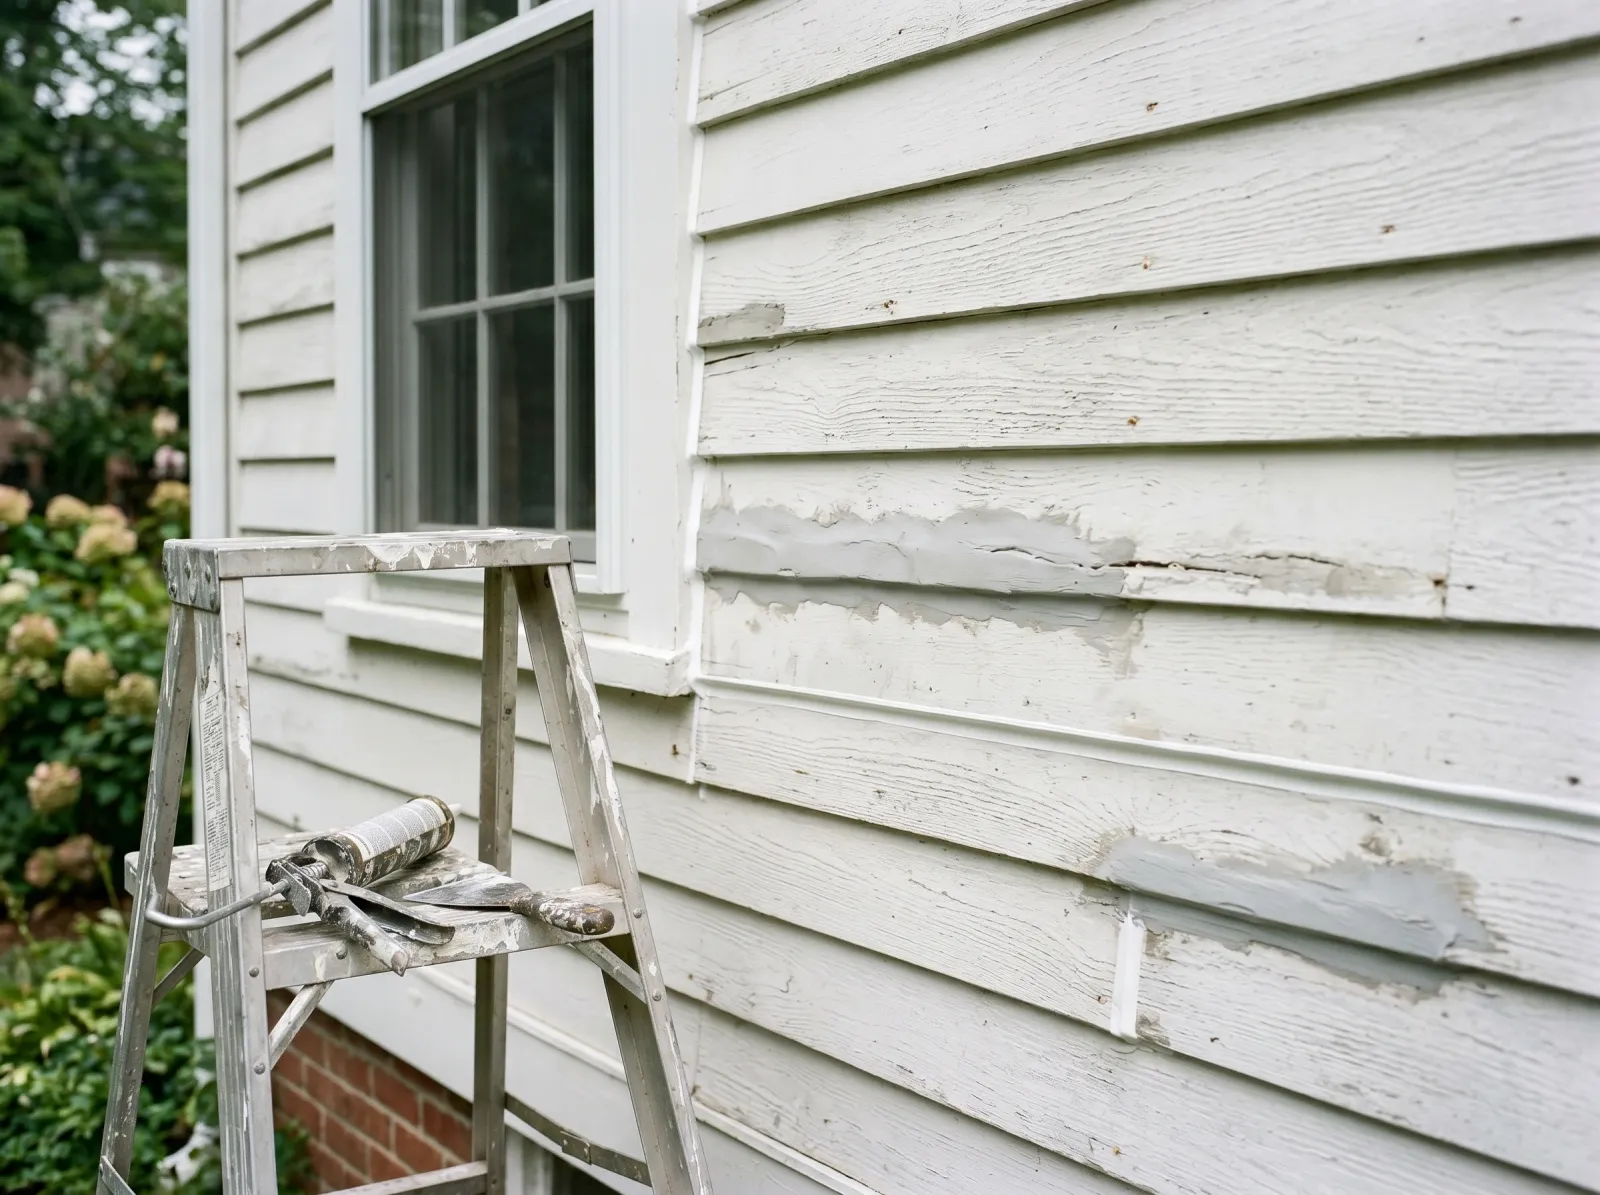
Soft spots filled with epoxy, gaps and joints sealed with paintable caulk.
Where scraped meets sound paint, there’s a hard ridge. Feather that edge with 80-grit on the orbital sander until you can run your hand over it and not feel the step. If you don’t feather it, the ridge shows through both finish coats as a shadow line. Finish with 120-grit so the new paint has tooth without being rough.
Probe the soft spots with a screwdriver. Wood that gives is rotten. Small soft spots get dug out and filled with two-part epoxy wood filler; a whole rotten board gets replaced, not filled. Don’t paint over rot and call it done. It spreads under the paint and you’ll find it next time, bigger.
Caulk the joints last. Run paintable acrylic-latex caulk where trim meets siding, around windows and doors, and at butt joints. Leave the horizontal lap bottoms open; siding needs to breathe and drain. Caulking the laps shut traps moisture and is how you grow rot.
Step 3 — Prime the Bare Wood
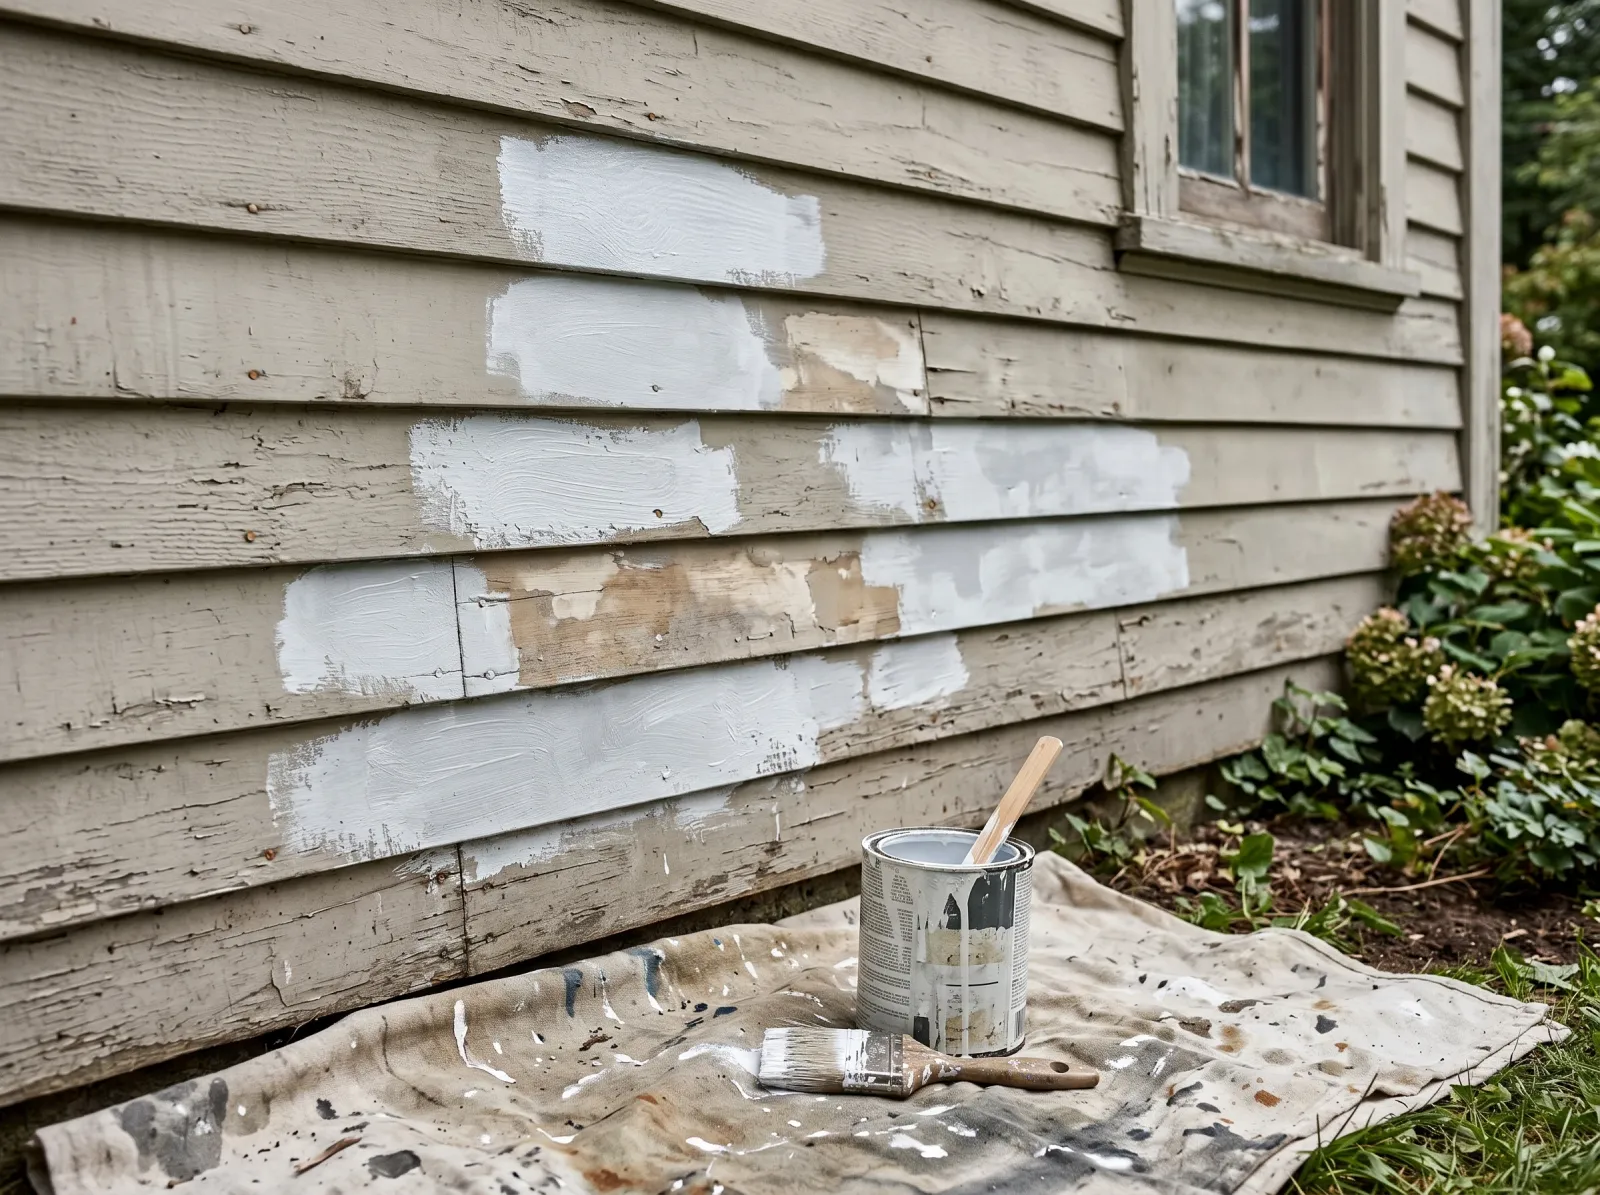
Every bare spot and knot spot-primed with stain-blocking exterior primer.
Every bare-wood spot gets primer. Brush it on, work it into the grain, and lap it an inch onto the surrounding sound paint so there’s no hard line. This is spot-priming, not a full prime coat, unless you stripped the whole wall.
Hit every knot with the stain-blocker even if the surrounding paint is sound. Knots bleed sap and tannin that ghost a brown ring up through acrylic within a year. Cover Stain over the knots stops it cold.
Watch out for priming and then leaving it for a week of weather. Primer isn’t a finish; UV and rain degrade it bare. Get the finish coats on within the primer’s recoat window, usually a few days. For the difference between primer and the self-priming paints on the shelf, see primer versus paint-and-primer-in-one.
Step 4 — First Finish Coat, Back-Brushed
First finish coat covering the whole wall, brushed back into the grain so it sits in the wood.
Now the paint. If you’re spraying, spray a section, then immediately back-brush it before it sets. Back-brushing means dragging a dry-ish brush through the wet paint along the grain to push it into the wood and even out the film. Spray that isn’t back-brushed sits on top like a skin and peels early.
If you’re brushing the whole thing, a 4-inch brush on the flats and the 2.5-inch for the laps and tight spots. Work one wall section at a time, top to bottom, keeping a wet edge so you don’t lap-mark.
Two thin coats beat one thick one. A heavy coat skins over on top while the underside is still soft, and then it cracks as it cures. Lay it on at the spread rate on the can.
Watch out for the sun. Don’t paint a wall in direct sun; the surface flashes and you get lap marks before you can brush it out. Follow the shade around the house through the day. Paint between 50°F and 85°F, and stop if rain is due within 24 hours.
Step 5 — Second Coat, Then Pull Down the Ladder
Second coat cured, ladder down, trim cut clean against the body color.
Let the first coat dry the full recoat time on the can, usually 4 hours minimum, longer in cool or damp weather. Then second coat, same way: section by section, wet edge, back-brush.
Cut the trim last. Paint the body color first, let it dry, then cut the trim color in clean against it freehand or with tape. Crisp trim lines are what make a repaint read as professional from the street.
Stand back at the end of the day and look at the wall in raking light. That’s where you’ll spot the holidays you missed. Touch them while you still have the ladder set up. For how peeling starts and how to stop it coming back, the peeling paint fix guide walks the failure modes.
Common Mistakes
- Painting over loose paint to save scraping time. New paint is only as stuck as the layer under it. Scrape everything loose back to a sound edge or the new coat peels off with the old within two seasons.
- Skipping the knot stain-blocker. Acrylic primer doesn’t stop sap. Every unsealed knot ghosts a brown ring through your finish in about a year, and the only fix is to scrape, spot-prime, and repaint that spot.
- Caulking the lap bottoms shut. Siding has to drain and breathe. Seal the horizontal laps closed and you trap moisture behind the boards, which rots the wood from the back. Caulk joints and trim, leave the lap bottoms open.
- Spraying without back-brushing. Sprayed paint that never got worked into the grain sits on the surface and lets go early. Back-brush every sprayed section while it’s wet.
- Painting in the sun or before rain. Direct sun flashes the paint and you lap-mark. Rain inside 24 hours washes the film before it sets. Chase the shade, check the forecast.
Cure Schedule
| Time after final coat | What’s safe |
|---|---|
| 1 hour | Touch dry in warm, dry weather |
| 4 hours | Recoat if the can allows |
| 24 hours | Rain-safe, light handling |
| 7 days | Reattach shutters, fixtures, downspouts |
| 30 days | Full cure; wash down if needed |
Cool or humid weather stretches every one of these. When in doubt, wait a day.
Maintenance and Touch-Ups
A proper two-coat acrylic job on well-prepped wood holds 7 to 10 years. South and west walls take the most UV and usually fade or chalk first; that’s where you’ll see it go.
Walk the house once a year. Catch a small peel or a popped caulk joint early and it’s a ten-minute fix: scrape, spot-prime, dab on leftover paint. Let it run and it spreads under the surrounding paint. Keep a labeled gallon in the garage with the color name and code off the lid so the counter can rematch it.
If you’re staring at a fence or a deck next, those are stain jobs, not paint jobs, and the rules are different. Don’t carry exterior wall paint over to horizontal wood that takes foot traffic and standing water.
Cost Breakdown
| Item | $ |
|---|---|
| Exterior acrylic paint, 6–8 gal | $180–$400 |
| Stain-blocking primer, 1–2 gal | $35–$70 |
| Caulk, 3–4 tubes | $20–$35 |
| Epoxy wood filler | $25–$45 |
| Scraper, sandpaper, brushes | $40–$80 |
| Total | $300–$630 |
Ladder and pressure washer rental, if you don’t own them, add $40 to $120. Hiring this out on a single-story house runs $3,000 to $7,000 depending on the prep, and the prep is exactly what you’re paying for.