How to Paint a Porch Floor
Painting a porch floor that lasts: how to tell wood from concrete prep, what porch and floor enamel actually holds up, and the cure time that makes or breaks it.

A porch floor isn’t an interior floor and it isn’t a deck. It’s the worst of both. It takes the foot traffic of a hallway and the weather of a roof. People skip the prep because the floor looks fine, paint it on a Saturday, and watch it flake off in sheets by the next spring thaw.
The paint isn’t the problem. The prep is. Get the floor clean, dry, and scuffed, use a real porch enamel instead of leftover wall paint, and it’ll hold for years. Rush it and you’ll be scraping again in a year. That’s the whole job in two sentences.
What You’ll Get
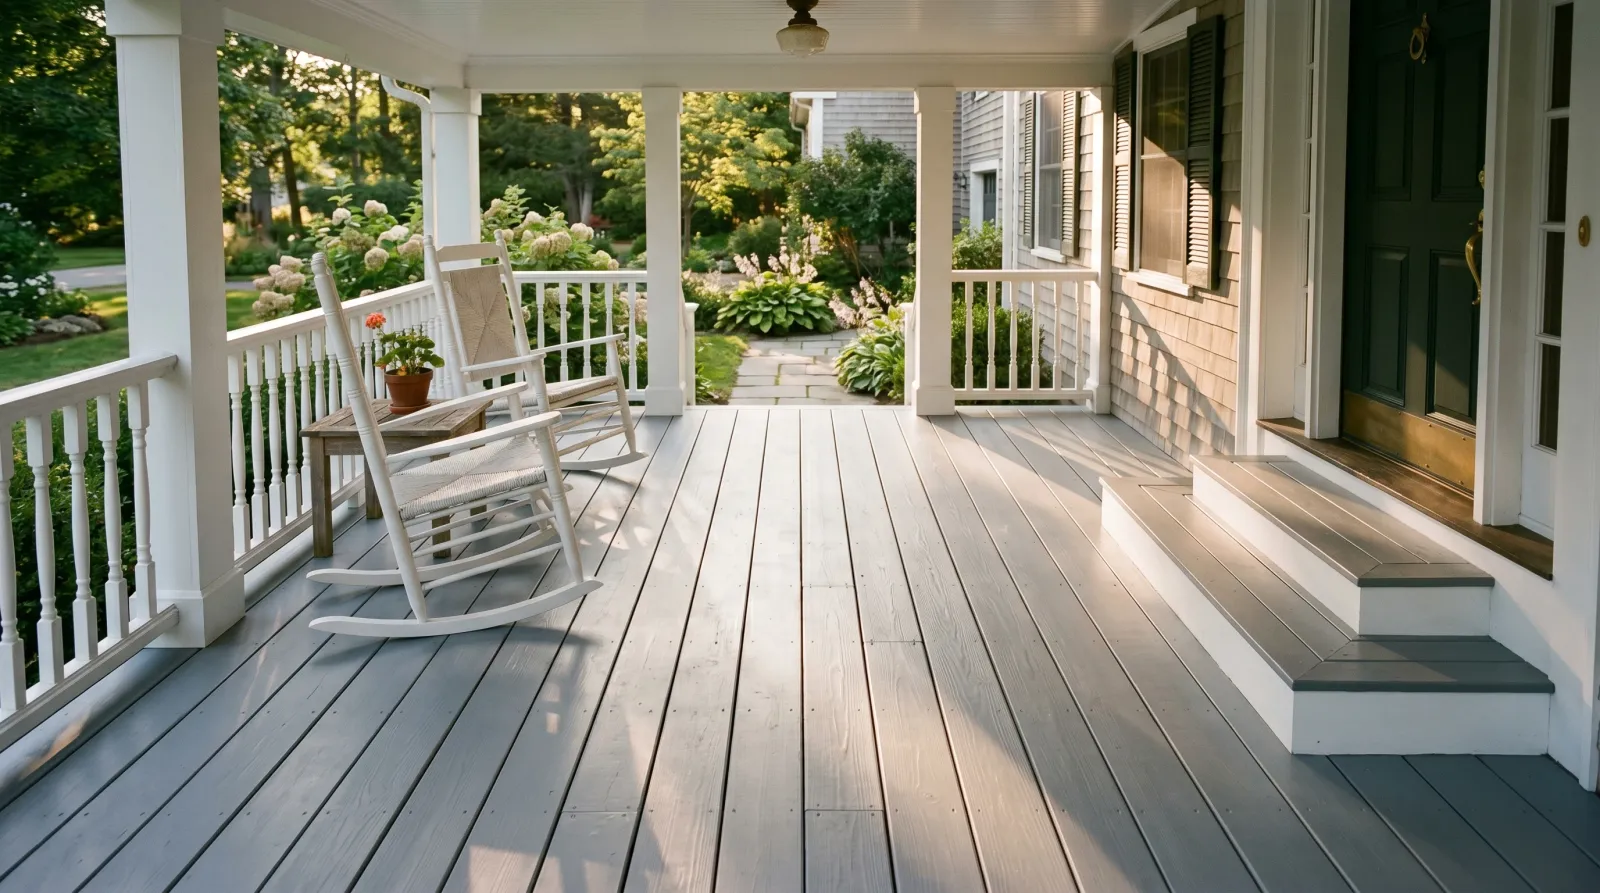
A porch floor that sheds rain, takes boots and rocking chairs, and looks solid for five to eight years before it needs a refresh.
Honest Take on Difficulty and Time
The painting is the easy part. You’ll have the enamel down in a few hours. The prep is the project, and the cure is the test of your patience.
Realistic schedule: one day to scrape, wash, and let the floor dry. Wood needs a full dry day after a wash, two if it’s humid. Then a day to fill, prime the bare spots, and lay the first coat. The second coat goes on the next morning. After that you wait. Light traffic at 24 hours, furniture back at a week.
So one weekend of work, then keep off it. Anybody who says you’ll be using the porch that afternoon has never watched a chair leg sink into half-cured enamel.
| Surface | Active time | Total elapsed | Skill |
|---|---|---|---|
| Sound old paint, scuff and recoat | 4–5 hrs | 1 weekend + cure | Easy |
| Bare or mostly-bare wood, prime and paint | 6–8 hrs | 2 days work + 1 week cure | Medium |
| Concrete, etch and coat | 6–9 hrs | 2 days work + 1 week cure | Medium |
What You’ll Need
Paint and Primer
Get porch and floor enamel. Not wall paint, not deck stain, not the half-gallon of trim paint in the garage. Porch enamel is formulated for abrasion and UV, and it’s the one product that earns its keep here.
Water-based acrylic porch enamel is the default now: INSL-X Tough Shield, Benjamin Moore Porch & Patio Floor, Rust-Oleum Porch & Floor, KILZ Porch & Patio. Low odor, recoats in a few hours, cleans up with water. Oil-based porch enamel cures a touch harder and a touch slicker, but it yellows over time, stinks for days, and needs 24 hours between coats. For most porches the water-based wins. If you want the longer version of that argument, see the oil versus water-based paint breakdown.
You only need primer where the wood is bare, knotty, stained, or wearing old oil paint. Zinsser Cover Stain on raw wood and knots. INSL-X Stix if you’re painting over something slick that won’t take a scuff. Sound existing enamel that you’ve sanded doesn’t need primer under a recoat.
Sheen matters on a floor more than most people think. A satin or low-gloss porch enamel hides wear and grit better than a high gloss, and it’s less of a skating rink when it rains. If you’re unsure, the sheen guide walks through it.
Tools
A 9-inch roller frame with 1/2-inch nap exterior sleeves. The longer nap gets paint down into the grain and the gaps between boards. A 2.5-inch angled brush for cutting in along the house, the posts, and the step nosings. An extension pole so you’re rolling standing up instead of crawling. A pressure washer or a stiff deck brush and a hose for the wash-down.
The roller is where the work is, but the brush is where you don’t cheap out. A $14 Wooster or Purdy lays a clean cut line along the siding; a $3 brush sheds bristles into the wet paint. Picks are in the paint brush round-up.
Step 1 — Clear, Scrape, and Wash
Everything off the floor. Furniture, mats, the welcome sign, the dog bowl. Drape the siding and the bottom of the posts with a drop cloth and tape it down.
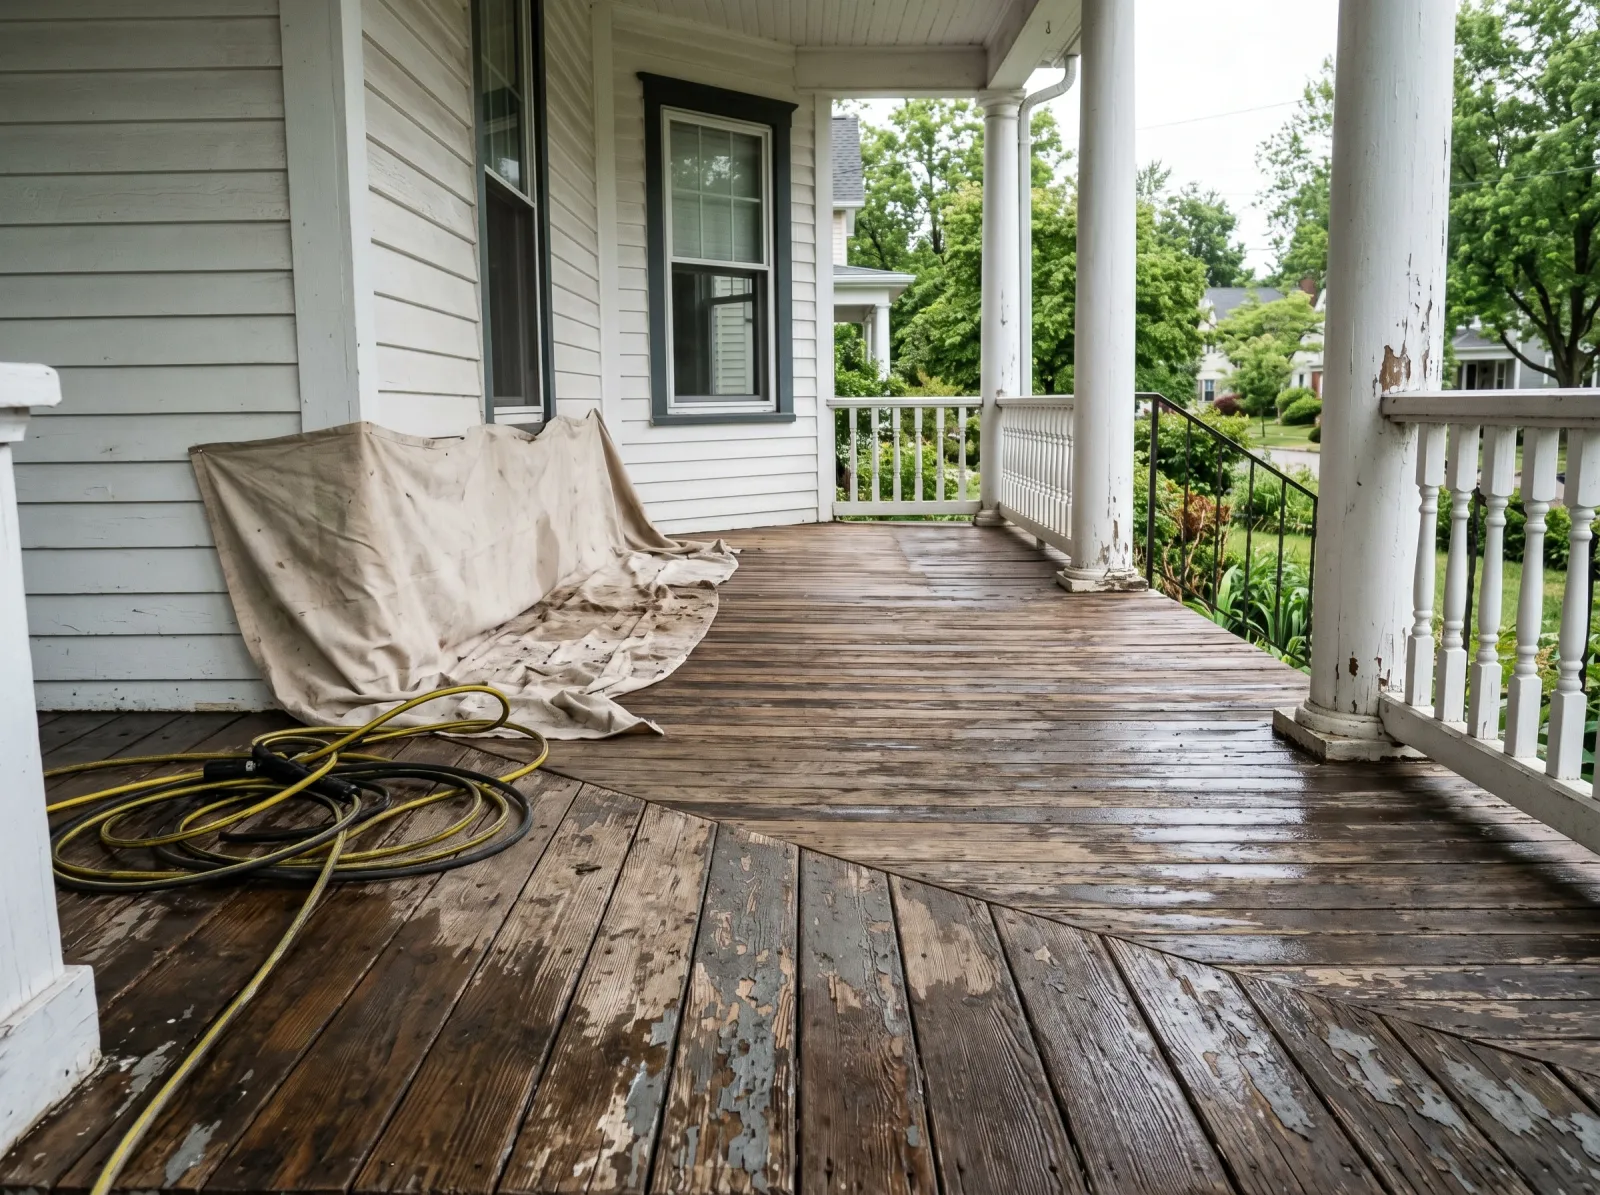 Everything off, loose paint scraped, the whole floor washed and left to dry.
Scrape every bit of loose, flaking, or peeling paint with a putty knife and a paint scraper. If it’s lifting, it comes off. Whatever you leave will pull your new coat off with it later. Then wash the whole floor: pressure washer on a wide low-pressure tip, or a degreasing cleaner and a stiff deck brush. Get the grime, the pollen, and the slick film out of the grain.
Watch out for painting before the wood is dry. A washed wood floor needs a full dry day, two in humid weather. If you’ve got a moisture meter, you want the wood under 15 percent. Paint over damp wood and it peels no matter how good the enamel is. This is the single most common reason a porch floor fails.
Step 2 — Fill, Sand, and Spot-Prime
Fill nail holes and cracks with an exterior wood filler or paintable caulk. Press it in, scrape flush, let it set. On a wood floor, sand the whole surface enough to knock down the gloss and feather the edges where you scraped. 80-grit on rough spots, 120-grit to smooth. On old enamel you’re just scuffing it so the new coat bites; you’re not stripping it to bare wood.
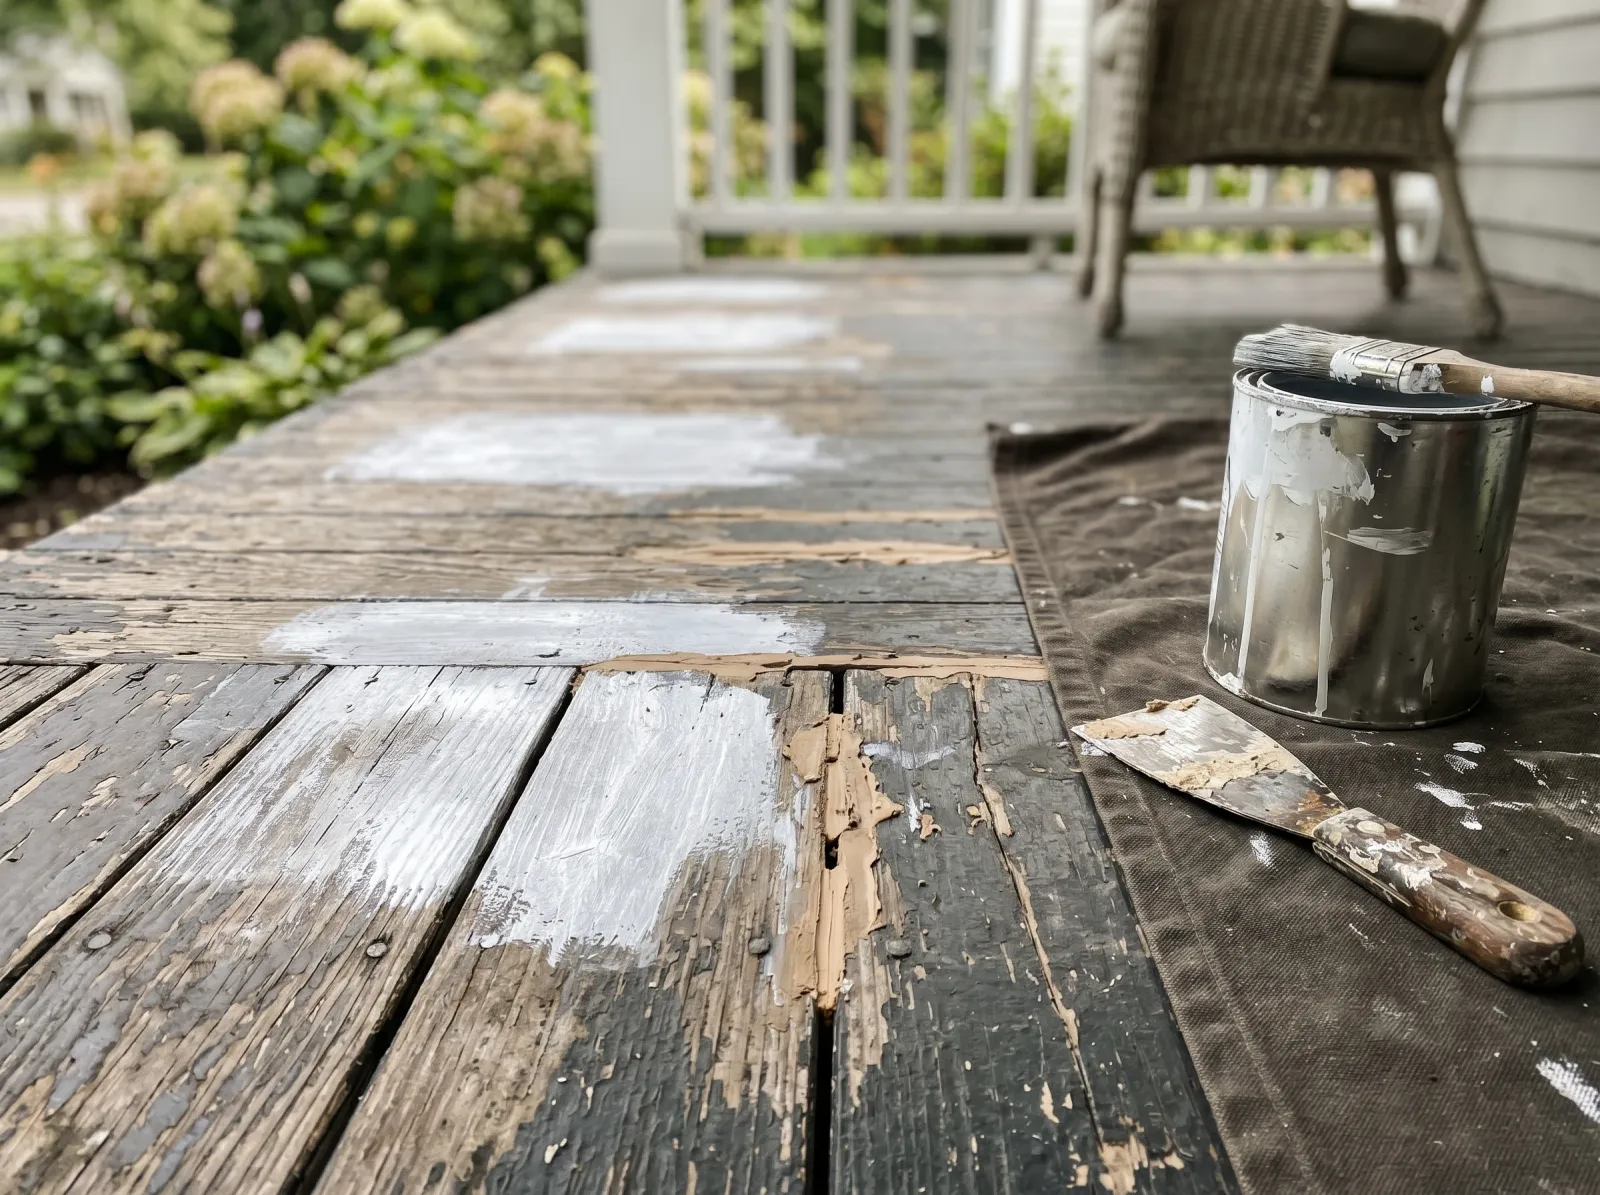 Cracks filled, the bare scraped patches spot-primed. No need to prime the whole floor unless it’s all raw.
Now prime, but only what needs it. Bare scraped patches, raw boards, knots, and any stain that might bleed get a coat of Zinsser Cover Stain. Bare wood drinks paint, and if you don’t seal it first the topcoat soaks in and flashes dull in those spots. If the whole floor is raw wood, prime the whole floor. For the deeper substrate prep on exterior boards, the exterior wood guide goes board by board.
Watch out for skipping the scuff-sand on glossy old paint. New enamel laid over a slick surface has nothing to grab and intercoat peels within a season.
Step 3 — First Coat, Thin
Cut in first. Brush a band along the house, around the posts, and along the step nosings where the roller can’t reach. Then roll the field. Load the 1/2-inch nap sleeve, roll off the excess, and lay the paint in the direction of the boards. With the grain, not across it.
First coat down, thin and even. It looks streaky and the grain shows through. That’s exactly what one coat should look like.
Thin is the word. A heavy first coat on a horizontal floor pools, sags into the gaps, and dries soft. Two thin coats build a harder film than one thick one every time. The first coat will look patchy and translucent over the grain. Don’t fix it now. The second coat fixes it.
Watch out for painting yourself into a corner. Plan your exit before you start. Roll toward the steps so you finish at the edge and step off, not into the middle of a wet floor.
Step 4 — Second Coat
Let the first coat recoat per the can, usually 4 hours for water-based at normal temperature, a full day for oil. Then lay the second coat the same way: cut in, roll with the grain, keep it thin.
Second coat fills it in. The color goes solid, the grain stops showing, the floor reads done.
This is the coat that does the work. The color goes uniform, the grain stops showing through, and the floor looks finished. On bare thirsty wood, check the high-traffic path by the door after this coat dries. If it still looks thin where everyone walks, hit that path with a third coat. Nowhere else.
Pull the tape while the paint is still slightly tacky, not bone dry, and pull it at a 45-degree angle so it doesn’t lift a dry edge with it.
Common Mistakes
- Painting over damp or dirty wood. The number one killer. Wash it, then wait a full dry day, two if it’s humid. Wet wood under paint peels by spring no matter the brand.
- Using wall paint or leftover trim paint. Interior paint has no business on a floor. It scuffs, tracks, and powders off under foot traffic. Buy porch and floor enamel.
- One thick coat instead of two thin ones. A heavy coat looks done while it’s wet and turns blotchy and soft once it cures. Two thin coats build a tougher film that wears even.
- Not etching bare concrete. Smooth concrete is too slick to hold paint. Etch it with a concrete etcher or acid wash so the coating has tooth, or it sheets off in a season. The masonry paint round-up covers the concrete-specific products.
- Walking on it or loading furniture too soon. Dry to the touch isn’t cured. Chair legs and pet claws print into soft enamel for a week. Keep off it.
Cure Schedule
| Time after the final coat | What’s safe |
|---|---|
| 4 hours | Touch dry, don’t step on it |
| 24 hours | Light foot traffic in socks |
| 3 days | Shoes, careful traffic |
| 7 days | Furniture back, normal porch use |
| 30 days | Full cure, hose it down and scrub |
Cool or damp weather stretches every one of these. A 55-degree humid day can double the cure time. When in doubt, wait the extra day.
Maintenance and Touch-Ups
A well-prepped porch enamel floor holds five to eight years before it needs a refresh, less on the path everyone tracks across, more under a covered porch out of the rain. Keep it swept. Grit ground underfoot is what wears the coating thin, not the weather.
For a worn or chipped spot, scuff the edges with 120-grit, spot-prime any bare wood, and dab the same enamel on with a brush. Feather it into the surrounding paint. On a floor the touch-up shows less than it does on a wall because nobody studies a floor from three feet away. Keep a quart sealed and labeled with the color code off the lid.
Cost Breakdown
| Item | $ |
|---|---|
| Porch and floor enamel, 1–2 gallons | $40–$90 |
| Primer, 1 quart (spot use) | $18 |
| Roller, sleeves, brush, tray | $30 |
| Filler, sandpaper, tape, drop cloth | $25 |
| Total | $110–$160 |
Numbers run on mid-tier porch enamel. A small covered porch with sound old paint comes in nearer $60 if you only need a gallon and already own the roller and brush.
A Word Before You Start
Check the forecast. You want two dry days back to back with no rain in the 24 hours after each coat, and temperatures above 50 degrees. Lay porch enamel in front of an evening storm and you’ll watch your first coat wash off the steps. Paint it too cold and it never cures hard. The wood tells you when it’s ready, the weather tells you when you’re allowed, and the cure tells you when you’re done. Rush any of the three and you’ll be back out here with a scraper next spring.