How to Paint a Mailbox
Painting a mailbox so it survives the weather: how to prep galvanized or rusty steel, the primer that actually grabs, and the spray vs brush call.

Mailbox paint fails for one reason, and it’s almost never the paint. It’s what’s under it. Rust left in the seams, or bare galvanized steel that nothing wants to stick to, and your fresh coat lifts off in a year. Get the prep right and a $6 can of enamel outlasts the post it’s bolted to.
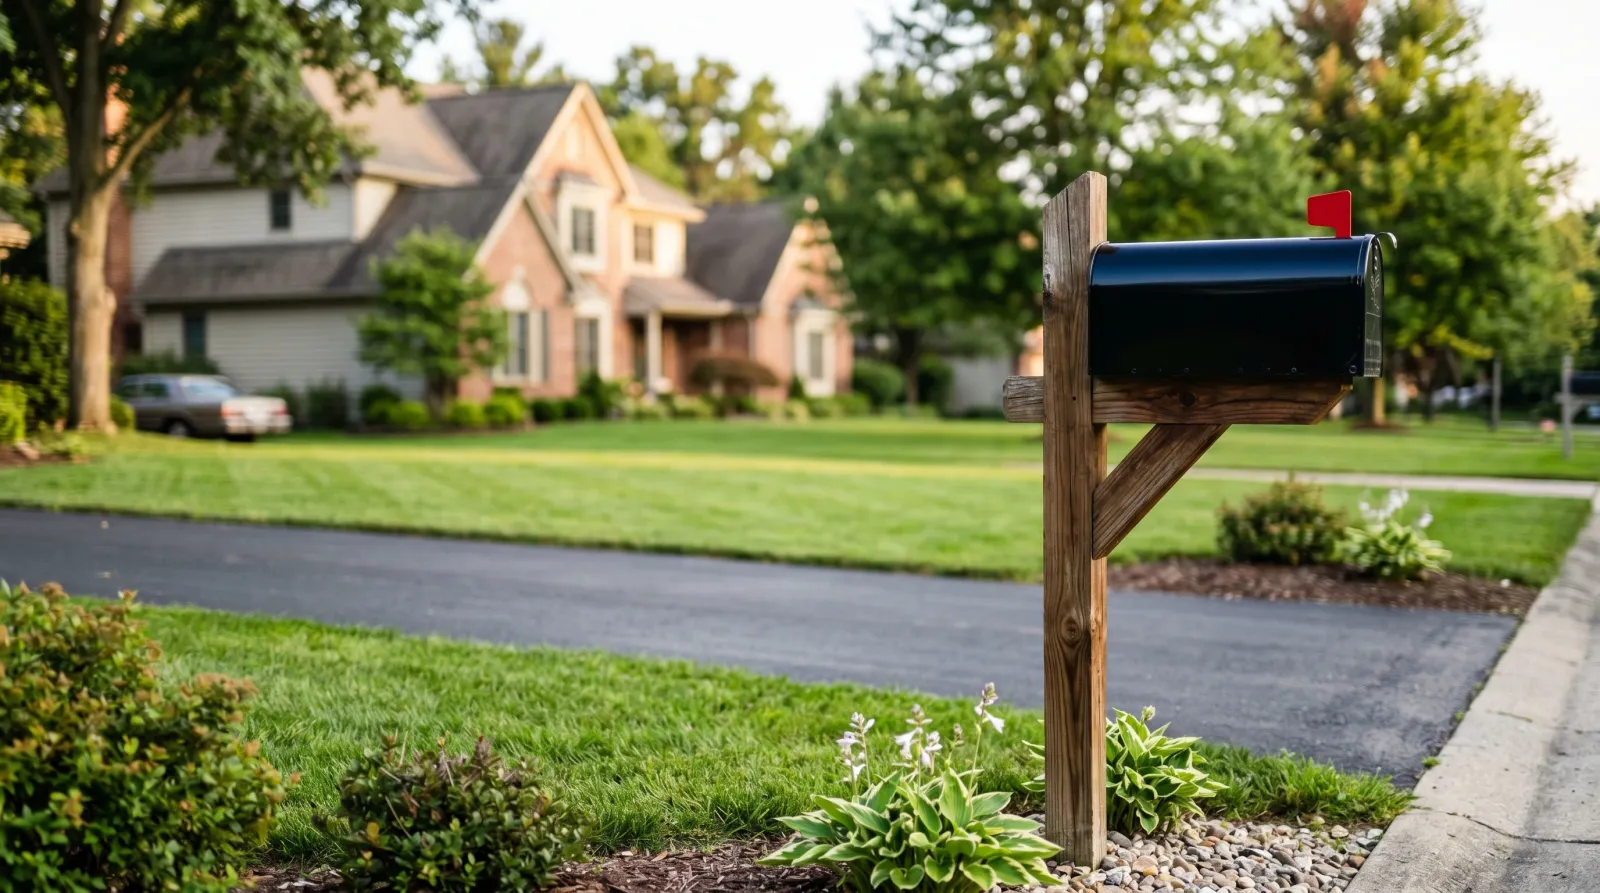
A curbside mailbox sits in full sun, freeze-thaw, and whatever the snowplow throws at it. It’s the hardest little surface on your property and most people give it the least prep. Don’t.
What You’ll Get
A clean, weather-tight mailbox that looks deliberate instead of neglected, and holds up for years instead of flaking by fall. One afternoon of work, most of it waiting on coats to dry.
Honest Take on Difficulty and Time
Easy. Easiest exterior project on the site. No ladder, no second story, nothing that bites you if it drips. The only thing that’ll get you is rushing the dry time and the cure.
Realistic schedule: an hour of prep, then thin coats with dry time between each. Spray cans recoat in an hour. Brush enamel wants overnight. The whole thing is a weekend only because the box sits curing, not because you’re working it.
| Box type | Active time | Total elapsed | Skill |
|---|---|---|---|
| Steel, spray cans | 1–1.5 hrs | 1 weekend | Easy |
| Galvanized, etch primer + spray | 1.5–2 hrs | 1 weekend | Easy |
| Plastic/poly, bonding spray | 1 hr | 1 day | Easy |
| Brushed exterior alkyd | 2–3 hrs | 1 weekend + cure | Easy-medium |
What You’ll Need
Paint and Primer
The primer depends on what the box is made of. Rusty bare steel wants a rust-converting or rusty-metal primer. Galvanized steel wants a self-etching primer made for zinc; nothing else grabs it. Plastic skips metal primer entirely and uses a plastic-bonding topcoat.
For the topcoat, an exterior enamel rated for metal. Rust-Oleum Stops Rust or 2X Ultra Cover in a rattle can is the simplest path and what most people should use. If you’d rather brush, an exterior alkyd enamel like Benjamin Moore Advance holds up and self-levels clean. For the full outdoor-rated breakdown, see the best exterior paint round-up.
For plastic boxes, Krylon Fusion All-In-One. It bonds to poly without a separate primer, which metal enamels won’t do.
Tools
A wire brush, sandpaper in 120 and 220, mineral spirits or degreaser, a tack cloth, painter’s tape, and cardboard to work on. If you’re brushing, add a 2-inch angled sash brush. Cheap brushes shed bristles into the wet enamel and you’ll be picking them out for an hour. Picks live in the best paint brushes round-up.
Wear nitrile gloves. Rust treatment and mineral spirits are not kind to skin.
Method: Spray or Brush
Two valid paths. Spray cans are faster, leave no brush marks, and get into the embossed flag and door detail a brush skips. The downside is overspray and runs if you flood it.
Brushing gives you a thicker film and more control over drips, and an exterior alkyd brushed on cures harder than most rattle-can enamels. It’s slower and you have to watch lap marks on the flat sides. For a small box, spray. For a big rural-style box you want to last a decade, brush an alkyd. The prep below is the same either way.
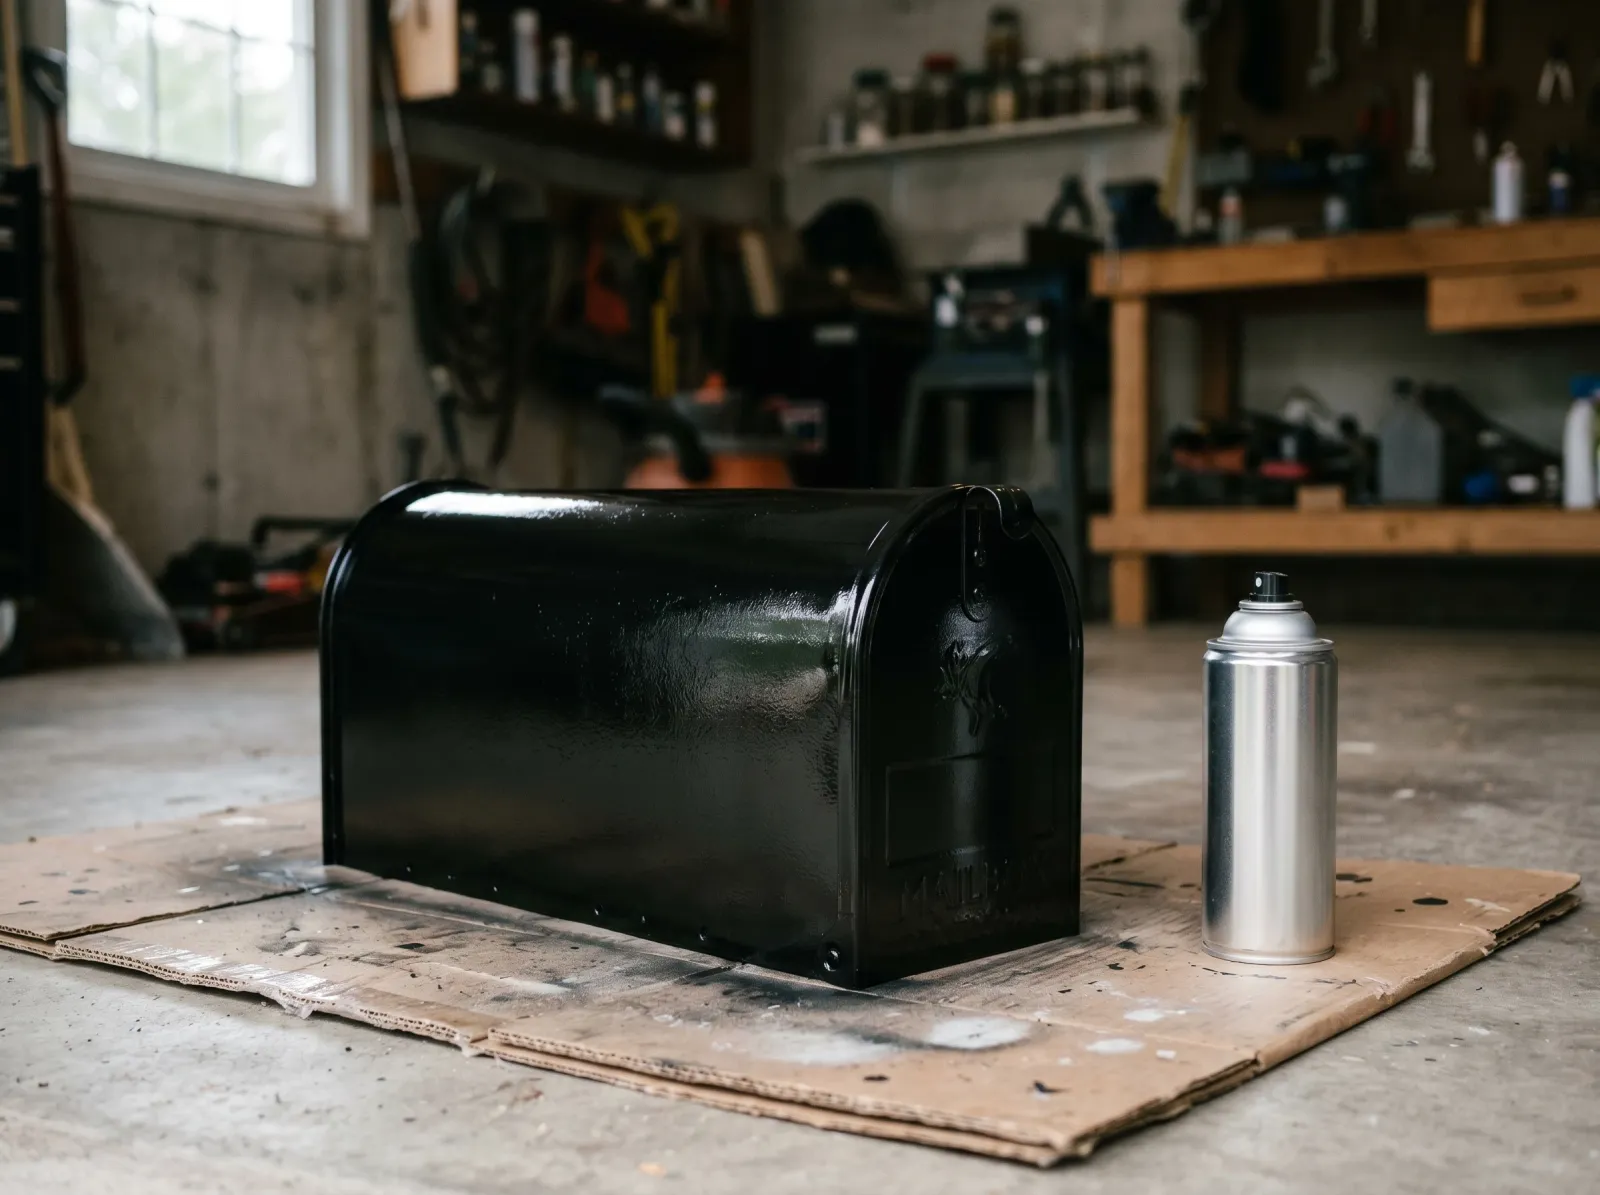
Step 1 — Take the Box off the Post
 Off the post and on cardboard, where you can spin it and hit every side flat.
Two bolts, usually, under the box where it meets the post mount. Back them out and lift the box free. Set it on cardboard or a drop cloth where you can rotate it and reach the bottom edge.
Painting it in place is how you get runs on the vertical faces and a bare, unpainted bottom lip that rusts first. Ten minutes with a wrench saves you that.
Watch out for seized bolts on an old box. Hit them with penetrating oil and wait five minutes before you strip the head.
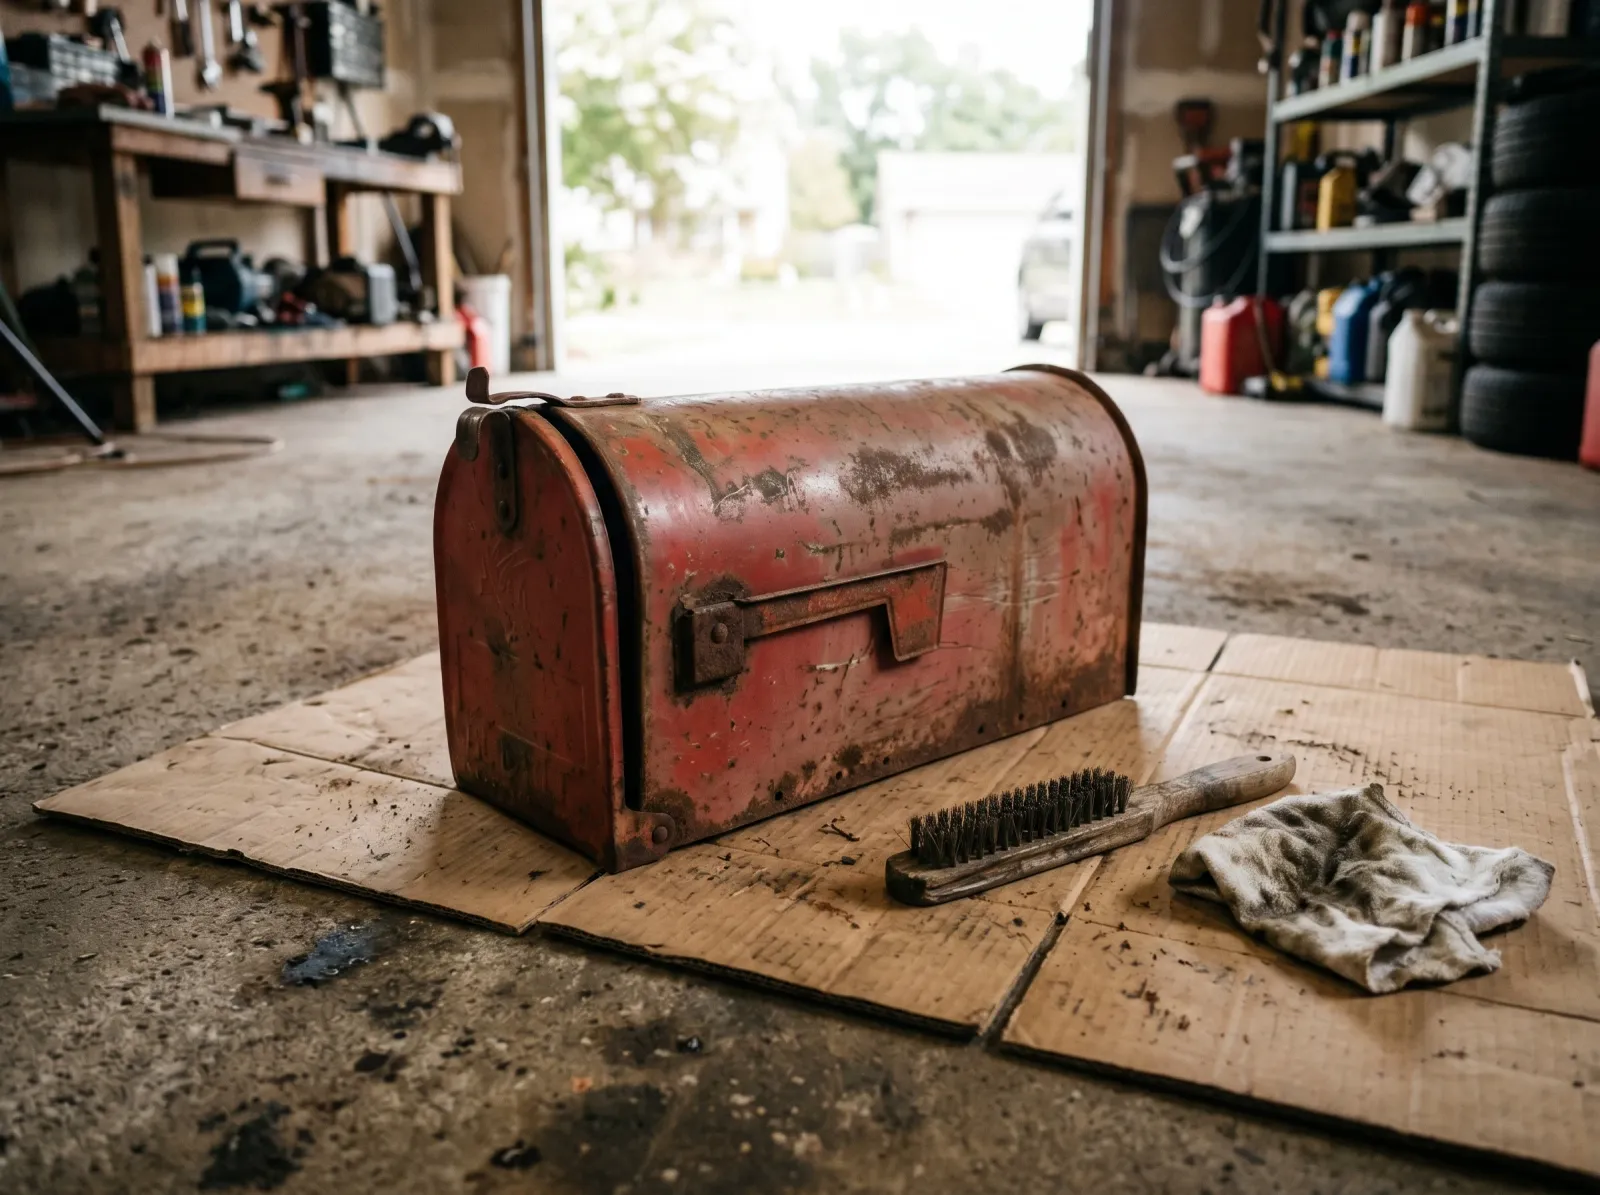
Step 2 — Strip, De-Rust, and Degrease
 Surface rust treated, the whole box scuffed dull so primer has something to bite.
Wire-brush every flake of loose rust and peeling paint off. If the old paint is sound and tight, you don’t have to take it to bare metal. You do have to take off anything that’s lifting.
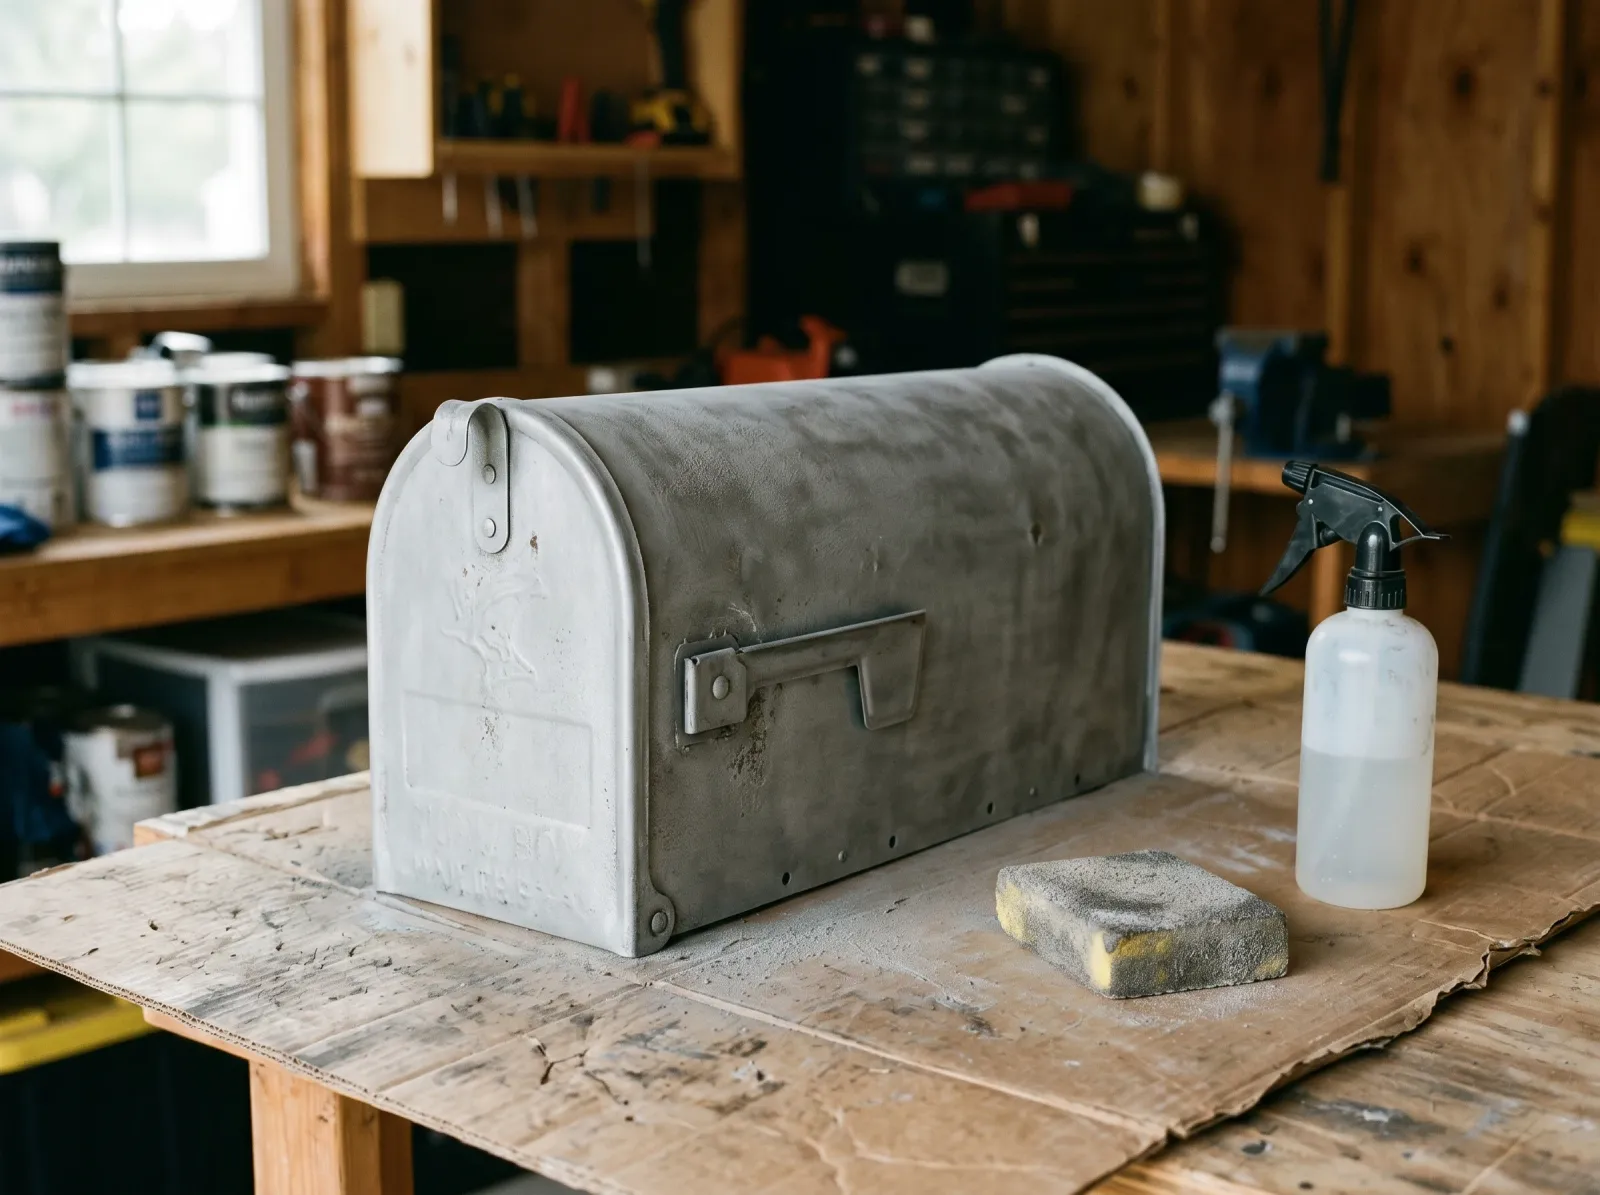
Surface rust that won’t brush off gets phosphoric metal prep (Krud Kutter The Must for Rust). Wipe it on, let it work, rinse and dry per the label. It converts the rust to a stable surface the primer can hold. Then scuff the whole box dull with 220 so the slick old finish has tooth.
Last, degrease. Wipe the whole box with mineral spirits or a household degreaser, then a tack cloth. Skip this and finger oils and road grime sit under your primer as built-in failure points.
Watch out for active rust in the seams and folded edges. That’s where it hides and where the coating lifts from underneath. Get the metal prep into the creases.
Step 3 — Prime in Thin Coats
 Two light coats, not one heavy one. Edges and seams hit straight on.
Match the primer to the metal. Bare or rusty steel: rusty-metal primer. Galvanized: self-etching primer. Plastic boxes skip this step and go straight to a bonding topcoat.
Two thin coats beat one heavy one. A flooded primer coat runs on the vertical sides and stays soft underneath for days. Hold the can about 10 inches off and keep it moving. Hit the edges and the folded seams straight on, because that’s where spray cans leave you thin and a thin spot rusts first.
Let it flash between coats per the can, usually 5 to 10 minutes for spray primer. Then a light scuff with 220 to knock down any nibs, and a tack cloth.
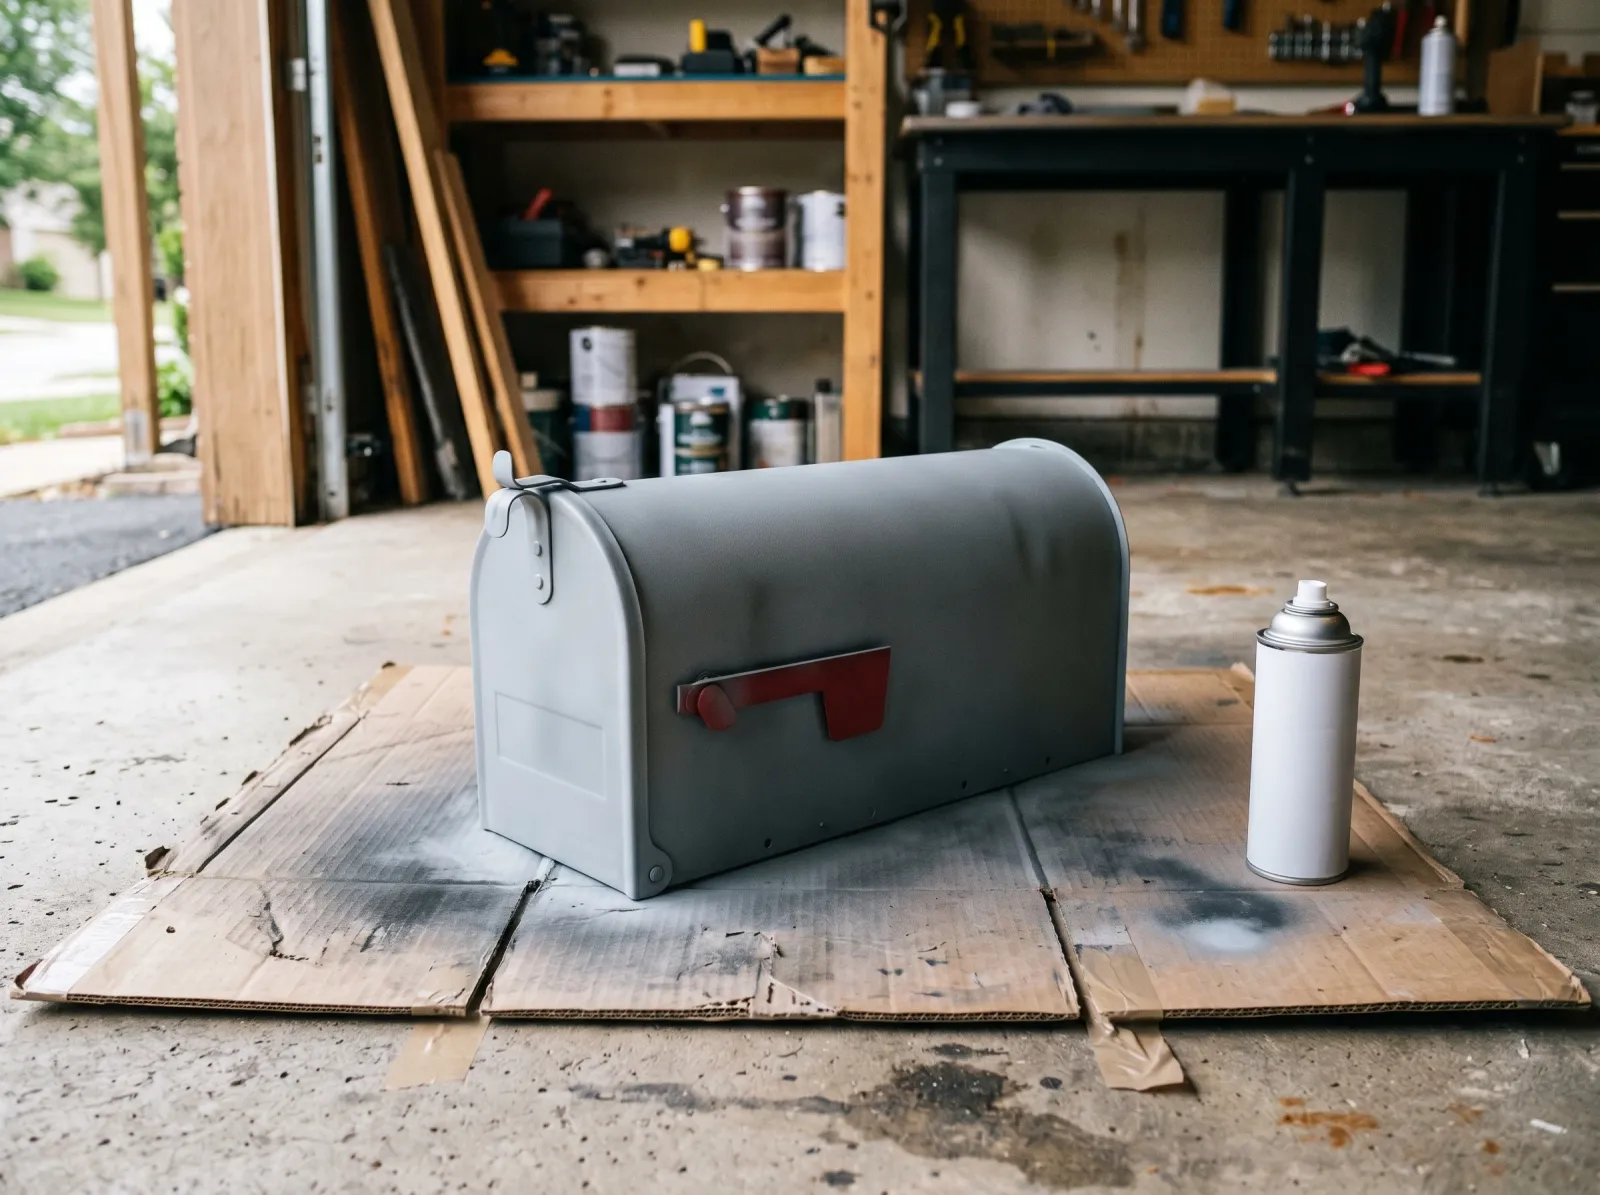
Step 4 — Topcoat
 Exterior enamel in two or three light passes. Same direction each pass.
Two to three light coats of exterior enamel. Same as the primer: thin and moving, never flooded. Spray in steady passes in one direction, overlap each pass by a third, then do the next coat in the same direction.
If you’re brushing alkyd, dip a third of the way and lay it on in long strokes along the longest dimension of each face. Don’t go back over a stroke that’s started to skin or you’ll drag lap marks into it.
Recoat window: spray enamel about an hour, brushed alkyd overnight. Read the can. The flag and door hardware can come off and get sprayed separately for a clean line, or tape them off if you want them a contrasting color.
Watch out for the bottom front lip and the door hinge. Both are low corners where overspray pools and runs. Light passes, and check them after each coat while the paint’s still wet enough to feather out.
Step 5 — Cure and Reinstall
 Bolted back up after the enamel has hardened. Flag and hardware last.
Touch dry doesn’t mean ready. Enamel is soft for days after it feels dry, and bolting a soft box back to a metal mount stamps the mount pattern into your finish. Let it sit.
Give spray enamel at least 24 hours before you handle it, longer in humidity. Brushed alkyd wants a couple days. Then reattach the flag, reinstall the door hardware, bolt the box back on the post, and you’re done.
If the post itself is wood and looking rough, that’s a different job. A cedar or pine post takes exterior stain or paint, not metal enamel. See the exterior wood guide for that side of it.
Common Mistakes
- Painting over rust. It keeps eating the steel under your finish and bleeds back through in months. Wire-brush the loose stuff, treat the rest with phosphoric metal prep. No shortcut here.
- Skipping etch primer on galvanized. Zinc is slick and regular paint sheets off it the first hot summer. Self-etching primer is the only thing that grabs bare galvanized.
- One heavy coat instead of two thin ones. Flooded enamel runs on the vertical faces and stays soft under the skin for a week. Thin and moving, every time.
- Metal enamel on a plastic box. Plastic flexes, the rigid metal film cracks and peels. Use a plastic-bonding paint like Krylon Fusion instead.
- Bolting it back up too soon. Soft enamel takes the imprint of the mount and dents at every bolt. Wait out the cure even though it feels dry.
Cure Schedule
| Time after final coat | What’s safe |
|---|---|
| 1 hour | Touch dry (spray); pull tape |
| 24 hours | Re-handle gently, reinstall hardware |
| 2–3 days | Bolt back on the post |
| 7 days | Light weather exposure shrugged off |
| 30 days | Full cure, fully weather-hard |
Maintenance and Touch-Ups
A properly prepped steel box holds five to eight years before a refresh. The first thing to go is usually the door hinge and the bottom lip, the spots that take wear and pool water.
For a chip, scuff the spot with 220, dab a little rust-converting primer if it’s down to bare metal, then touch the topcoat on with a small artist’s brush. Catch a chip early and the rust never gets a foothold. Let it sit and the rust creeps under the surrounding paint and you’re stripping the whole box again.
Keep the leftover spray can in the garage. A 10-second touch-up once a year is the difference between a box that lasts a decade and one you repaint every spring.
Cost
| Item | Cost |
|---|---|
| Metal or etch primer (1 can) | $7–$12 |
| Exterior enamel (1–2 cans) | $7–$20 |
| Rust treatment | $8–$12 |
| Sandpaper, tack cloth, tape | $8–$15 |
| Total | $30–$60 |
A new steel curbside box runs $25 to $60 anyway, and a decorative cast or rural box runs $80 to $200. If yours is structurally sound, paint beats replace every time.
A Specific Recommendation
Standard steel curbside box with surface rust: wire-brush it, treat the rust with Krud Kutter The Must for Rust, prime with Rust-Oleum Rusty Metal Primer, two coats of Rust-Oleum 2X Ultra Cover in satin black. Do it Saturday morning, let it cure over the week, bolt it back up next weekend.
Galvanized box that’s never been painted: same routine, but swap in Rust-Oleum Self Etching Primer. That one swap is the whole job. Skip it and you’ll be doing this again next year, and that’s the kind of thing that bites you when you’ve forgotten you cut the corner.