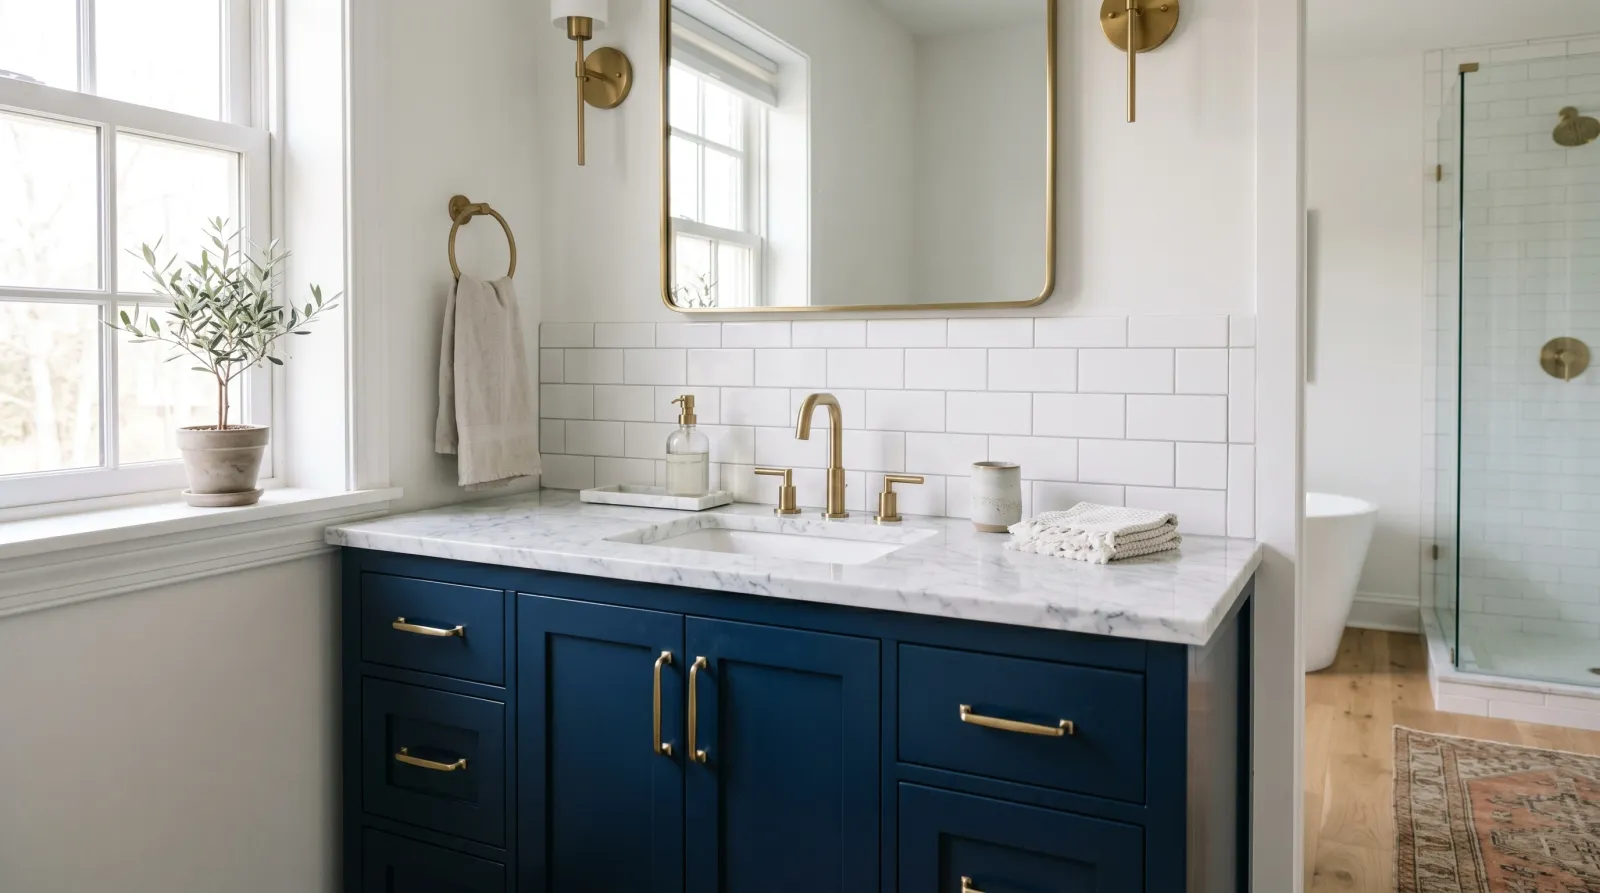
How to Paint a Bathroom Vanity (First-Timer Friendly)
Step-by-step bathroom vanity refinish — pull the doors, TSP, Stix bonding primer, two coats Advance or Emerald, real cure times that survive splash.

Okay, so the bathroom vanity is the easiest cabinet you’ll ever paint, and you’re probably overthinking it. It’s small. There are two doors and maybe a drawer. You can do this in a weekend, and the only number you really have to respect is the seven-day wait before water hits it.
What You’ll Get
A vanity that looks like a brand-new piece of furniture for around $150 in materials. Most bathroom vanities have a glossy factory finish that scares first-timers off. Don’t worry — the right primer makes that finish stop mattering.
Honest Take on Difficulty and Time
| Phase | Active time | Wait time |
|---|---|---|
| Remove + clean + sand | 1.5 hours | Overnight dry after TSP |
| Prime | 45 minutes | 16 hours |
| Two coats paint | 1.5 hours total | 16 hours between coats |
| Reinstall hardware | 30 minutes | — |
| Before heavy splash | — | 7 days from final coat |
So: about 4 hours of actual work, spread across one weekend, plus a week before you treat the sink like a sink again. That last week is the real test of patience. Brush your teeth carefully. Don’t let toothpaste foam sit on the drawer front for two days while the paint’s still soft.
What You’ll Need
Paint and Primer
- Primer: INSL-X Stix Bonding Primer — one quart is enough for a single vanity, but a gallon costs almost the same and lets you fix mistakes.
- Paint: waterborne alkyd in semi-gloss. Either Benjamin Moore Advance or Sherwin-Williams Emerald Urethane. Both are in our bathroom paint round-up. One quart covers two coats on a standard 30-inch vanity. Buy a gallon if the vanity is 48 inches or bigger.
Tools
- 4” foam roller + one spare sleeve
- Wooster Silver Tip 2” angled brush (the brush matters more than the paint)
- 220-grit sanding sponge
- TSP or Krud Kutter and a stack of clean rags
- Painter’s tape
- One small drop cloth (the bathroom floor) + one larger one (wherever you paint the doors)
- Sawhorses, or two stacks of paint cans, or the closed lid of an outdoor storage bin — anything that holds the doors flat off the ground
- A zip bag for the hinges and pulls
- A Sharpie
Step 1 — Empty the Vanity, Then Take It Apart
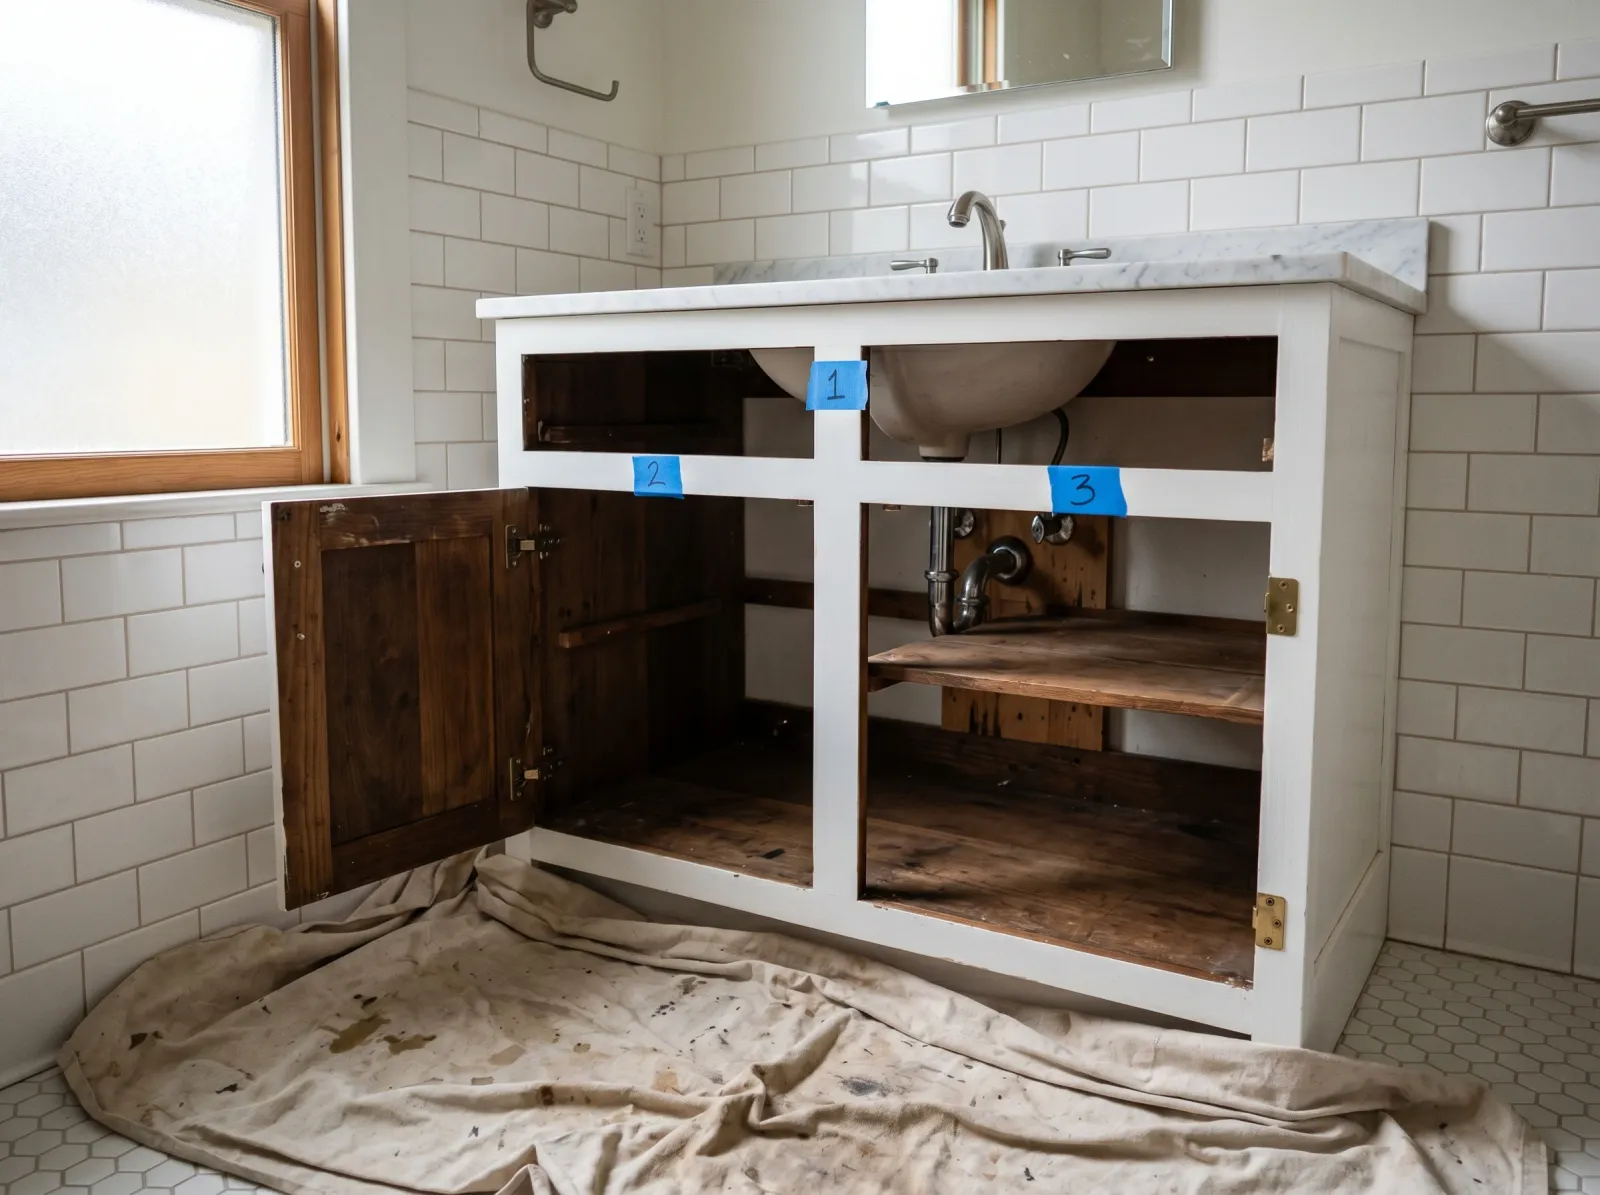
Two doors and one drawer front removed, numbered tape on the back of each, hinges and pulls dropped into a labeled zip bag.
Pull everything out of the cabinet. Take the doors off — most have two hinges screwed into the inside of the door and the box. The drawer front usually pops off the drawer body with four screws from the inside of the drawer.
Number every piece on the back with painter’s tape and the Sharpie (1, 2, 3). Number the matching spot on the cabinet box where each piece came from. The hinges and pulls go into a zip bag with the screws — losing one screw turns a Sunday afternoon into a second hardware-store trip.
Watch out for: the soft-close mechanism on newer hinges has a little metal clip you have to pop off before the door comes free. If the door isn’t releasing, that’s why.
Step 2 — Mask the Wall and Floor
Painter’s tape along the wall where the vanity meets it. Drop cloth on the floor under the vanity box, and a second one wherever you’re laying the doors out flat (a spare bedroom, the garage, a covered porch). You’ll regret skipping the masking the first time a loaded roller catches the corner of the box and flicks paint at the tile.
Step 3 — TSP Wipe-Down
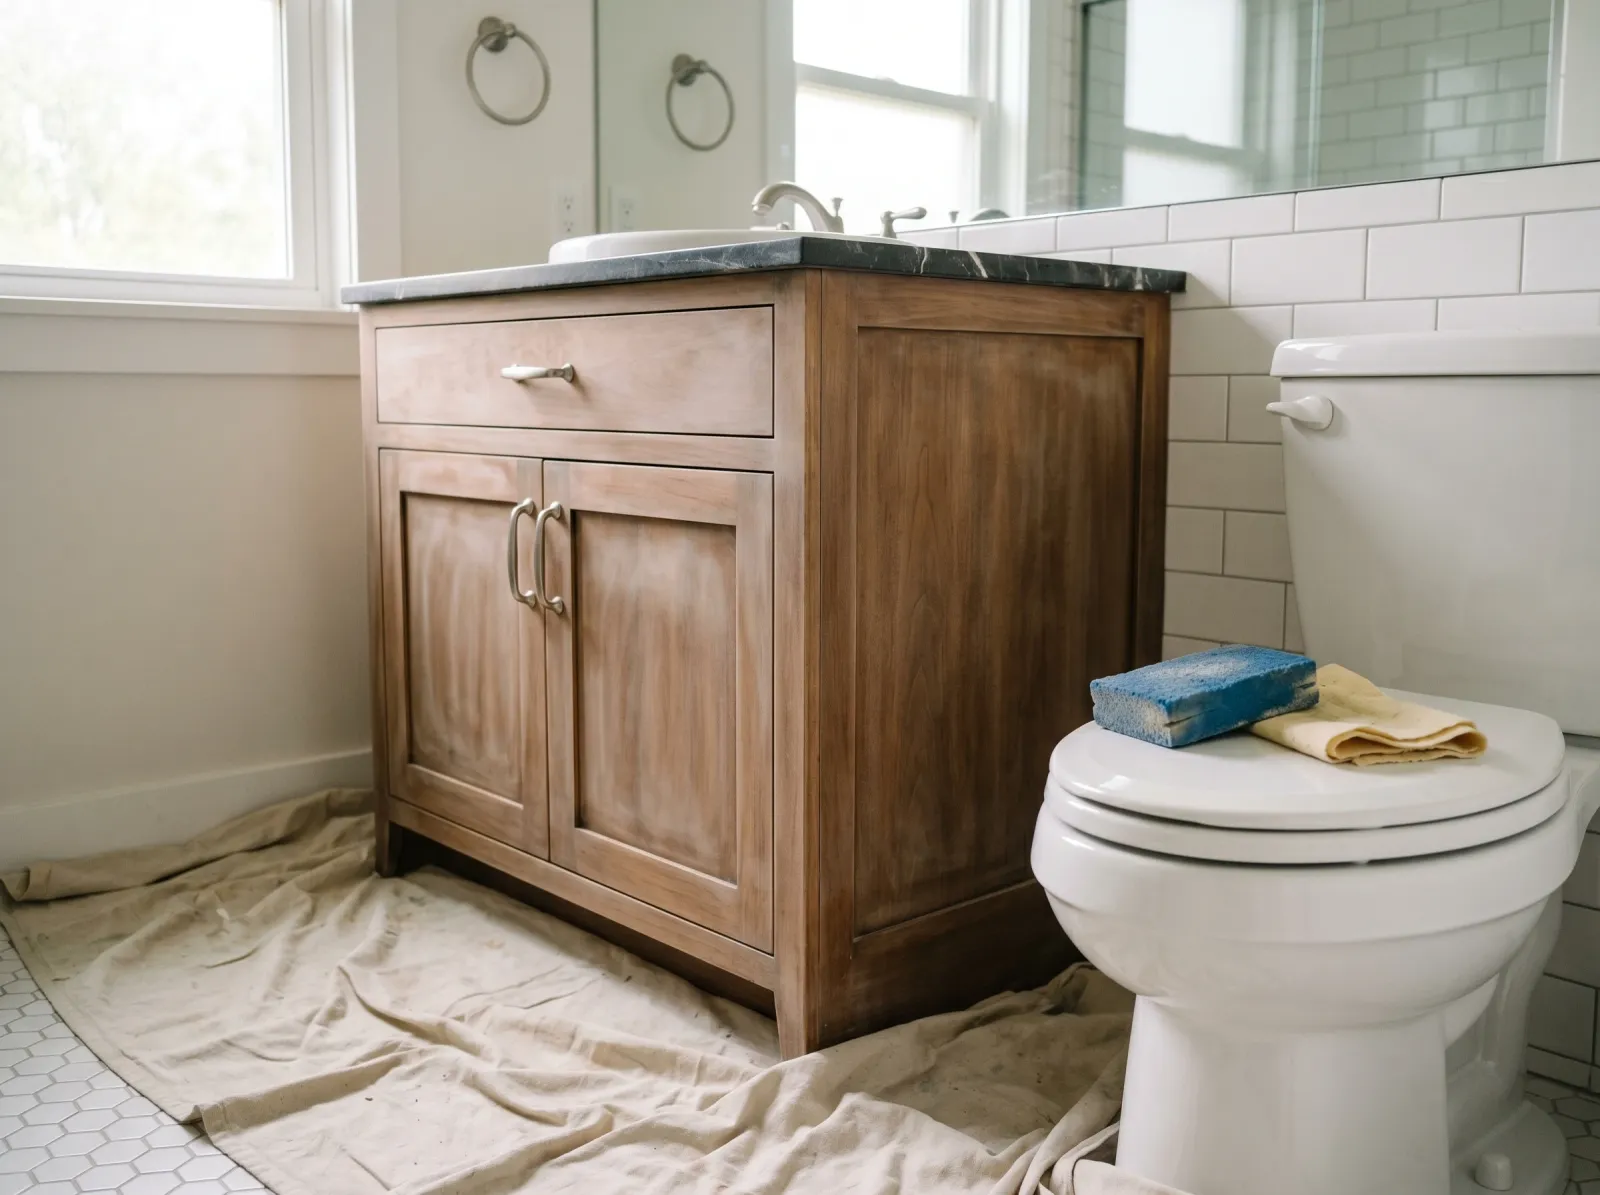
TSP wipe-down kills the toothpaste film, then a 220-grit pass leaves the factory finish slightly hazy — that’s the bite the primer wants.
Mix TSP per the bottle (about a tablespoon per gallon of warm water), or use Krud Kutter straight from the spray bottle. Wipe every surface of the cabinet box, both sides of each door, and the drawer front. Rinse with a clean damp rag. Let dry overnight.
This is the step most first-timers skip and then can’t figure out why their primer beads up like rain on a waxed car. Bathroom vanities collect a film you can’t see. TSP takes it off. Don’t skip it.
Step 4 — Light Scuff Sand
220-grit sanding sponge over every face and edge. You’re not stripping — you’re scuffing. The factory finish stays. You just want it slightly hazy so the primer has something to grip.
Two minutes per door. Three minutes for the cabinet box. Vacuum the dust, then wipe with a damp rag.
Watch out for: the routed detail on a shaker-style door collects sanding dust in the corners. A small artist’s brush or a vacuum nozzle clears it; if you skip this, the first coat shows little gray specks.
Step 5 — Prime with Stix
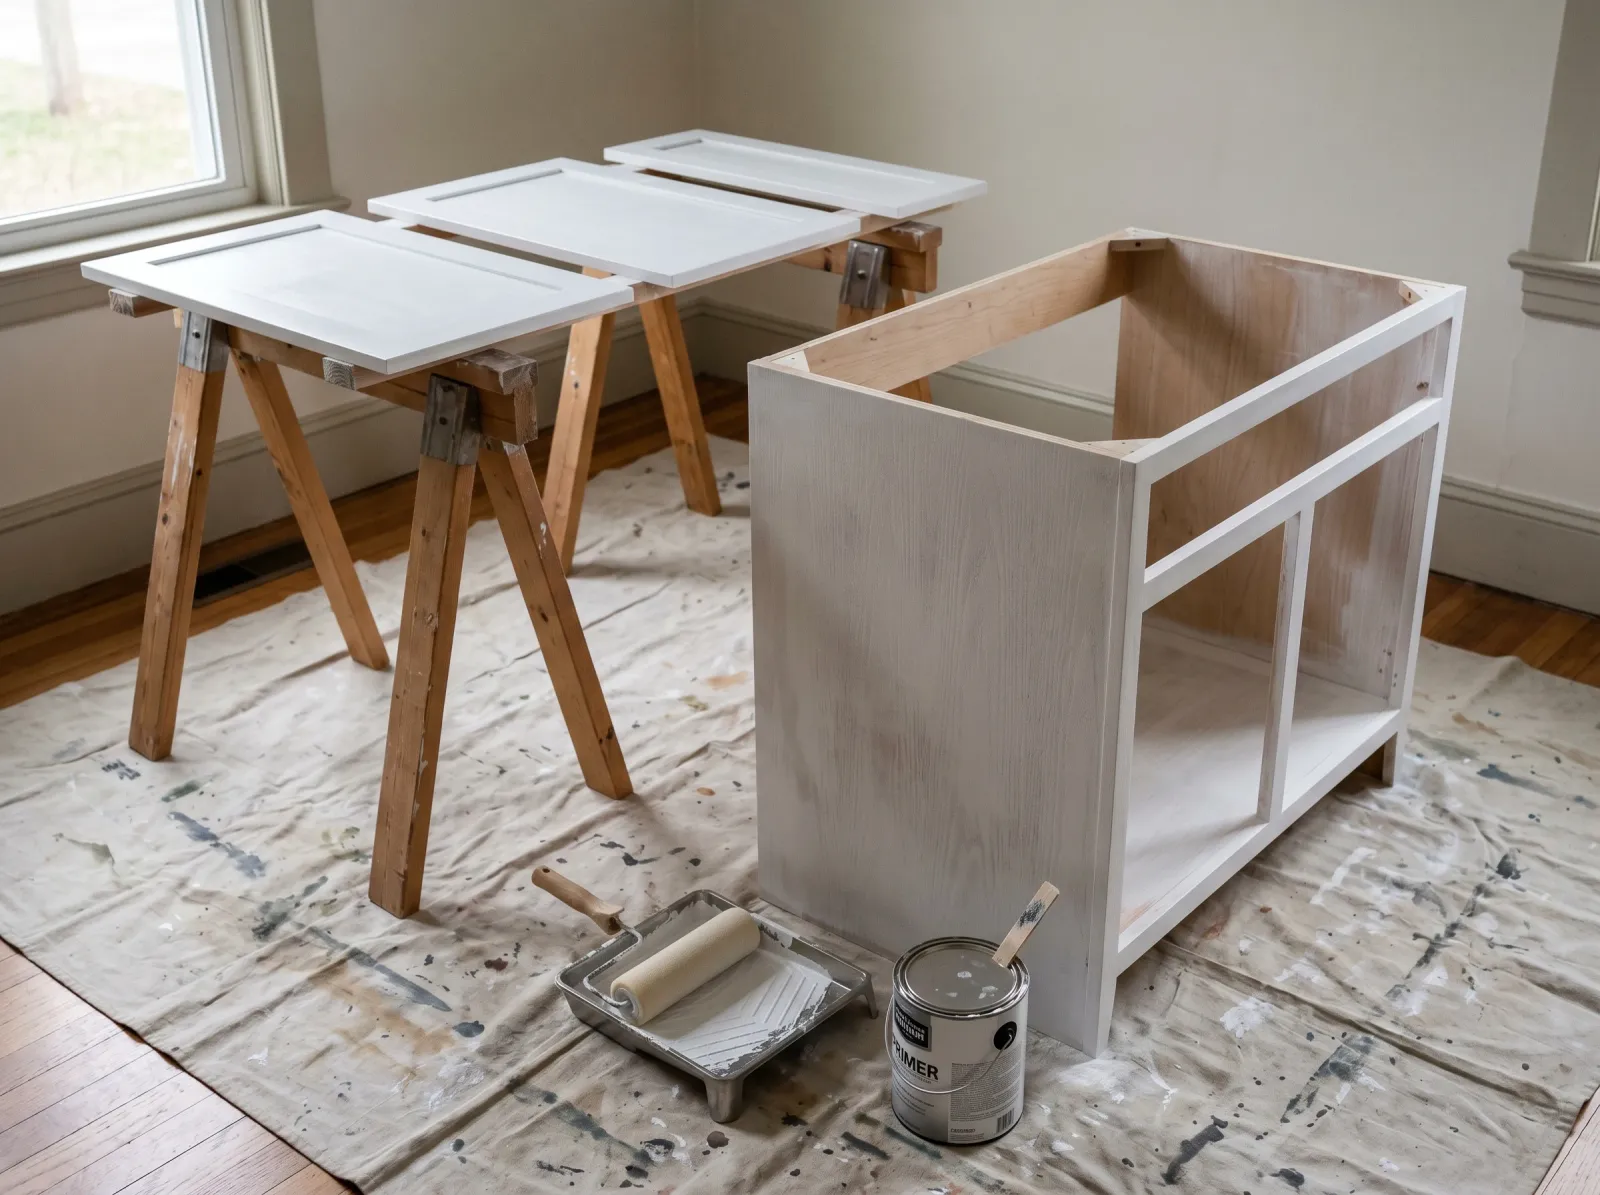
One coat of INSL-X Stix rolled onto the box; the two doors and drawer front primed flat on sawhorses in the next room.
Stir the Stix slowly with a paint stick — don’t shake it, you’ll trap bubbles. Pour a small puddle into a tray. Roll a thin coat onto the flat panels with the foam roller, and cut into the corners and routed details with the angled brush. Thin coat is the key word. Stix is designed to bond, not to fill, so a heavy coat just sags.
One coat is enough. Let it dry 16 hours (overnight + the next morning). The cabinet will look like a hazy white-gray ghost of itself. That’s correct.
Step 6 — Light Sand, Then First Coat of Paint
Quick pass with the 220 sponge to knock down any nibs or roller texture in the primer. Wipe with a clean dry rag — no water on cured Stix.
Pour your paint into a clean tray. Roll thin, cut in clean, don’t overwork it. Both Advance and Emerald Urethane self-level if you leave them alone — the worst thing you can do is keep brushing back into a section that’s starting to set. Lay the paint down, blend the brush marks once, move on.
Recoat windows:
- Benjamin Moore Advance: 16 hours
- Sherwin Emerald Urethane: 4 hours
The Advance window is annoyingly long, but it’s why Advance levels so well — it stays open for the brush marks to flow out. Set it up overnight if you’re using Advance.
Step 7 — Second Coat
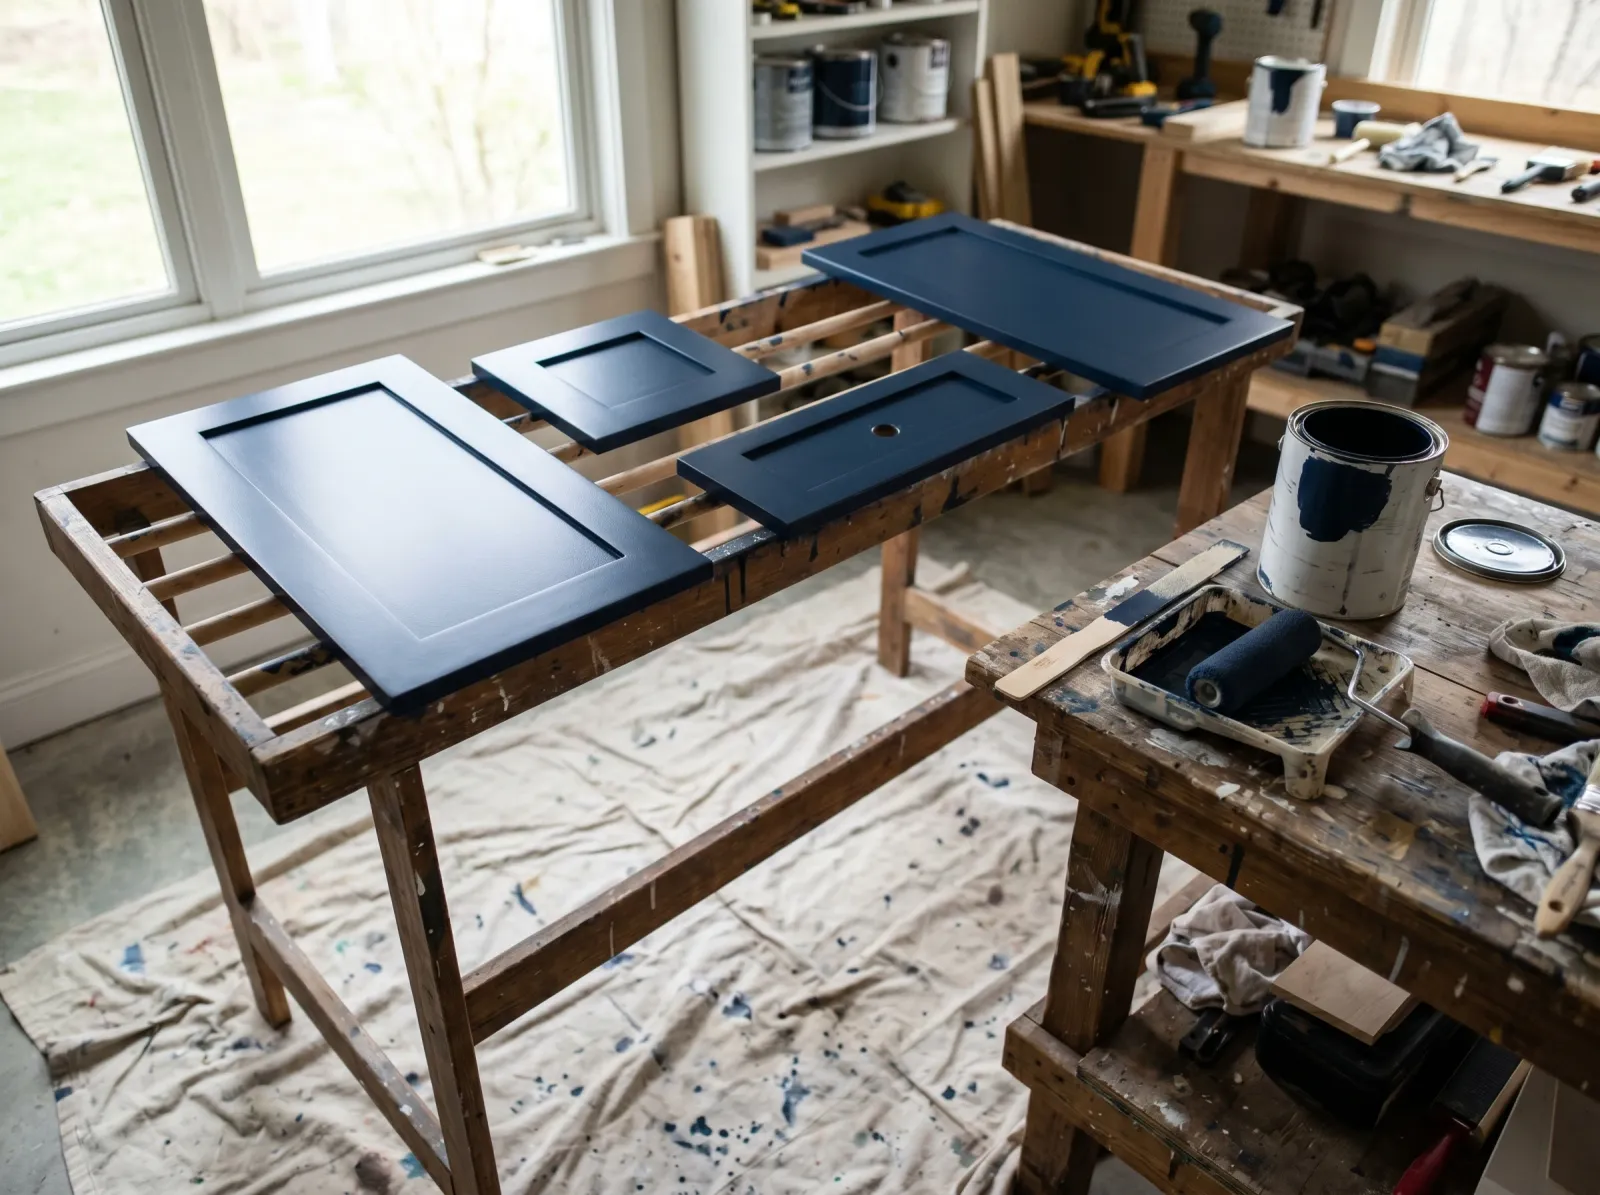
Doors flat on the rack, semi-gloss catching the light. Sixteen hours between coats for Advance; four for Emerald Urethane.
Same drill as the first coat. Two coats is non-negotiable on a vanity — one coat lets the primer color ghost through the topcoat within a year, and the sheen looks uneven in side light.
Let the final coat sit a full 24 hours before you handle anything.
Step 8 — Reinstall
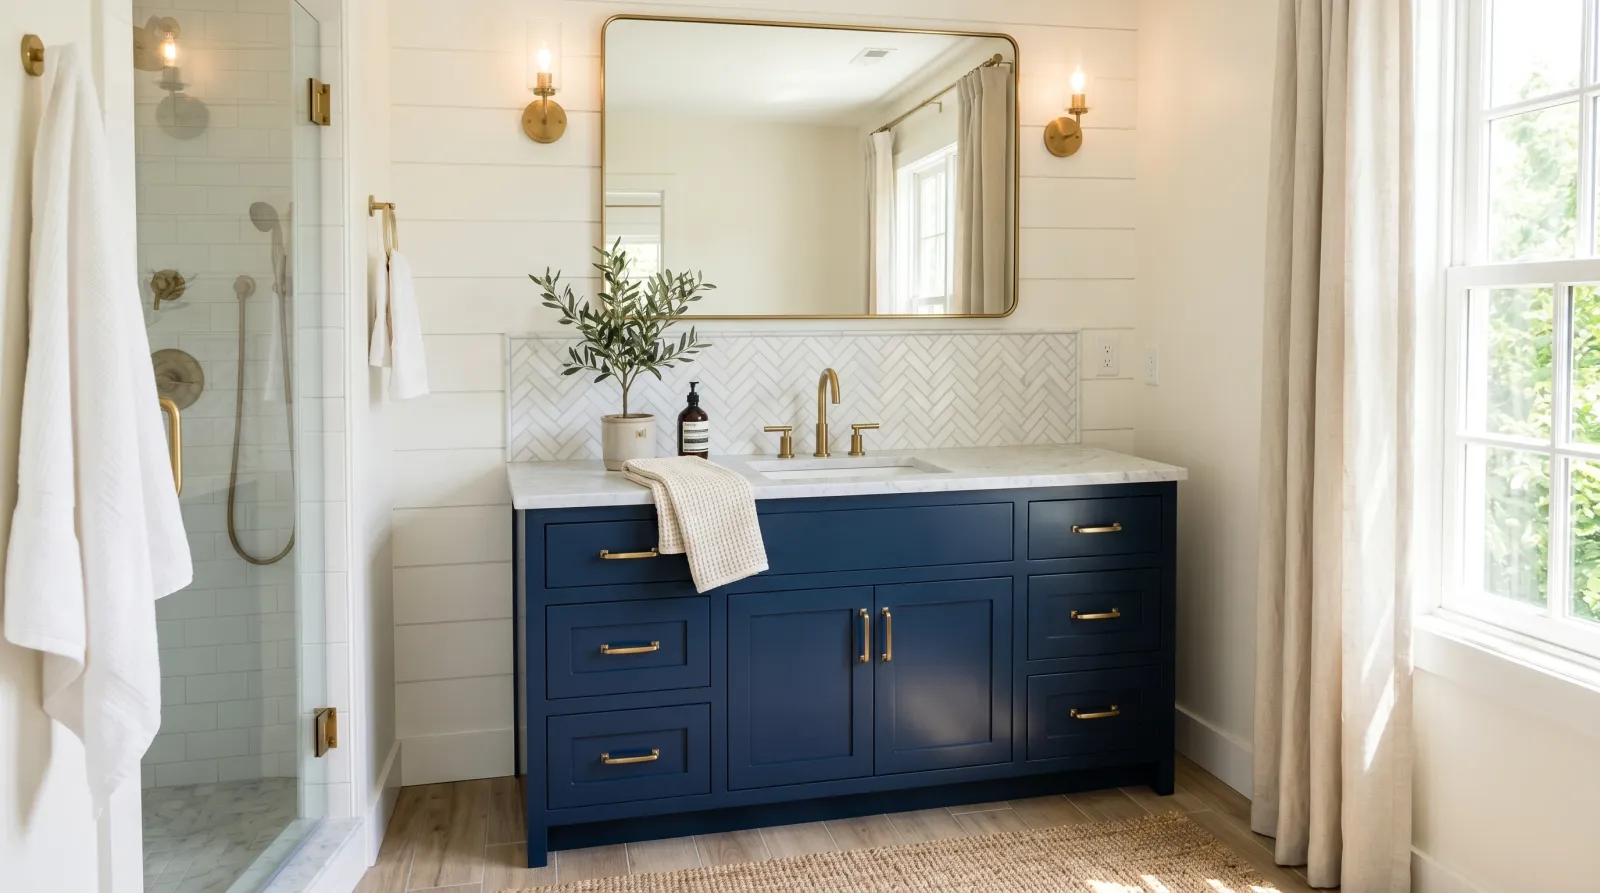
Doors snugged back onto hinges a full day after the last coat. Brass pulls reinstalled last. Sink kept dry for a week.
Use your numbered tape to put each door and the drawer front back where it came from. Snug the hinge screws — don’t crank them. Over-tight hinges crack the new paint at the screw head, and you’ll see it every time you open the door.
Hardware goes on last. If you’re swapping pulls for a new look, drill the new holes before paint, not after — patching a hole through cured semi-gloss is a separate weekend.
Cure Schedule
| Time after final coat | What’s safe |
|---|---|
| 4 hours | Touch dry — don’t touch |
| 24 hours | Reinstall hinges and hardware, gentle handling |
| 3 days | Light splash, normal opening and closing |
| 7 days | Heavy splash, scrubbing, water sitting on the surface |
| 30 days | Full cure — no special handling needed ever again |
The 7-day mark is the one that actually matters. Paint cures hard from the surface inward. A drop of water sitting on day-2 paint sinks into the still-soft underlayer and leaves a dull white spot you can’t buff out. Day 7, it beads up and wipes off.
Common Mistakes
- Skipping the TSP. Hand soap and toothpaste film are invisible. Primer doesn’t bond to them. The whole job fails within six months.
- Painting in place. A vanity has a front lip, hinge mortises, and a kicker board underneath. You can’t get a clean finish on any of them with the doors on. Twenty minutes to remove, twenty minutes to reinstall — non-negotiable.
- Using regular wall paint. Behr Marquee on a vanity looks great for two months, then chips around the pulls. Bathroom vanities need a cabinet-grade alkyd. The round-up linked above lists the four that work.
- Reinstalling too early. The door swings shut, sticks to the cabinet box at the latch, and tears a flap of paint off when you open it the next morning. Wait the full 24.
- Skipping the second coat to save time. The visible shortcut. Year-one ghost lines, uneven sheen, premature wear at the pull. Two coats. Always two coats.
What If Your Vanity Is a Weird Substrate
Most modern bathroom vanities are MDF boxes with a wood or MDF door, all factory-finished. Stix and Advance handle that combination without drama.
Two substrates change the playbook:
Thermofoil doors. These are particleboard wrapped in a glossy vinyl film. Stix doesn’t bond to vinyl reliably; the paint peels in sheets within a year. Use Zinsser BIN shellac primer instead, two coats, then your topcoat. Even with BIN, thermofoil edges can bubble in high-steam bathrooms (above a hot shower), so accept that this fix has a ceiling.
Old oil-based paint underneath. If the vanity was repainted at any point before about 2005, it might be sitting on oil. Latex-over-oil without a barrier peels at six months. To check, wipe an inconspicuous spot with denatured alcohol on a rag for thirty seconds. If the existing finish softens, it’s latex. If it doesn’t, it’s oil. If it’s oil, use BIN, not Stix.
Cost — What You’ll Actually Spend
| Item | Cost |
|---|---|
| Topcoat paint (1 qt Advance or Emerald) | $25–$30 |
| Bonding primer (1 qt Stix) | $20 |
| Foam roller + sleeves | $10 |
| Wooster Silver Tip 2” brush | $18 |
| Sanding sponge, tack cloth | $8 |
| TSP / Krud Kutter | $10 |
| Drop cloths and tape | $20 |
| Total | ~$110–$150 |
If you already own a brush and drop cloths, you can do this for closer to $60. Add another $40 if you want to swap the original pulls for brass or matte black — a small upgrade that does more for the finished look than the paint color does.
Maintenance
Touch up annually with a small artist’s brush from the original quart. The area around the pulls wears first; a 30-second touch-up at year one keeps the finish from looking 5 years old at year 3.
Keep the leftover paint in a sealed jar, not in the original quart can. Quart can lids rust at the rim and contaminate the paint within a year. A baby food jar with a screw lid works fine.
Plan to repaint at year 7–10 if the bathroom sees daily use. A guest bathroom vanity can stretch to 12 or more.