How to Paint a Popcorn Ceiling Without Knocking the Texture Off
Painting popcorn ceiling: asbestos test first if the house is pre-1978, then mist-coat, then roll. Skip the sprayer and the texture stays put.

Popcorn ceilings are the substrate everyone wants to paint and nobody wants to deal with. The texture grabs paint, sheds itself if you push too hard, and on anything built before 1978 might be hiding asbestos. None of that means you can’t do it. It means the order of operations matters more than the paint you pick.
TL;DR
- Asbestos test first if the house went up before 1978. $30–50, non-negotiable.
- Primer: Skip it unless you have stains, color change, or raw never-painted texture. Use Zinsser Cover Stain for water marks.
- Paint: Flat acrylic ceiling paint. Not matte. Not eggshell. Flat.
- Method: Mist coat first (thinned 10–15%), let it tack up, then full coat with a 3/4” nap roller. No high-pressure spray.
- Cure: Touch-dry in 1 hour, recoat in 4, full cure 14 days. Don’t run a humidifier in the room during that window.
- Skill: Medium. The texture punishes mistakes.
Test for Asbestos First
This goes first because everything after it changes if the test comes back positive.
Acoustic ceiling texture — the spray-on stuff people call popcorn, cottage cheese, or stucco ceiling — was sold from roughly 1945 through 1990. Manufacturers used chrysotile asbestos as a binder and fire retardant. The 1973 Clean Air Act banned spray-on asbestos for new construction, but existing inventory shipped through 1978, and contractors used what they had. Anything applied before 1978 should be assumed positive until tested. Anything 1978–1990 is a coin flip. Post-1990, the texture is usually polystyrene or vermiculite and clean.
The test is cheap. Buy an asbestos sample kit at a hardware store or order one online. Spritz a small spot with water, scrape a teaspoon of texture into the bag, seal it, mail it to the lab. Results in a week, $30–50. You can also hire a local environmental testing firm for $75–150 if you don’t want to handle the sample yourself.
If it comes back positive, you have two paths. Encapsulation — painting over it without disturbing it — is legal in most states and locks fibers in place. That’s what this guide covers. Removal is a licensed abatement job, not a DIY one, and runs $3–7 per square foot. Do not scrape, sand, or pressure-wash a positive ceiling. Don’t drill into it for a ceiling fan. Don’t even brush it hard.
If it comes back negative, you have a normal ceiling and the rest of this guide is the whole story.
Why Popcorn Is Tricky
The texture is a sponge. Each bump is hollow-ish acoustic compound bonded to drywall with a thin glue layer. When you saturate it with wet paint, two things happen: the bump absorbs water faster than the substrate does, and the glue softens. Roll heavy and the texture lifts off in chunks. You’ll see white drywall under bare patches a minute later.
The other problem is shadows. Popcorn casts thousands of micro-shadows under any directional light. Sheened paint amplifies those shadows. Flat paint mutes them. Pick the wrong sheen and the ceiling looks dirty even when it’s fresh.
Old popcorn that was originally painted with oil-based ceiling paint is the third trap. Water-based latex applied directly over aged oil will sometimes pull the old coat away. Test a 6”×6” patch before you commit. If the old paint comes off on your finger, you need a bonding primer like Zinsser Smart Prime or Insl-X Stix before the topcoat.
Tools & Materials
Materials
- Flat ceiling paint (1 gal covers ~250 sq ft of popcorn, vs 350 sq ft of smooth ceiling)
- Zinsser Cover Stain or Zinsser BIN — only if you have stains or are changing color
- Water in a spray bottle (mist coat)
- Patching compound for any drywall holes or chunks of missing texture
- Painter’s tape, 1.5”
- Plastic sheeting for floor and furniture
- Rosin paper or canvas drop cloth
Tools
- 3/4” nap roller cover (microfiber or synthetic blend)
- 9” roller frame with extension pole, 4–6 ft
- 2.5” angled sash brush for cutting in
- Drywall knife, 6”
- Respirator (N95 minimum for the dust; P100 if you’re touching anything pre-1978 even after a negative test)
- Safety glasses
- Step ladder
Skip the sprayer. I know the box-store rental ads love showing one drifting across a ceiling. On popcorn it forces you into a tip choice that’s either too small (clogs every five minutes) or too big (lifts texture). Roller is the right call.
Surface Prep
Clean
Most popcorn ceilings don’t need cleaning. The exception is kitchens and bathrooms, where airborne grease and humidity leave a film that paint won’t bond to. For those, mist a TSP substitute (Krud Kutter or Dirtex) into the texture from 18” away, wait 5 minutes, then dab — don’t wipe — with a damp microfiber. Wiping pulls texture off.
For everything else, run a feather duster across the ceiling. That’s it. Dry cleaning only. A vacuum brush attachment on low suction also works if you have one with adjustable power. High suction will eat the texture.
Repair
Holes, missing chunks, and water-damaged spots get patched before any paint goes up. For small bare patches under 2”, a popcorn texture patch in a can (Homax sells one in spray and squeeze-tube form) blends close enough. Match the existing texture by spraying onto cardboard first to dial in the spray distance — too close goes smooth, too far goes coarse. Let the patch dry 4 hours before the mist coat.
For water stains, prime the stain with Zinsser Cover Stain via a spray can. Don’t roll it. Rolling pushes the stain blocker into the texture and you lose the bumps under that area. Spot-spray, let dry 2 hours, then paint.
For larger sections of missing or hanging texture — anywhere a chunk fell off bigger than a dollar bill — scrape the loose stuff with a 6” drywall knife until you hit solid material, skim with patching compound, sand smooth, prime, and patch with new texture from the can. This is fiddly. Some homeowners just scrape the whole ceiling at that point and start over with a fresh skim coat. That’s a different article.
Safety Callout
Even after a negative asbestos test, popcorn dust is irritating. Wear an N95 minimum. Eye protection too — gravity drops everything you knock loose straight at your face. Pre-1978 ceiling that tested positive: stop reading this guide and call an abatement contractor. Pre-1978 that tested negative: still wear a P100 the first day, because old fiberglass and cellulose in the texture mix is its own respiratory hazard. Cover the floor with plastic, not canvas — plastic catches drips, canvas absorbs them and tracks paint through the house.
Primer Choice
Most painted popcorn ceilings don’t need a primer coat. Save the time.
You do need primer when:
- Water stains. Spot-prime only with Zinsser Cover Stain (oil) or BIN (shellac). Latex stain blockers don’t fully kill tannin or smoke bleed.
- Going from yellow to white. Decades of cooking grease and cigarette smoke turn ceiling paint yellow. Latex over yellow will reactivate the stain. Roll one full coat of Cover Stain across the whole ceiling first.
- Raw acoustic texture. Bare unpainted popcorn drinks paint. A coat of Sherwin-Williams ProBlock Latex Primer or Behr Multi-Surface Primer cuts your topcoat consumption by 40%.
- Suspect oil-based old paint. Bonding primer (Insl-X Stix or Zinsser Smart Prime) lays a glue layer that holds the new latex onto the old oil.
For a previously-painted white ceiling getting a refresh, skip the primer and run two topcoats. That’s it.
Paint Type Recommendations
Flat acrylic ceiling paint. The category exists because regular flat wall paint isn’t quite right for ceilings. Ceiling paint is engineered to drip less off the roller, dry slightly slower (so lap marks have time to level), and hit a deeper flat sheen than wall flats do.
The four ceiling paints I trust on popcorn:
- Benjamin Moore Waterborne Ceiling Paint (508) — best leveling, highest hide
- Sherwin-Williams ProMar Ceiling Paint — contractor standard, fair price, no surprises
- Behr Premium Plus Ceiling Paint — Home Depot’s stockable option, fine for a refresh
- Kompozit Ceiling White — quiet performer; matches the BM on hide for less money
For the full SKU breakdown and where they actually win, see the ceiling paint round-up. This guide isn’t the place to argue brands.
Application Method
The mist coat is what separates a good popcorn ceiling job from a mess. Here’s the sequence.
Mist coat. Fill a 2-gallon garden sprayer with the ceiling paint thinned 10–15% with water. Mist the ceiling in slow back-and-forth passes, holding the wand 24” off the texture. You’re not painting yet. You’re wetting the texture so it stops sucking water out of the topcoat. The mist coat looks like a fog — patchy, translucent. Don’t try to make it cover. Let it tack up for 45 minutes.
Don’t have a sprayer? A 24-ounce spray bottle of plain water works as a substitute. Less even, more work, same result — texture that’s pre-saturated and won’t pull bumps off when the roller hits it.
Cut in. Once the mist coat has tacked, cut in the perimeter with a 2.5” angled brush. Pull the brush 4–6 inches off the wall. Don’t push it tight to the corner — popcorn ceilings rarely have crisp edges, and a tight cut-in highlights where the texture stops short of the wall. A soft 1/4” gap reads cleaner.
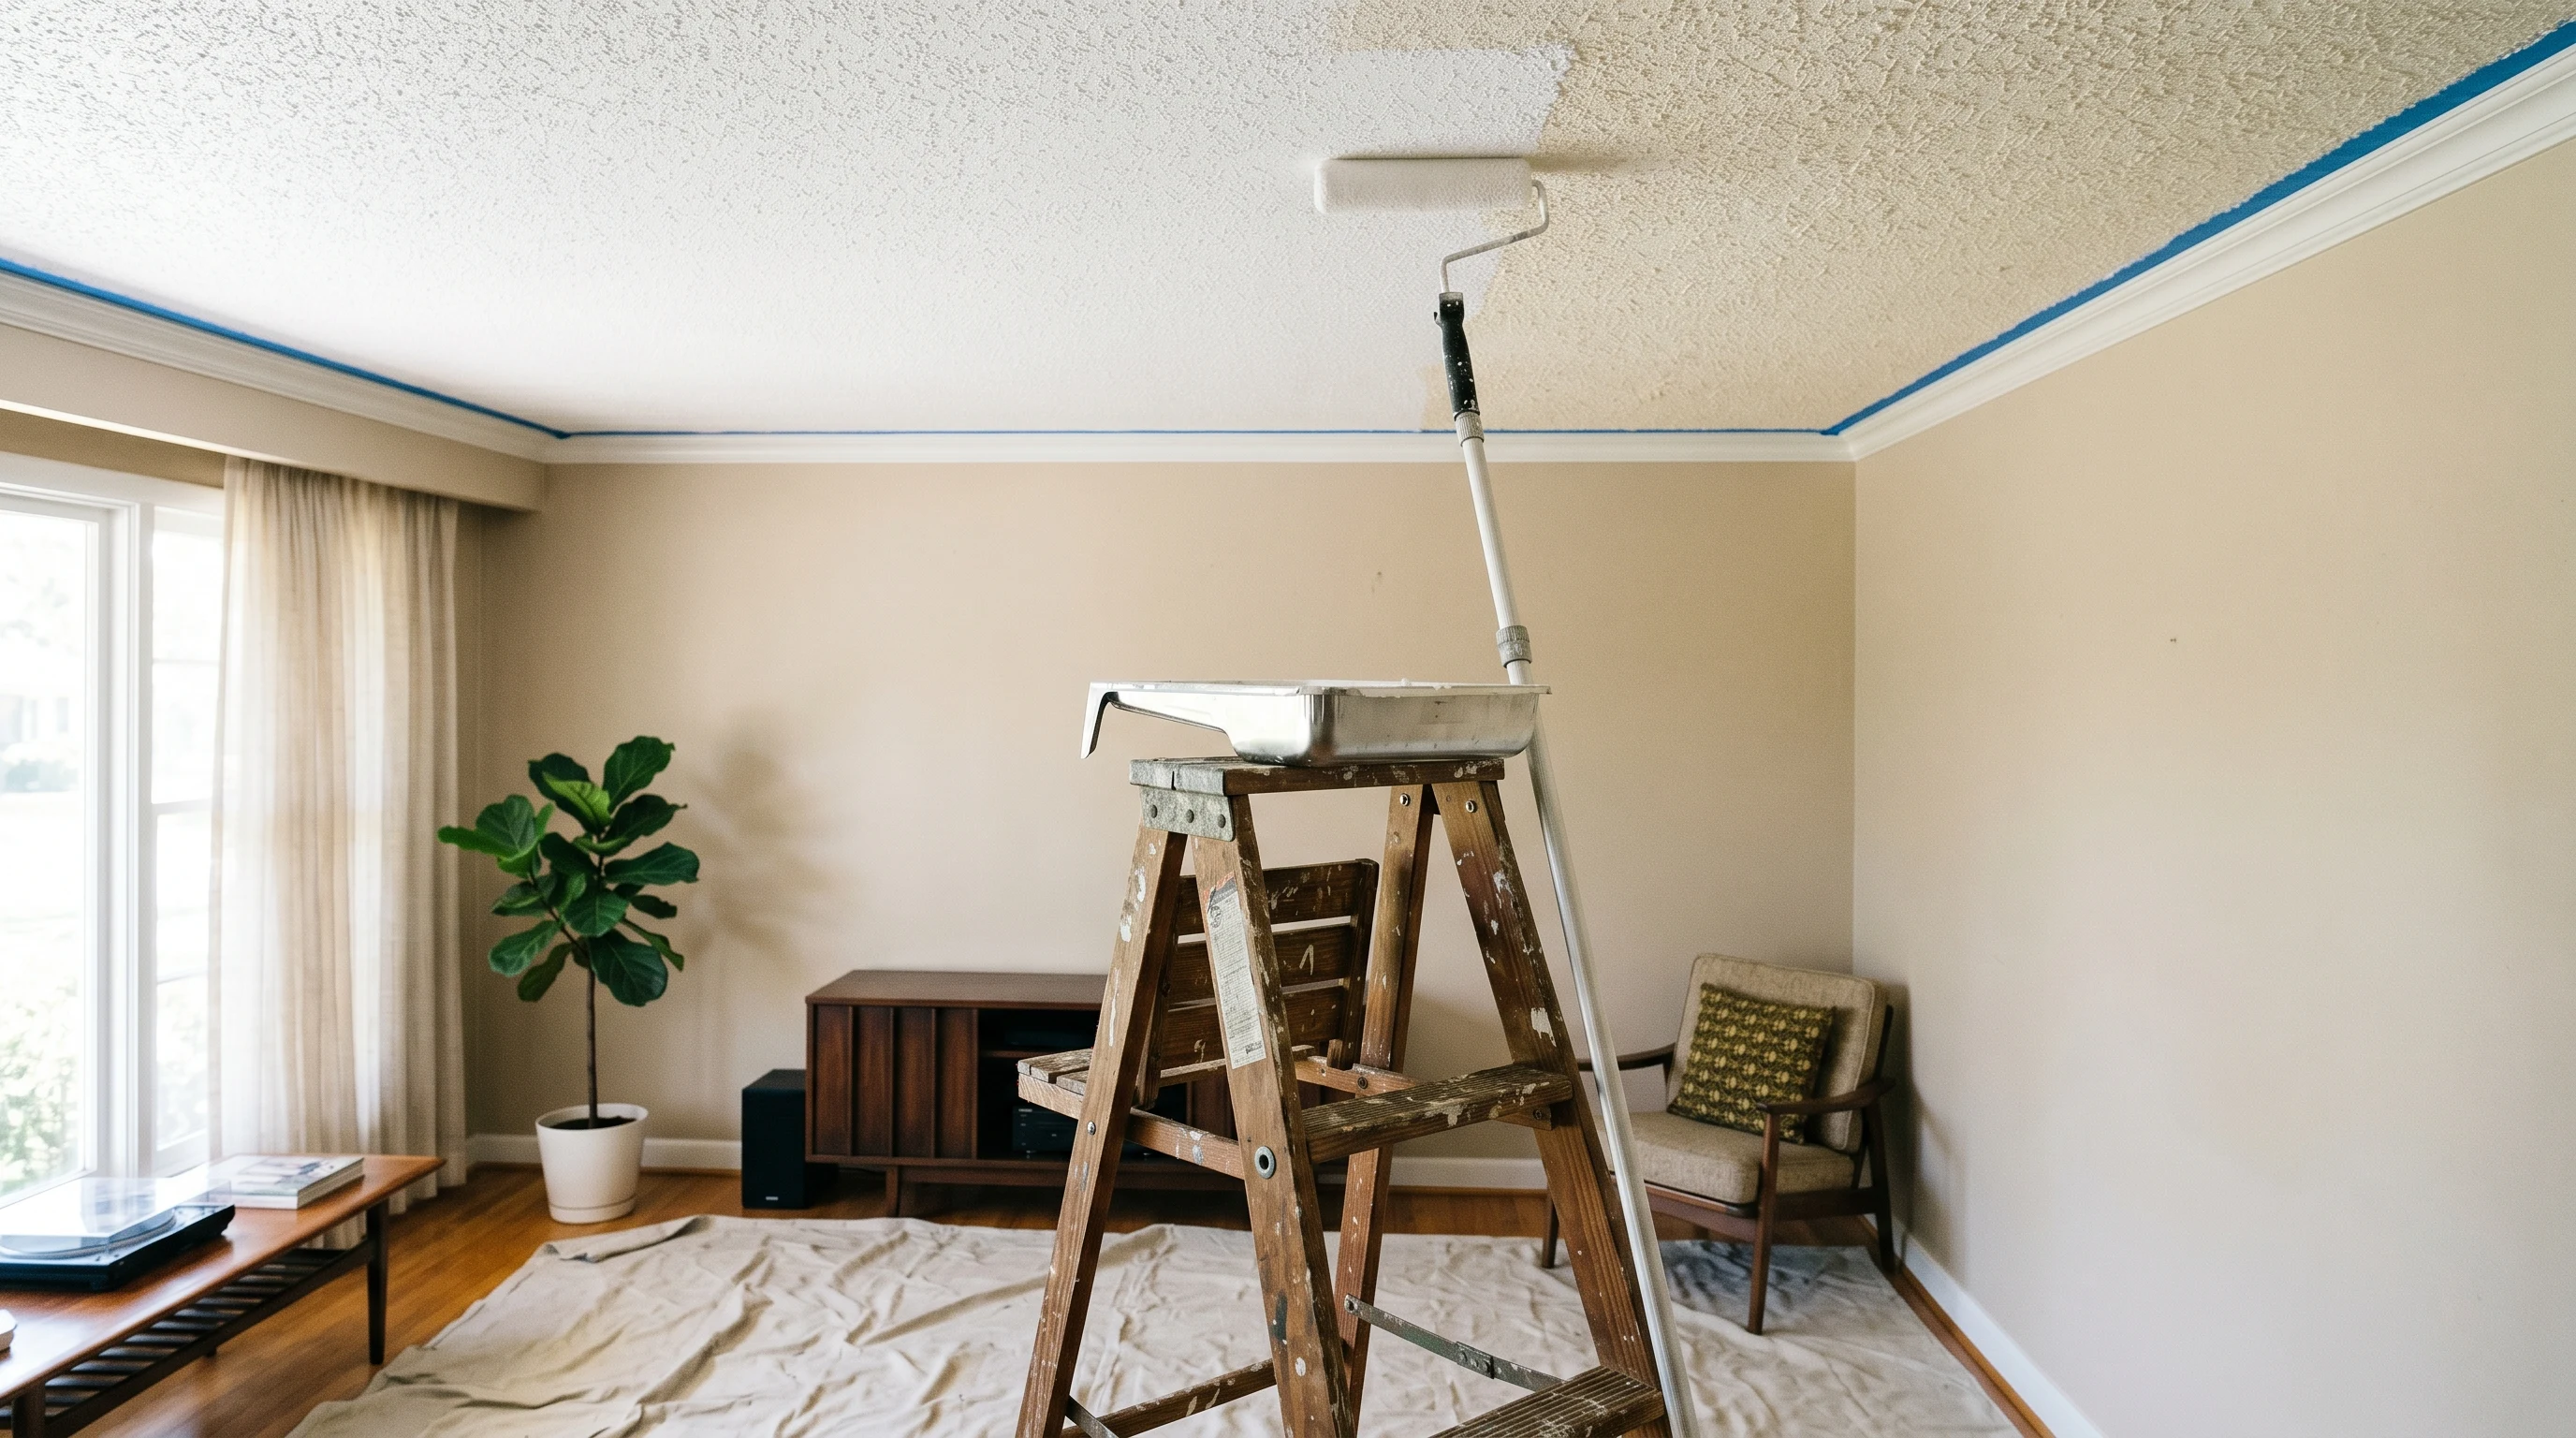
Roll. Load the 3/4” nap roller and roll in 3-foot sections, with the extension pole letting you stand on the floor or one ladder step. Light pressure. Push down on the pole and you’ll pull texture. The nap should do the work — long fibers reach into the bumps without the cover itself touching them.
Roll the cut-in line while the brush work is still wet to feather the edge. That’s how you avoid a visible band around the perimeter.
Direction. Roll the first coat north-south. Second coat east-west. The cross-direction catches anything the first pass missed and evens out the texture coverage.
Lap marks. Don’t stop mid-ceiling. Lap marks on a popcorn ceiling read as dark stripes once it dries, and the only fix is a third coat. Plan your sections so each one ends at a wall or fixture.
Dry, Recoat, Full Cure
Numbers, not vibes.
- Touch-dry: 1 hour at 70°F / 50% humidity
- Recoat: 4 hours minimum
- Cured for cleaning: 14 days
- Full cure (chemistry): 30 days
During the 14-day cure window, don’t run a humidifier in the room, don’t take long hot showers under a bathroom ceiling you just painted, and don’t touch the ceiling to check if it’s dry. Acrylic latex tacks up fast but stays soft for two weeks. Pressing a finger in at day 3 leaves a print that doesn’t level back out.
If the room hits 85°F mid-job, the paint dries on the roller before it lays out. Crack a window, don’t run the AC straight at the ceiling. If it’s under 50°F, latex won’t coalesce and you’ll get a chalky finish that wipes off later. Wait for a warmer day.
Common Mistakes
- Skipping the mist coat. The texture drinks water out of the topcoat, the topcoat doesn’t level, and you get visible roller marks. Fix: mist coat. Always.
- Loading the roller too heavy. Drips fall on the floor, and bumps pull off into the nap. Roll it out on the tray edge until it’s not dripping before each pass.
- Using eggshell or matte ceiling paint. Any sheen telegraphs the texture and the ceiling reads as dirty. Flat only.
- Cutting in tight. Highlights where the texture ends short of the wall. Leave a soft 1/4” feathered edge.
- Painting over an asbestos-positive ceiling without checking first. Encapsulation is fine; sanding the bumps off to make it smooth first is not. If you scraped before testing, stop and get the dust tested.
Maintenance & Longevity
A flat-painted popcorn ceiling lasts 8–12 years in a normal bedroom or living room before it needs another coat. Kitchens cut that to 4–6 because of grease deposition. Bathrooms cut it to 3–5 because of humidity. The failure mode is usually yellowing, not peeling — the paint stays bonded, the surface just dulls and dirties.
Cleaning is mostly off-limits. You can’t wipe a popcorn ceiling without pulling texture off. For light dust, use a microfiber feather duster every six months. For a stain, prime the spot and repaint that section with leftover paint from the original job (save a quart in a labeled glass jar for this exact purpose). Don’t try to scrub.
When the ceiling does need a refresh, the prep is the same: dust, mist, paint. You don’t have to strip the old coat first. Popcorn ceilings stack coats well as long as nothing was oil-based in the middle of the sandwich.
Related
- Best ceiling paint round-up
- How to paint drywall
- Fix peeling ceiling paint
- Repaint a bedroom — full project
One last thing. The job that’ll bite you in two years isn’t the paint. It’s the chunk you didn’t patch because it was small and you figured nobody would notice. Two summers of humidity later that chunk has grown, the edge is curling, and you’re back on the ladder for a spot repair you could’ve done once. Patch every bare spot before the mist coat. Even the small ones.
Frequently asked questions
Do I need to test for asbestos before painting a popcorn ceiling?+
Can I spray paint a popcorn ceiling?+
Why is my popcorn ceiling falling off when I paint it?+
What sheen should I use on a popcorn ceiling?+
How much paint do I need for a popcorn ceiling?+
Should I prime a popcorn ceiling before painting?+
- How to paint drywall
- Fix peeling ceiling paint
- Best ceiling paint round-up
- Repaint a bedroom — full project