How to Paint Particleboard Without the Edges Blowing Up
Particleboard paints fine — if you seal the edges, prime with shellac, and bond the face. Full prep + paint guide for cheap cabinets, shelves, and flat-pack furniture.

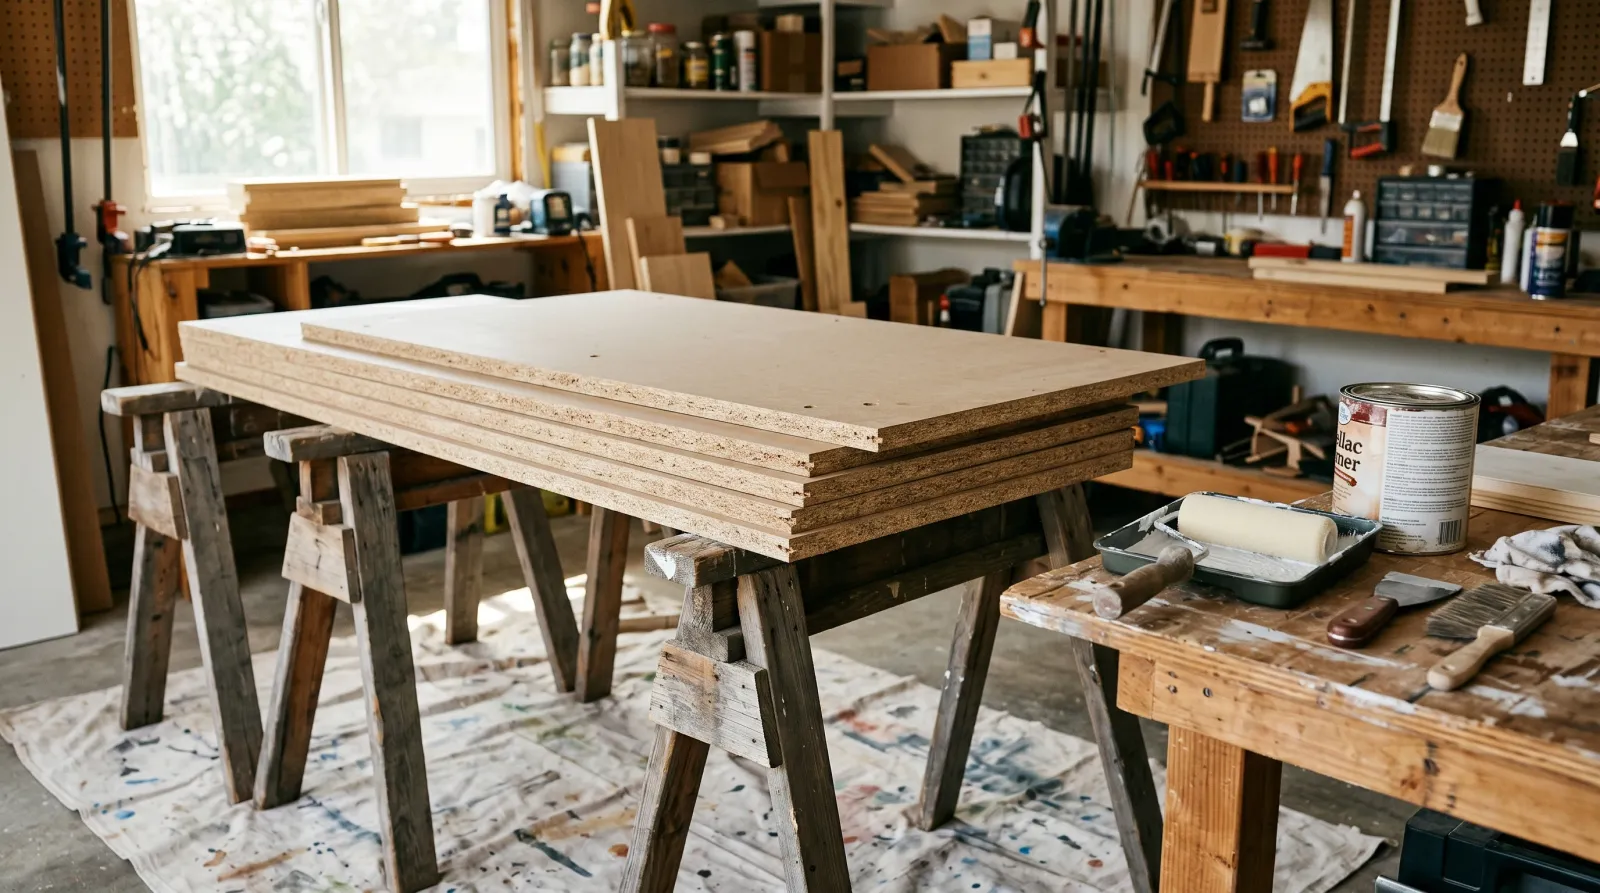
Particleboard is what the lumber yard sells when the customer wants the cheapest panel that holds a screw. It paints fine if you treat it like the porous, fiber-loaded sponge it is. Treat it like wood and the edges blow up in a month.
TL;DR
- Sand: 180 on the face, 120 on the edges
- Seal edges: Zinsser BIN shellac, two coats, sanded between
- Prime face: INSL-X Stix bonding primer, one full coat
- Paint: waterborne alkyd (BM Advance, SW Emerald Urethane), two coats
- Cure: 30 days before serious wear
What Is Particleboard?
Particleboard is wood chips and sawdust pressed into resin under heat. Bigger chips than MDF, less resin, lower density. You see the chip pattern when you cut it. Most flat-pack furniture, builder-grade cabinets, and big-box shelving units are particleboard with a melamine or paper laminate glued to the face. The core is structurally weak in tension and falls apart fast when wet — but for a non-load-bearing painted panel, it works.
Tools and Materials
Materials
- Zinsser BIN shellac primer (quart for small projects, gallon for a cabinet job)
- INSL-X Stix acrylic bonding primer
- Benjamin Moore Advance or Sherwin Emerald Urethane Enamel topcoat
- 180-grit and 120-grit sanding sponges
- Painter’s tape, drop cloth, tack rag
- TSP or a degreaser if you’re working on existing kitchen panels
Tools
- 1.5-inch putty knife for thinned filler if you’re patching screw holes
- 4-inch high-density foam roller (1/4 nap)
- Wooster Silver Tip 2-inch angled brush
- Random-orbit sander helps on big flat panels; sponge is fine for small work
- Shop vac with a HEPA filter — particleboard dust is fine and gets into everything
Why Particleboard Is Tricky
Three problems stack on top of each other. The chip-core edges drink water-based primer and swell. The factory laminate face is slick and rejects most primers without a bonding agent. And any glue, oil, or wax residue on the laminate (think kitchen cabinets that have seen ten years of cooking) keeps the bonding primer from biting.
Skip the edges and you get fuzz that telegraphs through every topcoat. Skip the bonding primer on the face and the whole finish peels in sheets the first time someone wipes the door with a damp cloth. Skip the degrease and the bonding primer beads up like water on a waxed car.
Particleboard Versus MDF — Don’t Confuse Them
People treat them as interchangeable. They aren’t.
| Spec | Particleboard | MDF |
|---|---|---|
| Core material | Wood chips + resin | Fine wood fibers + resin |
| Density | 40–50 lb/cf | 45–55 lb/cf |
| Edge after cutting | Chunky, visible chips | Smooth, almost paper |
| Water tolerance | 🔴 Very low | 🟡 Low (better with MR-grade) |
| Face paintability | Needs bonding primer (usually laminated) | Good with shellac |
| Where you find it | Flat-pack furniture, builder cabinets, shelving | Trim, cabinet doors, panel work |
If your panel has a chunky chip pattern on the cut edge, it’s particleboard. If the cut edge looks like compressed paper, it’s MDF. The paint system differs because the face usually does too: MDF panels come bare and accept primer directly; particleboard panels almost always come laminated and need a bonding step first. Read the MDF painting guide if you’ve got the smoother-edge product.
Step 1 — Clean and Degrease
Existing cabinet doors get wiped down with TSP or a strong degreaser. Kitchen cabinet faces collect a thin film of cooking oil that’s invisible until your primer beads up on it. Two passes with a degreaser, two passes with clean water, dry fully.
New flat-pack panels still need a wipe. The factory release agents used to pop panels out of the press leave a slick residue that defeats bonding primers. Mineral spirits on a rag pulls it off.
Step 2 — Sand
180-grit sponge on the face. You’re not removing the laminate — you’re scuffing it so the bonding primer has something to grip. The face should go from shiny to evenly hazy. Don’t sand through to the chip core; that’s how you turn a paintable panel into a patching job.
120-grit on the cut edges. The edges are loose chips held by resin. You want to compress and smooth them, not gouge them. Stop when they feel firm under your thumb instead of crumbly.
Vacuum everything. Tack rag the face.
Step 3 — Seal the Edges with Shellac
This is the step that decides whether your finish lasts five years or five months.
Zinsser BIN, brushed on the edges only, two thin coats. Forty-five minutes between coats. Sand smooth at 90 minutes with 220-grit. BIN locks the chip fibers, blocks any resin bleed, and dries fast enough to keep the day moving. Shellac is brittle — if you sand through a high spot, hit it with another thin coat. Don’t try to fix a bald patch by laying it on thick; thick shellac alligators.
Cut-end exposure matters most: panel ends, screw-hole rims, drilled hardware mortises. Anywhere water can wick into the chip core needs the same treatment. I caulk-gun a bead of BIN into deep mortises and wipe flat with a chip brush.
A note on drywall mud. On MDF I’ll use mud on the edges. On particleboard I won’t — the chip texture is too coarse for mud to fill without three coats, and mud doesn’t lock the resin the way shellac does. Stick with BIN.
Step 4 — Bond the Face
INSL-X Stix across the entire panel, edges included, one full coat with a foam roller. Stix is an acrylic-urethane bonding primer that grips slick laminate, factory melamine, varnished surfaces, and the BIN you already laid on the edges. One coat is enough if your face sanding was uniform. Don’t pile on a second; bonding primers get worse, not better, with extra mil thickness.
Stix recoats at four hours. Sand with 320-grit between primer and topcoat if you can see roller stipple; otherwise just tack rag and move on.
Step 5 — Paint
Two coats of waterborne alkyd. Benjamin Moore Advance is the easy pick — long open time, levels like an oil, dries water-clear. Sherwin Emerald Urethane Enamel cures harder and faster but has a shorter wet edge, so plan your strokes.
Foam roller for the face, 2-inch angled brush for corners and profiles. Cut in first, roll while the cut-in is still wet. Don’t stop mid-panel. Sixteen hours between coats on Advance, four hours on Emerald Urethane. For SKU picks across both brands see the kitchen cabinet paint round-up — same finishes apply to any particleboard panel.
Step 6 — Cure
Thirty days before scrubbing. Re-handle the panel gently after 24 hours, install hardware at 48 hours, hang the door back on the cabinet at the same time. The face hardens at day 7; the edges take longer because that primer-sealer-paint stack cures from the outside in.
What you can’t do during cure: wipe with degreaser, stack heavy items on a flat panel, install rubber bumpers (they’ll print). Felt pads and gentle dusting are fine.
Sheen Choice on Particleboard
Particleboard is not the surface for high gloss. Even with perfect prep, the chip texture telegraphs through anything past semi-gloss in raking light. Satin is the safe pick for cabinet doors. Semi-gloss only on factory-laminated panels where the face is dead flat to start with. Eggshell on shelves and architectural panels where wipe-down isn’t a concern.
If the panel has visible chip pattern that you can see through the primer (common on cheap shelving), drop one sheen step. A glossy chip-pattern panel reads as cheap. A satin chip-pattern panel reads as intentional.
Common Mistakes
- Latex primer instead of shellac on the edges. The water raises the chip fibers as the primer dries. You get fuzz that no amount of sanding flattens. Use BIN.
- Skipping the bonding primer on a laminated face. Latex topcoat will lift the laminate the first time someone wipes the door. Stix is non-negotiable on factory-melamine panels.
- Painting the visible face only. Moisture migrates through the back and bottom edges and swells the panel from inside. Seal both faces and all edges, always.
- Reusing the panel after a water incident. A particleboard cabinet that got wet under the sink is structurally compromised even if it looks fine. Replace the panel; don’t repaint and pray.
- Sanding through the laminate to the chip core. Now you’ve got two surfaces to bond — laminate and bare chip — and they take primer differently. Light scuff only.
Where Particleboard Just Won’t Hold Up
Some applications kill the panel no matter how good the paint job is. Don’t fight it.
- Under-sink cabinets. A small leak swells the bottom in 48 hours. Replace with marine plywood or coated MDF if you’re committed to refinishing.
- Bathroom vanities in humid bathrooms. Same problem, slower. Add a fan or accept a 3-year repaint cycle.
- Outdoor or garage use. Even painted, particleboard swells in 60% RH ambient. Don’t.
- Load-bearing shelves over 24 inches. Particleboard sags under load and the sag accelerates with temperature swings. Reinforce with a hardwood lip or replace with plywood.
If the application crosses any of those lines, the right move is a different substrate, not a different paint.
Maintenance and Longevity
A properly painted particleboard cabinet door lasts five to eight years in a dry kitchen, three to five in a steamy bathroom, one or two if it ever takes direct water. Watch the bottom edges and hardware penetrations — that’s where failure shows first. Touch up annually with a small brush from the same can; the topcoat blends fine if it’s under three years old.
Wipe with a damp cloth, never a soaked sponge. Avoid abrasive cleaners on the face — they cut the topcoat sheen unevenly and leave a dull patch. When a door starts showing edge fuzz, strip and reseal that door alone; the rest of the run is usually fine for years more.
The thing nobody tells you on day one: a painted particleboard panel is a wear part. Plan for repaint, not forever.