How to Fix Roller Stipple
Roller stipple is the orange-peel bump texture a roller leaves on a wall. Diagnose the nap, paint, and technique, then sand it flat and roll the next wall smooth.

Roller stipple is the fine orange-peel texture the nap prints across a wall. It’s not a bad batch of paint. It’s the nap you used, the paint you used, and how fast it set before the film could flow flat. Sand the wall you’ve got, fix those three things, and the next wall lays down smooth.
Does This Match What You’re Seeing?
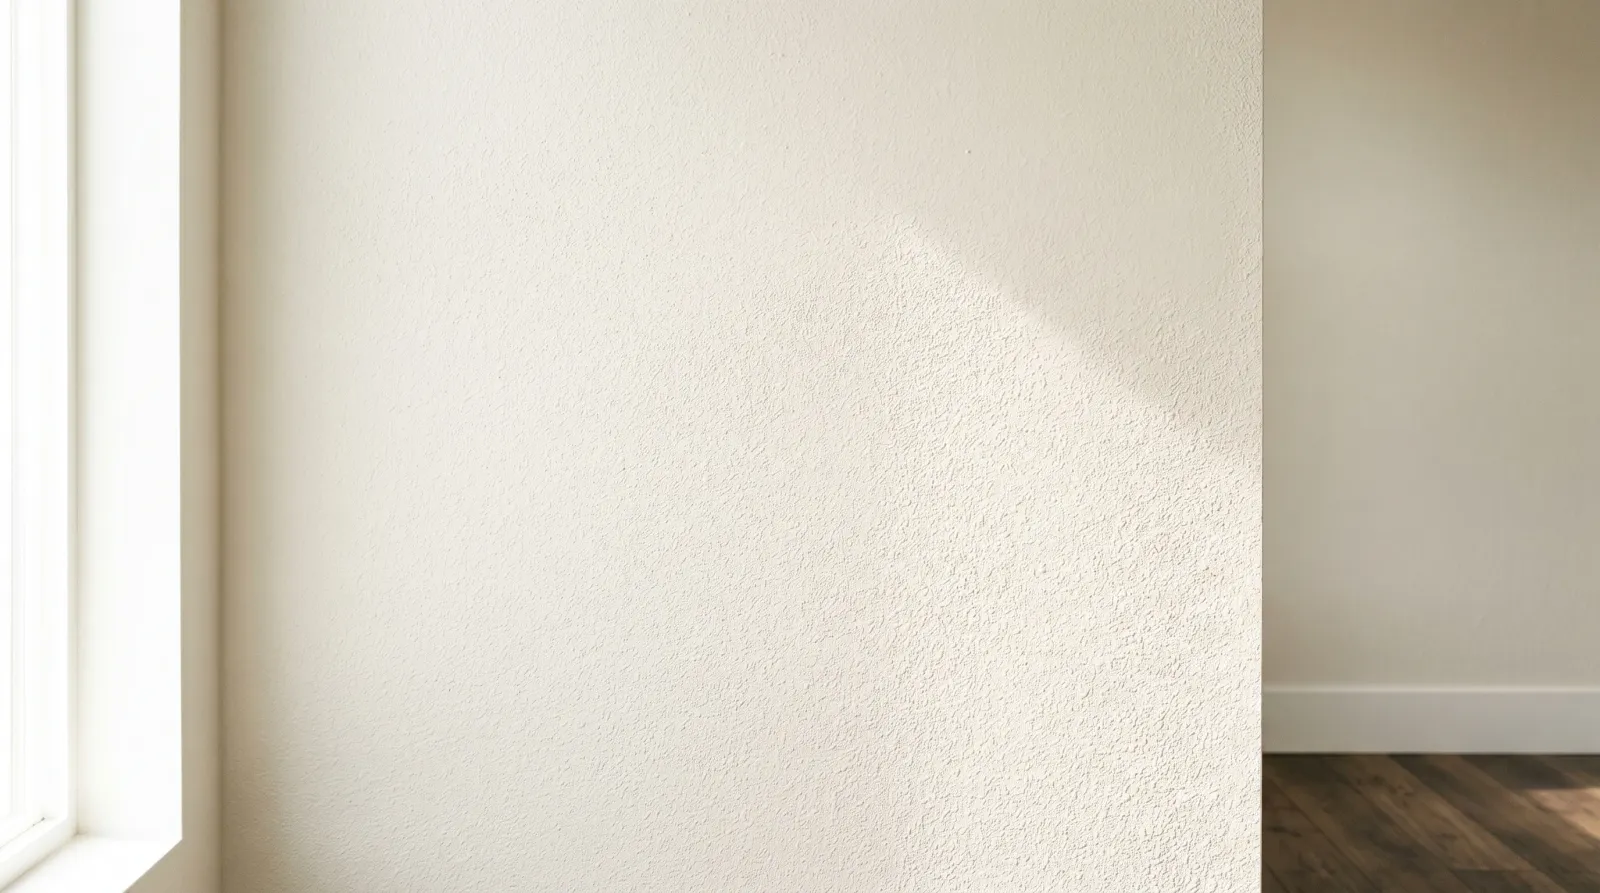
Run a hand across the wall and look at it under raking light from the side. You’ll see one of these.
- Even all-over bump texture, like fine orange peel. Classic stipple. Normal nap pattern, just heavier than you wanted.
- Coarse bumps you can feel with a flat palm. Nap too long for a smooth wall, or a cheap polyester cover laying a rough pattern.
- Stipple that’s worse near edges and corners. You rolled too close to a dry cut-in line and the paint set before it could level.
- Heavy texture on the ceiling, lighter on the walls. Thick flat ceiling paint plus fast dry. The film froze before it flowed.
- Bumps plus shedding fuzz stuck in the paint. New cover that wasn’t pre-washed, or a low-grade nap breaking down.
If you see track lines or ridges instead of bumps, that’s a different problem. Check the roller marks guide. Wide bands every few feet are lap marks, not stipple.
How Serious Is This
Cosmetic. The film is bonded and doing its job. You can live with a stippled wall forever and nothing fails. The catch is sheen. A higher-gloss paint over heavy stipple throws little shadows off every bump under side light, and once you see it you can’t unsee it. Flat and matte hide stipple. Eggshell shows some. Satin and semi-gloss show all of it.
Same-weekend fix. Sand the wall, recoat the whole wall, done. The only trap is trying to spot-fix one patch, which just leaves a smooth island in a stippled wall.
Why Roller Stipple Happens (root Cause)
Three things cause almost every stippled wall I’ve seen. They stack.
1. The nap is too long for the surface. Nap length is built for texture. A 3/4-inch or 1-inch cover is for stucco, block, and rough siding, and it deposits a thick load that holds a heavy bump pattern. On smooth drywall that’s overkill. The nap lays paint in tiny ridges, the ridges sag a little, and you get orange peel. On smooth interior walls you want 3/8-inch. For doors and trim, 1/4-inch or foam.
2. The film set before it could level. Every roller leaves a textured wet film. A good paint flows that texture flat in the minutes after the roller lifts off. When the room is warm, dry, or both, the film flashes off and the stipple freezes in place. This is why ceilings and summer rooms stipple worse. The same paint in a cool room at 50 percent humidity levels out and reads smooth.
3. The paint is thick, flat, and cheap, or the cover is. Builder-grade flat wall paint and most ceiling paint are loaded with filler to hide and to cover in one coat. Filler holds texture. Premium paints level better because the resin keeps flowing longer. And a bargain polyester roller cover lays a coarser, less even pattern than a woven or microfiber cover, no matter how good the paint is.
A fourth shows up on doors and cabinets. Rolling a gloss or semi-gloss with any nap at all prints stipple that the high sheen then magnifies. Those surfaces want a foam roller, a brush-and-roll, or a sprayer. See the sheen guide for which finishes forgive texture and which broadcast it.
The Fix for Existing Stipple
Repair is the same no matter which cause put the texture there.
 Sand the whole wall flat, not just a patch. The seam between sanded and unsanded telegraphs through the recoat.
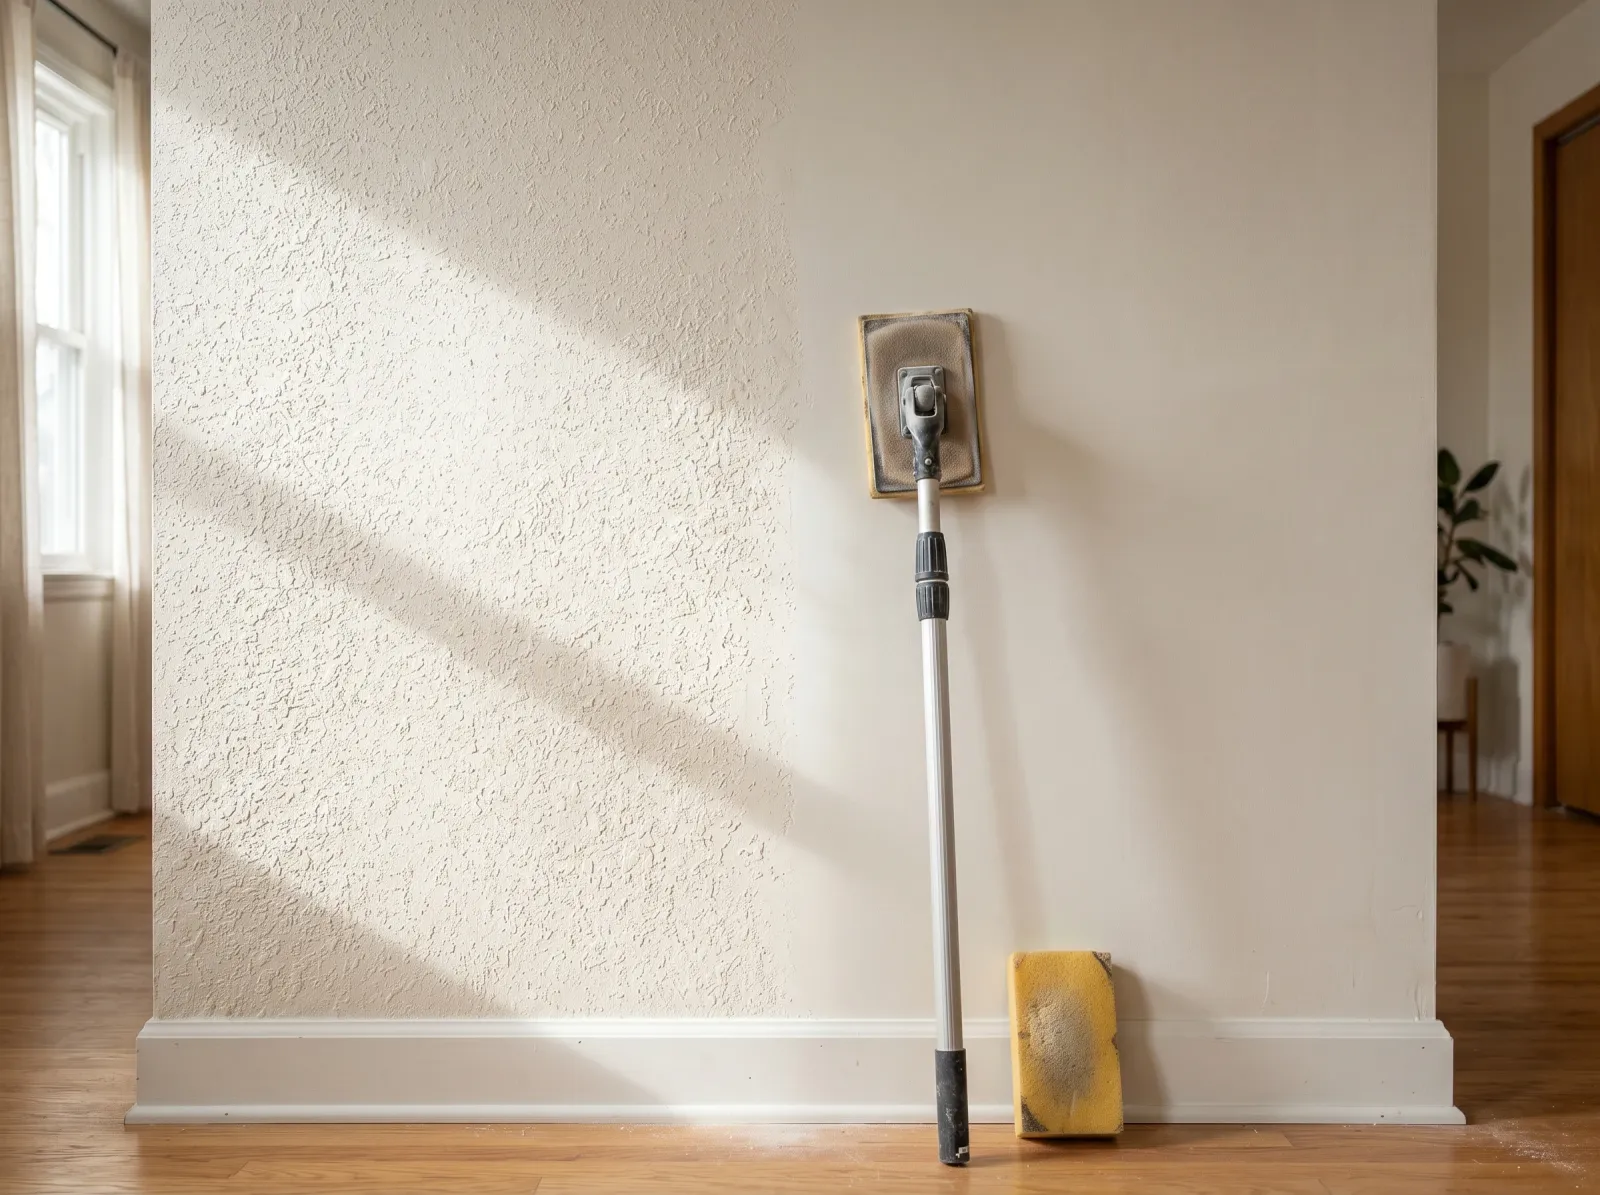
Step 1. Sand the Texture Flat
Use 180 to 220 grit on a sanding sponge or a pole sander. Light, even pressure across the whole wall, not just the worst spots. Work until your flat palm glides with no catch. Don’t sand through to the previous coat or the substrate, which dulls the surrounding sheen and creates a new problem. On a big wall a drywall pole sander with a 220 screen makes this a 20-minute job instead of an hour. Wipe down with a damp microfiber and let it dry 30 minutes.
Step 2. Spot-Prime Anywhere You Sanded Through
If you cut through to bare drywall paper or joint compound, spot-prime those spots. Zinsser Bulls Eye 1-2-3 for general work. Gypsum and compound drink paint differently than the painted wall around them, so an unprimed sand-through reads as a flat dead spot under the topcoat. Twenty minutes dry, then move on.
Step 3. Set Up the Right Cover and Paint
 A 3/8-inch microfiber cover and a paint conditioner are the two cheapest upgrades that kill stipple.
Switch to a 3/8-inch microfiber or woven cover for smooth walls. Pre-wash a new cover with water and a drop of dish soap, spin it dry, and that knocks out loose fibers before they end up in your paint. If the room is warm or dry, stir in a latex paint conditioner. Floetrol at half a cup per gallon extends the leveling window so the stipple flows flat instead of freezing.
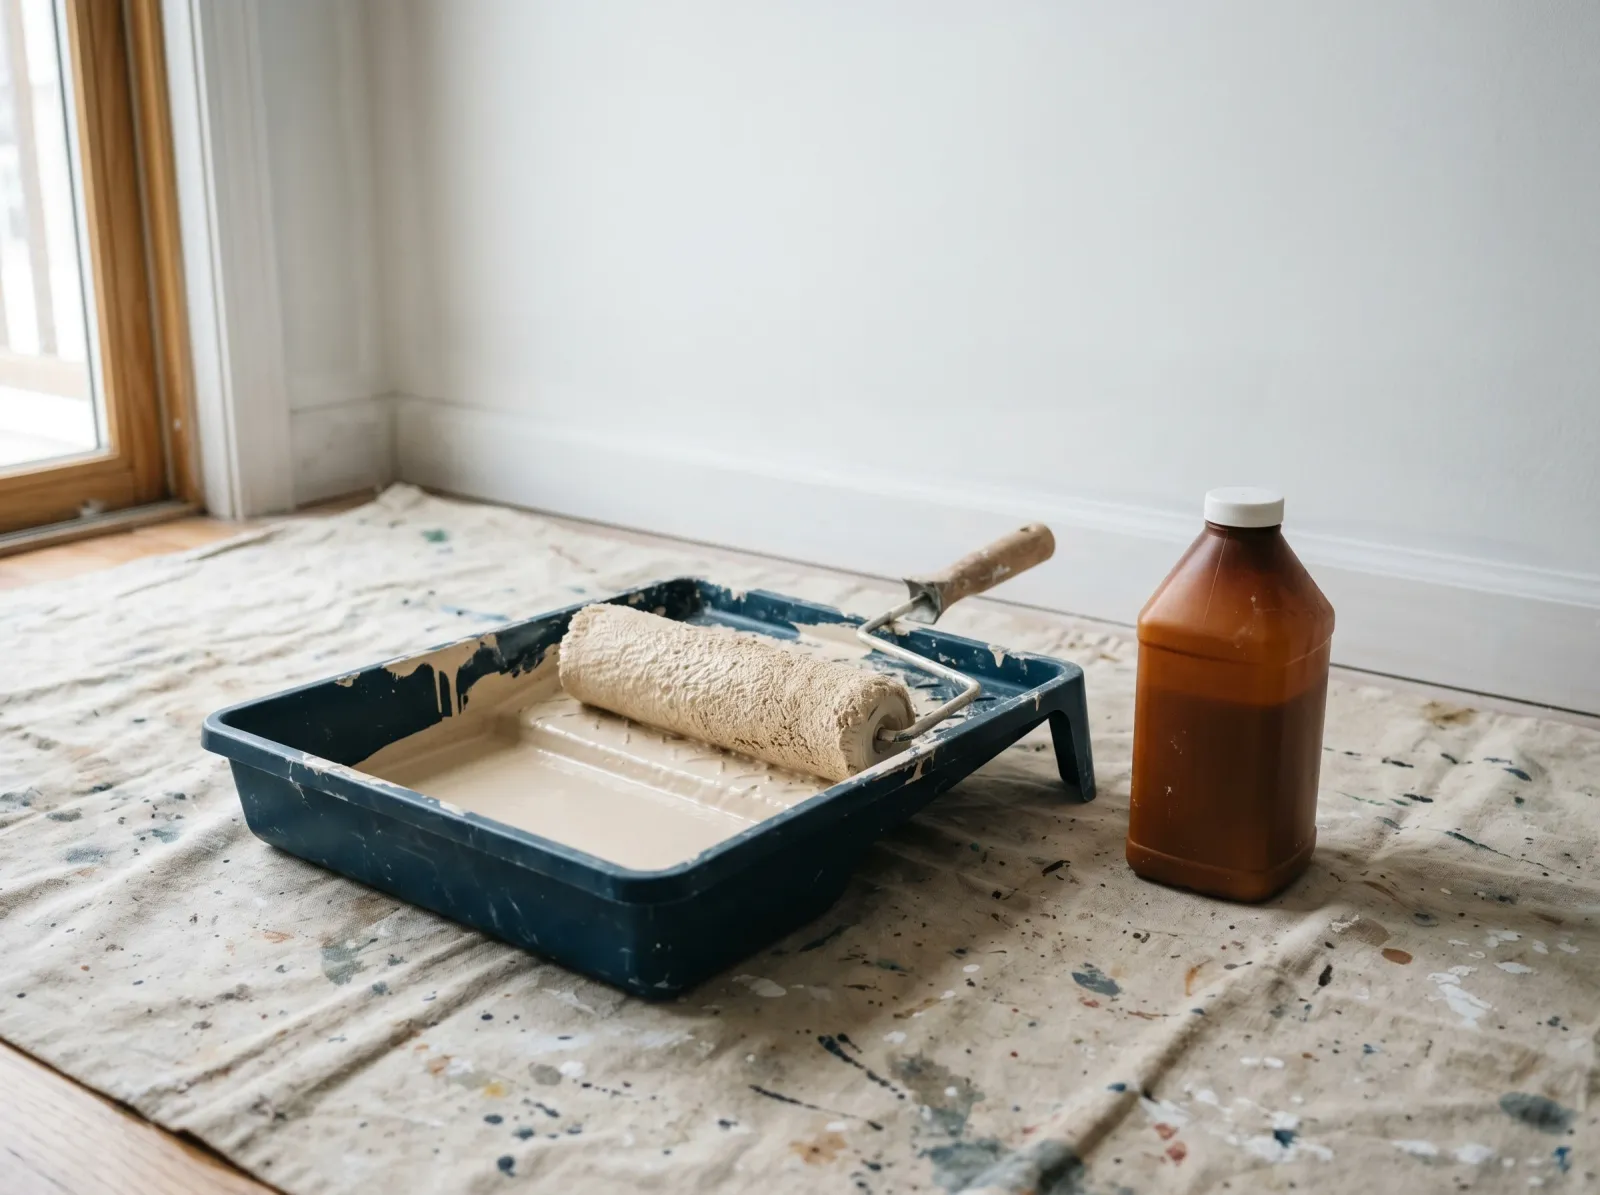
Step 4. Recoat the Whole Wall
Load the cover heavy. A starved roller drags and stipples worse. Roll a full wet coat, lay it on in a W or zigzag, then smooth top-to-bottom in one direction across the section while it’s still wet. Don’t go back over a section that’s started to set. Recoat corner to corner, not just the sanded zone, or the smooth patch and the old surface read as two different walls under side light.
How to Roll Without Stipple (the Technique)
The fix is mostly setup, not muscle. In order.
- Match nap to surface. 3/8-inch microfiber on smooth walls. 1/4-inch microfiber or foam on doors and trim. Save the 3/4-inch and longer for masonry and rough siding.
- Pre-wash new covers. Water, a drop of soap, spin dry. No shed fuzz in the finish.
- Load heavy, off a full tray or a grid. A wet cover lays a thinner, flatter film than a half-dry one.
- Keep a wet edge. Overlap each pass into still-wet paint so the stipple from both passes merges and levels as one film.
- Lay it on, then lay it off. Spread the paint in a W, then make one light smoothing pass top-to-bottom in a single direction. That last pass is what flattens the texture.
- Don’t overwork a setting film. Rolling a section that’s already flashing tears the surface and prints more stipple. If it’s tacky, leave it for the next coat.
- Condition the paint in a warm or dry room. Half a cup of Floetrol per gallon. The film stays open long enough to flow flat.
Recommended Product
Floetrol is the cheapest fix for the cause you can’t control: a room that dries paint too fast. Half a cup per gallon, stirred in, extends the leveling window so the roller texture flows flat after the cover lifts off. No color shift, no LRV change, no compatibility issue with any latex or acrylic wall paint sold in the U.S. It softens semi-gloss and gloss slightly, so skip it on cabinet doors where you want every bit of the sheen.
For oil-based paints, the same brand sells Penetrol. Same shelf, different bottle, don’t mix them up.
It won’t save bad setup. A 3/4-inch nap with Floetrol in the can still stipples. What it does is widen the window where the right nap and a wet edge can do their job.
Common DIY Mistakes
- Long nap on a smooth wall. The single biggest cause. Drop to 3/8-inch microfiber and most of the texture goes away on its own.
- Cheap polyester covers. They shed and lay a coarse pattern. Spend the extra two dollars on woven or microfiber.
- Skipping the lay-off pass. Spreading paint isn’t finishing it. The light single-direction smoothing pass is what flattens the stipple.
- Over-thinning with water. Cuts your hide and weakens the film. Condition the paint instead of watering it down.
- Spot-recoating one patch. Leaves a smooth island in a stippled wall. Recoat corner to corner.
- Rolling gloss or semi-gloss on doors. Foam, brush-and-roll, or spray those. A nap roller prints stipple that the sheen then magnifies.
When to Call a Pro
- Smooth, high-gloss finishes on doors, cabinets, or trim where the only way to get zero texture is spraying. A sprayer rental plus masking and overspray control is a real job.
- Whole-house repaints with vaulted ceilings or stairwell walls over 12 feet, where sanding and rolling a flat finish overhead is a two-person spray-and-back-roll job.
- Pre-1978 homes where sanding existing stipple means disturbing possible lead paint. Test with 3M LeadCheck swabs first and follow EPA RRP rules, or hire a certified contractor. Don’t dry-sand pre-1978 paint, full stop.
FAQ
Can I just paint over roller stipple? Not without sanding first. A fresh coat over a stippled wall copies the bumps and often adds a little more. Knock the texture down with 220 grit until your fingertip glides with no catch, dust it off, then recoat with the right nap. The recoat hides the sanding and lays flatter because you’ve fixed what caused the stipple the first time.
Will flat paint hide stipple better than satin? Yes. Flat and matte scatter light and bury the texture. Eggshell shows some. Satin and semi-gloss throw a shadow off every bump under side light. If you’re stuck with a stippled wall and don’t want to sand, dropping to a flatter sheen on the recoat hides most of it. See the sheen guide for the trade-offs.
What’ll Bite You in Two Years
You’ll repaint this wall someday. Roll fresh paint over a stippled wall without sanding and the bumps telegraph straight through, plus a little extra from the new nap. Two coats over a stippled wall doesn’t bury the texture. It builds on it. Sand the whole wall to 220 first, every time, or the next color has the same orange peel as this one.