Testing Paint Colors on a 3D Model of Your Own Furniture
The dresser is oak, bought in 1964, and 36 inches wide. It stands in a bedroom in Raleigh with one north window and a ceiling bulb. Three paint chips had been taped to the top drawer since Labor Day, each two inches wide, and after two months none of them had answered the question. On the first weekend of November a phone photo, a free 3D model and a laptop did.
A white painted dresser with one drawer open. Photo: Shixart1985, CC BY 2.0, via Wikimedia Commons.
Saturday, November 1, 9:40 am, out to the garage
The garage door went up at 9:40 and the dresser went out to stand in front of it, on the concrete, with the white door behind it. Overcast morning, no shadows. One phone photo straight on from 6 feet, dresser-front.jpg, 2.6 MB, then one more from the left corner for the side panel. The owner had wheeled two bikes out of the frame first, which turned out to matter more than the phone did.
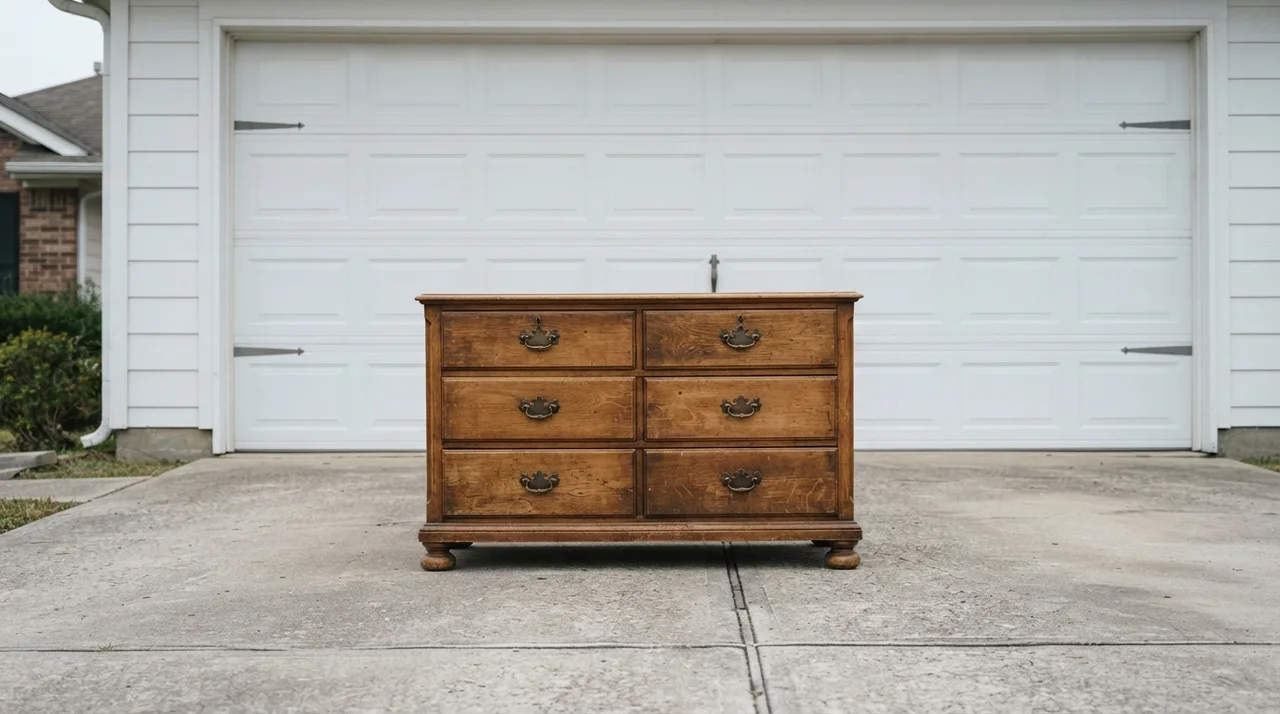
The front shot came out at 3,024 by 4,032 pixels. The dresser itself measures 36 inches across the top, 18 from front to back and 48 from the floor to the top edge with the pulls left out of it, and the first of those three numbers did the scaling later.
9:52 am, the photo becomes a 3D model
At 9:52 dresser-front.jpg went up from the laptop to a service, free to try, that turned a photo of the dresser into a 3D model, and at 9:56 a GLB file of 4.1 MB came back with the garage already cut away and the oak grain baked onto the surface. In the browser viewer the dresser spun once. The back came out as a plain panel in oak color with no drawers on it, and no photo had shown the back anyway.
The GLB carried about 186,000 triangles, with OBJ, SKP and BLEND on offer from the same page for anyone who works in those. It arrived 92.3 centimeters wide, a shade over the real 36 inches, and one typed number in the scale box put that right at 9:58.
10:05 am, Blender, and three hex codes from the chip pages
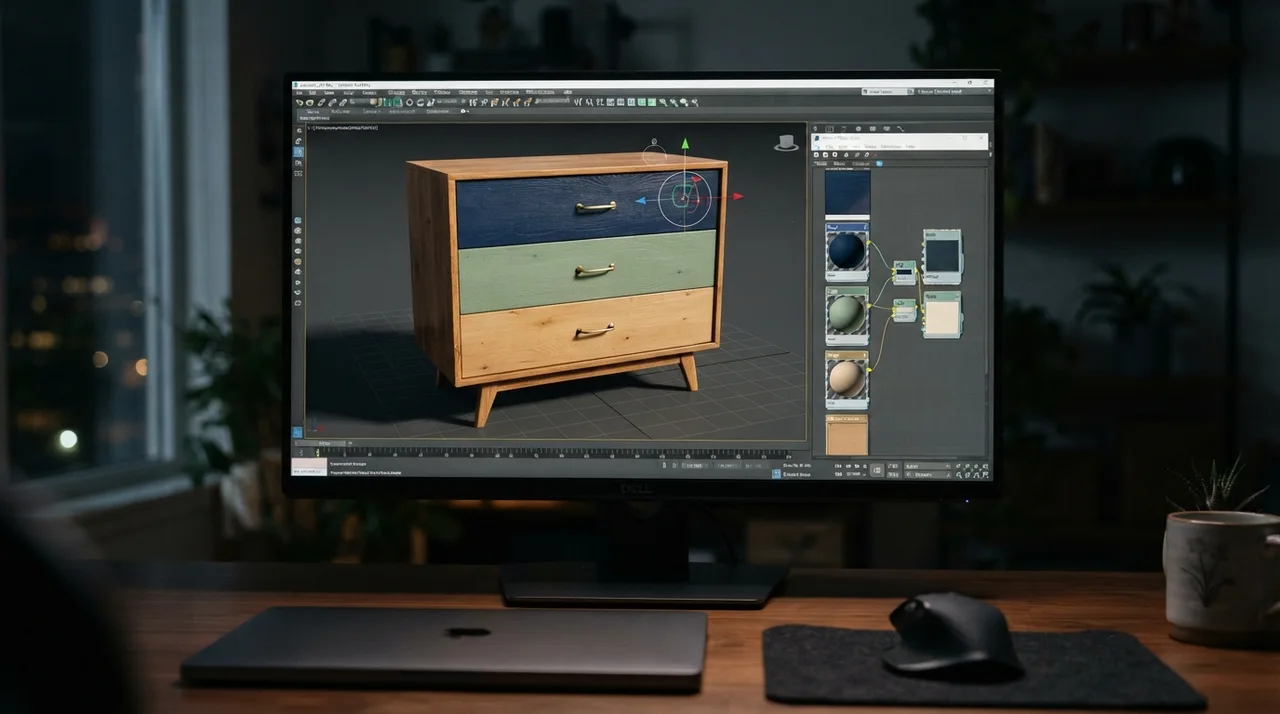
Blender 4.2 took the GLB at 10:05, File, Import, glTF 2.0, one object, one material, the grain already mapped onto it. The paint went on at 10:14 as a Mix Color node above the wood texture, flat color on top, grain showing through at 15 percent, nearer to a brushed finish than a solid fill. The hex codes came from the chip pages on this site, which print the hex and the LRV beside every swatch.
Color — Code — Hex — LRV
Alabaster — SW 7008 — #EDEAE0 — 82
Agreeable Gray — SW 7029 — #D1CBC1 — 60
Naval — SW 6244 — #2F3D4C — 4
The lime green dresser at 10:17 came from EDEAE0 typed into the RGB field, one tab left of Hex. The three materials, named after the chips, were all in the file by 10:22, and switching the whole dresser from one to the next took one click in the material slot.
10:30 am, the bedroom light, built once and used three times
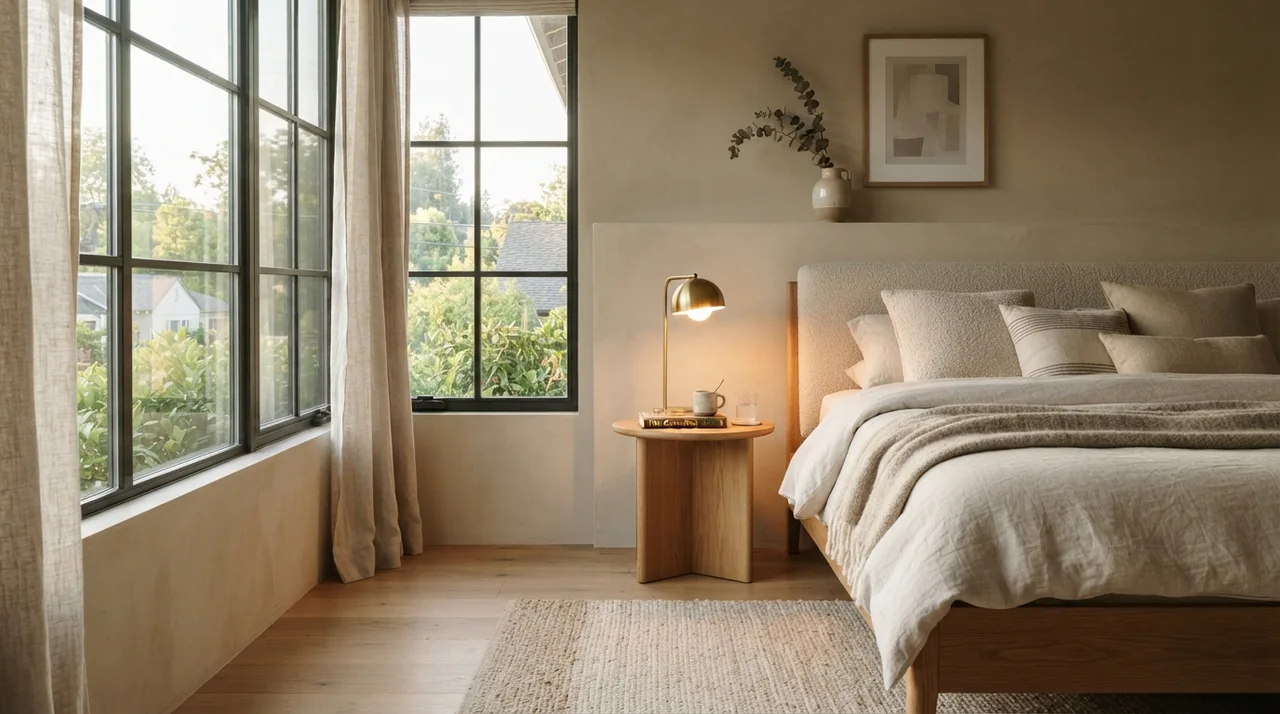
At 10:30 the bedroom went into Blender as two lights and a camera, and nothing else, the walls could wait. An area light the size of the window, 36 by 48 inches, stood on the north side at 6500 K for the 11 am pass. A point light at 2700 K hung where the ceiling fixture is, the bulb the owner has no plans to change. The camera stood in the doorway, 60 inches off the floor, which is the view anyone has of that dresser fifty times a day. Six renders at 1920 by 1080 took 14 minutes in all on a laptop with no graphics card.
Render — Light — What showed
Alabaster, 11 am — North window, 6500 K — Every dent in the top, the grain through the paint
Alabaster, 8 pm — Ceiling bulb, 2700 K — Went cream, close to the existing trim
Agreeable Gray, 11 am — North window — A cool gray, greener than the chip looked
Agreeable Gray, 8 pm — Ceiling bulb — Warmed to greige, the drawer fronts flattened out
Naval, 11 am — North window — Almost black, the brass pulls disappeared into it
Naval, 8 pm — Ceiling bulb — Navy came back and the top edge caught the light
Naval at an LRV of 4 soaked up nearly all the window light, and the 11 am render made that plain when the pulls vanished into the drawer fronts. The Naval page on this site lists that LRV of 4, and the number predicted the render before the render existed. Alabaster did the opposite at 82 and showed off a 40-year-old dent in the top that nobody had noticed under the oak finish.
11:20 am, the two-inch sample on the real drawer
By 11:20 the renders had cut three colors to one. Naval won on the 8 pm image. That afternoon the sample pot went onto the inside face of the bottom drawer. First coat at 1 pm, second at 2, dry by 4, drawer back in by 7 for the check under the real bulb.
Three things the render had no way to show turned up on that drawer. The satin threw the window back as a soft band across the front. Beside the bare oak top, Naval leaned a little green, which the chip had hinted at and the render had not. The brush texture showed on the first coat and vanished on the second, and the brass pulls read warmer against the navy than the render had suggested, which settled the question of replacing them. They stay.
Sunday, November 2, the order and the files kept
A quart of Naval in satin went in the cart Sunday morning, with the top left as oiled oak after the 8 pm test showed how the two surfaces met. The GLB stayed in a folder with the two renders that settled it, so the nightstand from the same set can wear the same color test in ten minutes when its turn comes. The chips came off the drawer the same day.
Step — Time taken
Photos — 4 minutes
Photo to 3D model — 4 minutes
Import and scale in Blender — 6 minutes
Material node and three colors — 12 minutes
Lights and six renders — 14 minutes
Sample coats on the drawer — 25 minutes, plus drying
Total before buying paint — 65 minutes
This article was contributed by James. Want to write for us?Here's how.