How to Paint Exterior Trim
Painting exterior trim that lasts: scrape and sand the failing paint, spot-prime bare wood, caulk the gaps, then two coats of acrylic exterior enamel.

Exterior trim is the first paint on the house to fail. Not the siding. The trim. The window sills, the fascia, the door casing. They take the most sun and they hold the most water, and water at a joint is what kills exterior paint.
So this job is mostly prep. Scrape what’s failing, sand it flat, caulk the gaps, prime the bare spots, then two coats of a real acrylic enamel. Do the prep right and it lasts a decade. Skip it and you’ll be back up the ladder in two springs.
What You’ll Get
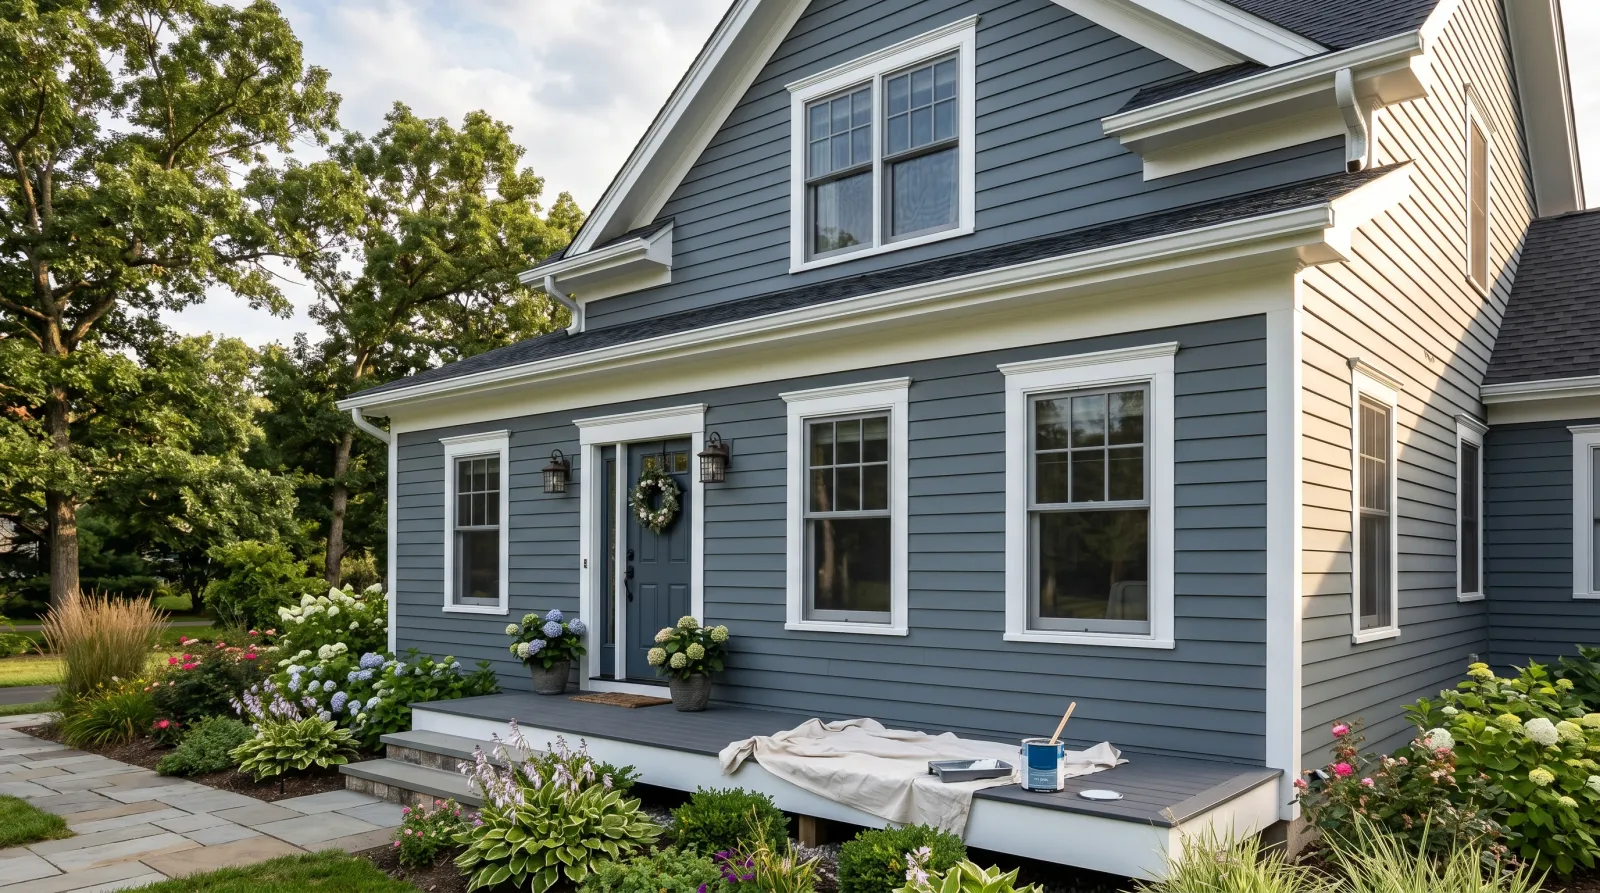
Crisp, clean trim that sheds water and stays put for eight to ten years. The kind of line where the white meets the siding sharp enough that people notice the house looks newer.
Honest Take on Difficulty and Time
This is a medium job, not because the painting is hard but because the prep is slow and you’re on a ladder. An average single-story house is one weekend if the old paint is sound. If the trim is peeling, add a third day for scraping and the dry time after caulk and primer.
Two-story is a different animal. If your fascia is 20 feet up, hire it out or rent proper staging. Falling off a ladder costs more than a paint job. Most of your hours go to the scraper and the caulk gun. The brush is the fast part.
What You’ll Need
Paint and Primer
A 1-gallon can of 100% acrylic exterior enamel in semi-gloss. Semi-gloss sheds water and wipes clean; flat trim soaks water at the joints and fails first. BM Aura Exterior, SW Emerald Urethane Trim Enamel, and Behr Marquee Exterior all hold gloss for years.
You need primer only on the trouble spots. A quart of exterior bonding primer (Zinsser Cover Stain or KILZ Adhesion) for bare wood, chalky old paint, and any stain or knot. Sound dull painted trim doesn’t need it.
For the full SKU breakdown see the best exterior paint round-up, and if the trim is bare cedar or pine, read the exterior wood prep guide before you start. Bare wood needs more than what I cover here.
Tools
A 2.5-inch angled sash brush is your main tool. Exterior enamel is thick and a stiff Purdy or Wooster cuts the line where trim meets siding. A carbide pull scraper pulls failing paint faster than anything else made. A caulk gun, a 5-in-1 tool, sandpaper, and exterior wood filler for the gouges.
The brush is where you don’t cheap out. A $4 brush sheds bristles into the enamel and drags a streaky line. A $16 angled sash holds its edge for years. Picks live in the best paint brushes round-up.
And a ladder you trust, with a stabilizer standoff so it rests on the wall, not on the gutter.
Step 1 — Wash, Then Scrape What’s Failing
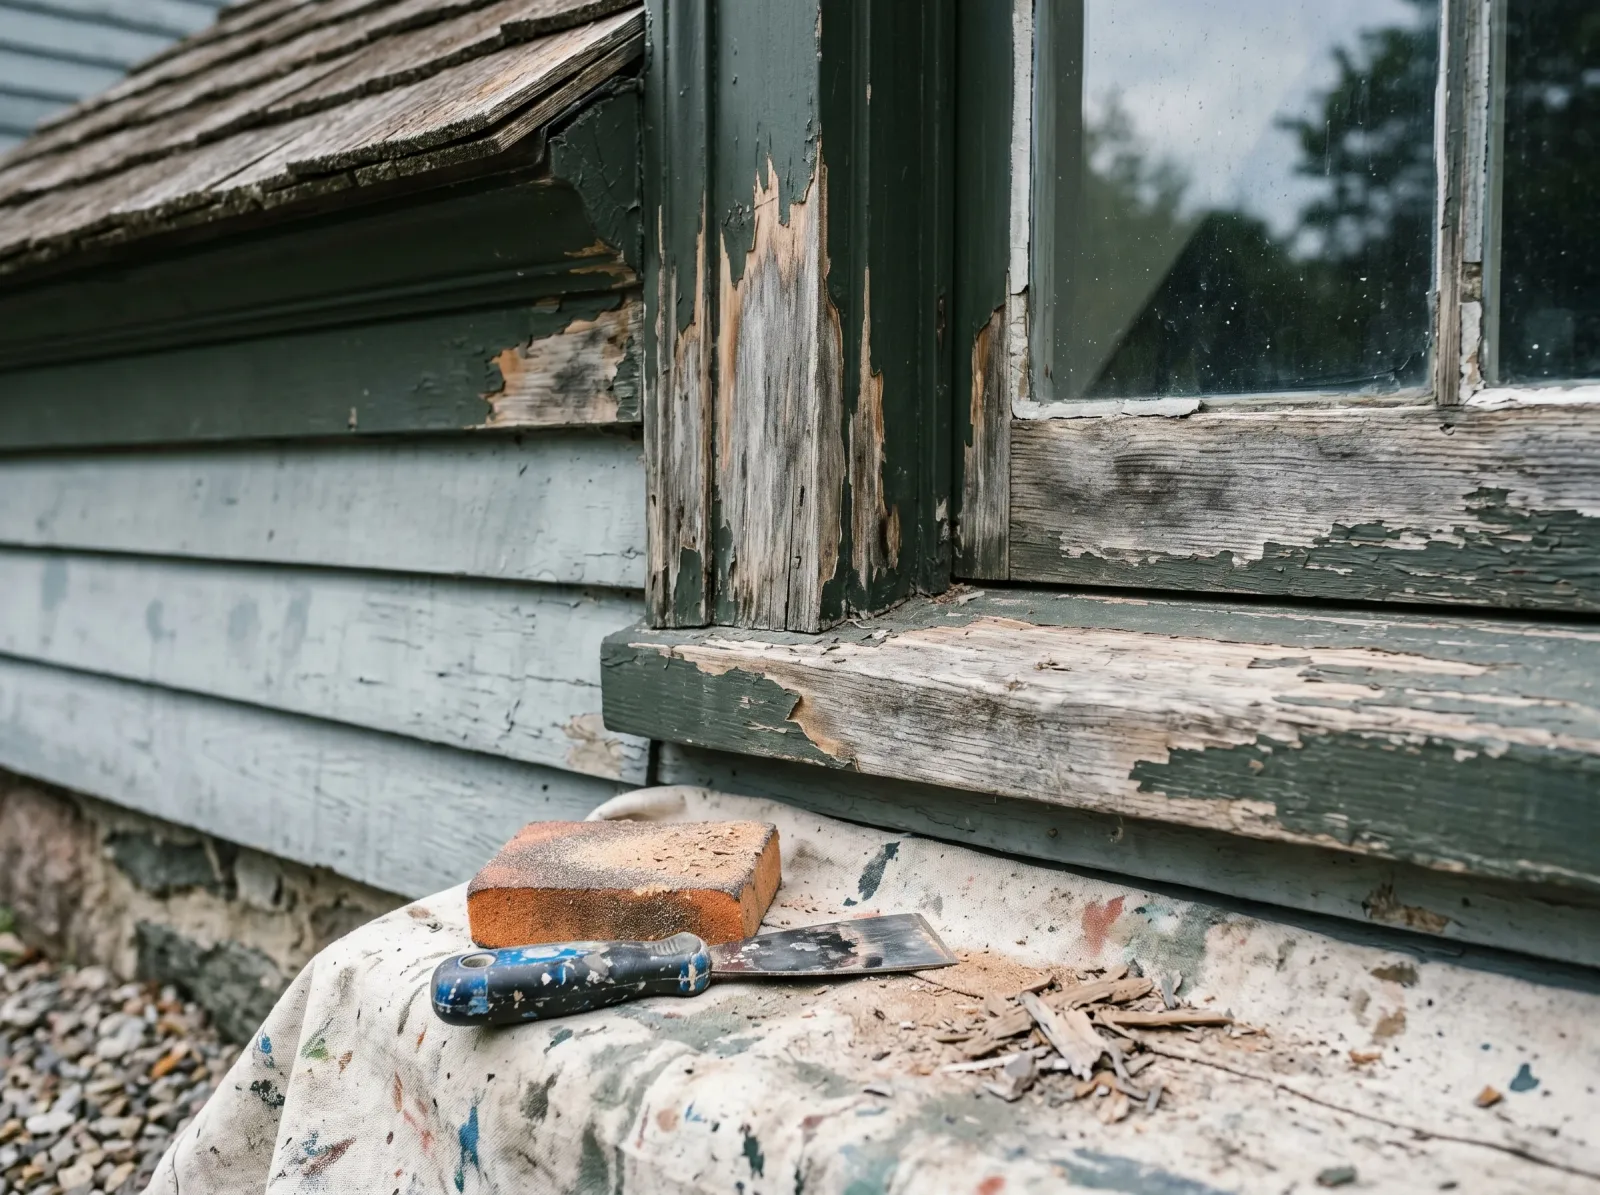
Loose and peeling paint pulled off down to a sound edge, bare wood sanded, the whole run feathered smooth.
Hose the trim down first, scrub the chalky and dirty spots with a wire brush, and let it dry a full day. Paint won’t stick to dirt, mildew, or chalk.
Then scrape. Run the carbide scraper along every run of trim and pull off everything loose, peeling, or lifting at the edge. Paint that’s stuck tight stays. You’re not stripping to bare wood, you’re removing what’s already failing.
Watch out for the ridge where scraped bare wood meets sound paint. Sand it with 100-grit until you can’t feel the step with your fingertip. Skip the feathering and you’ll see every edge telegraph through two coats of enamel.
Step 2 — Fill Rot, Sand, and Dust Off
Probe the sills and the bottom corners of the casing with the 5-in-1. Soft, punky wood is rot, and paint over rot is paint over a sponge. Dig the soft stuff out, let it dry, fill with exterior wood filler, and sand flush once it’s hard.
Hit the whole surface with 150-grit to knock the gloss off the old sound paint. New paint needs a dull, scuffed surface to bite into. Glossy old enamel sheds the new coat like a raincoat. Wipe every run down with a dry rag afterward. Sanding dust under fresh paint shows up as grit you’ll feel forever.
Step 3 — Caulk the Gaps, Then Spot-Prime
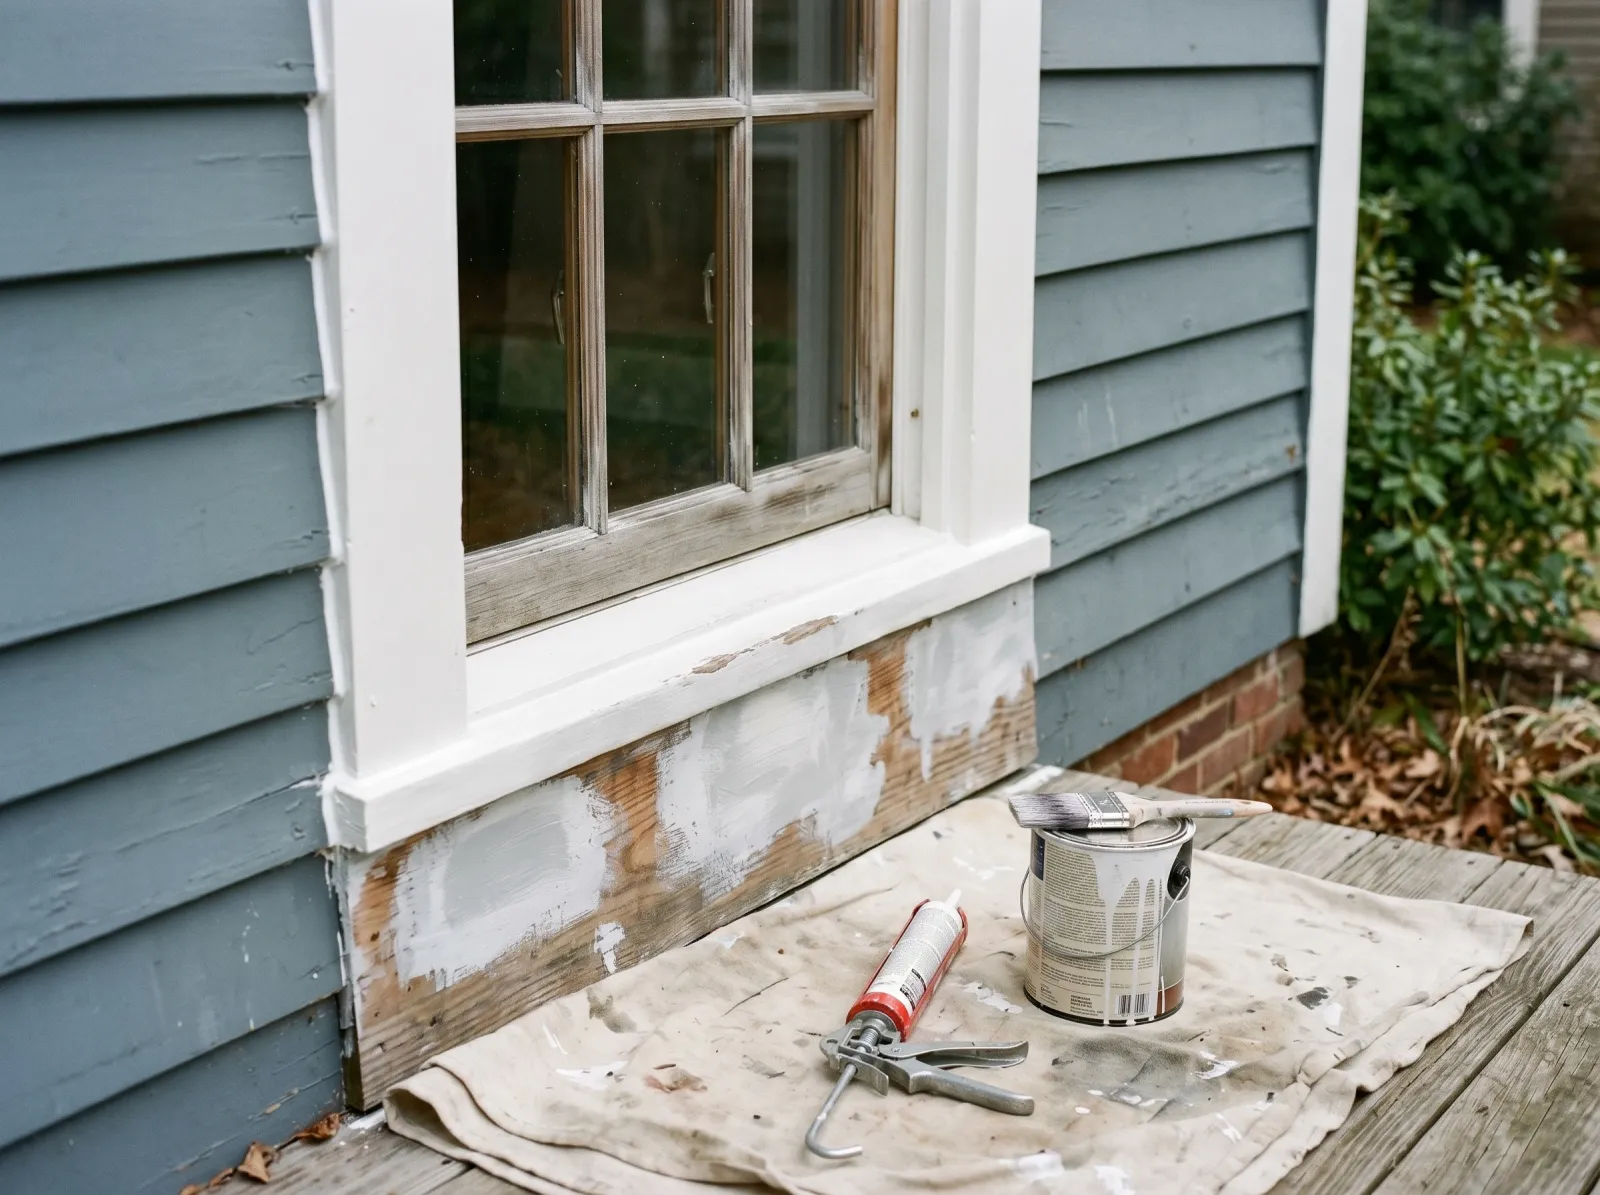
A clean bead of exterior caulk where trim meets siding, bare spots coated in white bonding primer.
This is the step that buys you the extra years. Run a bead of paintable exterior acrylic caulk into every gap where trim meets siding, where casing meets the window, and at every miter joint that’s opened up. Smooth it with a wet fingertip. Those gaps are where water gets behind the trim and rots it from the back.
Once the bare wood is sanded, spot-prime it. Brush exterior bonding primer onto the bare spots, the chalky areas, and over any knot or water stain. Don’t prime the whole house. Sound dull paint takes the topcoat fine.
Watch out for caulking before priming the bare wood. Prime first on raw end-grain like sill noses, then caulk. Raw wood sucks the moisture out of the caulk and it cracks.
Let caulk and primer cure the full time on the tube and can. Caulk needs hours, sometimes a day in cool weather, before paint.
Step 4 — Brush the First Coat
First coat of semi-gloss exterior enamel brushed along the grain, still a little thin in places.
Load the angled brush a third of the way in and tap it on the inside of the can. Brush along the grain, the long way down the fascia and the casing legs, in smooth even strokes. Lay it on, tip it off in one direction, and leave it. Don’t keep brushing a setting coat or you drag it.
Work the shade. Don’t paint trim in direct hot sun on the south or west face. The enamel skins over before it levels and you get brush drag and lap marks. Follow the shade around the house as the day moves.
Watch out for drips and runs at the bottom edge of horizontal trim and along the casing legs. Enamel is heavy and it sags. Check back over the last section every few minutes for the first half hour. Brush a wet run out. A dry run means sanding it flat tomorrow.
The first coat looks thin and patchy. That’s normal. It’s not the finish, it’s the foundation for the finish.
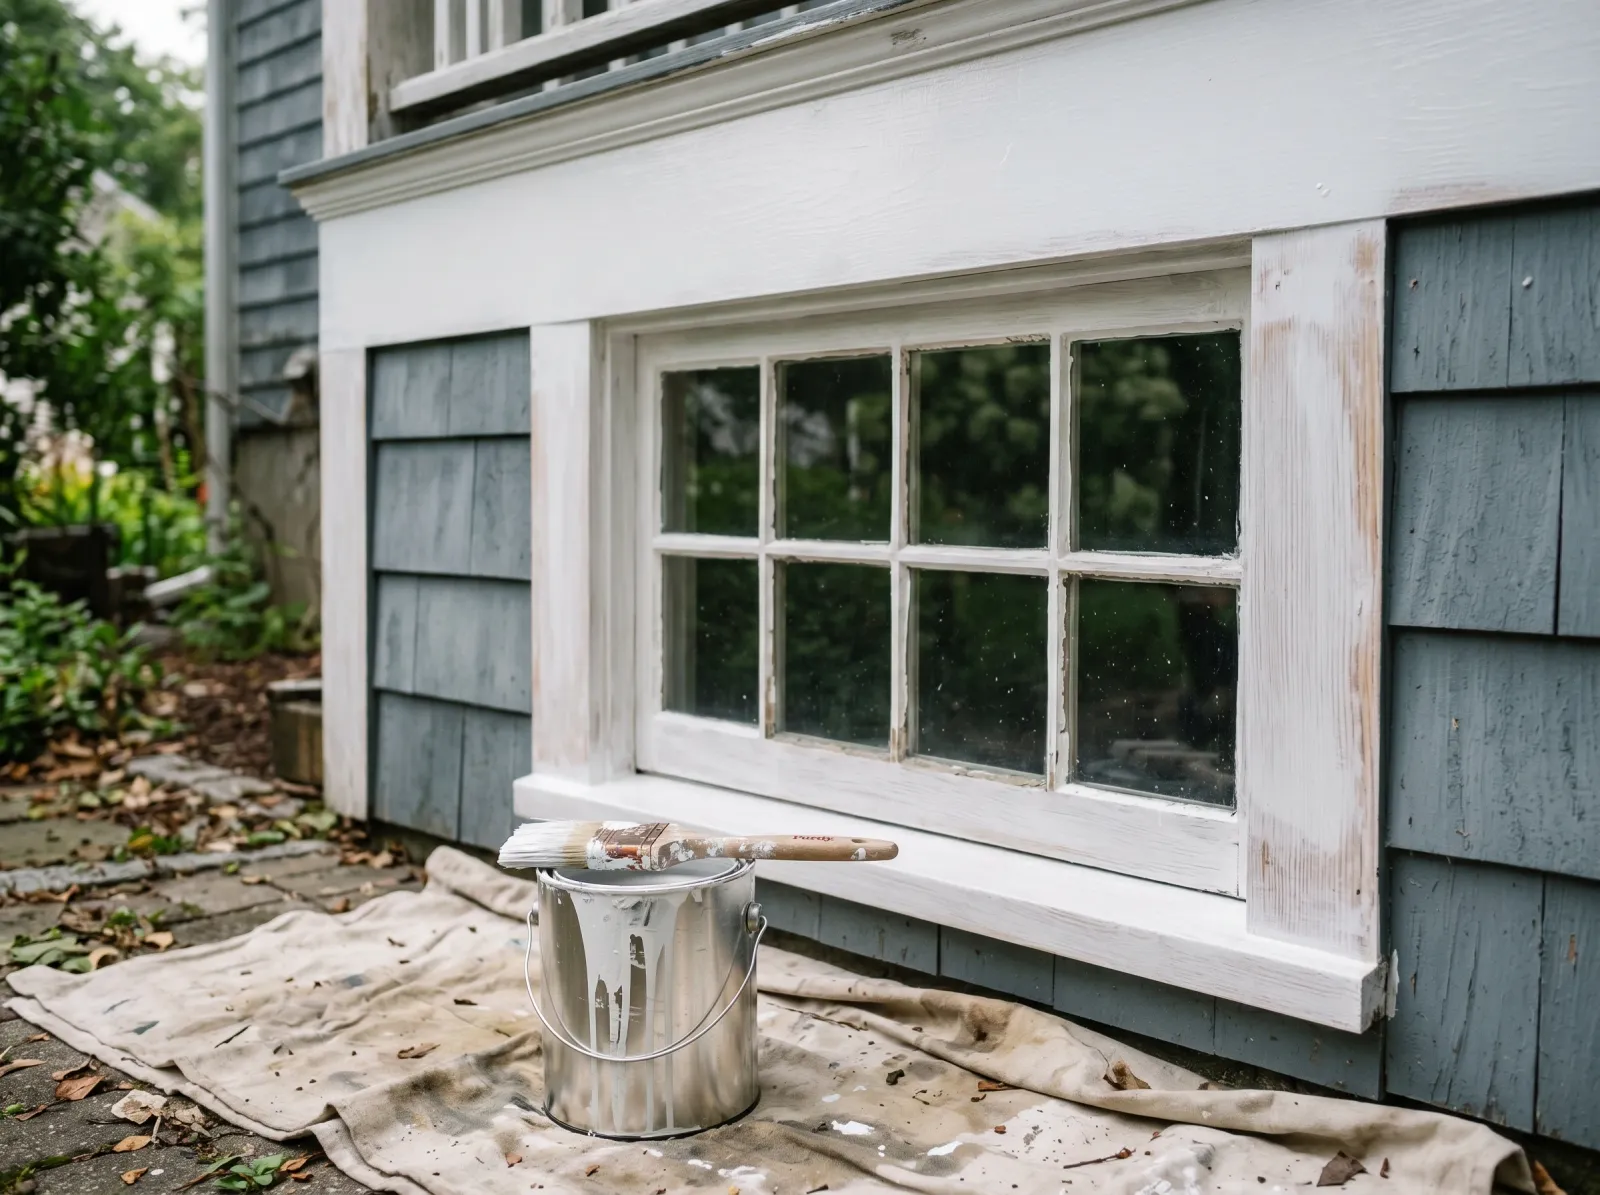
Step 5 — Second Coat, Then Pull the Tape
Second coat brought the trim to full coverage, the line where trim meets siding clean and sharp.
Two coats. Always two coats. One coat of exterior enamel doesn’t build the mil thickness that survives a winter, no matter what the can promises. Wait the recoat window on the can, usually 4 to 6 hours for an acrylic, longer in cool or damp weather.
Brush the second coat the same way, along the grain, tipped off in one direction. This is the coat that levels out flat and fills in the thin spots.
If you taped the line against the siding, pull the tape while the second coat is still slightly tacky, slow and at a 45-degree angle. Bone-dry enamel bridges the tape edge and tears when you pull it.
Cure Schedule
| Time after the second coat | What’s safe |
|---|---|
| 1 hour | Pull the painter’s tape |
| 4 hours | Touch dry; safe from morning dew if you finished by mid-afternoon |
| 24 hours | Rain-safe; close windows can be operated gently |
| 7 days | Handle, lean a ladder against it |
| 30 days | Full cure; wipe down and wash |
The big one: no rain for 24 hours after you finish, and watch the dew. Fresh acrylic that gets wet overnight before it sets will blush, streak, or wash off the lower edges. Check the forecast before you open the can.
Common Mistakes
- Painting over chalk or mildew. Run your hand over old trim. If it comes away with white chalk, the new paint sticks to the chalk, and the chalk lets go in a year. Wash it, scrub it, prime the chalky spots. Don’t paint dirt.
- Skipping the caulk. Open joints where trim meets siding let water in behind the board. The paint looks fine and the wood rots from the back. A $6 tube of caulk is the cheapest insurance on the whole job.
- Caulking over raw end-grain without priming. Sill noses and cut ends suck the moisture out of the caulk and it splits within a season. Prime the raw end-grain first, then run the bead.
- One thick coat instead of two. A heavy single coat sags, runs, and never builds the film thickness that survives freeze-thaw. Two normal coats outlast one fat one every time.
- Painting in the sun. Direct sun on the south or west face flashes the enamel before it levels. You get lap marks and visible brush drag that show worse as the paint cures. Chase the shade.
Maintenance
A well-prepped trim job in a quality acrylic lasts eight to ten years. The north and east faces go longer; the south and west faces take the sun and fail first. Walk the house every spring and look at the sills, the fascia bottoms, and the miter joints. That’s where it starts.
For a touch-up, scrape the failing spot, feather the edge, spot-prime the bare wood, re-caulk if the joint opened, and brush two coats on just that section. Keep a labeled quart in the garage. Color shifts a little as the rest of the trim weathers, so a fresh-gallon touch-up won’t match exactly, but from the curb nobody sees it.
If the paint is peeling in sheets rather than at the edges, that’s a moisture problem behind the trim, not a paint problem. See why exterior paint peels before you repaint, or you’ll just repeat the failure.
Cost Breakdown
| Item | $ |
|---|---|
| Exterior trim enamel, 1 gallon semi-gloss | $50–$80 |
| Bonding primer, 1 quart | $15 |
| Exterior caulk, 2 tubes | $12 |
| Wood filler | $12 |
| Brush, scraper, sandpaper | $40 |
| Tape and drop cloths | $20 |
| Total | $150–$180 |
That’s mid-tier to top-shelf paint. Drop to a contractor-grade acrylic and the gallon runs $35, but on trim that takes the worst weather on the house, the premium enamel is the part I wouldn’t cut.
Here’s what’ll bite you in two years if you rush it. Skip the caulk and skip the feather-sanding, and the trim looks great all summer. Then the first hard winter drives water into the open joints and under the unfeathered paint edges, the freeze-thaw lifts it, and by the second spring you’ve got peeling on every sill and a weekend of scraping ahead of you. The prep is the job. The paint is just what you do after the prep is done.