How to Fix Uneven Paint: Find Your Symptom, Then the Fix
Uneven paint is five different problems wearing one name — roller tracks, lap bands, flashing, touch-up halos, sheen mismatch. Match the pattern you see, then run the fix that actually holds.

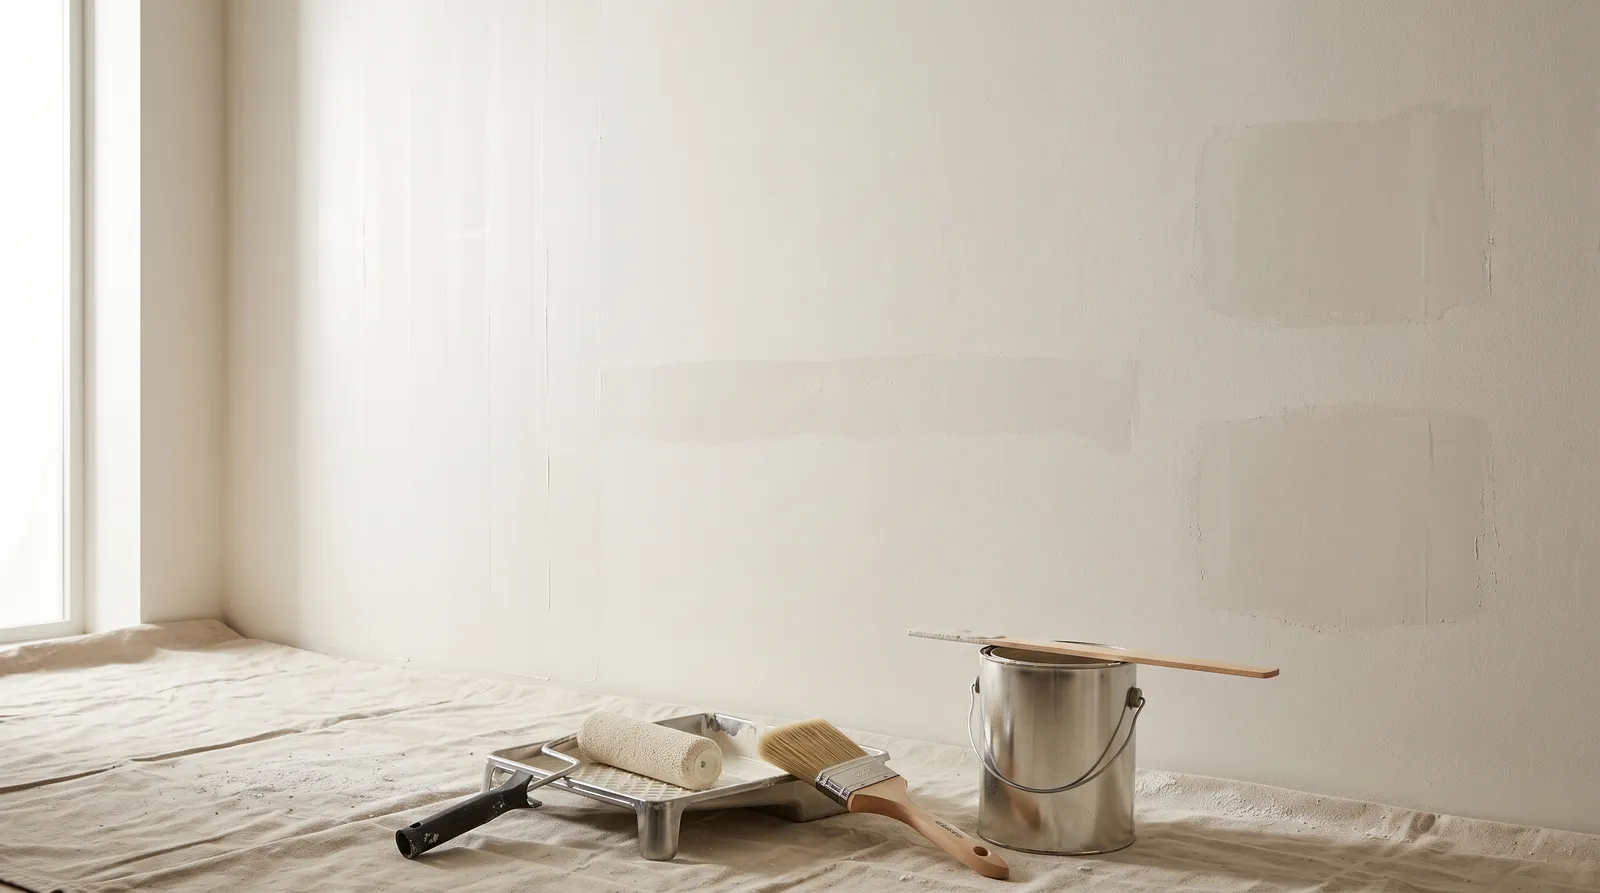
Uneven paint isn’t one problem. It’s five, and each one has a different fix — so before you buy another gallon, figure out which pattern you’re actually looking at. Roll a third coat over the wrong diagnosis and you get the same wall, thicker.
Here’s how to read it, what the short fix is, and where the full procedure lives.
Step One: Look at It Under Raking Light
Turn off the room light. Hold a work light or a phone flashlight flat against the wall so the beam skims the surface almost parallel to it. That’s raking light, and it’s the only honest way to judge a wall.
Then check the same wall three ways:
- Straight on, room light. This is what guests see. If nothing shows here, you may be chasing a problem nobody else has.
- Raking light, close. Shows texture: ridges, tracks, stipple, thick edges.
- From 10 feet, standing off to the side. Shows sheen and color: bands, halos, dull rectangles.
Texture flaws you can feel with a bare palm. Sheen and coverage flaws you can’t. That single test splits the diagnosis in half before you touch anything.
Match the Pattern You See
| What you see | Most likely cause | Short version of the fix |
|---|---|---|
| Thin parallel lines running the direction you rolled, inside one wet section | Roller marks | Sand ridges, then recoat with correct nap and lighter pressure |
| Wide bands or seams where two rolled sections meet, often on a 3-foot grid | Lap marks | Keep a wet edge, work in 3-foot sections, condition the paint |
| Dull or shiny rectangles over old repairs and spot-primed spots | Flashing | Prime the patches, then full second coat wall to wall |
| Fine streaks or a stippled haze on cabinets, doors, or trim | Foam roller streaks | Load the foam fully, thin slightly, lay off in one direction |
| A halo or visible square around a spot repair | Touch-up mismatch | Thin and feather with the same tool, or recoat the wall |
| One wall shinier or flatter than the next, no repairs involved | Sheen mismatch | Confirm the sheen and batch, then recoat the odd panel |
| Base color or drywall grinning through in blotches | Thin coverage | One more full coat, boxed and rolled properly |
Below, each one in plain terms.
Stripes Inside One Section: Roller Marks
What it looks like: Fine track lines running the same direction you rolled, visible mostly in raking light, and you can feel a faint ridge with your palm. They show up inside a single wet pass — not at the seam between passes. That’s the tell.
Short version: This is a tool problem, not a paint problem. Cheap covers shed and stripe, the wrong nap either starves or floods the surface, and pressing hard squeezes a bead out the end of the roller. Sand the ridges flat with 220-grit, vacuum, and recoat with a 3/8-inch nap on smooth drywall or 1/2-inch on light texture. Roll with the weight of the roller, not your shoulder.
Full procedure, nap chart, and the technique: roller marks.
Bands Where You Stopped: Lap Marks
What it looks like: Wide stripes or seams laid out roughly on a 3-foot grid, matching where you paused, refilled the tray, or answered the door. The mark sits where two rolled sections meet. Sheen usually differs across the line as well as color.
Short version: The first section skinned over before the second one reached it, so you rolled fresh paint into half-dry paint. Fix the wall by recoating it in one go, corner to corner, never stopping mid-wall. Work in 3-foot-wide sections and overlap into the previous one while it’s still wet. In hot, dry, or windy conditions, add a paint conditioner (Flood Floetrol for latex) to buy open time.
Full procedure, including ceilings and high-heat exteriors: lap marks.
Dull Rectangles Over Repairs: Flashing
What it looks like: The wall color is right, but patched or spot-primed areas read duller (sometimes shinier) than the rest. Usually a clean geometric shape — the exact outline of the patch or the primer dab. Shows from an angle, disappears straight on.
Short version: Different absorbency, not different paint. Bare compound, spackle, and fresh primer drink the topcoat at a different rate than the aged painted wall around them, and sheen follows absorption. Prime every patch — not just the middle, but edge to edge so the primer boundary isn’t itself a new absorbency line — then run a full second coat over the whole wall.
Full procedure: flashing on walls.
Streaks on Cabinets and Trim: Foam Roller
What it looks like: Fine parallel streaks or a fuzzy stippled haze on a cabinet door, a slab door, or a piece of trim you rolled with a foam roller. Reads worse in semi-gloss than in matte.
Short version: The foam is starved, the paint is too thick, or the sheen is too high to hide the texture. Load the roller until it’s heavy, thin enamel about 10% per the label, and lay off each panel with one light pass in one direction while it’s still wet. On visible doors, spray or brush-and-tip beats foam every time.
Full procedure and the foam-vs-microfiber call: foam roller streaks.
Touch-Up Halos
No dedicated page for this one, so here’s the whole thing.
What it looks like: You dabbed a scuff or a nail hole with leftover paint and now there’s a visible patch — brighter, duller, or just faintly outlined — in a shape roughly the size of your brush. It got worse, not better, when you dabbed again.
Why Touch-Ups Halo
Four causes, usually stacked:
- The wall aged. Paint shifts slightly over two or three years from UV, washing, and cooking film. Fresh paint out of the same can is the original color. The wall isn’t anymore.
- The dab is thicker. A brush dab lays two or three times the mil thickness of the rolled wall. Thicker film equals higher sheen. That’s the halo.
- Wrong tool texture. The wall has roller stipple. Your brush dab is smooth. The eye sees the texture edge before it sees the color.
- The wall is dirty. Especially kitchens, hallways, and stairwells. The touch-up is clean paint against a slightly grayed wall.
The Fix
- Wash first. Warm water and a drop of dish soap on a sponge, then rinse. Let it dry fully. Half of all touch-up halos are dirt, not paint.
- Use the same paint, stirred. Not “the same color” from a new gallon — the actual leftover, boxed and stirred at least a minute. Settled colorant reads off-shade.
- Thin it about 10%. Water for latex. Thinned paint feathers instead of stacking a hard edge.
- Match the tool. A 4-inch mini roller with the same nap family you used originally. Dab, then roll out lightly past the repair so the edge disappears into the stipple. Brush only for tight trim work.
- Feather, don’t build. One thin pass. Let it dry a full day before you judge it. Latex looks blotchy while it’s releasing water.
- If it still shows, roll the wall. Corner to corner, one full coat. That’s the real fix and there is no shortcut around it.
Flat and matte touch up nearly invisibly. Eggshell is workable. Satin and above almost never touch up clean — the sheen difference in a dab is too big to hide. If a room takes scuffs constantly (hallway, kids’ rooms, rentals), spec matte or eggshell for that reason alone.
Keep a labeled quart of every wall color, sealed, with the room name and the date on the lid. A three-year-old open gallon with a skin on it is not a touch-up.
Sheen Mismatch Across a Wall
Also no dedicated page. Here it is.
What it looks like: Same color, but part of the surface is shinier or flatter than the rest, and it’s not tied to any patch. Sometimes it’s one full wall against the next. Sometimes it’s a band at chair height or around a light switch.
Sort Out Which Kind You Have
- Two different sheens. Somebody bought eggshell for one wall and matte for the other, or the store shook the wrong base. Check the labels on both cans. This is more common than people admit.
- Two different batches. Same product, different lot numbers, slightly different sheen. Box the gallons together in a 5-gallon bucket before rolling and this never happens.
- Burnished spots. Shiny patches at hand height, along a hallway, around switches, or wherever somebody scrubbed. The finish got polished by friction. Flat and matte burnish easily. See burnishing.
- Uneven film thickness. Where the roller ran dry, the film is thin and the sheen drops. Where it puddled, sheen rises. Common along cut-in lines where a brushed band meets rolled wall.
- Over-thinned paint. Adding water past 10% cuts binder and drops sheen in that section.
The Fix
Sheen is judged against whatever is next to it, so spot repair almost never works. Sand any burnished or ridged area lightly with 220-grit, wash off any surface grease with a mild degreaser, rinse, dry. Prime only the areas that are bare or patched. Then recoat the full wall, corner to corner, from a single boxed batch of one sheen.
If the mismatch is one wall against another and both look fine on their own, you can recoat only the odd wall — an inside corner is a natural break and the eye accepts it. A band in the middle of a wall is not a natural break and never will be.
Blotchy Color: You Just Need Another Coat
What it looks like: Uneven color depth, not texture and not sheen. Deeper in some areas, thin and washed-out in others, sometimes with the old color or drywall paper faintly grinning through. Reds, yellows, and deep blues do this the worst because they carry low-hide colorants.
Short version: Two coats. Always two coats. One-coat coverage on the label means one coat over the right primer under ideal conditions, and your bedroom is not ideal conditions. Box your gallons, prime any patch or color change with a gray-tinted primer, and roll a full second coat wall to wall.
If you’re painting a strong color over white, tint the primer toward the topcoat. It cuts one whole coat off deep bases.
Common Mistakes
- Recoating too soon. The label recoat time assumes 70°F and 50% relative humidity. In a cold basement or a humid August, double it. Rolling into a half-set coat drags the film and makes it worse.
- Judging wet paint. Latex dries lighter and levels for hours. Almost every “it looks awful” panic call is a wall that was still wet.
- Spot-fixing a whole-wall problem. Sheen and coverage flaws only look right when the whole panel matches. Corner to corner or don’t bother.
- Rolling harder to hide a flaw. Pressure squeezes a ridge out the end of the roller and adds a new problem on top of the old one.
- Skipping primer over patches. The single biggest cause of a wall that looks fine wet and blotchy the next morning.
- Mixing tools mid-wall. Brush texture next to roller texture reads as a defect even when the color is a perfect match.
Prevention
Box the paint. Pour every gallon of the same color into a 5-gallon bucket, stir, and roll from that. Kills batch variation before it starts.
Prime every repair, and prime the whole wall on a bare or heavily patched surface. Uniform absorption is what a flat-looking wall actually is.
Cut in and roll in the same session. Cut a wall, then roll it while the cut-in band is still wet, so the brushed and rolled paint blend instead of stacking.
Never stop mid-wall. Corner to corner, then take your break.
Buy the good roller cover. A $9 woven cover with a beveled edge lays paint flatter than a $3 cover, holds more, and doesn’t shed lint into the film. It’s the cheapest quality upgrade on the job.
Control the room. Close the windows, kill the ceiling fan, and don’t paint a sunlit wall at 2pm in July. Moving air and heat pull the wet edge closed faster than you can roll to it.
When to Call a Pro
- The wall is smooth Level 5 finish and the flaw shows in flat light. Getting that back is a skim-coat-and-spray job.
- Uneven paint over lath-and-plaster with cracking or soft spots — the substrate is the real problem.
- Anything over 12 feet where you’d be reaching from a ladder with a wet roller.
- Uneven finish on a high-gloss cabinet or door set. That’s a spray booth outcome and rolling won’t get you there.
- Pre-1978 home where fixing the unevenness means sanding old paint. Lead test first, RRP rules apply.
What’ll Bite You in Two Years
Leaving a wall a coat short. It looks acceptable the week you finish, because fresh paint is uniform enough to fool you. Then two years of hand oil, cleaning, and sunlight go to work on the thin sections faster than the thick ones, and the wall develops permanent blotches that no amount of washing fixes. At that point you’re not touching up. You’re repainting the room.
The second one: touch-up paint you didn’t label. Three years from now, an unmarked half-quart in the basement is a guess, and a guessed touch-up costs you a full wall.
Related
Frequently asked questions
Will a third coat fix uneven paint?+
Why does my paint look uneven only in certain light?+
How long should I wait before deciding the paint is uneven?+
Why does my touch-up show as a patch?+
Can I fix uneven sheen without repainting the whole wall?+
Does more expensive paint prevent uneven finish?+
Should I sand between coats on a wall?+
- Roller marks and how to roll flat
- Lap marks and the wet edge
- Flashing on walls
- Foam roller streaks
- Paint sheen guide
Ask a Question